7 Easy Steps to Clean Your Kitchen Faucet Head
To clean your kitchen faucet head effectively, start by deciding if removal is necessary, especially when dealing with heavy mineral buildup. Proper cleaning helps maintain water flow and prevents clogs.
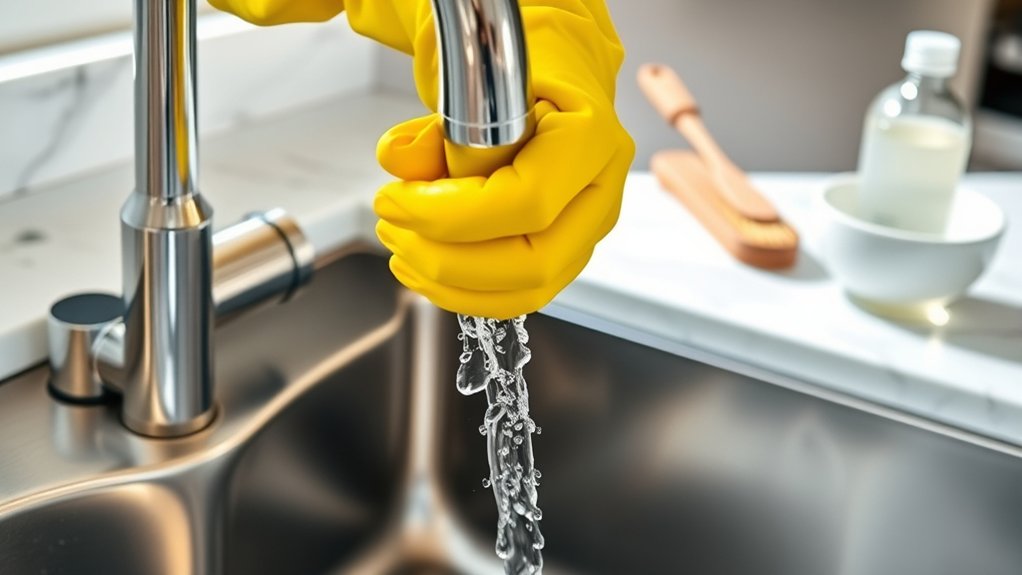
Gather essential tools like gloves, a soft brush, and vinegar for soaking.
Next, turn off the water supply to avoid any leaks. Carefully loosen the faucet head, then soak it in vinegar for 30 minutes to an hour. This process helps dissolve stubborn mineral deposits.
After soaking, gently scrub the faucet head with a soft brush to remove remaining residue. Rinse it thoroughly, then dry to prevent water spots.
Finally, reattach the faucet head securely. Follow these simple steps to keep your kitchen faucet flowing smoothly and well-maintained.
Key Takeaways
- Turn off the water supply and carefully remove the faucet head using an adjustable wrench or by hand if detachable. Soak the faucet head in vinegar for 30 minutes to an hour to dissolve mineral deposits and buildup.
- Use a soft toothbrush or sponge to gently scrub away loosened grime and debris after soaking. Rinse the faucet head thoroughly with water and dry it immediately with a soft cloth to prevent spots.
- Reattach the faucet head securely, then turn on the water to check for leaks and ensure proper flow.
Do You Need to Remove Your Kitchen Faucet Head?
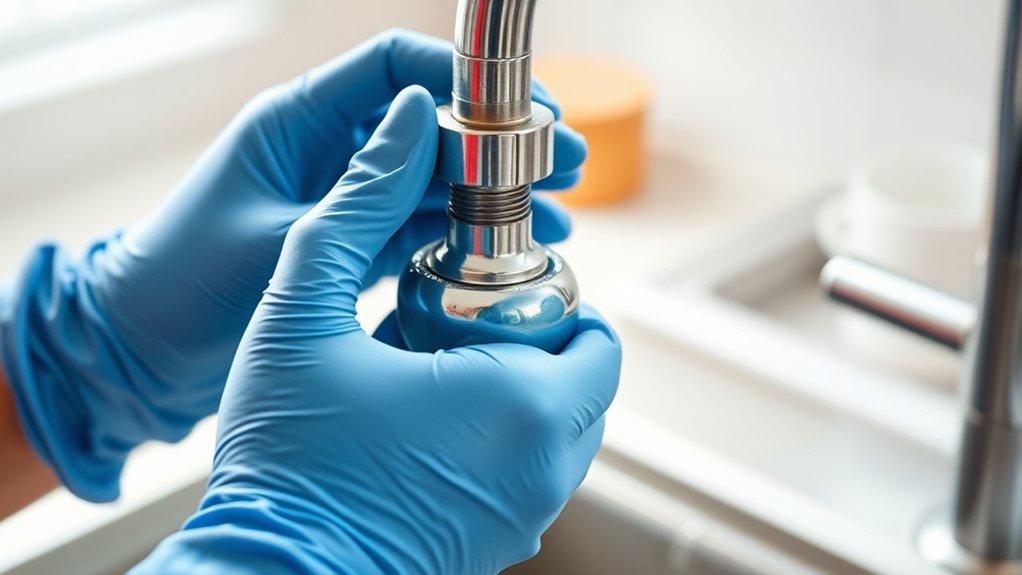
Before you start cleaning, consider whether you actually need to remove your kitchen faucet head. If your faucet is just mildly clogged or has a buildup that’s easy to reach, you might clean it effectively without detaching the head. Often, soaking the faucet head in a vinegar solution while it’s still attached can loosen mineral deposits.
However, if you notice persistent blockages, uneven water flow, or buildup inside the nozzle, removing the faucet head will allow for a deeper clean. Also, if your faucet head has a removable aerator, detaching it might be enough to clear out debris.
Tools and Supplies for Cleaning Your Kitchen Faucet Head
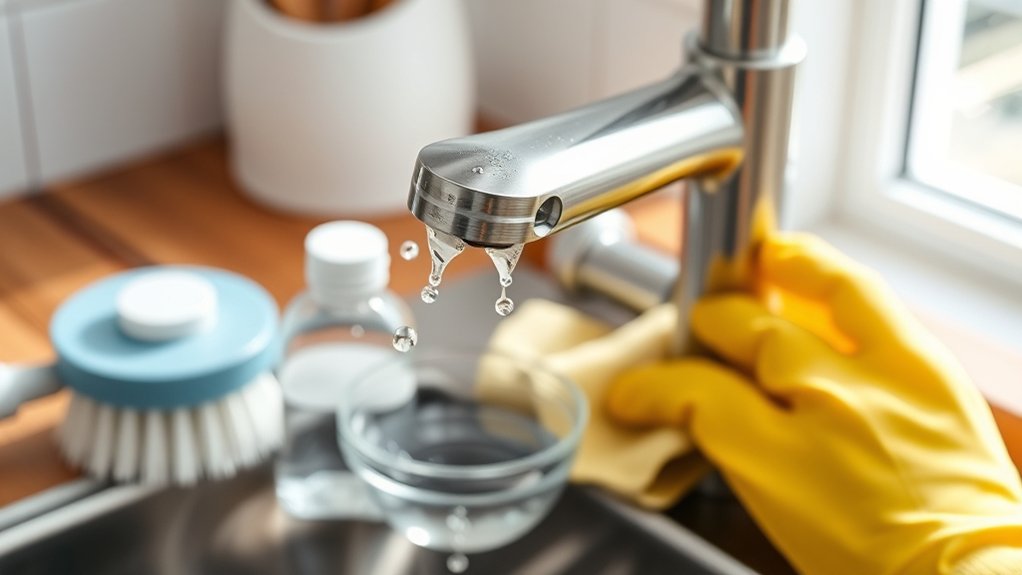
Although cleaning your kitchen faucet head doesn’t require many tools, having the right supplies on hand makes the job easier and more effective. You’ll want a soft cloth or sponge to wipe away grime and a small brush, like an old toothbrush, to reach tight spots. A bowl or plastic bag can hold a vinegar soak, perfect for dissolving mineral buildup.
Don’t forget rubber gloves to protect your hands from any cleaning solutions. Mild dish soap works well for general cleaning, while white vinegar targets limescale. If your faucet head has stubborn debris, a toothpick or needle can help unclog tiny holes gently.
With these simple tools and supplies ready, you’ll clean your faucet head thoroughly without hassle.
Safely Removing Your Kitchen Faucet Head
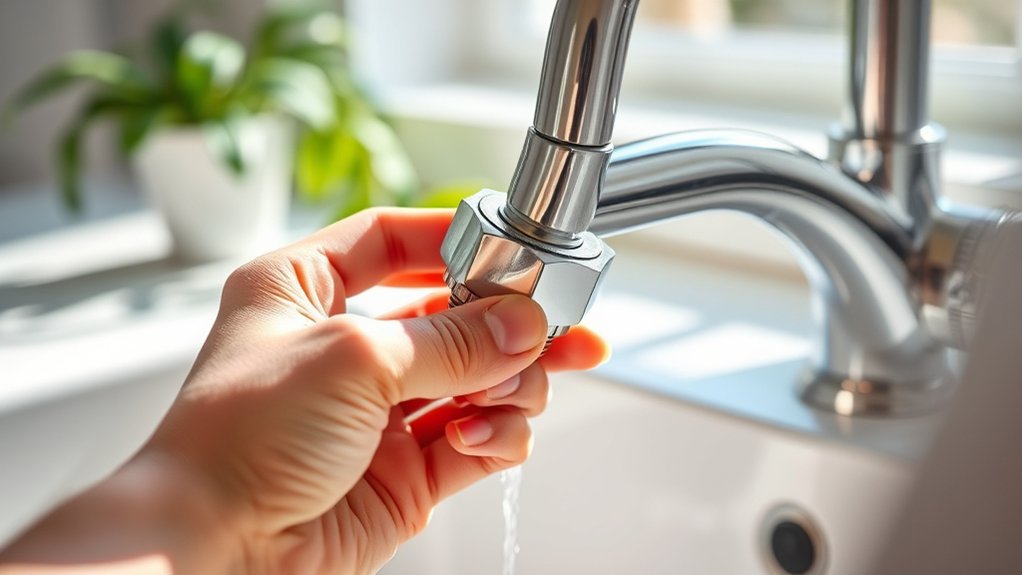
Before you start, gather the necessary tools like an adjustable wrench or pliers. Make sure to turn off the water supply to avoid any leaks or spills.
Then, carefully loosen the faucet head to remove it without causing damage.
Tools Needed
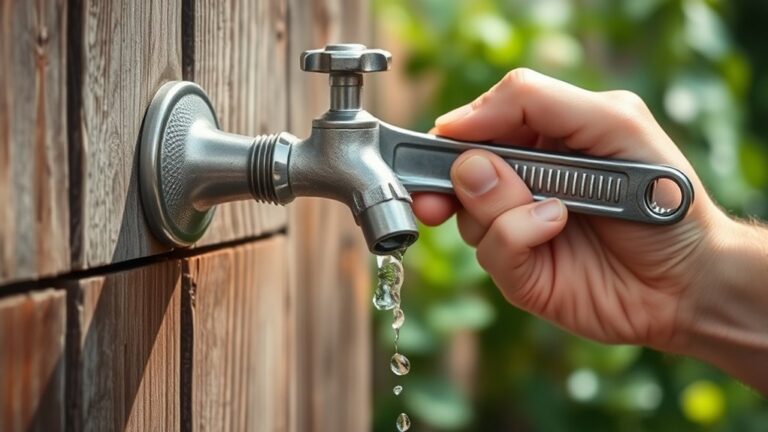
When you’re ready to remove your kitchen faucet head safely, having the right tools on hand makes the process much smoother. Start with an adjustable wrench or a pair of pliers to loosen the nut securing the faucet head. Wrap the wrench’s jaws with a soft cloth or tape to prevent scratching the finish.
You might also need a small flathead screwdriver to pry off any decorative caps covering screws. Keep a bucket or towel nearby to catch any water that might drip during removal. Additionally, having some plumber’s tape on hand can help if you plan to reassemble the faucet head later.
With these tools ready, you’ll be well-equipped to remove your faucet head without causing damage or frustration.
Turning Off Water
Since water flow can cause a mess or damage, you’ll want to turn off the water supply to your kitchen faucet before removing the faucet head. Start by locating the shut-off valves under your sink—usually two, one for hot water and one for cold. Turn both valves clockwise until they’re fully closed to stop water flow completely.
If you don’t find individual shut-offs, you may need to turn off the main water supply to your home. Once the water is off, open the faucet to release any remaining water in the pipes and relieve pressure. This step prevents unexpected leaks or sprays when you remove the faucet head.
Now, you’re ready to proceed safely without worrying about water spilling everywhere.
Loosening Faucet Head
How do you safely loosen your kitchen faucet head without causing damage? Start by preparing the area to avoid leaks or scratches.
Then, follow these three essential steps:
- Use a soft cloth: Wrap a cloth around the faucet head to protect its finish from scratches when you grip it.
- Turn counterclockwise: Gently twist the faucet head to the left by hand. Avoid forcing it; if it’s tight, proceed to the next step.
- Apply a wrench carefully: If needed, use an adjustable wrench with padded jaws to prevent damage. Loosen slowly and steadily.
Soaking to Remove Mineral Deposits From Your Kitchen Faucet Head
You’ll want to pick a soaking solution that effectively breaks down mineral buildup, like white vinegar or a mild descaling agent. Make sure to soak your faucet head long enough—usually 30 minutes to an hour—to loosen deposits without damaging any parts.
Following these tips will help you get your faucet head clean and working smoothly again.
Choosing Effective Soaking Solutions
What’s the best way to dissolve stubborn mineral deposits on your kitchen faucet head? Choosing the right soaking solution makes all the difference. Here are three effective options you can easily try at home:
- White Vinegar: Its acidity breaks down mineral buildup without harsh chemicals. Just soak your faucet head in vinegar for a natural clean.
- Lemon Juice: Another acid-rich option, lemon juice not only removes deposits but leaves a fresh scent behind.
- Baking Soda Paste: Mix baking soda with water to create a paste. It gently scrubs away deposits when soaked or applied directly.
Pick the solution that suits your preferences and materials. Avoid harsh cleaners that could damage your faucet’s finish while ensuring you tackle mineral buildup effectively.
Soaking Duration Tips
Although the ideal soaking duration varies depending on the severity of mineral buildup and the solution used, letting your faucet head soak for at least 30 minutes usually loosens deposits effectively.
If buildup is heavy, you might want to extend soaking to a few hours or even overnight for stubborn deposits. Be sure to check the manufacturer’s guidelines to avoid damage.
| Severity Level | Soaking Solution | Recommended Duration |
|---|---|---|
| Light | Vinegar or lemon juice | 30 minutes |
| Moderate | Vinegar or commercial cleaner | 1-2 hours |
| Heavy | Commercial descaler | 3-6 hours or overnight |
| Very Heavy | Soaking + scrubbing | Overnight + scrubbing |
| Preventative | Vinegar rinse | 15-20 minutes weekly |
Adjust soaking time based on your faucet’s condition for ideal results.
Scrubbing Grime Off Your Kitchen Faucet Head Without Damage
When scrubbing grime off your kitchen faucet head, choosing the right tools and techniques prevents scratches and damage. First, use a soft-bristle toothbrush or a non-abrasive sponge; these gently remove buildup without harming the finish. Second, apply a mild cleaning solution like diluted vinegar or dish soap to loosen grime effectively.
Avoid harsh chemicals that can erode metal or plastic parts. Third, scrub in small, circular motions to dislodge dirt without excessive force. Don’t use steel wool or rough pads—they scratch surfaces and accelerate wear.
Rinsing and Drying Your Kitchen Faucet Head to Prevent Spots
After scrubbing your kitchen faucet head, you’ll want to rinse it thoroughly to remove any leftover cleaning solution or loosened grime. Turn on the water and let a steady stream run over the faucet head, making sure to flush out all crevices. Use your fingers or a soft cloth to wipe away any remaining residue gently.
Once rinsed, dry the faucet head immediately with a clean, soft towel or microfiber cloth. This step is essential because water droplets left behind can cause mineral spots or water stains, dulling the finish. Pat the surface dry instead of rubbing harshly to avoid scratches.
Taking these quick steps ensures your faucet head stays spotless and shiny, maintaining its appearance and functionality longer.
Reattaching Your Kitchen Faucet Head and Maintenance Tips
Before you reattach your kitchen faucet head, make sure the connection points are clean and free of debris to guarantee a secure fit. Once that’s done, follow these simple steps:
- Align the faucet head with the hose or pipe, ensuring it matches the threads or snap-on mechanism.
- Twist or click the head firmly into place, but avoid over-tightening to prevent damage.
- Turn on the water to check for leaks and proper flow.
For ongoing maintenance, regularly wipe the faucet head with a soft cloth and avoid abrasive cleaners. Every few months, detach and soak the head in vinegar to dissolve buildup.
These small steps keep your faucet functioning smoothly and looking great longer.
Frequently Asked Questions
Can a Clogged Faucet Head Affect Water Pressure?
Yes, a clogged faucet head can reduce your water pressure. When mineral deposits or debris block the tiny holes, water flow slows down, so you’ll notice weaker pressure until you clean or replace the faucet head.
How Often Should I Clean My Kitchen Faucet Head?
You should clean your kitchen faucet head every three months. Studies show 30% of faucets develop mineral buildup in that time, which can reduce water flow and harbor bacteria, so regular cleaning keeps everything flowing smoothly and hygienic.
Are There Eco-Friendly Cleaning Solutions for Faucet Heads?
Yes, you can use eco-friendly solutions like white vinegar and baking soda to clean your faucet head. They’re effective, non-toxic, and biodegradable, so you won’t harm the environment or your plumbing while keeping it sparkling clean.
Can Cleaning the Faucet Head Prevent Bacterial Growth?
Yes, cleaning your faucet head regularly prevents bacterial growth by removing grime and buildup where bacteria thrive.
You’ll keep your water safer and your kitchen healthier by maintaining a clean, germ-free faucet surface.
What Causes White Spots on Faucet Heads Besides Mineral Deposits?
Imagine tiny white spots like stubborn snowflakes on your faucet—they’re often caused by soap scum, hard water residue, or even mold.
You’ll want to clean regularly, or those spots will just keep multiplying.
Conclusion
Cleaning your kitchen faucet head might seem like a hassle, but it’s actually a simple task that keeps your water flowing smoothly and your kitchen looking fresh.
While neglect can lead to stubborn mineral buildup and grime, a little regular care makes all the difference.
By following these easy steps, you’ll turn a potentially messy chore into a quick, satisfying routine—proving that a clean faucet head means cleaner water and a happier kitchen.
Regular cleaning of your kitchen faucet head not only prevents mineral buildup but also ensures a steady water flow.
Maintaining your faucet head is essential for a hygiene-friendly kitchen and helps avoid costly repairs.
Start today with these 7 easy steps to clean your kitchen faucet head and enjoy a sparkling, efficient kitchen.