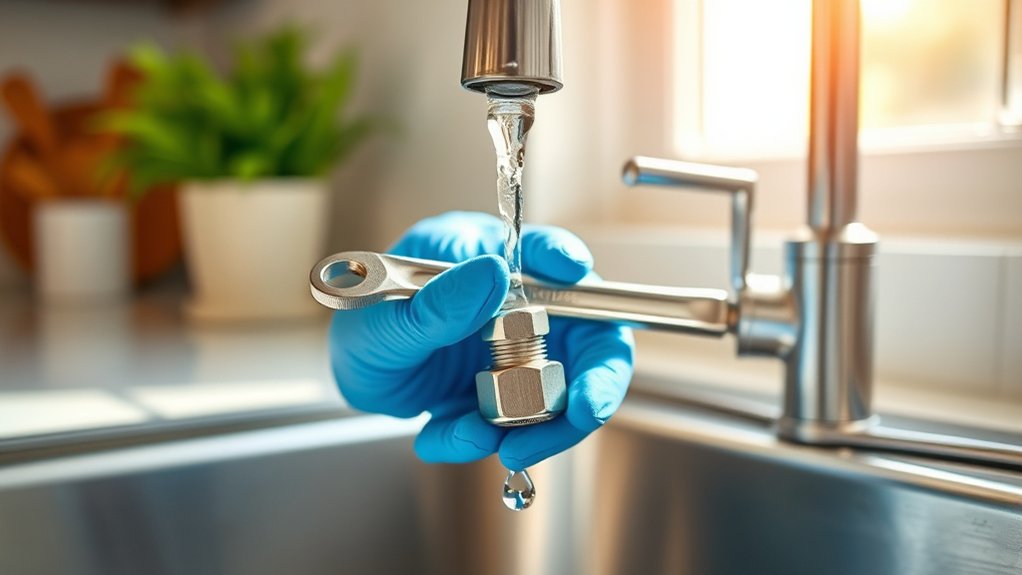
Fix a Dripping Kitchen Faucet in 7 Easy Steps
To fix a dripping kitchen faucet in seven easy steps, start by turning off the water supply and identifying the leak’s source—often worn washers or damaged O-rings. Fixing a dripping faucet not only saves water but also prevents potential damage to your sink area.
Gather essential tools like screwdrivers and wrenches before you begin the repair process.
Next, carefully remove the handle to inspect the internal components. Replace any faulty parts such as washers or O-rings that are causing the drip.
After reassembling the faucet, turn the water back on and test for leaks to ensure the repair was successful.
Finally, clean mineral buildup regularly to maintain smooth faucet operation and extend its lifespan.
With simple maintenance and these easy steps, you’ll keep your kitchen faucet drip-free longer. Follow this guide to confidently handle leaks and enjoy a fully functional faucet for years to come.
Key Takeaways
- Turn off the water supply and open the faucet to drain remaining water before starting repairs.
- Identify the leak source by checking washers, O-rings, cartridges, and valve seats for damage.
- Use appropriate tools like wrenches and screwdrivers to carefully remove the faucet handle.
- Replace worn or damaged parts such as washers, O-rings, or cartridges to stop the drip.
- Reassemble the faucet securely and test for leaks before regular maintenance to prevent future issues.
Identify the Cause of Your Kitchen Faucet Leak
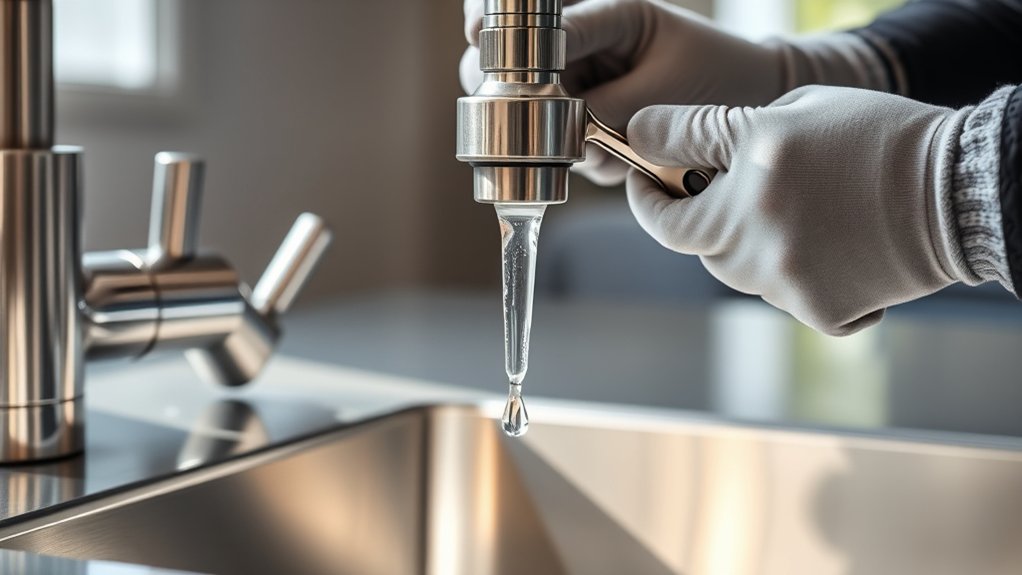
Before you can fix a dripping kitchen faucet, you need to identify the cause of the leak. Start by turning off the water supply and then observe where the drip originates. Common culprits include worn-out washers, damaged O-rings, or corroded valve seats.
Check the faucet handle and spout for leaks to narrow down the issue. If your faucet uses cartridges or ceramic discs, these parts might be faulty. Also, inspect for mineral buildup, which can interfere with seals and cause dripping.
Understanding the exact source saves time and prevents unnecessary replacements. Once you’ve pinpointed the problem, you can confidently move on to fixing it, knowing exactly which parts need your attention.
Gather Tools to Fix Your Kitchen Faucet
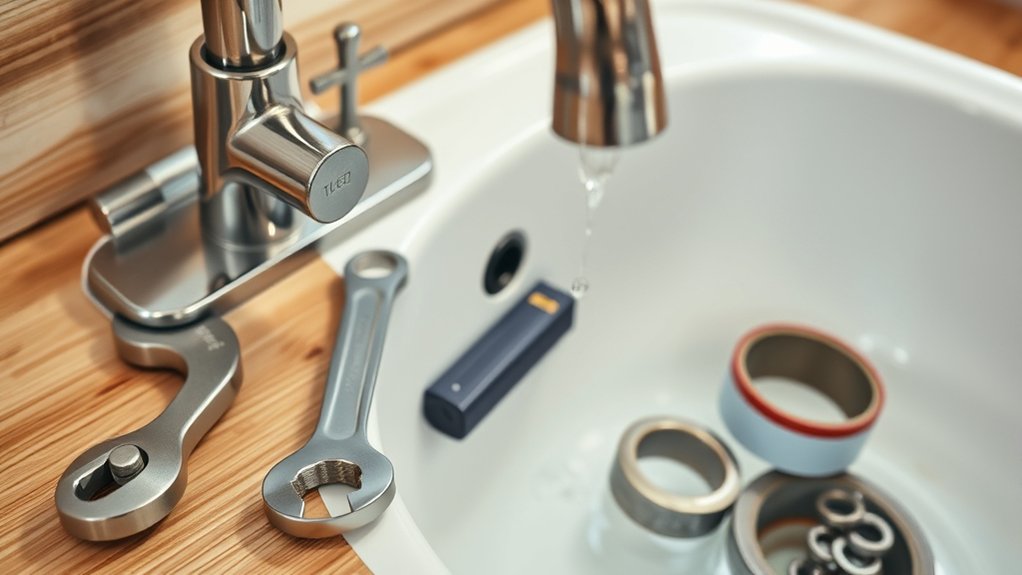
Once you know what’s causing your faucet to drip, you’ll need to gather the right tools to fix it efficiently. Start with an adjustable wrench to loosen nuts and bolts without damaging them. Have a set of screwdrivers—both flathead and Phillips—ready for removing screws.
A pair of pliers comes in handy for gripping small parts or turning stubborn pieces. Don’t forget a replacement washer or cartridge, depending on your faucet type. Keep a cloth or rag nearby to catch drips and protect surfaces.
You might also need plumber’s grease to lubricate moving parts during reassembly. Having a small bucket or bowl helps catch any water left in the lines. With these tools on hand, you’ll be ready to tackle the repair smoothly and quickly.
Turn Off Kitchen Faucet Water Supply
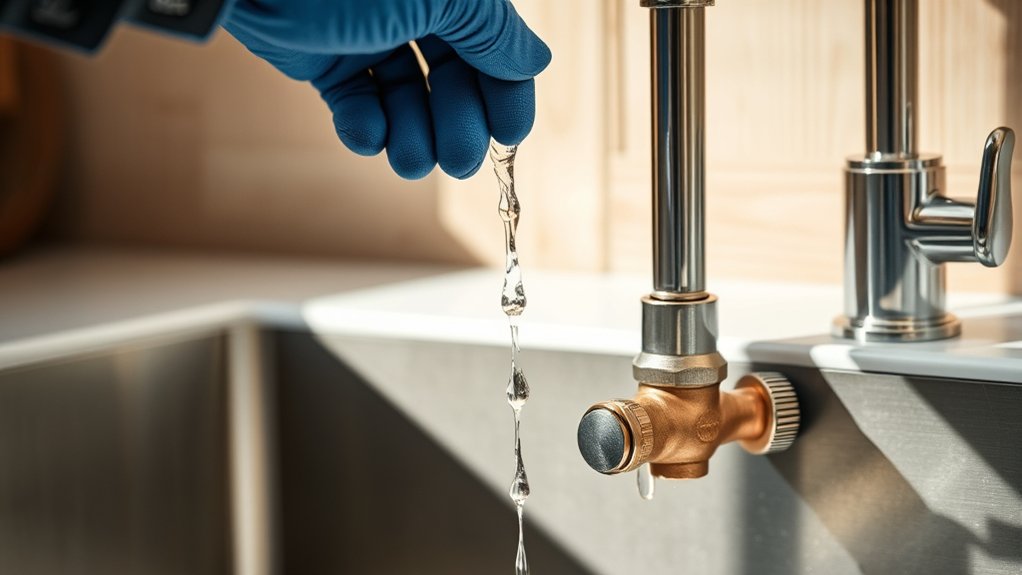
After gathering your tools, the next step is to shut off the water supply to your kitchen faucet. This prevents water from flowing while you work, avoiding mess and damage.
Before starting, turn off your kitchen faucet’s water supply to prevent leaks and water damage.
Here’s how to do it:
- Locate the shut-off valves under the sink. They’re usually small knobs on the water pipes.
- Turn both the hot and cold water valves clockwise until they’re fully closed.
- Open the faucet to drain any remaining water from the lines.
- Check that the water flow has completely stopped before proceeding.
Take Apart Your Faucet Carefully
Before you start, make sure you have the right tools handy. Gently remove the handle to avoid damaging any parts.
Taking your time now will make the repair smoother later.
Gather Necessary Tools
Although taking apart your faucet may seem intimidating, having the right tools on hand makes the process much smoother. Before you start, gather everything you’ll need to avoid interruptions and frustration. These tools will help you carefully disassemble your faucet without causing damage.
Here are the essential tools to have ready:
- Adjustable wrench – for loosening nuts and bolts.
- Phillips and flathead screwdrivers – to remove different types of screws.
- Allen wrenches (hex keys) – often needed for set screws.
- Pliers – useful for gripping and turning small parts.
With these tools, you’ll be well-equipped to take apart your faucet carefully and prepare for the next steps in fixing that drip.
Remove Handle Gently
With your tools ready, you can carefully start removing the faucet handle. Begin by locating the set screw, usually hidden under a decorative cap or on the side of the handle. Use a flathead screwdriver or an Allen wrench to loosen this screw gently.
Don’t force it; if it feels stuck, apply a bit of penetrating oil and wait a few minutes. Once the screw is loose, grasp the handle firmly and pull it straight up or wiggle it gently to free it. Avoid using excessive force or prying tools, as this can damage the handle or faucet assembly.
Set the handle and screws aside safely so you don’t lose them. Removing the handle gently guarantees you won’t cause unnecessary damage when fixing your dripping kitchen faucet.
Fix Common Leaking Parts
Since most faucet leaks stem from worn-out or damaged components, you’ll want to identify and replace the common parts that cause drips. Start by inspecting each part carefully to spot wear or cracks.
Most faucet leaks come from worn or damaged parts, so carefully inspect each to find cracks or wear.
Here are the four usual suspects you should check:
- O-rings – These small rubber rings seal the faucet and often crack or shrink over time.
- Washers – Flat rubber washers press against the valve seat and may become brittle or worn.
- Valve seats – Corrosion or mineral buildup can prevent a tight seal.
- Cartridge or stem – These control water flow and can develop leaks if damaged.
Replacing these parts usually stops the drip. Make sure you have the correct replacements for your faucet model before proceeding.
Reassemble Faucet and Check for Leaks
After replacing the worn parts, you’ll want to carefully reassemble the faucet, making certain each component fits snugly in place. Start by reinstalling the cartridge or valve, then secure it with the retaining nut. Reattach the handle and any decorative caps.
Tighten screws just enough to hold everything firmly without overtightening, which can cause damage. Once reassembled, turn the water supply back on slowly and watch closely for leaks around the base and connections. If you notice any drips, tighten fittings gently or reposition seals as needed.
Run the faucet to ensure smooth operation and that no water escapes. Checking thoroughly now helps you avoid future leaks and ensures your faucet operates efficiently.
Maintain Your Kitchen Faucet to Prevent Drips
To stop drips before they start, you need to clean your faucet regularly and inspect its components for wear or damage. Pay close attention to seals, washers, and valves, as these parts often cause leaks when they fail.
Staying on top of maintenance will save you time and money in the long run.
Regular Faucet Cleaning
How often do you clean your kitchen faucet? Regular cleaning helps prevent mineral buildup that can cause drips and damage. You don’t need special tools—just a few simple steps will keep your faucet working smoothly.
Follow these tips to maintain your faucet:
- Wipe the faucet daily with a soft cloth to remove water spots and grime.
- Use a mild soap solution weekly to clean the surface, avoiding harsh chemicals.
- Soak the aerator in vinegar monthly to dissolve mineral deposits.
- Check and clean around the base to prevent debris from clogging seals.
Inspecting Faucet Components
Although regular cleaning keeps your faucet looking good, inspecting its internal components is essential to prevent drips and leaks. Start by turning off the water supply and removing the faucet handle. Check the cartridge, O-rings, and washers carefully for any signs of wear or damage.
These small parts often cause leaks when they degrade. Look for cracks, mineral buildup, or stiffness that could affect their function. If you spot any worn parts, replace them promptly to avoid further issues.
Pay close attention to the valve seat as well, since corrosion there can cause dripping. Taking the time to inspect these components regularly helps you catch problems early and extends your faucet’s life, saving you from costly repairs or replacements down the line.
Frequently Asked Questions
Can a Dripping Faucet Increase My Water Bill Significantly?
Yes, a dripping faucet can increase your water bill noticeably over time. Even small leaks waste gallons daily, so fixing it quickly helps you save money and conserve water without much hassle or expense.
Are There Eco-Friendly Faucet Repair Options Available?
Yes, you can choose eco-friendly faucet repair options like water-saving washers, low-flow aerators, or biodegradable plumber’s grease. These help reduce water waste and environmental impact while fixing leaks efficiently, saving you money and resources.
How Do I Know When to Replace Instead of Repair a Faucet?
You should replace your faucet if repairs cost over 50% of a new one or leaks persist after two repairs.
Did you know a dripping faucet wastes over 3,000 gallons annually? Don’t let that happen!
Can Hard Water Cause a Faucet to Drip?
Yes, hard water can cause your faucet to drip by leaving mineral deposits that damage washers and seals.
You’ll want to clean or replace these parts regularly to stop the dripping and keep your faucet working smoothly.
What Safety Precautions Should I Take When Fixing a Faucet?
Better safe than sorry—you should always turn off the water supply and unplug any nearby appliances. Wear gloves to protect your hands, use proper tools, and work in a well-lit area to avoid accidents or damage.
Conclusion
Now that you’ve tackled your dripping kitchen faucet, you might wonder if a small leak really wastes that much water. The truth? Even a slow drip can waste over 3,000 gallons a year! Fixing it not only saves water but cuts your bill and prevents damage.
By following these simple steps and keeping up with regular maintenance, you’re not just stopping a drip—you’re making a smart, sustainable choice for your home. Proper kitchen faucet repair can extend the life of your plumbing fixtures.
Regular maintenance and timely faucet fixes help conserve water and reduce unnecessary utility costs. Taking care of your kitchen faucet drip today ensures a more efficient and eco-friendly household tomorrow.