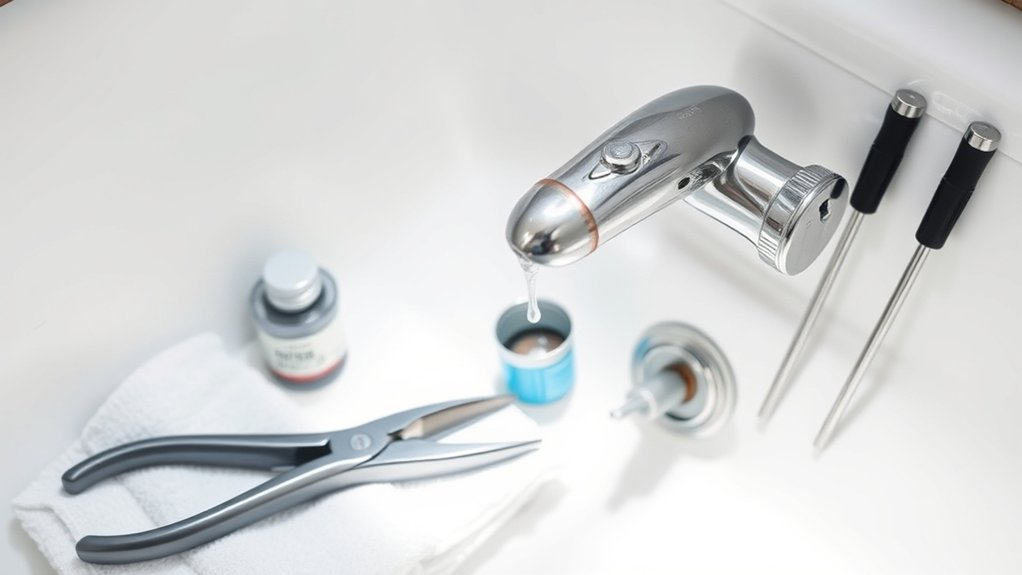
How to Stop a Leaky Tub Faucet in 7 Easy Steps
To stop a leaky tub faucet in 7 easy steps, start by identifying the leak source. Dry the area thoroughly and watch closely to see where water drips. This simple inspection helps pinpoint the problem quickly.
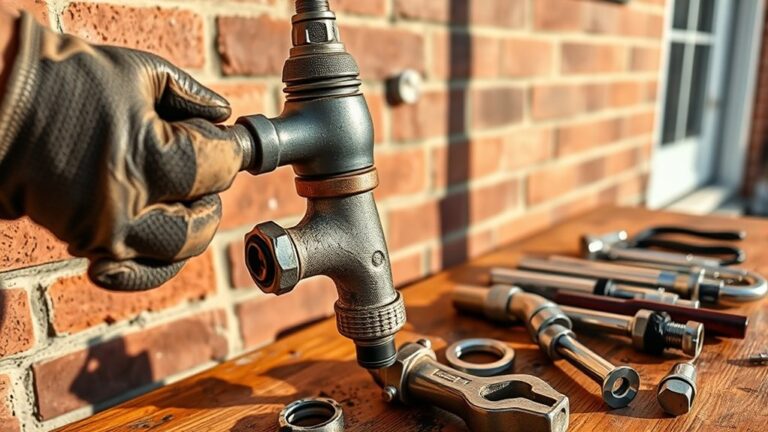
Next, gather essential tools such as screwdrivers, wrenches, and replacement washers or cartridges.
Turning off your water supply is crucial before beginning any repair. Open the faucet to drain any remaining water from the pipes.
Carefully remove the faucet handle to access the valve inside. Inspect the parts for wear and replace any damaged washers or cartridges.
Once replaced, reassemble the faucet components securely.
Finally, turn your water supply back on and check for leaks.
Regular maintenance can prevent future drips and extend the life of your tub faucet. Following these steps will help ensure a lasting repair.
Key Takeaways
- Turn off the water supply and open the faucet to drain remaining water before starting repairs.
- Remove the faucet handle by unscrewing hidden caps and carefully pulling it off.
- Inspect and remove worn washers, O-rings, or cartridges causing the leak.
- Replace faulty components with matching new parts and reassemble the faucet.
- Turn water back on gradually, check for leaks, and ensure proper faucet function.
Find the Source of Your Tub Faucet Leak
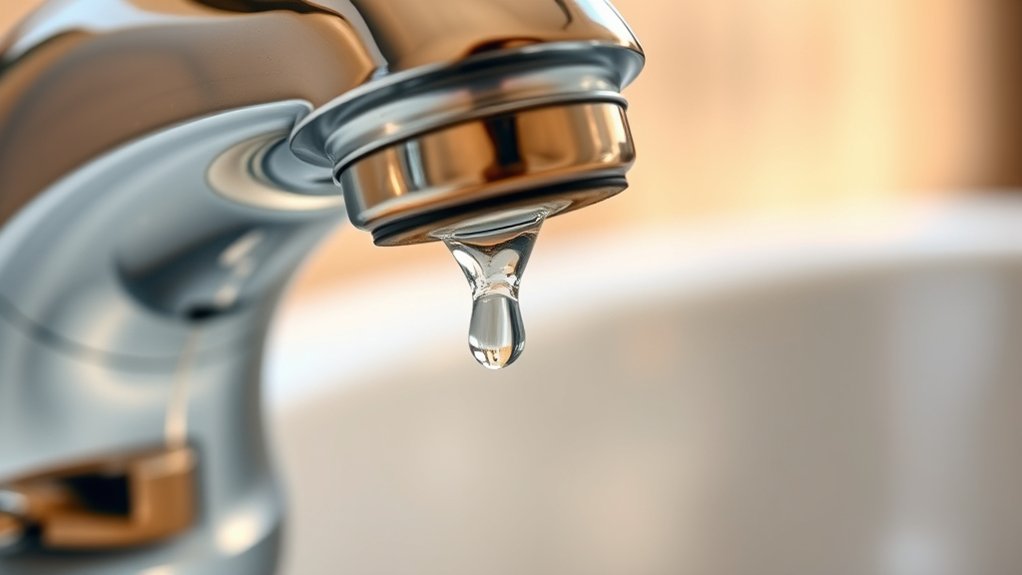
Before you can fix the leak, you need to pinpoint exactly where it’s coming from. Start by drying the faucet and surrounding area with a towel. Turn on the water briefly and watch closely.
Is the drip coming from the spout, the handle, or around the base? If it’s the spout, the cartridge or valve inside might be worn out. If water pools near the handle, the problem could be a faulty O-ring or seal.
Sometimes, leaks come from loose parts, so gently wiggle the handle and spout to check for play. Don’t forget to inspect the connection between the faucet and the wall for any moisture. Identifying the exact source saves time and helps you target the repair correctly without unnecessary parts or effort.
Gather Essential Tools and Materials for Faucet Repair
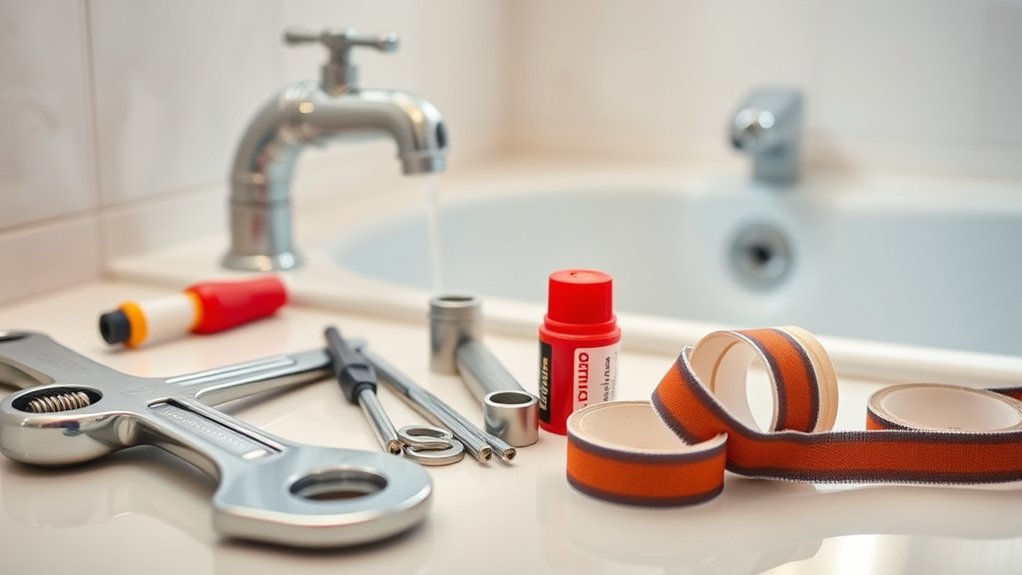
Once you know where the leak is coming from, you’ll need the right tools and materials to fix it efficiently. Start by gathering a wrench set, a screwdriver (both flathead and Phillips), and plumber’s tape. You’ll also want replacement parts like washers, O-rings, or cartridges specific to your faucet model.
Keep a cloth or rag handy to clean and catch any drips. Having a small bowl nearby helps you keep screws and small parts organized. It’s smart to have some penetrating oil if parts are corroded or stuck.
Finally, gloves protect your hands during the repair. Preparing all these items before you begin will save you time and frustration, making the repair smoother and more effective.
Turn Off Your Tub Faucet Water Supply Safely
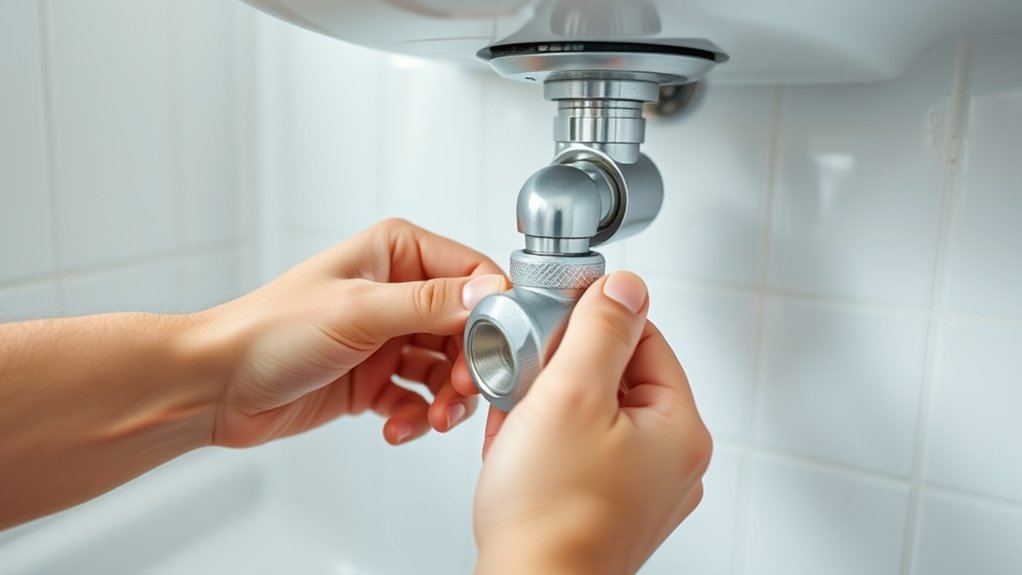
To prevent water damage and make your repair easier, you’ll need to turn off the water supply to your tub faucet completely. First, locate the shut-off valves—these are usually found under the sink nearby or in a utility closet. Turn the valves clockwise to close them firmly.
If you can’t find individual shut-offs for the tub, head to your main water supply and turn it off. After shutting the water off, open the tub faucet to drain any remaining water in the pipes. This step relieves pressure and prevents leaks while you work.
Keep a bucket and towels nearby just in case. Once the water’s off and the pipes are drained, you’re all set to proceed with your repair safely and without unexpected drips.
Take Off the Faucet Handle to Reach the Valve
Start by gathering the tools you’ll need, like a screwdriver and an adjustable wrench.
Next, remove the screws holding the faucet handle in place.
Once the handle is off, you’ll have clear access to the valve mechanism to begin repairs.
Gather Necessary Tools
Before you can fix the leak, you’ll need to gather a few essential tools that allow you to remove the faucet handle and access the valve inside. Having the right tools at hand makes the process smoother and less frustrating.
Here’s what you’ll need:
- Screwdriver – Usually a flathead or Phillips to remove handle screws.
- Allen wrench – Some handles use hex screws hidden under caps.
- Pliers – Handy for gripping and turning stubborn parts.
- Utility knife – To cut through old caulk or remove decorative caps.
With these tools ready, you’ll feel confident tackling the next steps without interruption or stress. Don’t rush—preparing well sets you up for success.
Remove Handle Screws
Although it might seem tricky at first, removing the handle screws is a straightforward step that gives you access to the faucet valve. Start by locating the screw holding the handle in place. This screw is often hidden under a decorative cap or plug on the handle.
Use a flathead screwdriver or a small knife to gently pry off the cap and reveal the screw. Once exposed, use the appropriate screwdriver—usually a Phillips or flathead—to carefully unscrew it. Keep the screws in a safe spot to avoid losing them.
With the screws removed, you can now pull the handle straight off. If it feels stuck, wiggle it gently but avoid forcing it to prevent damage. Now, you’re ready for the next step.
Access Valve Mechanism
How do you access the valve mechanism once the handle is off? First, you’ll see a packing nut or retaining clip holding the valve stem in place. Don’t worry—it’s not as tricky as it looks.
Follow these steps carefully:
- Use an adjustable wrench to loosen and remove the packing nut.
- Gently pull out the valve stem by twisting and pulling it straight out.
- Inspect the valve for damage or worn-out washers causing the leak.
- Replace or repair the valve components as needed before reassembling.
Taking off the handle gives you direct access to the heart of the faucet, letting you fix the real problem. Stay patient and precise—you’re one step closer to stopping that annoying drip!
Inspect and Replace the Worn Washer or Cartridge
Now that you’ve removed the faucet handle, it’s time to identify whether your tub uses a washer or cartridge. Carefully take out the old component and check for wear or damage.
Then, install the correct replacement to stop the leak and restore proper function.
Identify Washer or Cartridge
Before you can fix a leaky tub faucet, you’ll need to figure out whether the problem lies with the washer or the cartridge. This step is crucial because using the wrong replacement part won’t stop the drip and wastes your time and money.
To identify the issue:
- Turn off the water supply to avoid a messy surprise.
- Remove the faucet handle carefully to expose the inner parts.
- Look inside: if you see a small rubber disc at the end of a valve stem, that’s the washer.
- If you find a cylindrical piece with multiple ports, that’s the cartridge.
Knowing this helps you buy the right replacement and get your tub leak-free faster and easier.
Remove Old Components
Once you’ve identified whether the washer or cartridge is causing the leak, you can start removing the old parts. Begin by loosening and unscrewing the faucet handle using a screwdriver or Allen wrench. Carefully pull the handle off to expose the valve stem or cartridge.
If you have a washer-type faucet, remove the packing nut with a wrench, then pull out the valve stem. Inspect the washer at the end of the stem—if it’s worn or cracked, it’s time to replace it. For cartridge faucets, grip the cartridge firmly and pull it straight out; some may require a clip to be removed first.
Check the cartridge for damage or mineral buildup. Removing these old components lets you prepare for installing new, leak-free parts.
Install New Replacement
How do you know when it’s time to install a new washer or cartridge? If your faucet keeps dripping despite tightening, or if water pressure feels off, it’s a clear sign.
Follow these steps to replace it:
- Inspect the old parts carefully for cracks, stiffness, or worn edges.
- Match the new washer or cartridge to your faucet model exactly.
- Install the replacement gently, ensuring it fits snugly without forcing.
- Test the faucet by turning the water back on and checking for leaks or drips.
Replacing a worn washer or cartridge stops annoying leaks and saves water. Take your time, and you’ll restore your tub faucet’s smooth, drip-free flow in no time.
Reassemble the Faucet and Test for Leaks
After carefully replacing all internal parts, you’ll want to put the faucet back together exactly as you took it apart. Start by aligning the handle and securing it with the screw. Then, replace any decorative caps or covers.
Tighten the retaining nuts and make certain all components fit snugly without forcing them. Once reassembled, turn the water supply back on slowly to avoid pressure surges. Watch closely for any drips or leaks at the base, around the handle, or from the spout.
If you notice any leaks, tighten connections gently or double-check the placement of washers and seals. Finally, run the faucet to confirm smooth operation and that the leak has stopped completely before finishing up.
Prevent Future Tub Faucet Leaks With Simple Tips
To keep your tub faucet from leaking again, you’ll want to adopt a few simple maintenance habits. Taking action now saves you from costly repairs and annoying drips later. Here’s what you can do:
- Regularly inspect your faucet for any signs of wear or moisture to catch issues early.
- Tighten loose parts gently to prevent leaks but avoid over-tightening, which can cause damage.
- Clean the aerator and valve seats to remove mineral buildup that might cause dripping.
- Replace worn washers and seals promptly before they fail completely.
Frequently Asked Questions
What Causes a Tub Faucet to Start Leaking Initially?
A tub faucet starts leaking because its washers or seals wear out over time. Mineral buildup, corrosion, or loose parts can also cause leaks.
You’ll want to inspect and replace damaged components to fix the issue.
Can a Leaky Tub Faucet Increase My Water Bill?
A leaky tub faucet is like a tiny money thief dripping away your cash. You’ll definitely see your water bill rise if you let it drip nonstop.
Fix it quickly to keep your wallet happy!
How Long Does a Typical Faucet Repair Take?
A typical faucet repair usually takes about 30 minutes to an hour. You’ll find it quick if you’re prepared with tools and replacement parts.
Complex issues might take longer, but most fixes are straightforward.
Are There Specific Brands Known for Leak-Resistant Faucets?
You’ll find brands like Moen and Delta lead with over 90% customer satisfaction for leak-resistant faucets. Choosing them means fewer drips, saving you money and hassle in the long run.
Don’t settle for less!
When Should I Consider Replacing the Entire Faucet Instead?
You should consider replacing the entire faucet if leaks persist after repairs, the faucet is old or corroded, parts are unavailable, or you want to upgrade for better efficiency and style.
Don’t wait too long!
Conclusion
Now that you’ve stopped that persistent drip, imagine the peaceful silence filling your bathroom instead of the constant plip-plop of a leaky faucet.
With your tools packed away and the faucet securely sealed, you’ve taken control, saving water and preventing future headaches.
Keep an eye on your tub faucet, and a little maintenance will keep it running smoothly. Regular care is key to avoiding leaks and ensuring your bathroom stays a calm, leak-free oasis you can truly relax in.