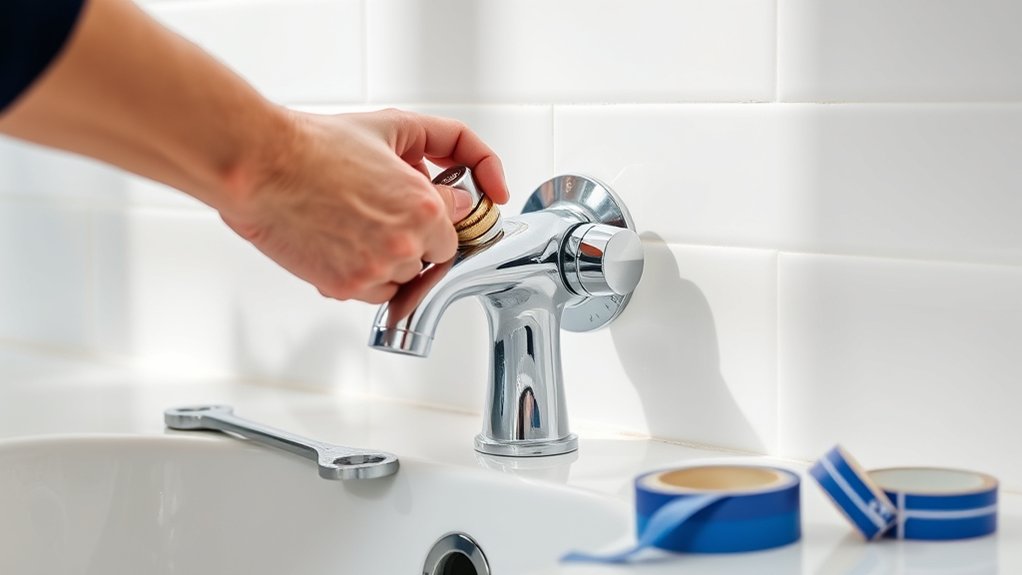
Shower Faucet Replacement in 10 Easy Steps
You can replace your shower faucet in 10 easy steps by first choosing the right shower faucet replacement and gathering essential tools like wrenches and screwdrivers.
Turning off your water supply is crucial before you start the removal process to avoid any water damage.
Carefully remove the old faucet, taking care not to damage the plumbing.
Next, prep the plumbing by cleaning and inspecting the pipes for any issues.
Install the new faucet using plumber’s tape to ensure all connections are sealed tightly.
Once installed, test the faucet for leaks and proper water pressure to confirm everything is working correctly.
If any problems arise, troubleshooting and maintenance tips will help keep your faucet functioning smoothly.
Keep going to uncover detailed guidance for each step of the shower faucet replacement process.
Key Takeaways
- Turn off the water supply and open the faucet to drain remaining water before starting the removal process.
- Remove the old faucet handles, escutcheon, and valve components carefully without damaging the plumbing.
- Prepare the plumbing by cleaning threads, inspecting pipes, and measuring spacing to fit the new faucet.
- Install the new shower faucet using plumber’s tape on threads and follow manufacturer instructions precisely.
- Test for leaks, check water pressure, and ensure all connections are secure before completing the installation.
Choosing the Right Replacement Shower Faucet
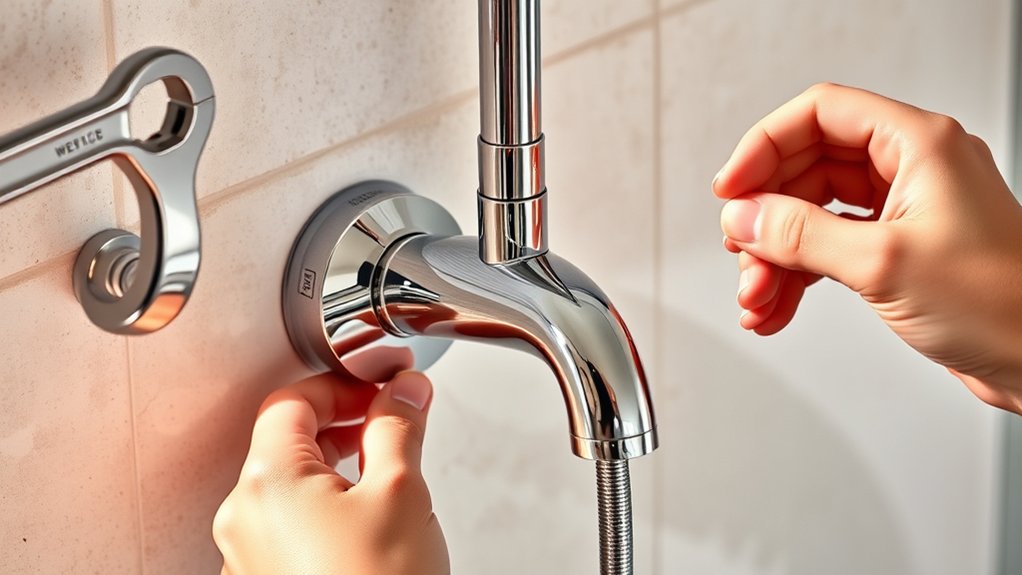
Before you replace your shower faucet, it’s important to choose one that fits both your plumbing system and style preferences. Start by identifying the type of valve your current faucet uses—whether it’s a compression, cartridge, ball, or ceramic disc valve. This guarantees compatibility and smooth installation.
Next, consider the water pressure requirements and the number of handles you prefer—single or double. Don’t forget about the finish and design; pick a style that complements your bathroom decor. Also, check if your new faucet includes features like a built-in diverter for the showerhead.
Tools Needed for Shower Faucet Replacement
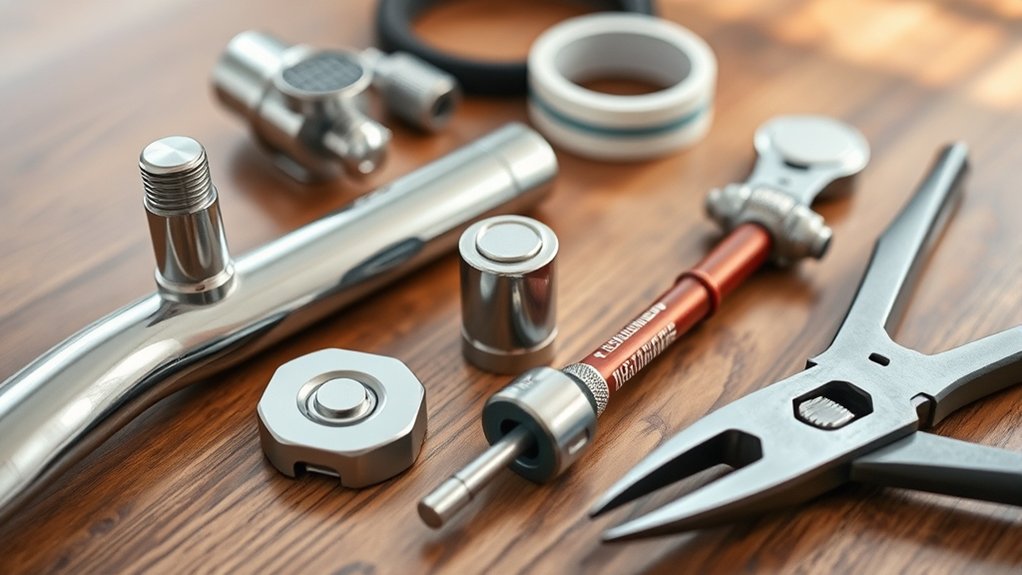
Once you’ve picked the perfect replacement shower faucet, gather the right tools to make the installation smooth and efficient. Having the proper tools on hand will save you time and prevent damage to your plumbing.
Choosing the right tools ensures a smooth, efficient faucet installation without risking plumbing damage.
Here are three essential tools you’ll need:
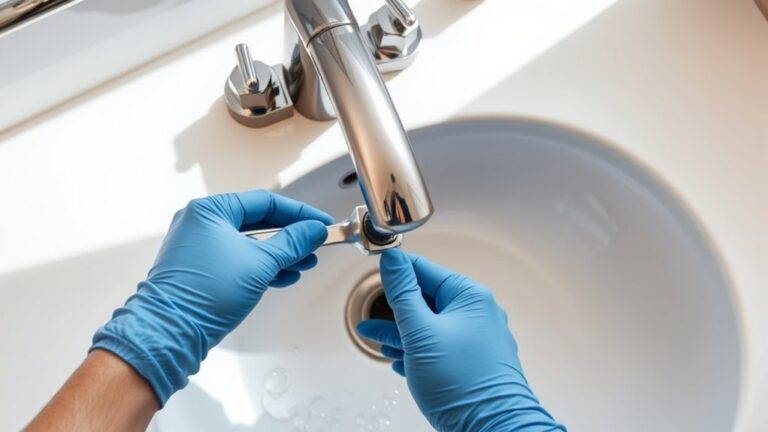
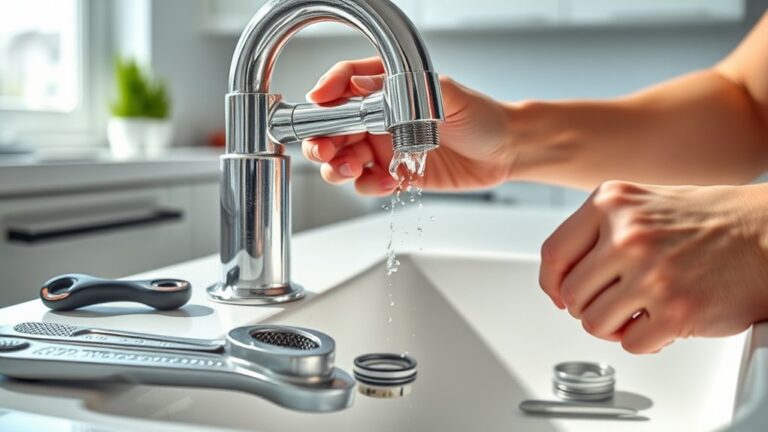
- Adjustable Wrench – Perfect for loosening and tightening nuts without stripping them.
- Screwdriver Set – Both flathead and Phillips screwdrivers help remove and install screws easily.
- Plumber’s Tape (Teflon Tape) – Ensures a watertight seal on threaded pipe joints, preventing leaks.
With these tools ready, you’ll be well-prepared to tackle the replacement confidently and avoid common pitfalls. Next, you’ll want to safely turn off the water supply before starting the actual installation.
Turning Off Shower Faucet Water Supply Safely
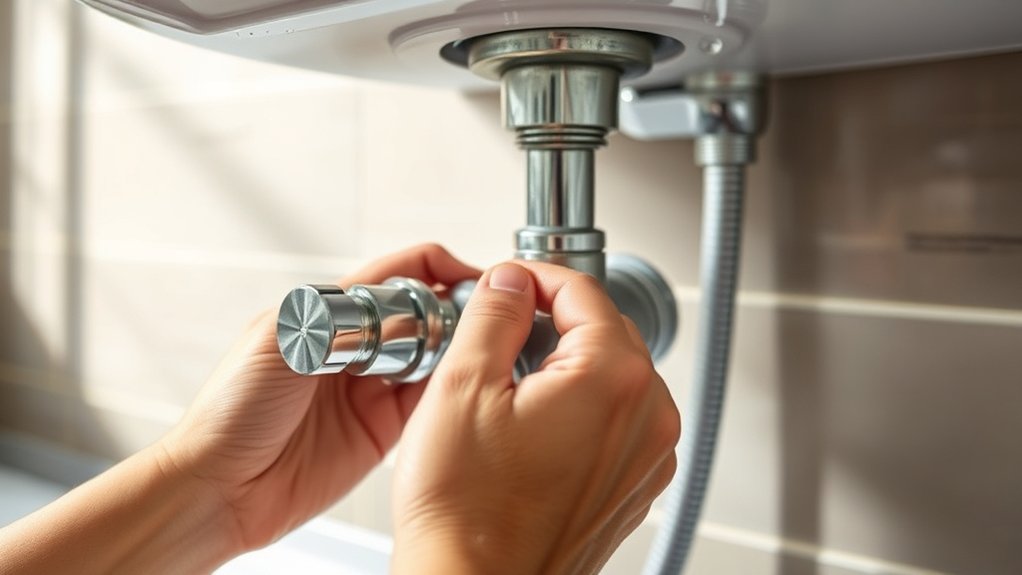
Although it might seem simple, turning off the water supply to your shower faucet correctly is essential to avoid leaks and water damage during replacement. First, locate your home’s main water shutoff valve, usually near the water meter or where the main line enters your house. Turn this valve clockwise to stop the water flow completely.
If your shower has a dedicated shutoff valve, use that instead to prevent disrupting water elsewhere. After closing the valve, open the shower faucet to drain any remaining water in the pipes. This step relieves pressure and prevents water from spilling when you disconnect the faucet.
Double-check that no water runs before proceeding. Taking these precautions ensures a safe, mess-free replacement process without unexpected surprises.
Removing the Old Shower Faucet Step-by-Step
When you’re ready to remove the old shower faucet, start by carefully loosening the handles and trim with the right tools to avoid damaging the wall or plumbing. Use a screwdriver or Allen wrench to remove the handle screws, then gently pull the handles off.
Next, unscrew the escutcheon plate or trim plate, which covers the valve and protects the wall. Finally, loosen and remove the valve stem or cartridge, which controls water flow.
Here’s a quick step-by-step guide:
- Remove the faucet handles by loosening screws.
- Unscrew and take off the escutcheon or trim plate.
- Extract the valve stem or cartridge carefully.
Following these steps ensures you safely remove the old faucet without causing damage.
Preparing Plumbing for New Shower Faucet Installation
Before installing your new shower faucet, you’ll need to prepare the plumbing to guarantee a secure and leak-free fit. Start by checking the water supply valves and shutting them off completely.
Next, clean the exposed pipes and remove any old plumber’s tape or debris. Inspect the pipe threads for damage and replace any worn parts. Measure the distance between the pipe outlets to ensure compatibility with your new faucet.
Finally, gather necessary tools and materials to streamline installation.
| Step | Action | Tip |
|---|---|---|
| 1 | Turn off water supply | Double-check valves are closed |
| 2 | Clean pipe threads | Use a wire brush for debris |
| 3 | Inspect for damage | Replace damaged fittings |
| 4 | Measure pipe spacing | Match measurements to faucet specs |
| 5 | Prepare tools/materials | Keep everything within reach |
Installing Your New Shower Faucet Correctly
Now that your plumbing is ready, focus on aligning the valve properly to guarantee smooth operation. Make certain each faucet connection is securely tightened to prevent leaks.
Taking these steps will help your new shower faucet work perfectly from the start.
Proper Valve Alignment
How do you guarantee your new shower faucet functions smoothly? Proper valve alignment is key. If the valve isn’t aligned correctly, your faucet might leak or not control water temperature well.
Here’s how to verify perfect alignment:
- Check Valve Position: Before tightening, make sure the valve stem lines up exactly with the faucet handle’s indicator marks.
- Use Level Tools: A small level helps you confirm the valve is perfectly horizontal or vertical, depending on your model.
- Test Movement: Rotate the valve stem gently to ensure it moves smoothly without resistance or binding before securing it fully.
Taking these steps ensures your faucet operates efficiently and prevents premature wear or water issues. Proper alignment sets a solid foundation before you move on.
Securing Faucet Connections
Where should you focus your attention to guarantee a leak-free shower faucet installation? Securing faucet connections is key. Start by applying plumber’s tape tightly around the threaded ends of all pipe fittings.
This prevents water from seeping through small gaps. Next, carefully thread the faucet onto the valve, making sure not to cross-thread. Use an adjustable wrench to tighten the connections firmly but avoid over-tightening, which can damage threads or crack fittings.
Check that all washers and O-rings are correctly seated to guarantee a proper seal. Once everything’s connected, turn the water supply back on slowly and inspect for leaks. If you spot any drips, tighten the connections slightly.
Taking these steps ensures your new shower faucet stays secure and leak-free.
Sealing and Securing Shower Faucet Connections
Before you tighten any connections, make sure you apply plumber’s tape or sealant to the threads to prevent leaks. This step is essential to creating a watertight seal and avoiding future drips. Wrap the plumber’s tape clockwise around the threads two to three times for best results.
Apply plumber’s tape clockwise around threads two to three times before tightening to ensure a watertight seal.
Then, carefully screw the connections together without cross-threading.
To seal and secure your shower faucet connections effectively:
- Use Teflon plumber’s tape or a pipe joint compound on all threaded fittings.
- Hand-tighten connections first, then use a wrench for a snug fit—don’t over-tighten.
- Check that all washers or O-rings are properly seated to guarantee a tight seal.
Following these steps will help you avoid leaks and ensure your new faucet stays secure.
Testing Your New Shower Faucet for Leaks
Now that your new shower faucet is installed, it’s vital to inspect all connection points carefully for any signs of leaks. Turn on the water and monitor the water pressure to guarantee everything flows smoothly without drips or drops.
Catching leaks early will save you from bigger problems down the line.
Inspecting Connection Points
Although you’ve carefully installed your new shower faucet, you can’t be sure it’s leak-free until you inspect all the connection points. This step is essential to avoid water damage and verify your installation is solid.
Here’s how to effectively check each connection:
- Visual Inspection: Look closely at all joints and fittings for any signs of moisture or corrosion.
- Feel for Dampness: Run your fingers around the connections to detect even small leaks you might not see.
- Use a Dry Tissue: Wipe around each connection; if the tissue picks up water, you’ve found a leak.
Monitoring Water Pressure
Once you’ve confirmed all connections are secure, you’ll want to monitor the water pressure to verify your new shower faucet operates smoothly without leaks. Turn the water supply back on slowly, watching for any drips around joints and handles.
Pay attention to how the water flows—pressure that’s too high can damage the faucet or cause leaks, while too low pressure may reduce your shower’s effectiveness. Use a pressure gauge if you have one to confirm the pressure stays within the recommended range, usually between 40 and 60 psi.
Run the water for several minutes, checking for steady flow and no unexpected drops. If you notice leaks or fluctuations, tighten fittings or consult a professional before finishing the installation.
Troubleshooting Common Shower Faucet Issues
When your shower faucet starts acting up, it’s usually a sign that something inside needs attention. Before replacing it, try troubleshooting these common issues:
- Leaking Faucet: Check if worn-out washers or O-rings cause dripping. Replacing these small parts often stops leaks without a full faucet swap.
- Low Water Pressure: Mineral buildup in the aerator or cartridge can restrict flow. Cleaning or replacing these parts restores proper pressure.
- Temperature Fluctuations: A faulty mixing valve might be the culprit. Inspect and replace it if water suddenly turns hot or cold.
Addressing these problems early can save you time and money, ensuring your shower works smoothly until it’s time for a full replacement.
Tips for Maintaining Your Shower Faucet Longer
To keep your shower faucet working smoothly and extend its lifespan, you need to perform regular maintenance tasks. Start by cleaning the faucet and showerhead to prevent mineral buildup, which can clog water flow and damage internal parts. Check for leaks periodically and tighten any loose connections to avoid water waste and corrosion.
Replace worn-out washers or cartridges promptly to maintain proper water pressure and temperature control. Avoid using harsh chemicals or abrasive tools that can damage the finish. Finally, consider installing a water softener if you have hard water, as it reduces scale buildup inside your faucet.
Frequently Asked Questions
How Do I Choose Between a Single-Handle and Dual-Handle Shower Faucet?
You’ll want to choose a single-handle faucet for easy temperature control with one motion, while dual-handle faucets give you precise hot and cold adjustments.
Consider your style preference and how much control you want before deciding.
Can I Replace a Shower Faucet Without Removing the Wall Tiles?
When Sarah replaced her shower faucet, she didn’t remove tiles by using a replacement valve fitting designed for existing plumbing.
You can do the same, avoiding tile removal if your plumbing matches compatible retrofit options.
What Is the Average Cost of a Shower Faucet Replacement?
You’ll typically spend between $150 and $450 for a shower faucet replacement, depending on the faucet type and labor costs. High-end models or complex jobs might push the price higher, but simple replacements stay affordable.
How Long Does a Typical Shower Faucet Replacement Take?
You’ll finish a typical shower faucet replacement in about one to two hours. It’s like swapping out puzzle pieces—once you know where everything fits, the job flows smoothly and quickly without much hassle.
Are There Eco-Friendly Shower Faucets That Conserve Water?
Yes, you can find eco-friendly shower faucets that conserve water by using low-flow or aerated models. They help you save water without sacrificing pressure, cutting your utility bills and reducing your environmental impact effortlessly.
Conclusion
Replacing your shower faucet can seem challenging, but by choosing carefully, prepping properly, and sealing securely, you’ll sail smoothly through the setup. Testing thoroughly tackles troubles before they turn tricky. Trust these tips to transform your task into a triumphant triumph.
With a little care and consistent maintenance, your new faucet will flow flawlessly for years. So, start swapping, stay savvy, and soak in the satisfaction of a successful shower upgrade!
Remember, proper installation and regular upkeep are key to ensuring your shower faucet replacement lasts long and performs well. Embrace these steps for a hassle-free experience and enjoy the benefits of a refreshed bathroom fixture today.