How to Fix Vacuum Brush Not Spinning in 7 Simple Steps
To fix your vacuum brush not spinning, start by unplugging the vacuum and clearing any tangled hair or debris from the brush and its housing. This common issue often causes the brush to stop rotating properly.
Next, inspect the brush belt for signs of wear or slack, and replace it if necessary to restore proper function.
After that, check the power cord and switch for any damage that might interrupt power to the brush motor. Then, examine the motor itself and lubricate the bearings if needed to ensure smooth operation.
Finally, reassemble your vacuum and test the brush’s spinning.
By following these simple steps, you can quickly restore your vacuum’s performance and keep it running efficiently.
Key Takeaways
- Turn off and unplug the vacuum, then remove and clean the brush roll from hair, threads, and debris.
- Inspect and replace the belt if it is cracked, loose, or worn out to ensure proper brush rotation.
- Check the brush cover and housing for clogs, wiping them clean and reassembling securely.
- Test the vacuum’s power switch and motor functionality to rule out electrical or mechanical issues.
- Reassemble the vacuum, plug it in, and verify the brush spins smoothly with no unusual noises during operation.
Check for Tangled Hair and Debris on the Vacuum Brush

Before diving into complex repairs, check the vacuum brush for tangled hair and debris. Turn off and unplug your vacuum first for safety. Flip it over to locate the brush roll.
Use scissors or a seam ripper to carefully cut away any hair, threads, or fibers wrapped tightly around the brush. Remove leaves, dust clumps, and other debris that might be stuck between the bristles or in the ends. Make sure the brush spins freely by manually rotating it after cleaning.
If you notice stubborn buildup, use a damp cloth to wipe the brush and housing gently. Regularly clearing these blockages not only improves performance but also prevents strain on the motor and parts. This simple step often resolves brush spinning issues quickly without needing further fixes.
Inspect or Replace the Brush Belt
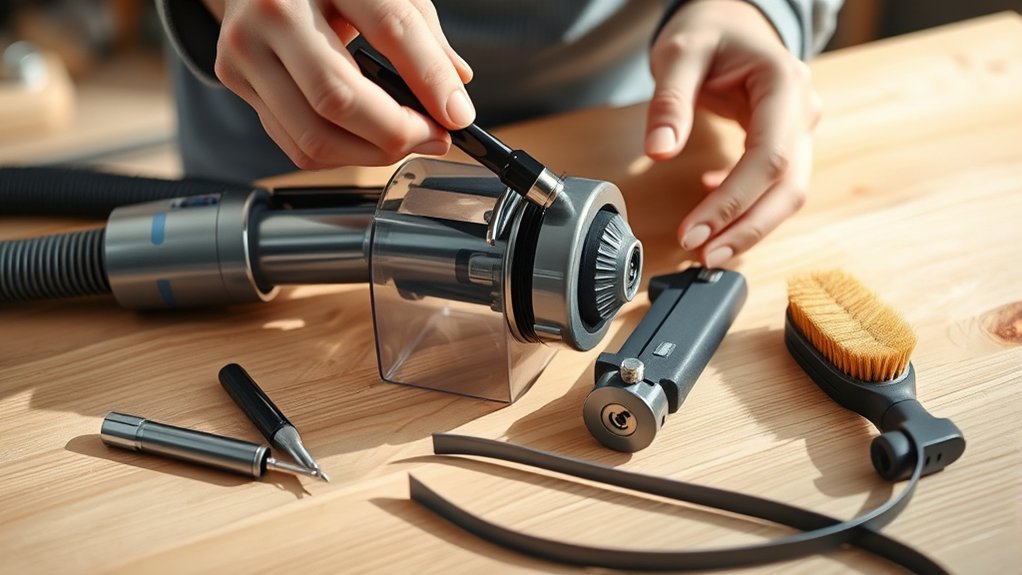
Next, check the brush belt for signs of wear like cracks or stretching. You’ll need to remove the belt carefully to inspect it fully and compare it to replacement options.
Make sure you pick the right size and type when choosing a new belt to keep your vacuum running smoothly.
Identifying Belt Wear
How can you tell if the brush belt needs replacing? First, look for obvious signs like cracks, fraying, or stretching. A worn belt may appear glossy or glazed from slipping.
If the belt feels loose or slack when you press it, it’s a clear indicator it’s time for a new one. Also, if the brush roller doesn’t spin properly or stops spinning altogether, the belt is likely worn out. Sometimes, the belt may snap or break, which makes the brush stop working instantly.
Keep in mind, a belt that’s too tight can cause damage, but usually, looseness signals wear. Regularly inspecting the belt helps you catch these issues early, keeping your vacuum running smoothly and efficiently.
Removing The Brush Belt
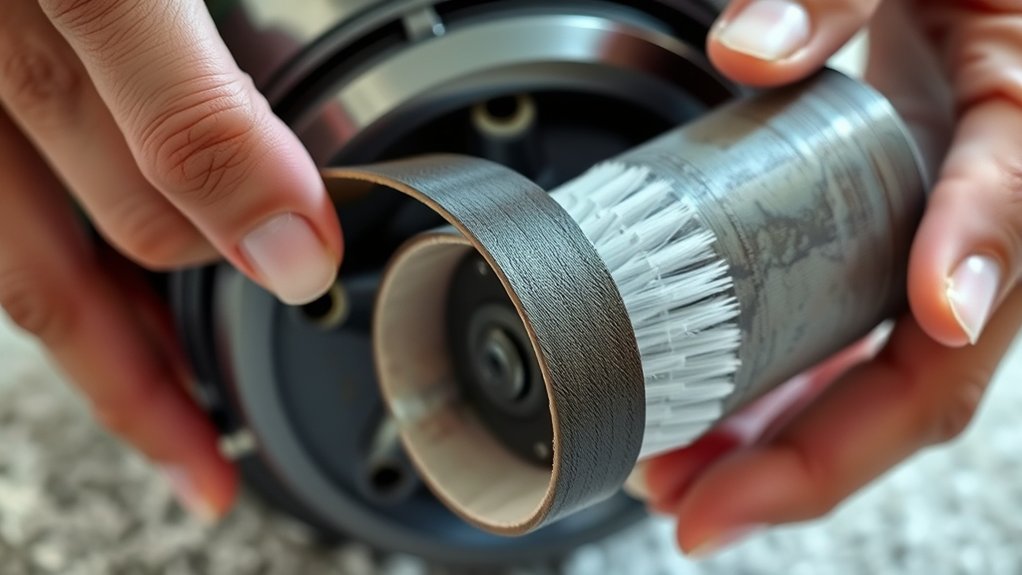
When you notice signs of wear or damage on the brush belt, you’ll need to remove it to inspect or replace it properly. First, unplug your vacuum to ensure safety. Flip it over and locate the brush roll cover, usually secured with screws or clips.
Remove the cover carefully and slide out the brush roll. Next, find the belt wrapped around the brush roll and motor shaft. Gently slide the belt off the brush roll, being cautious not to snap it.
If it’s stuck, twist the brush roll slightly to ease the belt off. Inspect the belt for cracks, fraying, or stretching. If it’s damaged, you’ll want to replace it, but if it looks good, you can reinstall it by reversing these steps.
Choosing Replacement Belts
After removing the brush belt, you’ll need to decide whether to replace it or keep the existing one. Inspect the belt closely for signs of wear like cracks, stretching, or fraying. If it looks damaged or loose, it won’t grip the brush roller properly, so you should replace it.
When choosing a replacement, make sure to get the exact size and type specified by your vacuum’s manufacturer. Using the wrong belt can cause poor performance or damage. You can usually find the correct belt by checking your vacuum model number online or in the user manual.
Once you have the right replacement, install it carefully, ensuring it fits snugly around the motor shaft and brush roller without twisting or slack. This will help your brush spin smoothly again.
Clean the Vacuum Brush Housing and Remove Blockages
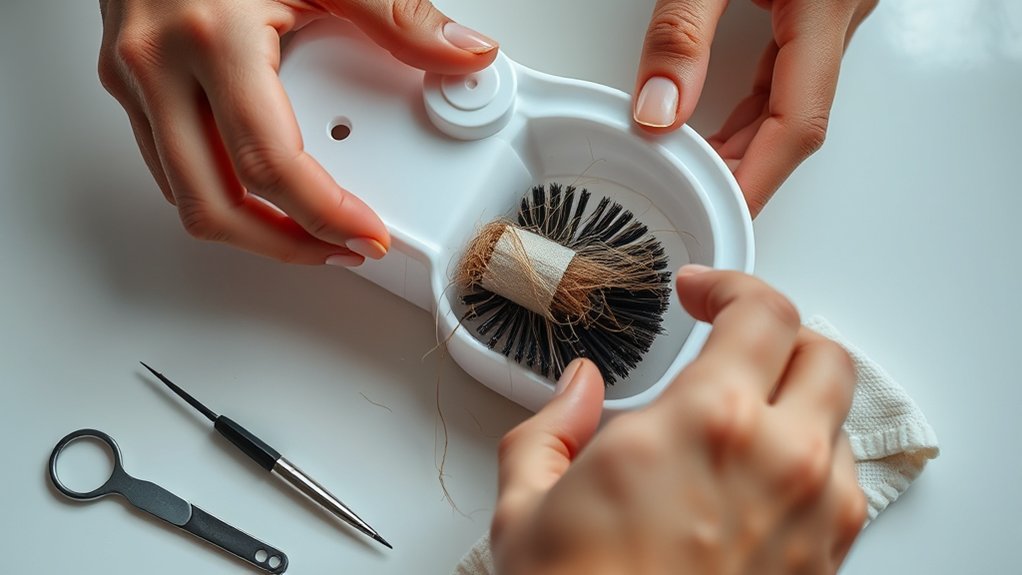
Since debris and hair can easily get tangled inside the vacuum brush housing, you’ll want to start by unplugging the vacuum and removing the brush roll. Carefully inspect the housing for any clogs or blockages. Use a flashlight if needed to spot hidden debris.
Grab a pair of scissors or tweezers to cut away and pull out hair, threads, and dirt wrapped around the brush or stuck in the housing. Don’t forget to check the ends and corners where buildup often occurs. Once clear, wipe the housing with a damp cloth to remove dust and grime.
Ensuring the brush housing is clean will help the brush roll spin freely and improve your vacuum’s performance. Reassemble everything securely before testing the brush again.
Check Vacuum Power Cord and Switch
First, check the power cord for any visible damage like cuts or frays. Then, test the vacuum’s on/off switch to make sure it’s working properly.
These simple steps can help you identify if the problem lies with the power supply.
Inspect Power Cord Damage
When your vacuum brush stops spinning, you should closely examine the power cord for any visible damage like cuts, frays, or exposed wires. Damaged cords can interrupt electrical flow, causing the brush to stop. Carefully run your fingers along the cord to feel for weak spots or breaks.
Also, inspect the cord near the plug and where it enters the vacuum body, as these areas are prone to wear.
| Inspection Area | What to Look For | Action If Damaged |
|---|---|---|
| Entire Length | Cuts, frays, exposed wire | Replace or repair cord |
| Near Plug | Bent prongs, loose wire | Tighten or replace plug |
| Entry Point to Vacuum | Cracks, bends, wear | Secure or replace cord |
| Cord Flex Points | Weak spots, stiffness | Avoid bending, replace |
| Insulation | Cracks, peeling | Insulate or replace cord |
Test Vacuum On/Off Switch
After checking the power cord for damage, the next step is to test the vacuum’s on/off switch. First, plug the vacuum into a working outlet. Flip the switch on and off a few times to see if the vacuum powers on consistently.
If it doesn’t turn on, the switch could be faulty. To confirm, unplug the vacuum and use a multimeter to test the switch’s continuity. Set the multimeter to the continuity setting, then place the probes on the switch terminals.
When you toggle the switch, the multimeter should beep or show zero resistance, indicating a good switch. If it doesn’t, replace the switch. Verifying the switch ensures your vacuum has proper power flow and can help fix the brush spinning issue.
Check the Vacuum Brush Motor for Issues
Although the vacuum brush motor might seem complex, you can diagnose common problems with a few simple steps. First, unplug your vacuum and remove the brush cover to access the motor. Look for any visible signs of damage, like burnt wires or a broken belt.
Next, check if the motor shaft spins freely by gently turning it with your finger. If it’s stuck or hard to turn, the motor may be faulty. Use a multimeter to test the motor’s continuity; no reading usually indicates a burned-out motor.
Also, inspect the motor brushes if accessible—they shouldn’t be excessively worn down. If you find any issues, replacing the motor or its components might be necessary to get your vacuum brush spinning again.
Lubricate the Vacuum Brush Bearings If Needed
If the motor and its components check out fine but the brush still won’t spin smoothly, the vacuum brush bearings might need lubrication. Bearings reduce friction between the rotating brush and its housing, so when they dry out, the brush struggles to turn.
Start by removing debris around the bearings, then apply a few drops of light machine oil or silicone lubricant. Avoid heavy grease, as it can attract dirt. Spin the brush manually to distribute the lubricant evenly.
| Step | Action | Tip |
|---|---|---|
| 1. Clean | Remove dirt from bearings | Use a soft brush or cloth |
| 2. Lubricate | Apply oil sparingly | Use light machine oil |
| 3. Rotate Brush | Turn brush to spread lubricant | Ensures smooth operation |
Reassemble and Test the Vacuum Brush Spin
Once you’ve lubricated the bearings and made sure all parts are clean, you can start reassembling the vacuum brush. Begin by placing the brush roll back into its housing, making certain it fits securely on both ends. Reattach any belts, making sure they’re aligned and tensioned properly to avoid slipping.
Secure the brush cover or plate with screws or clips as originally installed. Before closing everything up completely, plug in the vacuum and turn it on briefly to check if the brush spins correctly. If it doesn’t, double-check the belt alignment and connections.
Once confirmed, fully reassemble the vacuum and test it on the floor to ensure the brush spins smoothly during operation. This final step verifies your repair is successful.
Frequently Asked Questions
Can Using the Wrong Vacuum Attachments Affect Brush Spinning?
Yes, using the wrong vacuum attachments can stop your brush from spinning properly. They might block airflow or interfere with the brush mechanism, so always use the correct attachments designed for your vacuum to keep it working smoothly.
How Often Should I Replace the Vacuum Brush Belt?
You should replace your vacuum brush belt every 6 to 12 months, or sooner if you notice it’s stretched, cracked, or slipping.
Regular checks help keep your vacuum running efficiently and your floors clean.
Does Carpet Type Impact the Brush Spinning Efficiency?
You know what they say, “Don’t judge a book by its cover.” Yes, carpet type affects brush spinning efficiency because thicker or high-pile carpets can slow the brush down, making it harder for your vacuum to clean properly.
Can Low Battery Power Cause the Brush to Stop Spinning?
Yes, low battery power can cause the brush to stop spinning. When your vacuum’s battery runs low, it may not provide enough power for the motor to operate properly, so make sure you charge it fully before use.
Are There Vacuum Brands Known for Brush Spinning Issues?
Yes, some vacuum brands, especially lower-cost models, are known for brush spinning issues due to design or motor quality. You’ll want to check reviews and consider brands with reliable brush roll performance before buying.
These problems are often linked to the quality of the motor or the design of the brush mechanism. Paying attention to user feedback can help avoid models prone to these issues. Choosing reputable brands usually ensures better brush spinning reliability.
Conclusion
Fixing your vacuum brush is like untangling a stubborn garden vine—once you gently clear away the knots and nurture its parts, it springs back to life, ready to sweep through your home with renewed energy.
By following these simple steps, you’ll transform your vacuum from a silent bystander into a powerful helper, spinning freely like a well-oiled wheel.
Just a little care, and your brush will dance again, making cleaning effortless. Remember, knowing how to fix vacuum brush not spinning issues can save you time and extend the life of your vacuum cleaner.