How Do You Repair a Leaking Shower Faucet in 10 Easy Steps?
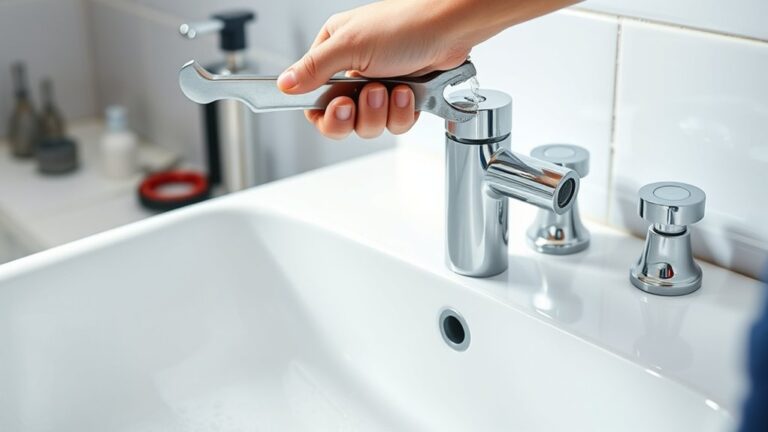
To repair a leaking shower faucet in 10 easy steps, start by gathering the necessary tools and shutting off the water supply to prevent any mess.
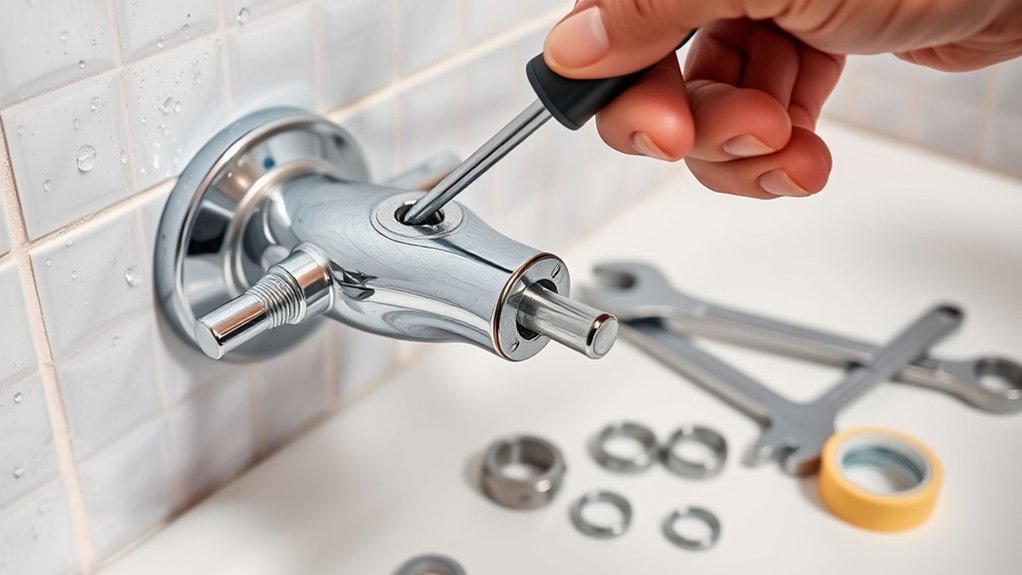
Fixing a leaking shower faucet involves carefully removing the faucet handle to access the internal parts. This process helps you identify worn washers, O-rings, or cartridges that are often the cause of leaks.
Next, clean or replace these components as needed to restore proper function. Applying plumber’s grease to O-rings ensures a tight, effective seal.
After that, reassemble the handle securely to avoid future drips.
Finally, turn the water back on and test for leaks. If the problem persists, you can refer to helpful troubleshooting and maintenance tips ahead to ensure your shower faucet works perfectly.
Key Takeaways
- Turn off the main water supply and drain residual water by opening the shower faucet.
- Remove the faucet handle by unscrewing hidden screws and gently pulling it off.
- Inspect internal parts for worn washers, O-rings, or cartridge damage causing leaks.
- Replace or clean damaged components, lubricate O-rings with plumber’s grease before reinstalling.
- Reassemble the handle securely, turn water back on slowly, and check for leaks.
Gather Tools and Materials
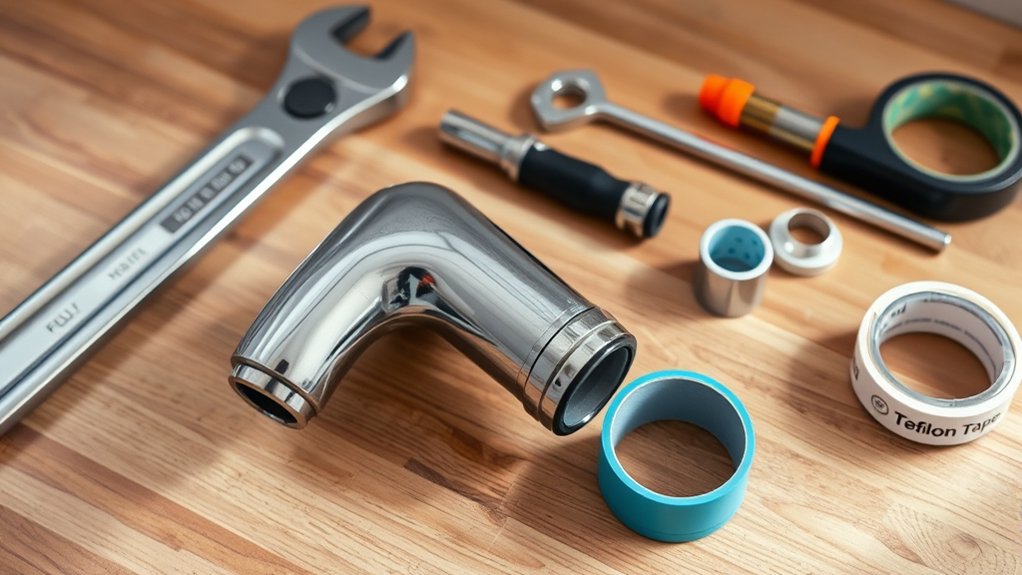
Before you begin repairing your leaking shower faucet, make sure you gather all the necessary tools and materials. You’ll need a flathead and Phillips screwdriver to remove the faucet handle and any trim. Have an adjustable wrench or a basin wrench handy for loosening nuts and fittings.
A pair of needle-nose pliers will help you grip small parts. Don’t forget plumber’s tape to seal threaded connections and prevent future leaks. It’s also a good idea to have replacement parts ready, like new washers, O-rings, or cartridge kits specific to your faucet model.
Keep a clean cloth or rag nearby to wipe up any water spills. Gathering everything beforehand helps you work efficiently without interruptions.
Turn Off the Shower Water Supply
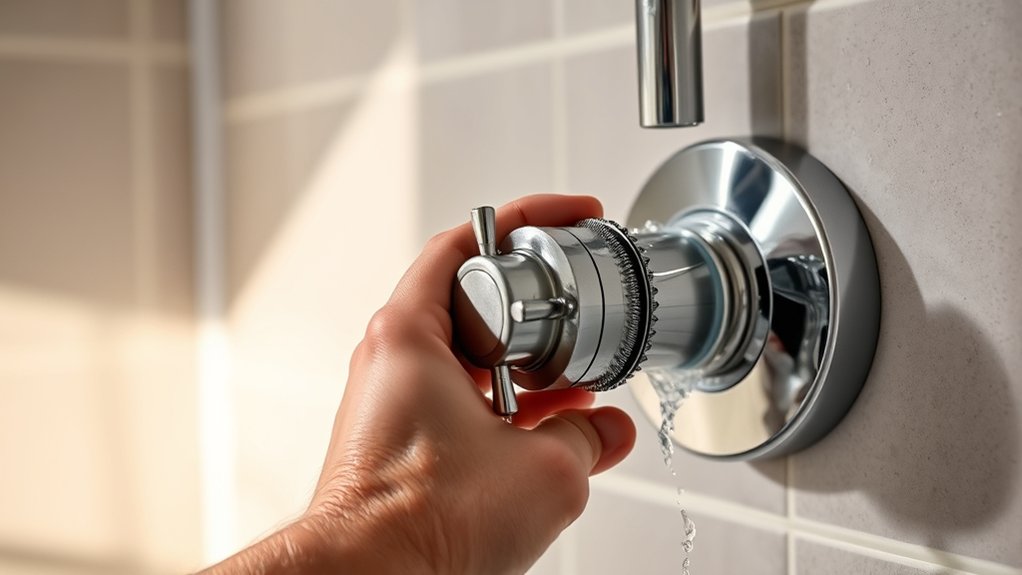
First, locate the main water valve and turn it off to stop the water supply to your shower. Next, check the faucet to make sure the water is completely off.
Finally, open the shower faucet to drain any remaining water before starting your repair.
Locate Main Water Valve
Although it might seem simple, locating and turning off the main water valve is a crucial step that prevents water from flowing while you work on your shower faucet. Start by checking near your water meter, often found in a basement, crawl space, or outside near the street. The valve typically looks like a round wheel or a lever handle.
If you have a lever, turn it perpendicular to the pipe to shut off the water. With a round valve, turn it clockwise until it stops. In some homes, you might find separate shut-off valves for the shower or bathroom; if so, use those instead.
Knowing exactly where this valve is will save you time and avoid potential flooding during your repair.
Verify Water Is Off
After shutting off the main water valve, you’ll want to make sure no water is still flowing to your shower. This step is crucial to avoid surprises while you work. Here’s how to verify the water is off:
- Turn on the shower handle and check if any water comes out. If it does, the valve might not be fully closed.
- Listen closely near the faucet for dripping sounds. Silence means the water is stopped.
- Inspect the pipes under the sink or near the shower for any moisture or leaks indicating water is still present.
Completing these checks ensures your work area is dry and safe, preventing water damage and making the repair process smoother.
Drain Remaining Water
How do you get rid of the water still trapped inside your shower pipes? After turning off the main water supply, open the shower faucet to let the remaining water drain out. This step prevents water from spilling when you start repairs.
Here’s a quick guide to draining water effectively:
| Step Number | Action | Tip |
|---|---|---|
| 1 | Turn off water supply | Shut the main valve |
| 2 | Open shower faucet | Release trapped water |
| 3 | Wait a few minutes | Ensure pipes are empty |
Remove the Shower Faucet Handle
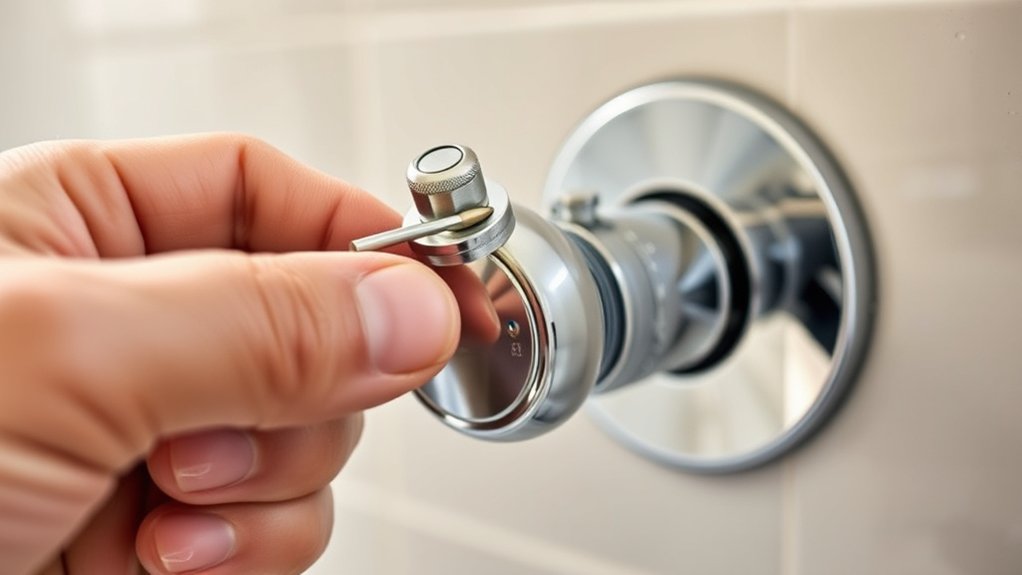
Before you can fix the leak, you’ll need to remove the shower faucet handle carefully. Start by turning off the water supply to avoid any unexpected sprays.
Then, follow these steps to get the handle off smoothly:
- Locate the screws holding the handle in place. They’re often hidden under a decorative cap or on the side.
- Use a screwdriver to remove the screws. Keep them safe so you can reuse them later.
- Gently pull the handle straight out. If it’s stuck, wiggle it slightly or use a handle puller tool to avoid damage.
Once the handle is off, you’ll have clear access to the internal parts, ready for the next step in your repair process.
Inspect Faucet Parts to Find the Leak
Now that the handle is off, take a close look at the faucet parts for common leak sources like worn-out washers or damaged O-rings. Grab a flashlight and a wrench to help you inspect hard-to-see areas and tighten any loose components.
Finding the exact spot of the leak will make your repair much easier.
Common Leak Sources
Although a leaking shower faucet might seem like a minor annoyance, identifying the exact source is essential for a proper fix. You’ll want to carefully examine these common leak sources to pinpoint where the water escapes:
- Valve Cartridge: Worn or damaged cartridges often cause leaks behind the handle. Check for cracks or mineral buildup that prevent a tight seal.
- O-Rings and Washers: These small components can deteriorate over time, allowing water to drip from the spout or handle base.
- Spout Connection: A loose or corroded spout can let water leak out, especially when the faucet is off.
Tools for Inspection
Identifying where your shower faucet leaks means you’ll need the right tools to inspect its parts thoroughly. Start with a flashlight to clearly see inside tight spaces and detect any water drips or corrosion. A screwdriver set, including flathead and Phillips, is essential for removing faucet handles and access panels.
Have an adjustable wrench handy to loosen nuts and bolts without damaging them. Needle-nose pliers help you grip small components like washers and clips. Don’t forget a clean cloth or rag to wipe away water and residue, making leaks easier to spot.
A magnifying glass can also be useful for inspecting tiny cracks or worn seals. With these tools, you’ll confidently identify the exact source of your faucet leak and prepare for an effective repair.
How to Clean or Replace the Faucet Cartridge
Removing the faucet cartridge requires a few simple tools and some patience. First, shut off the water supply to avoid any spills. Then, follow these steps:
- Remove the handle by unscrewing the set screw, usually hidden under a decorative cap.
- Use pliers or a cartridge puller to gently pull out the cartridge from the valve body.
- Inspect the cartridge for mineral buildup or damage. Soak it in vinegar to clean off deposits, or replace it if it’s cracked or worn.
Once cleaned or replaced, carefully reinsert the cartridge, secure the handle, and turn the water back on. Test the faucet to ensure the leak is fixed and everything operates smoothly.
This process will often stop leaks caused by a faulty cartridge without needing further repairs.
Inspect and Replace Worn Washers and O-Rings
Now that you’ve handled the cartridge, check the washers for cracks or flattening, since worn washers often cause leaks. Carefully remove the old O-rings and replace them with exact matches to guarantee a tight seal.
Taking these steps will help stop drips and keep your shower running smoothly.
Identifying Worn Washers
Although a leaking shower faucet can have several causes, worn washers and O-rings are among the most common culprits. To identify worn washers, start by turning off the water supply and removing the faucet handle. Then, carefully take out the stem to expose the washer.
Look for these signs that indicate wear:
- Cracks or tears – a damaged washer won’t seal properly, causing leaks.
- Flattened or compressed shape – washers lose their elasticity over time, reducing their effectiveness.
- Mineral buildup or corrosion – deposits can prevent a tight seal and wear down the washer material.
If you notice any of these issues, replacing the washer is essential to stop the leak and restore your faucet’s function.
Replacing O-Rings Properly
Before you reinstall the faucet stem, carefully inspect the O-rings for any signs of wear or damage, as these small components play a crucial role in preventing leaks. Look for cracks, flattening, or brittleness. If you find worn O-rings, remove them gently using a pick or small screwdriver to avoid scratching the stem.
Choose replacement O-rings that match the original size and material to guarantee a proper seal. Lightly coat the new O-rings with plumber’s grease before sliding them onto the stem; this helps them seat properly and extends their lifespan. Once replaced, reassemble the faucet stem and test for leaks.
Taking these steps will help you fix the leak efficiently and prevent future water damage.
Reassemble the Faucet Handle Correctly
Once you’ve replaced the necessary parts and verified the faucet components are clean, you can start reassembling the handle. First, align the handle correctly on the faucet stem, guaranteeing it fits snugly without forcing it into place.
Second, secure the handle by tightening the screw or set screw that holds it in position; use a screwdriver or Allen wrench depending on your model. Finally, replace any decorative caps or covers that hide the screws to restore the faucet’s sleek appearance.
Make sure everything feels secure but avoid overtightening to prevent damage. Taking these steps carefully will ensure the handle operates smoothly and is ready for the next phase of your repair process.
Turn On Water and Test for Leaks
After you’ve reassembled the faucet handle securely, it’s time to turn the water back on and check for leaks. Start by slowly opening the main water supply valve to restore pressure to the shower. Next, turn the faucet handle to let water flow through the system.
Watch carefully around the handle, spout, and base for any signs of dripping or moisture. If you notice water pooling or dripping, dry the area and observe again to confirm. Also, listen for any unusual sounds that might indicate a loose part.
Testing now guarantees you catch leaks early before finishing up. If everything looks dry and functions smoothly, you’ve successfully repaired the faucet. Otherwise, you may need to revisit previous steps to tighten or replace faulty components.
Troubleshoot Persistent Leaks
If your shower faucet still leaks despite your initial repairs, it’s time to dig deeper and identify the root cause. Persistent leaks often signal underlying issues that simple fixes don’t address.
Here’s how to troubleshoot effectively:
- Inspect the cartridge or valve: A damaged or worn cartridge can cause continuous leaks. Remove and examine it for cracks or build-up that might prevent a proper seal.
- Check the washers and O-rings: These small parts wear out over time. Replace any that look brittle, cracked, or flattened to restore a tight seal.
- Examine the plumbing connections: Loose or corroded fittings behind the wall can cause leaks. Tighten connections and replace damaged pipes if necessary.
Maintain Your Shower Faucet to Prevent Future Leaks
Though repairing leaks is essential, maintaining your shower faucet regularly helps you avoid costly and frustrating problems down the line. You can extend its life and keep water flowing smoothly by following a few simple steps.
Regularly inspect parts for wear, clean mineral buildup, and tighten loose screws. Lubricate moving components to prevent stiffness. Here’s a maintenance checklist to keep handy:
| Task | Frequency |
|---|---|
| Inspect for leaks | Monthly |
| Clean aerator | Every 3 months |
| Tighten screws | Every 6 months |
| Lubricate parts | Annually |
| Replace washers | As needed |
Frequently Asked Questions
Can a Leaking Shower Faucet Cause Water Damage to My Home?
Yes, a leaking shower faucet can cause water damage to your home. It can lead to mold, mildew, and structural issues if left untreated. You should fix leaks promptly to protect your walls and floors.
How Much Does It Typically Cost to Hire a Plumber for This Repair?
You’ll typically pay between $150 and $350 to hire a plumber for this repair, depending on your location and the faucet’s complexity.
Getting multiple quotes helps you find a fair price without overpaying.
Are There Eco-Friendly Faucet Cartridges Available for Replacements?
Yes, you’ll find eco-friendly faucet cartridges designed to reduce water waste and improve efficiency. They’re available online and at hardware stores, so you can easily replace your old cartridge with a greener, water-saving option.
Can Hard Water Cause My Shower Faucet to Leak?
Yes, hard water can sneakily cause your shower faucet to leak. It leaves mineral deposits that wear down seals and cartridges. You’ll want to check for buildup and clean or replace parts to stop the drip.
How Often Should I Inspect My Shower Faucet for Leaks?
You should inspect your shower faucet for leaks at least every three months. Regular checks help you catch issues early, saving water and preventing damage.
If you notice hard water buildup, check more frequently to avoid leaks.
Conclusion
You’ve just tackled your shower faucet leak like a pro—well, almost. If water’s still escaping like it’s auditioning for Niagara Falls, maybe it’s time to accept your new indoor waterfall or call a plumber before your bathroom turns into a swimming pool.
But hey, with these steps, you’ve earned bragging rights and possibly a new appreciation for dry floors. Remember, maintenance isn’t just for cars—it’s for your sanity, too!
By following these simple shower faucet repair tips, you can keep your bathroom leak-free and avoid costly water damage. Regular shower faucet maintenance helps ensure a smooth, drip-free experience every time you step in. So, embrace these easy repairs and enjoy the benefits of a properly functioning shower faucet!