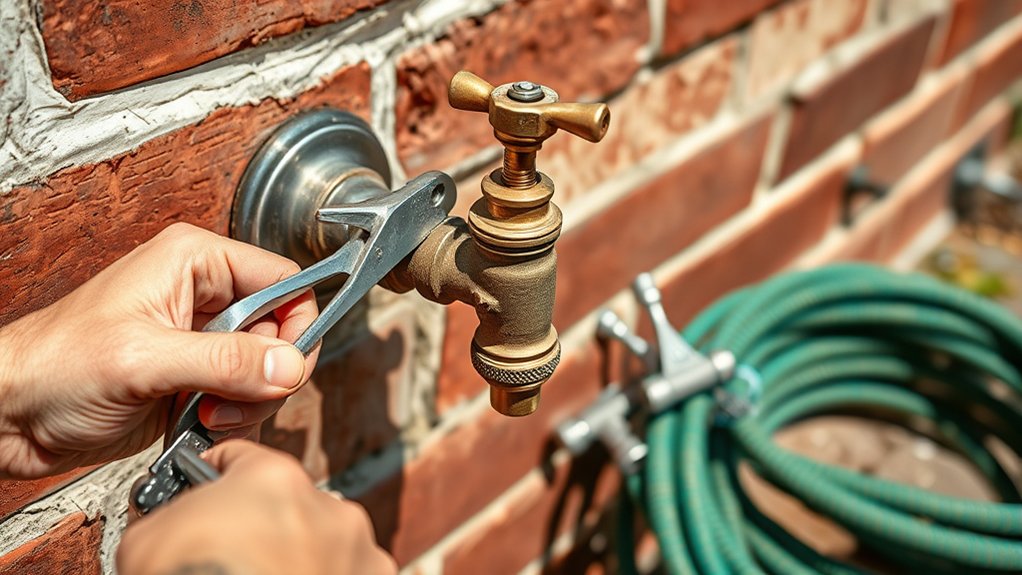
Replace Outside Water Faucet in 7 Easy Steps
To replace your outside water faucet in seven easy steps, start by turning off your home’s main water supply to prevent any water flow during the process. Properly draining the faucet is essential to avoid leaks and water damage. Clearing the work area ensures safety and easy access.
Next, select a replacement faucet that matches your existing pipe type and size for a seamless fit. Use a wrench to carefully remove the old faucet, applying penetrating oil if it’s stuck or corroded.
Before installing the new faucet, wrap its threads with plumber’s tape to create a watertight seal. Secure the new faucet tightly, then slowly restore water flow and check for any leaks.
Following these steps will help you efficiently replace your outside water faucet while preventing future issues. Keep reading for maintenance tips to extend the life of your faucet.
Key Takeaways
- Turn off the main water supply and open the outdoor faucet to drain remaining water and relieve pressure.
- Select a replacement faucet matching pipe size, connection type, and material suitable for your climate.
- Use a wrench to loosen and remove the old faucet, applying penetrating oil if it’s stuck or rusted.
- Wrap plumber’s tape on new faucet threads, apply sealant, then screw and tighten it without overtightening.
- Turn water back on, check for leaks at joints, and ensure proper faucet operation before finishing.
Turn Off Your Home’s Water Supply for the Outside Faucet
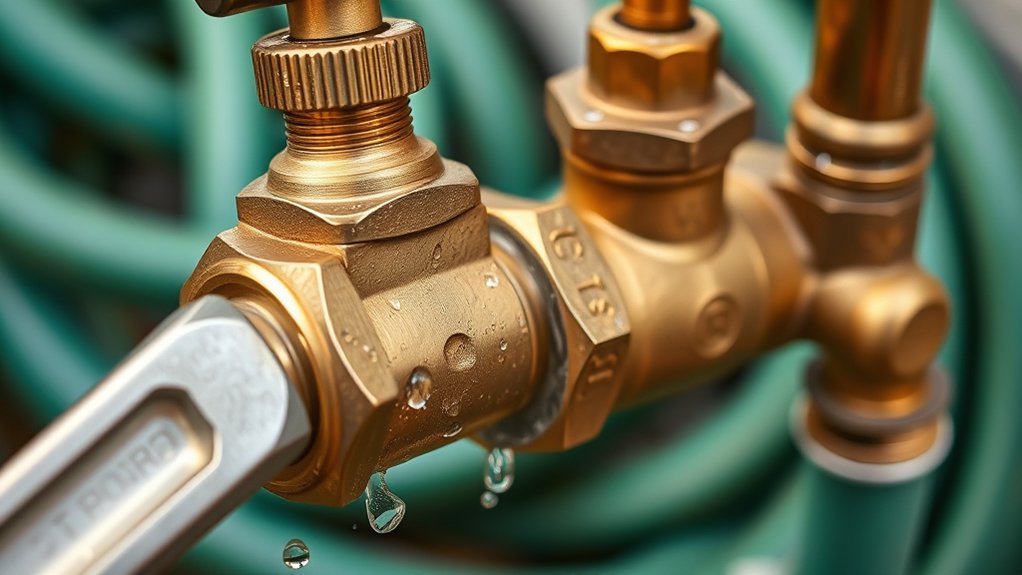
Before you begin replacing your outside water faucet, make sure you turn off your home’s water supply to that faucet. Locate the main shutoff valve, usually found in your basement, crawl space, or near your water heater. If your home has a separate valve for the outdoor faucet, use that to avoid shutting off water to the entire house.
Turn the valve clockwise until it stops to shut off the water. Open the outside faucet briefly to relieve any remaining pressure and confirm the water flow has stopped. If water still runs, double-check that you’ve fully closed the valve or look for a secondary shutoff.
Taking these steps guarantees you won’t face leaks or water damage while replacing the faucet.
Drain the Faucet and Clear the Work Area
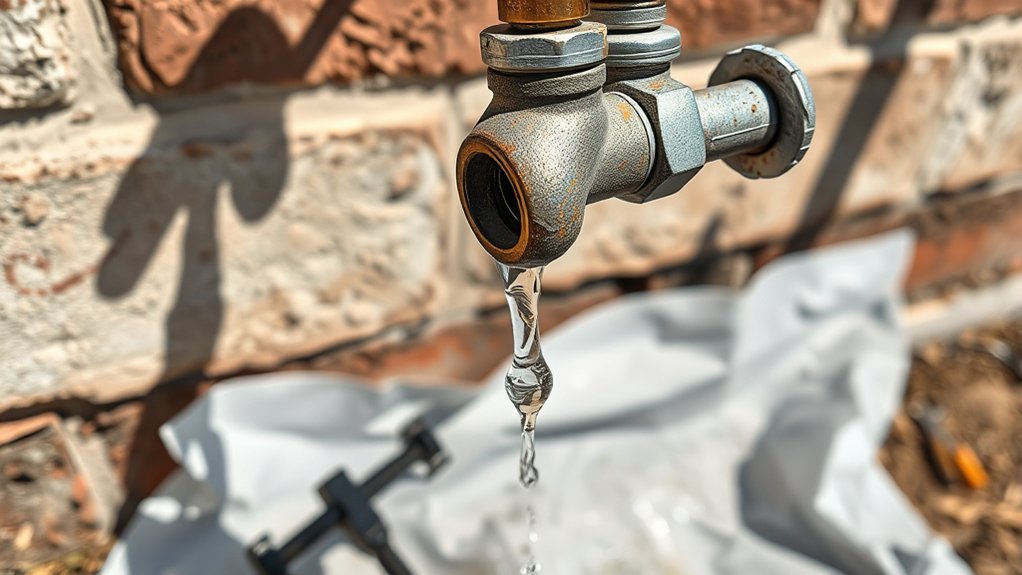
Once you’ve shut off the water supply and confirmed no flow from the outdoor faucet, it’s time to drain any remaining water inside the pipe. Open the outdoor faucet fully to let all trapped water escape, preventing leaks or damage during removal.
Next, clear the work area around the faucet—remove plants, hoses, or debris to give yourself easy access and avoid accidents.
Here’s a quick checklist to keep you organized:
| Task | Purpose | Tip |
|---|---|---|
| Open Faucet Fully | Drain remaining water | Use a bucket to catch drips |
| Clear Surroundings | Safe, unobstructed workspace | Move hoses and tools away |
| Check for Leaks | Ensure water is fully off | Watch for drips at shutoff |
Taking these steps guarantees a smooth faucet replacement process.
Pick the Right Replacement Outside Water Faucet
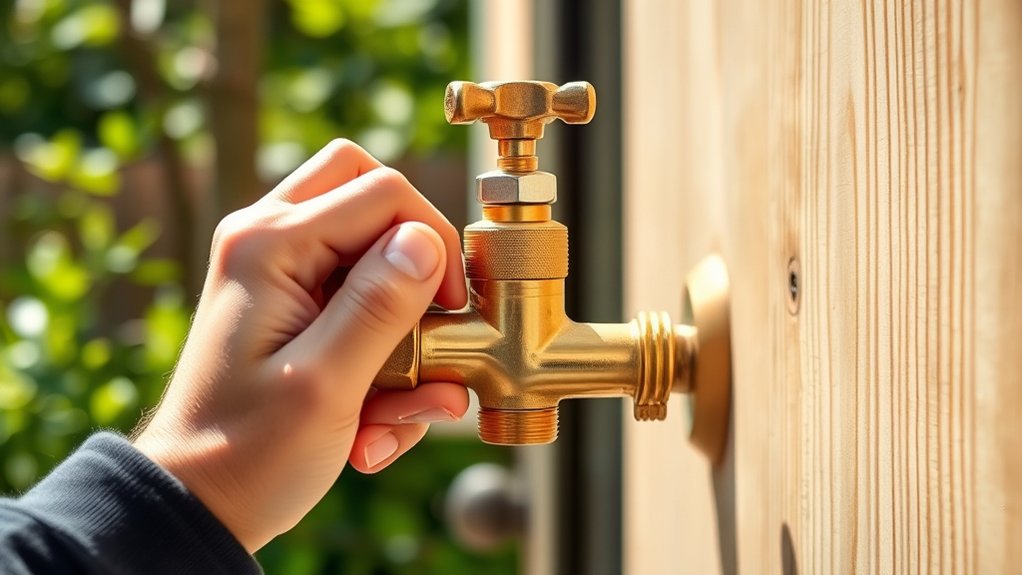
You’ll want to choose a faucet that fits your needs, considering the type, material, and durability. Make certain the size and connection match your existing plumbing to avoid leaks.
Picking the right replacement ensures a smooth installation and long-lasting performance.
Types Of Outdoor Faucets
How do you know which outdoor faucet fits your needs best? First, consider a standard compression faucet, which uses a washer to control water flow—simple and common for garden hoses.
Next, frost-free faucets are ideal if you live in colder climates; they prevent freezing by extending the valve inside your heated home. You might also consider a ball valve faucet, which offers quick on/off control with a lever handle, providing durability and ease of use.
Finally, anti-siphon faucets prevent contaminated water from flowing back into your home’s water supply, an important feature for safety. Understanding these types helps you choose a faucet that suits your climate, usage, and safety needs, ensuring your replacement works effectively year-round.
Material And Durability Options
Choosing the right type of outdoor faucet sets the foundation, but selecting the proper material guarantees it stands up to the elements and daily use. Brass is a popular choice because it resists corrosion and handles temperature changes well, making it durable for year-round use.
Stainless steel faucets offer excellent rust resistance and strength, ideal if you want something that lasts longer with minimal maintenance. Plastic faucets are budget-friendly and won’t rust, but they’re less durable and can crack in freezing conditions.
Whatever you pick, make sure the material matches your climate and how often you’ll use the faucet. A tough, weather-resistant faucet saves you from frequent replacements and leaks, making your outdoor water access reliable and hassle-free.
Size And Connection Compatibility
Before replacing your outside water faucet, make sure the new one fits both the size and connection type of your existing setup. Faucets typically come in standard sizes, but you’ll want to verify your pipe diameter and thread type to avoid leaks or installation issues. Most outdoor faucets connect via either a threaded or sweat (soldered) connection.
Here’s a quick guide to help you choose:
| Connection Type | Description |
|---|---|
| Threaded | Screws onto the pipe; easy swap |
| Sweat (Solder) | Requires soldering; permanent |
| Compression | Uses a compression ring; no solder |
Measure your pipe diameter and identify the connection before buying. This guarantees a smooth replacement without extra parts or modifications.
Remove the Old Outside Water Faucet
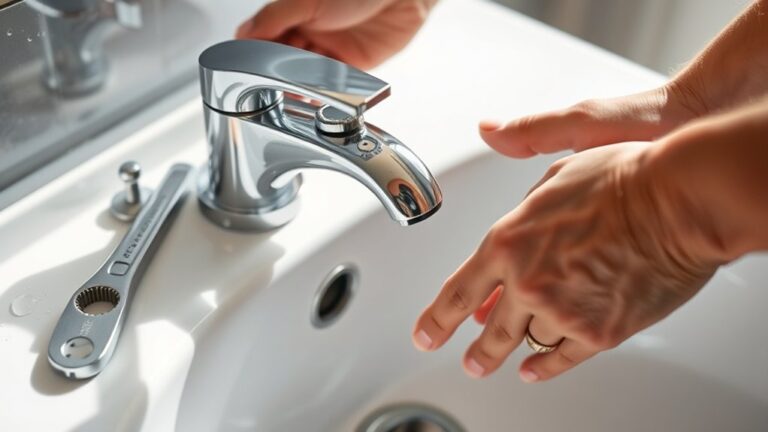
Once you’ve shut off the main water supply, you can start removing the old outside water faucet. First, open the faucet to drain any remaining water and relieve pressure. Next, use a pipe wrench or adjustable wrench to loosen the faucet by turning it counterclockwise.
Be careful to hold the pipe steady to avoid damage. If the faucet is stuck due to corrosion or rust, apply a penetrating oil and let it sit for a few minutes before trying again. Finally, once the faucet is loose, unscrew it completely by hand and remove it from the pipe.
Clean the pipe threads with a wire brush to prepare for the new faucet installation. This guarantees a smooth, secure fit when you replace the faucet.
- Drain water and relieve pressure
- Loosen faucet with wrench
- Remove faucet and clean threads
Install the New Outside Water Faucet With Proper Sealing
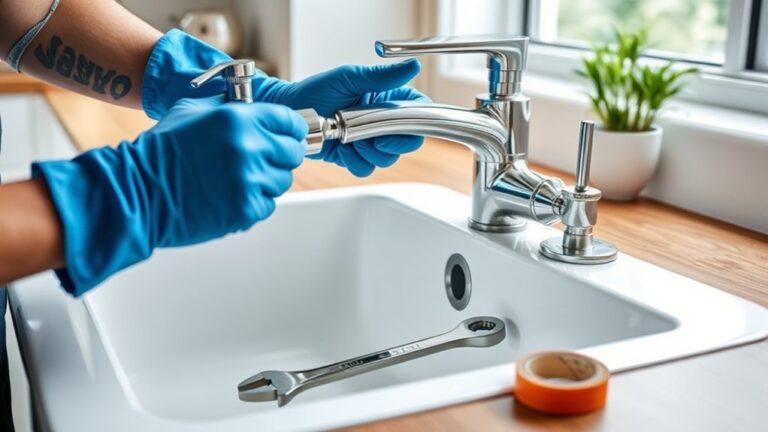
Although installing the new outside water faucet may seem straightforward, applying proper sealing is essential to prevent leaks and guarantee a secure fit. Start by wrapping plumber’s tape clockwise around the threaded end of the faucet. This tape fills gaps and helps create a watertight seal.
Next, apply a pipe joint compound or thread sealant over the tape for added protection. Carefully screw the faucet into the pipe, making sure not to cross-thread. Tighten it firmly with a wrench, but avoid overtightening, which can damage the threads or crack the pipe.
Finally, check that the faucet sits flush against the exterior wall. Proper sealing ensures your new faucet won’t drip or cause water damage, so take your time to do it right.
Test the New Faucet for Leaks and Proper Operation
Now that your new faucet is installed, you’ll want to inspect all connections to guarantee they’re tight. Turn on the water and check the flow for any irregularities. Keep an eye out for drips that could signal leaks or loose fittings.
Inspect Connection Tightness
Before you finish the job, you’ll want to check the connection tightness to guarantee the new faucet operates correctly without leaks. Ensuring every joint is secure will save you from potential water damage and frustration later.
Here’s how to inspect the connection tightness effectively:
- Visually Examine Joints – Look closely at all threaded connections for any signs of gaps or misalignment.
- Hand-Tighten, Then Use a Wrench – Start by hand-tightening fittings, then use a wrench to snug them up without over-tightening.
- Feel for Movement – Gently wiggle the faucet and connections; they should feel firmly in place without any looseness.
Check Water Flow
Once you’ve secured all connections, turn the water supply back on and open the faucet to check the flow. Watch how the water streams out— it should be steady and strong without sputtering. If the flow is weak or inconsistent, double-check that the shutoff valve is fully open and that no debris is blocking the line.
Also, make sure the faucet handle operates smoothly, turning on and off without resistance. Pay close attention to the area around the base and connection points while water runs; you shouldn’t see any drips or moisture. If you notice any leaks, tighten the fittings carefully without overdoing it.
Confirming proper water flow guarantees your new outside faucet works as intended before you finish up and move on to monitoring for drips.
Monitor for Drips
After confirming a steady water flow and smooth faucet operation, turn your attention to spotting any leaks. Even a small drip can waste water and cause damage over time, so it’s vital to catch them early. Here’s how to monitor your new outside faucet effectively:
- Inspect all joints and connections closely for moisture or tiny drips right after turning the water on and off.
- Feel around the base and handle for any wetness or unusual dampness that might indicate slow leaks.
- Check again after a few hours to ensure no drips develop once the faucet has been idle.
Address any leaks immediately by tightening connections or resealing. Monitoring now saves you from costly repairs later.
Maintain Your Outside Faucet to Prevent Future Problems
To keep your outside faucet working smoothly, you’ll want to perform regular maintenance that prevents leaks and damage. Start by checking for cracks, tightening fittings, and cleaning any debris around the faucet.
During colder months, drain and insulate your faucet to avoid freezing pipes. Lubricate the handle to keep it turning easily. Here’s a quick maintenance checklist:
| Task | Frequency | Tools Needed |
|---|---|---|
| Inspect for leaks | Monthly | Flashlight, wrench |
| Clean faucet area | Monthly | Brush, cloth |
| Drain & insulate | Before winter | Insulation tape |
| Lubricate handle | Twice a year | Silicone lubricant |
Following these steps helps you avoid costly repairs and keeps your faucet in top shape year-round.
Frequently Asked Questions
Can I Replace an Outside Faucet Without Shutting off the Main Water Supply?
You usually can’t replace an outside faucet without shutting off the main water supply because water will keep flowing. Shutting off the water prevents leaks and flooding while you work on the replacement safely and effectively.
What Tools Are Essential for Replacing an Outside Water Faucet?
You’ll need a wrench to grip like a claw, pliers to twist with precision, a pipe cutter to slice cleanly,
plumber’s tape to seal tight like a hug, and a screwdriver to secure everything in place.
How Do I Choose Between Brass and Plastic Outside Faucets?
You should choose brass if you want durability and resistance to freezing, while plastic works if you need a budget-friendly, lightweight option. Consider your climate and how often you’ll use the faucet before deciding.
Brass faucets are ideal for colder climates because they withstand freezing temperatures better. Plastic faucets are suitable for mild climates and occasional use. Your specific needs and budget will guide the best choice for your outdoor faucet.
Can I Install a Frost-Free Faucet in Warmer Climates?
You might think frost-free faucets are only for cold areas, but you can install them in warmer climates too. They prevent leaks and damage, offering extra protection—even when freezing isn’t a big concern.
This added protection can be beneficial regardless of the climate, helping to extend the life of your outdoor plumbing. Installing a frost-free faucet provides peace of mind by minimizing potential water damage.
Even in warmer areas, unexpected cold snaps can happen, making frost-free faucets a smart investment.
How Often Should Outside Faucets Be Inspected for Wear and Tear?
You should inspect outside faucets at least twice a year, ideally before winter and after heavy use periods. Regular checks help you catch leaks, corrosion, or damage early, preventing costly repairs and water waste.
Inspecting frequently ensures that small issues don’t turn into major problems. This proactive approach saves water and reduces your utility bills.
Additionally, checking faucets can extend their lifespan and maintain proper function. Don’t wait for obvious signs of damage; regular inspections are key.
Conclusion
Replacing your outside water faucet is as simple as turning the pages of a book when you follow these seven easy steps. By shutting off your water supply, removing the old faucet, and installing a new one with proper sealing, you’re ensuring a leak-free and reliable outdoor water source.
Don’t forget to test it carefully and maintain it regularly to keep it working smoothly season after season. You’ve got this! With these outside faucet replacement tips, you can enjoy a durable and efficient outdoor water system year-round.