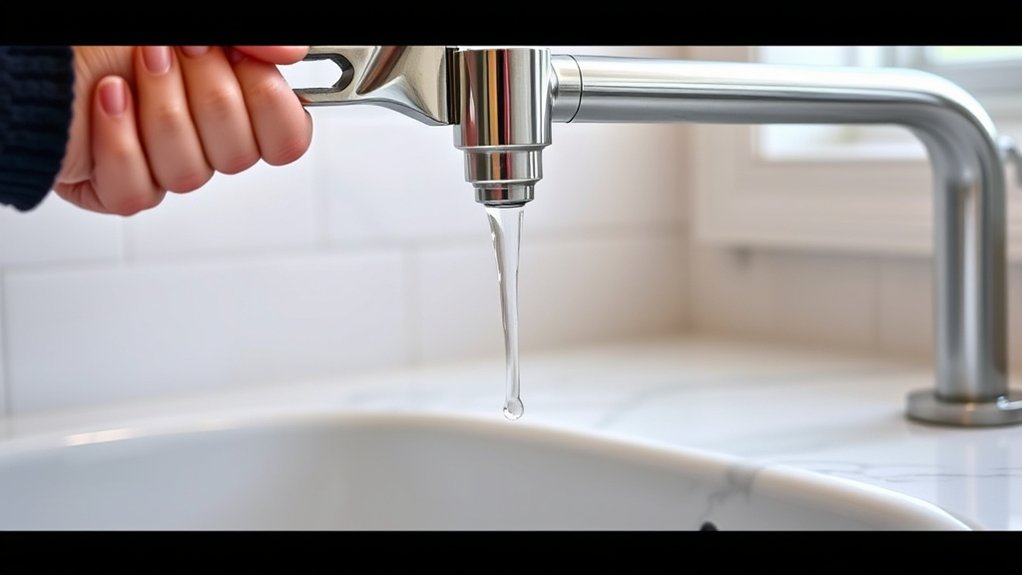
How to Fix a Leaky Bathroom Faucet in 10 Easy Steps
To fix a leaky bathroom faucet in 10 easy steps, start by identifying your faucet type and gathering essential tools like a wrench and replacement parts. Fixing a dripping faucet not only saves water but also prevents higher utility bills and potential water damage.
With the right tools and a little patience, you can handle this common plumbing issue yourself.
Turn off the water supply to avoid any spills, then carefully remove the handle. Inspect the internal parts, clean them thoroughly, and replace any worn washers or O-rings using plumber’s grease for smooth operation.
Reassemble the faucet, turn the water back on slowly, and check for leaks. If the drip persists, troubleshoot further or maintain your faucet regularly.
Keep reading for detailed tips to achieve a leak-free faucet.
Key Takeaways
- Identify your faucet type to select the correct repair method and gather necessary tools and replacement parts.
- Turn off water supply and remove the faucet handle carefully to access internal components.
- Clean and inspect parts for damage, replacing worn washers, O-rings, or cartridges as needed.
- Reassemble securely and slowly restore water flow while checking for leaks and proper function.
- Perform routine maintenance and troubleshoot persistent leaks by inspecting valve seats and seals regularly.
How to Identify Your Bathroom Faucet Type
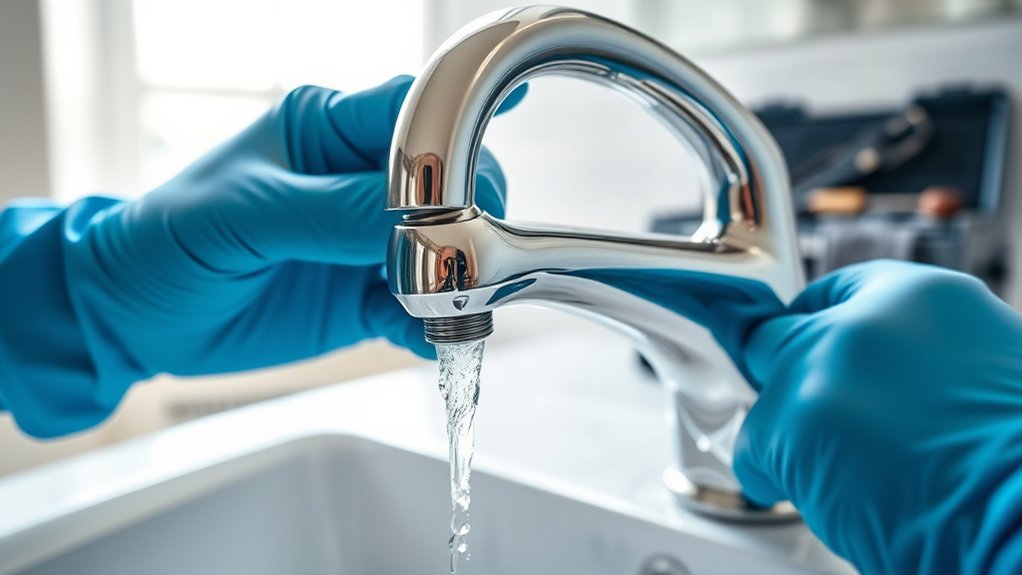
Before you can fix a leaky bathroom faucet, you need to identify its type. Faucets generally come in four main styles: compression, cartridge, ball, and ceramic disc. Each has a distinct mechanism controlling water flow.
Compression faucets have separate hot and cold handles that you turn to control water. Cartridge faucets operate with a single lever or two handles, using a cartridge inside to regulate flow. Ball faucets have a single handle that moves over a rounded ball-shaped cap.
Ceramic disc faucets feature a single lever as well, but they use two ceramic discs to control water. Take a close look at your faucet’s handles and how they move. Identifying the correct type will help you troubleshoot the leak efficiently and avoid unnecessary repairs.
Get the Right Tools and Materials Ready
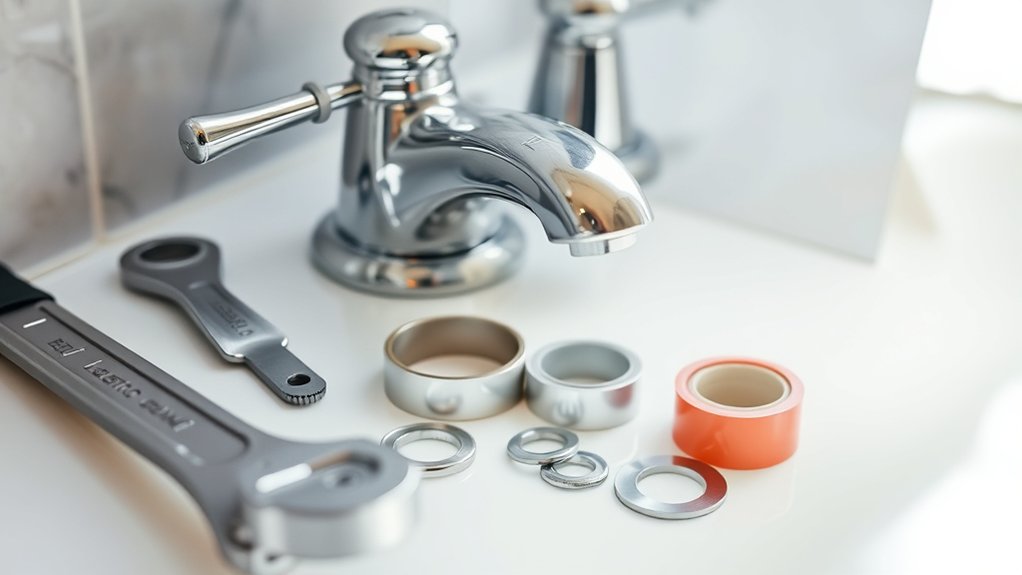
Knowing your faucet type helps you gather the right tools and materials to fix the leak properly. Before you start, make sure you have everything on hand to avoid interruptions. Here are three essentials you’ll likely need:
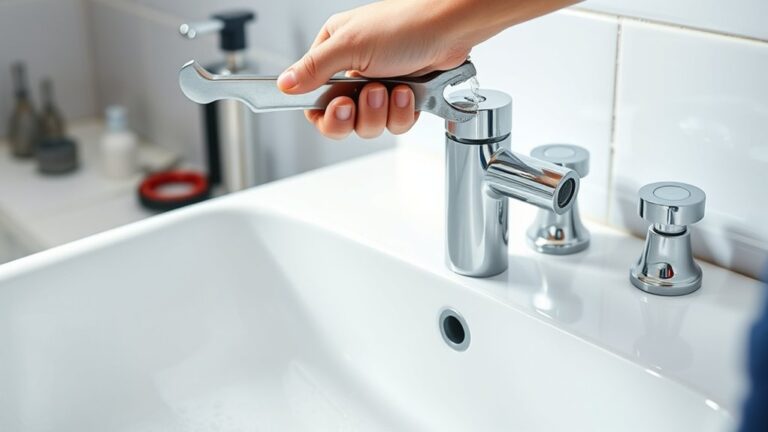
- Adjustable wrench – Perfect for loosening and tightening nuts without damaging your faucet.
- Replacement parts – Such as washers, O-rings, or cartridges, specific to your faucet model.
- Screwdrivers – Both flathead and Phillips to remove screws holding the faucet together.
Having these tools ready lets you work efficiently and confidently. You might also want a cloth to catch drips and some plumber’s grease for smoother reassembly.
With the right tools and materials prepped, you’re set to tackle that leaky faucet head-on.
Shut Off Water Supply to Your Leaky Bathroom Faucet
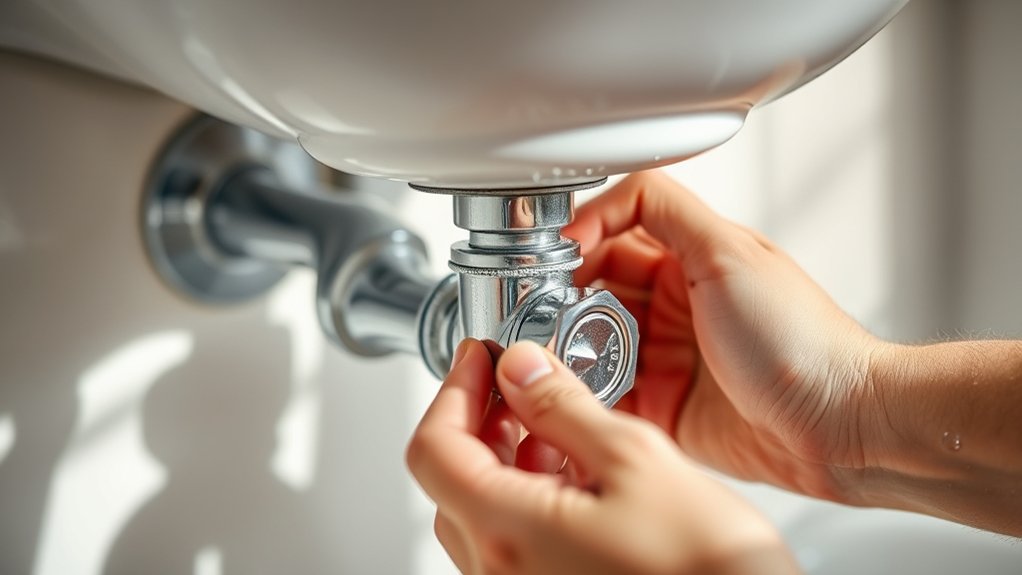
Since water can cause a mess and complicate repairs, you’ll want to shut off the water supply to your bathroom faucet before you start fixing the leak. First, locate the shut-off valves under the sink—usually two small knobs, one for hot water and one for cold. Turn both valves clockwise until they stop to cut off the water flow.
If you don’t find individual shut-off valves, you’ll need to turn off the main water supply for your home. After closing the valves, open the faucet to release any remaining water in the lines. This step prevents water from spilling when you work on the faucet.
Now, you’re ready to proceed safely without worrying about unexpected leaks or drips.
Remove the Faucet Handle Without Causing Damage
Once the water supply is securely shut off and the faucet is drained, you can focus on removing the handle carefully. Avoid rushing this step to prevent any damage to your faucet’s finish or internal parts. Here’s how to do it right:
- Locate the screw: Check under a decorative cap or on the side of the handle. Use a flathead screwdriver to gently pry off the cap if needed.
- Unscrew the handle: Use the appropriate screwdriver to remove the screw holding the handle. Turn slowly to avoid stripping the screw head.
- Pull off the handle: Grip the handle firmly and pull straight up. If it’s stuck, wiggle it gently or use a handle puller tool to avoid damage.
Taking these steps carefully ensures the handle comes off smoothly and your faucet stays intact.
Inspect and Clean Faucet Parts to Identify Damage
Before reassembling your faucet, you’ll want to carefully inspect and clean each part to spot any signs of wear or damage. Start by rinsing components like the valve seat, cartridge, and stem with warm water to remove mineral buildup or debris. Use a soft brush or cloth to gently scrub away grime without scratching surfaces.
Check for cracks, corrosion, or worn edges that could cause leaks. Pay special attention to the cartridge and valve seat since damage here often leads to dripping. If you notice any rough spots or grooves, smooth them with fine sandpaper to guarantee a tight seal later.
Cleaning and inspecting now helps you avoid further leaks and ensures your faucet functions properly once reassembled. Take your time to get a clear view of each part’s condition.
Replace Washers and O-Rings to Fix Your Leaky Bathroom Faucet
To stop your faucet from leaking, you’ll need to identify any worn washers and remove the old O-rings carefully.
Once those parts are out, replace them with new seals to guarantee a tight fit.
This simple swap can make a big difference in fixing your drip.
Identifying Worn Washers
Although a dripping faucet might seem minor, worn washers often cause the leak and need your attention. Washers act as seals inside your faucet, preventing water from escaping. Over time, they wear down due to constant pressure and friction, leading to leaks.
To identify worn washers:
- Turn off the water supply and disassemble the faucet handle carefully.
- Inspect the washer at the base of the valve stem for cracks, flattening, or brittleness.
- Check for mineral buildup or damage, which can prevent the washer from sealing properly.
If you notice any of these signs, it’s time to replace the washer to stop that annoying drip and save water.
Removing Old O-Rings
Replacing worn washers often isn’t enough to stop a faucet leak—you’ll also need to remove and replace the old O-rings. To do this, first turn off the water supply and disassemble the faucet handle.
Use a flathead screwdriver or pick tool to carefully pry out the O-rings located around the valve stem. Be gentle to avoid damaging the stem or housing. Check the removed O-rings for cracks or flattening, as these signs indicate they need replacement.
| Step | Tip |
|---|---|
| Turn off water | Prevents water spray |
| Remove faucet handle | Exposes valve stem |
| Pry out old O-rings | Use a pick or flathead tool |
| Inspect O-rings | Look for cracks or wear |
| Clean area before reassembly | Ensures a good seal |
Installing New Seals
Once you’ve removed the old washers and O-rings, you’ll want to install the new seals carefully to prevent any future leaks. Start by choosing the right replacements—make sure they match your faucet’s size and type exactly.
Next, lubricate the new O-rings and washers with a small amount of plumber’s grease to help them seat properly and extend their life. Finally, install them in the correct order, ensuring each piece fits snugly in its groove without twisting or stretching.
Here’s a quick checklist:
- Confirm seal sizes and types before installation.
- Apply plumber’s grease to all new seals.
- Insert washers and O-rings carefully, avoiding damage or misalignment.
Following these steps will restore your faucet’s watertight seal effectively.
Reassemble the Faucet Step by Step
Now that you’ve replaced the washers and O-rings, it’s time to reassemble the faucet carefully. Make certain you align all the components correctly and secure every fastener tightly.
Once everything is in place, turn the water back on and test the flow to ensure the leak is fixed.
Align Components Correctly
Before you start putting the faucet back together, make sure each part is clean and free of debris to guarantee a proper fit. Proper alignment is essential to prevent leaks and ensure smooth operation.
Here’s how to get it right:
- Match the parts – Align the cartridge or valve stem with the corresponding slots or grooves in the faucet body. This ensures everything fits snugly.
- Position washers and O-rings – Place these seals exactly where they belong, checking for any twists or damage that could cause leaks.
- Check the handle alignment – When you place the handle back on, ensure it lines up with the valve stem so it turns smoothly without resistance.
Taking these steps carefully will make the next stage, securing all fasteners, much easier.
Secure All Fasteners
After aligning all the components correctly, you’ll want to guarantee the fasteners to hold everything in place. Start by tightening screws or nuts evenly to avoid misalignment. Use the appropriate screwdriver or wrench, and don’t force fasteners—tighten them snugly but carefully to prevent stripping threads.
If your faucet has retaining clips or snap rings, make sure they’re seated fully in their grooves. Double-check that washers and O-rings remain properly positioned as you secure each part. Take your time to assure each fastener is fully engaged; loose parts can cause leaks or damage.
Once all fasteners are secure, the faucet will be stable and ready for the next step. Proper fastening is key to a durable repair and preventing future leaks.
Test Water Flow
How should you approach testing the water flow once the faucet is reassembled? First, turn the water supply back on slowly to avoid sudden pressure that might cause leaks. Next, observe how the water flows from the spout to ensure it’s steady and at the right pressure.
Finally, check for any drips around the base or handles, which could indicate a loose part or seal.
Here’s a simple checklist to follow:
- Gradually open the water valves and watch for steady flow.
- Turn the faucet handles on and off to test responsiveness.
- Inspect all connections closely for leaks or drips.
Restore Water and Check Your Faucet for Leaks
When can you turn the water back on to test your repair? Once you’ve securely reassembled your faucet and tightened all connections, you can restore the water supply. Slowly open the shut-off valves under the sink to prevent sudden pressure changes that might cause damage.
As water flows back into the faucet, carefully observe all the joints and seals for any signs of dripping or moisture. Turn the faucet on and off a few times to verify consistent water flow and confirm no leaks appear around the handles or spout. If you spot any leaks, double-check your work to see if any parts need tightening.
If everything looks dry and functions smoothly, you’ve successfully fixed your leaky faucet.
Troubleshoot Persistent Leaks and Problems After Repair
If your faucet is still leaking after repair, start by identifying the most common causes like worn-out washers or damaged O-rings. Check the valve seat carefully, since a damaged seat can prevent a tight seal.
Make sure all parts are installed correctly to avoid ongoing problems.
Identifying Common Leak Causes
Although you might have already fixed the initial leak, persistent drips often signal deeper issues that need attention. To effectively identify common leak causes, focus on these key areas:
- Worn-out Washers or O-Rings – These small parts wear down over time, causing water to seep through even after repairs.
- Loose or Damaged Faucet Parts – Check for loose screws or cracked components that can disrupt proper sealing.
- Corroded or Dirty Cartridge – Mineral buildup can prevent the cartridge from closing fully, leading to leaks.
Checking Valve Seat Condition
Persistent leaks often point beyond worn washers or loose parts to the valve seat, a key area where the faucet connects to the spout. To check its condition, first turn off the water supply and remove the faucet handle and cartridge or stem. Look inside the faucet body for the valve seat, usually a metal ring.
Inspect it closely for corrosion, grooves, or mineral buildup that can prevent a tight seal. If you spot damage, use a valve seat grinder or a small round file to smooth out irregularities carefully. Be cautious not to remove too much material.
After cleaning or reshaping, reassemble the faucet and test it. If leaks persist, the valve seat might need replacing, signaling a more complex repair ahead.
Ensuring Proper Part Installation
When you finish repairing a faucet, double-check that all parts fit correctly and are tightened to the right specifications. Even a small misalignment or loose connection can cause leaks to persist.
To ensure proper part installation, follow these steps:
- Verify Part Compatibility: Make sure each replacement part matches your faucet model exactly to avoid fitting issues.
- Align Components Properly: Position washers, O-rings, and seats precisely where they belong to create a tight seal.
- Tighten with Care: Use the correct tools and avoid over-tightening, which can damage parts or strip threads.
Maintain Your Faucet to Prevent Future Leaks
To keep your faucet from leaking again, you need to perform regular maintenance. Check your faucet monthly for drips or corrosion, and clean the aerator to maintain water flow. Tighten loose parts and replace worn washers promptly.
Lubricate moving components with plumber’s grease to keep everything working smoothly. Following these simple steps can save you from costly repairs down the line.
| Maintenance Task | Frequency |
|---|---|
| Inspect for leaks | Monthly |
| Clean aerator | Every 3 months |
| Tighten loose parts | As needed |
| Replace washers | Annually or as needed |
| Lubricate components | Every 6 months |
Stick to this routine, and your faucet will stay leak-free for years.
Frequently Asked Questions
What Causes a Bathroom Faucet to Start Leaking Initially?
You’ll find a bathroom faucet starts leaking mainly because worn-out washers, damaged O-rings, or corroded valve seats cause water to seep. Mineral buildup and high water pressure can also wear parts down, leading to leaks over time.
How Often Should Bathroom Faucets Be Replaced Entirely?
You should replace bathroom faucets every 10 to 15 years or sooner if leaks persist despite repairs, corrosion appears, or water flow weakens. Regular maintenance helps, but complete replacement guarantees lasting performance and avoids bigger issues.
Can Hard Water Damage Bathroom Faucets Over Time?
Yes, hard water can damage your bathroom faucets over time. It leaves mineral deposits that clog parts and cause corrosion.
You’ll need regular cleaning or a water softener to keep your faucets working smoothly.
Are There Eco-Friendly Faucet Options to Reduce Water Waste?
Yes, you can choose clever, conservation-conscious faucets like flow-restricting fixtures or touchless taps. They save significant streams, slashing your water waste while supporting sustainable stewardship and smart savings in your bathroom.
When Should I Call a Professional Plumber for Faucet Leaks?
You should call a professional plumber if the leak persists after your attempts, if you notice water damage, or if the faucet’s internal parts are complex.
Don’t wait; early help prevents bigger problems and higher costs.
Conclusion
Fixing your leaky bathroom faucet isn’t as intimidating as it might seem. With a little patience and these simple steps, you’ll have your faucet feeling as fresh as new, saving water and avoiding those pesky drips.
Remember, a little upkeep goes a long way in keeping your bathroom running smoothly. So, roll up your sleeves—you’re just a few taps away from a quieter, more efficient sink!
By following this guide on how to fix a leaky bathroom faucet, you’ll not only save water but also extend the life of your faucet. Proper maintenance and timely repairs ensure a hassle-free bathroom experience. Start your faucet repair today and enjoy the benefits of a leak-free bathroom!