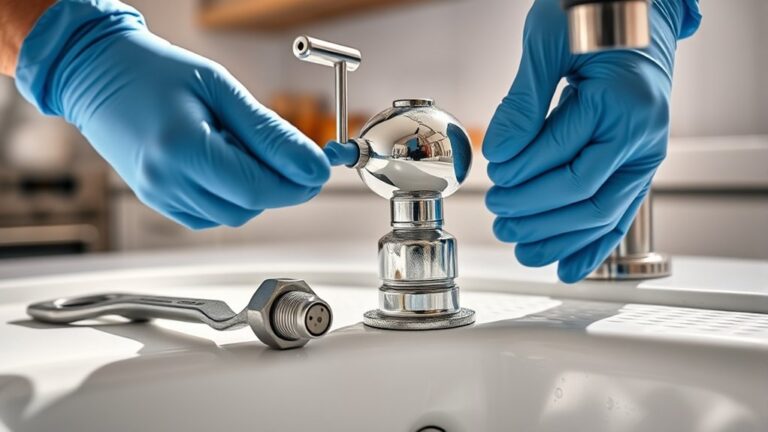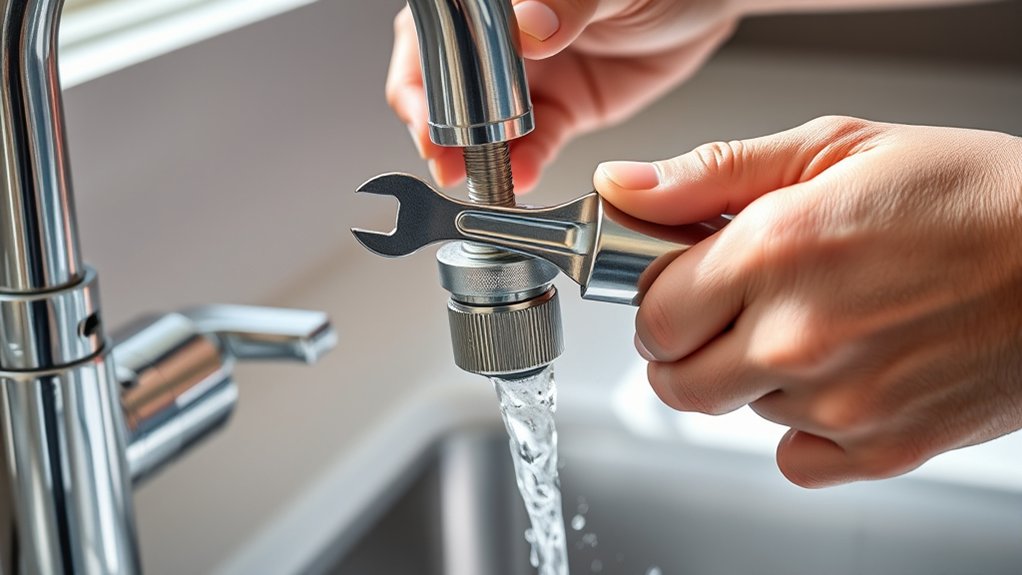
How to Remove Faucet Aerator in 10 Easy Steps
To remove your faucet aerator in 10 easy steps, start by turning off the water supply and opening the faucet to release any built-up pressure.
Faucet aerator removal can sometimes be tricky, but with the right approach, you can do it quickly and efficiently.
Protect the faucet surface with painter’s tape to prevent scratches during the process.
Next, use pliers or a rubber jar opener wrapped in cloth for a better grip when twisting the aerator.
Gently turn the aerator counterclockwise to loosen it.
If it’s stuck, soak the aerator in vinegar to dissolve mineral deposits.
After removal, clean the aerator thoroughly and inspect it for any damage.
Once cleaned, reattach it securely by twisting it back on.
Finally, turn the water supply back on and check for leaks to ensure proper installation.
Keep following these steps to master faucet aerator removal and guarantee smooth maintenance.
Key Takeaways
- Turn off water valves under the sink and open the faucet to release pressure before removal.
- Protect the faucet finish by wrapping the aerator and faucet neck with cloth or painter’s tape.
- Use a rubber-jawed wrench or pliers wrapped in cloth to grip the aerator securely and turn counterclockwise gently.
- For stuck aerators, apply penetrating oil around threads and wait 10-15 minutes before attempting removal again.
- After removal, inspect and clean the aerator or replace damaged parts before reinstalling to restore proper water flow.
What Is a Faucet Aerator and Why Remove It?
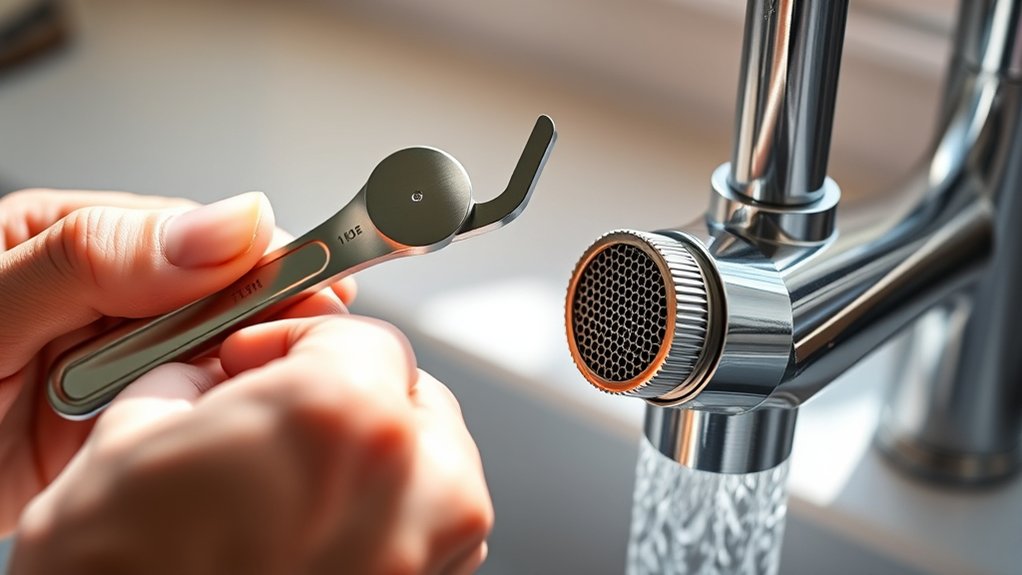
Although it may seem like a small component, a faucet aerator plays an important role in controlling water flow and reducing splashing. You’ll find it screwed onto the tip of your faucet, mixing air with the water stream to provide a steady, even flow. This helps you save water and prevents messes around the sink.
However, over time, mineral deposits and debris can clog the aerator, reducing water pressure and causing irregular flow. Removing it lets you clean or replace it, restoring your faucet’s performance. You might also need to remove the aerator if you’re installing a new faucet or changing the water filter.
Understanding its function helps you see why keeping the aerator in good condition matters for your daily water use.
Gather These Simple Tools First
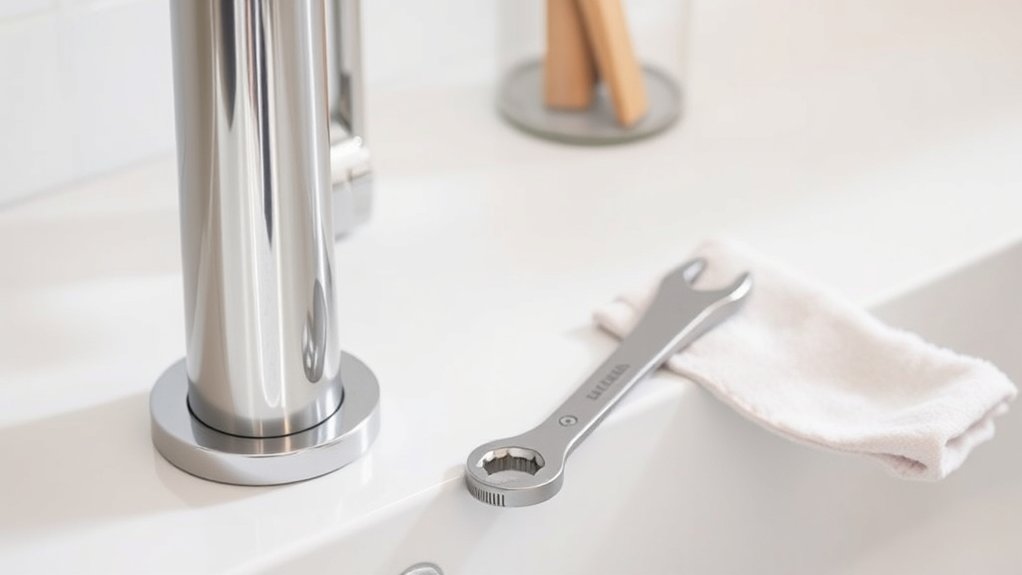
Once you’ve decided to remove the faucet aerator for cleaning or replacement, gathering the right tools will make the job much easier. You’ll typically need a pair of adjustable pliers or a wrench to grip the aerator without damaging it. Wrapping the jaws of the tool with a cloth or masking tape protects the finish from scratches.
A small flathead screwdriver can help pry off any stubborn parts or screens inside the aerator. Having a bowl or container nearby is smart, so you don’t lose tiny washers or screws. Ultimately, keep a clean cloth handy to wipe away any debris or buildup.
With these simple tools ready, you’re set to tackle the aerator removal quickly and efficiently.
Turn Off Your Water Supply to Avoid Messes
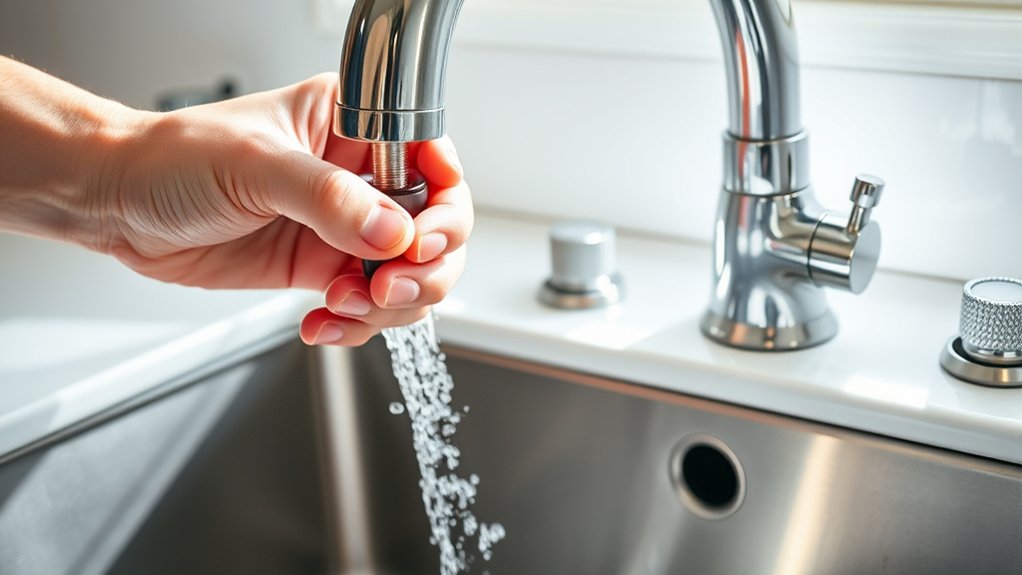
Before you start removing the faucet aerator, turn off the water supply to prevent any unexpected splashes or leaks. Locate the shut-off valves under the sink—usually, there’s one for hot water and one for cold water. Turn both valves clockwise until they stop to completely cut off the water flow.
If your sink doesn’t have individual shut-off valves, you’ll need to turn off the main water supply for your home. Once the water is off, open the faucet to release any remaining water in the pipes. This step guarantees no water sprays out when you remove the aerator.
Taking these precautions saves you from messy surprises and keeps your workspace dry and safe during the removal process.
Protect Your Faucet Before You Start
Before you start, make sure to protect your faucet from scratches by using a soft cloth or tape around the aerator. Gather materials like a rubber strap or wrench covers to avoid damaging the finish.
Taking these simple steps will keep your faucet looking great throughout the process.
Preventing Faucet Scratches
Although removing a faucet aerator seems straightforward, you’ll want to protect your faucet’s finish to avoid scratches during the process. Faucets often have delicate coatings that can be easily damaged if you’re not careful. Taking simple precautions helps keep your faucet looking new.
Here are three ways to prevent scratches:
- Wrap the Faucet Neck: Use a soft cloth or painter’s tape around the faucet where you’ll grip. This creates a protective barrier against metal tools.
- Use the Right Tools: Choose a rubber-jawed wrench or adjustable pliers with protective covers to minimize direct contact with the metal surface.
- Apply Gentle Pressure: Avoid forcing the aerator loose. Turn slowly and steadily to prevent slipping and scratching.
Gather Protective Materials
Protecting your faucet starts with gathering the right materials to shield its finish while you work. Before you begin, grab a few essentials: painter’s tape, a soft cloth, and rubber gloves.
Wrap the painter’s tape around the aerator or faucet threads to prevent scratches and dents when using tools. The soft cloth acts as a cushion between the wrench or pliers and the metal surface, reducing the risk of damage. Wearing rubber gloves improves your grip and keeps the faucet clean from oils or dirt on your hands.
Having these protective materials ready guarantees you can remove the aerator smoothly without harming your faucet’s appearance. Taking these small precautions saves you time and money on repairs later.
How to Grip the Aerator Without Causing Damage
To grip the aerator without causing damage, you’ll need the right tool, like a rubber-jawed wrench or pliers wrapped in tape. Always protect the aerator’s surface by adding a cloth or rubber strip between the tool and the metal. This prevents scratches and keeps the finish intact while you work.
Choosing the Right Tool
When you need to remove a faucet aerator, choosing the right tool is key to preventing damage. Using the correct tool guarantees a secure grip while protecting the aerator’s finish. Here are three tools that work best:
- Adjustable wrench with a cloth – Wrap a soft cloth around the aerator before using the wrench to avoid scratches.
- Slip-joint pliers with rubber grips – These pliers provide good leverage and the rubber grips prevent slipping and damage.
- Strap wrench – Perfect for delicate finishes, this tool grips the aerator firmly without scratching or denting.
Pick a tool that fits your aerator size and finish to make removal smooth and safe every time.
Protecting the Aerator Surface
Although it might seem simple, gripping the aerator without causing damage requires care and the right technique. You want to avoid scratching or denting the surface, which can happen if you use metal tools directly on the aerator. Instead, wrap a cloth or rubber band around it to cushion the grip.
Use adjustable pliers gently, applying only enough pressure to turn the aerator.
Here’s a quick guide:
| Grip Method | Tip for Protection |
|---|---|
| Cloth Wrap | Softens contact, prevents scratches |
| Rubber Band | Increases friction, cushions grip |
| Gentle Pliers Use | Avoids over-tightening and dents |
Following these steps helps you remove the aerator safely while keeping it in great condition for reuse.
Remove a Faucet Aerator: Tips for Stuck or Tight Fittings
If your faucet aerator feels stuck or overly tight, don’t worry—you’re not alone. Mineral buildup and corrosion often cause this, but you can still remove it safely. Here’s how to tackle those stubborn fittings:
- Use a rubber grip or cloth: Wrap the aerator with a rubber jar opener or a thick cloth for better grip and to protect the finish.
- Apply penetrating oil: Spray a small amount of penetrating oil around the threads. Let it sit for 10-15 minutes to loosen mineral deposits.
- Gently use pliers: If needed, carefully grip the aerator with adjustable pliers wrapped in tape or cloth to avoid scratching. Turn counterclockwise with steady, controlled pressure.
Taking these steps should help you remove even the tightest aerators without damage or frustration.
Clean and Inspect the Aerator After Removal
Once you’ve removed the aerator, take a close look for any mineral deposits that might be clogging it. Soak it in a vinegar solution to break down buildup and rinse thoroughly.
Don’t forget to check for any damaged parts that may need replacing before putting it back.
Inspect For Mineral Deposits
How do you know when your faucet aerator needs a good cleaning? One clear sign is when water flow weakens or sprays unevenly. After removing the aerator, inspect it closely for mineral deposits, which can clog the screen and restrict water.
Look out for:
- White or chalky buildup on the mesh screen or housing.
- Hard, crusty spots that don’t wipe away easily.
- Discolored or corroded metal parts indicating mineral damage.
These deposits usually come from hard water and can significantly reduce your faucet’s performance. Catching them early helps you maintain smooth water flow and extend your aerator’s lifespan. Taking a few moments to check for these signs ensures you address the problem before it worsens.
Clean With Vinegar Solution
Although mineral deposits can be stubborn, you can easily dissolve them by soaking the aerator parts in a vinegar solution. Fill a small bowl with equal parts white vinegar and water, then submerge the aerator components. Let them soak for about 30 minutes to an hour.
The acidity in the vinegar breaks down the mineral buildup, making it easier to remove. After soaking, use an old toothbrush or a soft brush to gently scrub away any remaining debris. Rinse the parts thoroughly under running water to wash off loosened deposits and vinegar residue.
Dry each piece with a clean cloth or let them air dry. This simple step helps restore water flow and keeps your faucet working efficiently before you reassemble the aerator.
Check For Damaged Parts
After cleaning your faucet aerator, take a close look at each part to spot any damage or wear. This step ensures your faucet functions properly and prevents leaks or reduced water flow.
Pay attention to these key areas:
- Screen mesh: Check for holes, tears, or mineral buildup that can block water.
- Rubber washer: Look for cracks, flattening, or brittleness, as a damaged washer can cause leaks.
- Aerator housing: Inspect for cracks or corrosion, which might affect the seal and water pressure.
If you find any damaged parts, replace them before reinstalling the aerator. Doing this will help maintain your faucet’s performance and extend its lifespan.
How to Replace or Reinstall Your Faucet Aerator
Once you’ve cleaned or replaced the internal parts, you can reinstall the faucet aerator by carefully screwing it back onto the faucet tip. Start by aligning the aerator threads with the faucet’s, then turn it clockwise by hand. Make sure it goes on straight to avoid cross-threading, which can damage both the aerator and faucet.
If it feels tight, stop turning to prevent stripping the threads. Use a cloth-wrapped wrench for the final snug fit, but avoid overtightening, as this can cause leaks or break the aerator.
After reinstalling, turn on the water to check for leaks and ensure the flow is smooth. If everything looks good, you’ve successfully replaced or reinstalled your faucet aerator.
Stuck Aerator? Here’s What to Do
Why won’t your faucet aerator budge? Often, mineral deposits or corrosion cause it to stick tightly. Don’t worry—you can still get it off with a few simple tricks.
- Use Vinegar Soak: Soak a cloth in white vinegar and wrap it around the aerator for 30 minutes. This helps dissolve mineral buildup.
- Apply Gentle Force: Use an adjustable wrench or pliers with a cloth to protect the finish. Turn counterclockwise, applying steady, gentle pressure to avoid damage.
- Try Rubber Grip: Slip a rubber jar opener or use rubber gloves to increase your grip. This often gives you the extra torque needed.
If it’s still stuck, avoid forcing it excessively to prevent breaking your faucet. Try these steps patiently.
Check for Leaks and Test Your Faucet After Removal
Although removing the aerator is a key step, you still need to check for leaks and test your faucet to guarantee everything works properly. First, turn the water back on slowly and observe the faucet closely. Look for any dripping or water squirting from where the aerator was attached.
If you spot leaks, tighten the connection carefully without overdoing it. Next, run the water for a minute to ensure steady flow and proper pressure. If the water flows unevenly or sputters, you may need to clean the faucet’s threads or check for debris inside.
Finally, double-check that the faucet handle operates smoothly without any unusual resistance. Taking these simple steps ensures your faucet stays leak-free and functions perfectly after aerator removal.
Frequently Asked Questions
Can a Faucet Aerator Improve Water Pressure?
Yes, a faucet aerator can improve water pressure by mixing air with water, creating a steady, strong stream. You’ll notice better flow while using less water, making your faucet more efficient and saving you money.
This combination helps maintain a consistent pressure even when the water flow is reduced. The aerator also reduces splashing, making it easier to use the faucet.
How Often Should I Clean My Faucet Aerator?
You should clean your faucet aerator every three to six months. Regular cleaning prevents mineral buildup, which can reduce water flow and pressure.
If your water’s hard, you might want to clean it even more often.
Are Faucet Aerators Universal or Do They Vary by Brand?
Faucet aerators aren’t universal; they vary by brand and size. You’ll need to check your faucet’s thread type—male or female—and diameter to find a compatible aerator.
Always double-check before buying a replacement.
Can a Clogged Aerator Cause Discoloration in Water?
Think of a clogged aerator as a rusty gatekeeper; yes, it can cause water discoloration by trapping minerals and debris.
You’ll notice murky or brownish water, signaling it’s time to clean or replace that pesky screen.
Is It Safe to Use Vinegar to Clean an Aerator?
Yes, you can safely use vinegar to clean your aerator. It effectively dissolves mineral deposits without damaging parts.
Just soak the aerator for about an hour, then rinse thoroughly before reinstalling it.
Conclusion
Removing your faucet aerator might seem tricky, but with the right tools and care, it’s a simple task. While it may feel like a small, mundane job, it’s also a chance to prevent leaks and improve water flow—small actions making a big difference.
So, don’t rush; protect your faucet, work carefully, and enjoy the satisfaction of a well-maintained fixture. Proper maintenance of your faucet aerator can extend its lifespan and enhance efficiency. Taking these steps ensures a smoothly functioning faucet that quietly makes your daily life easier and more efficient.