10 Steps to Turn On Your Dyson Vacuum Quickly
To turn on your Dyson vacuum quickly and efficiently, start by unpacking and identifying all parts. Proper assembly is essential for optimal performance, so connect the wand and cleaner head securely.
Next, install and fully charge the battery to ensure your vacuum is ready for use.
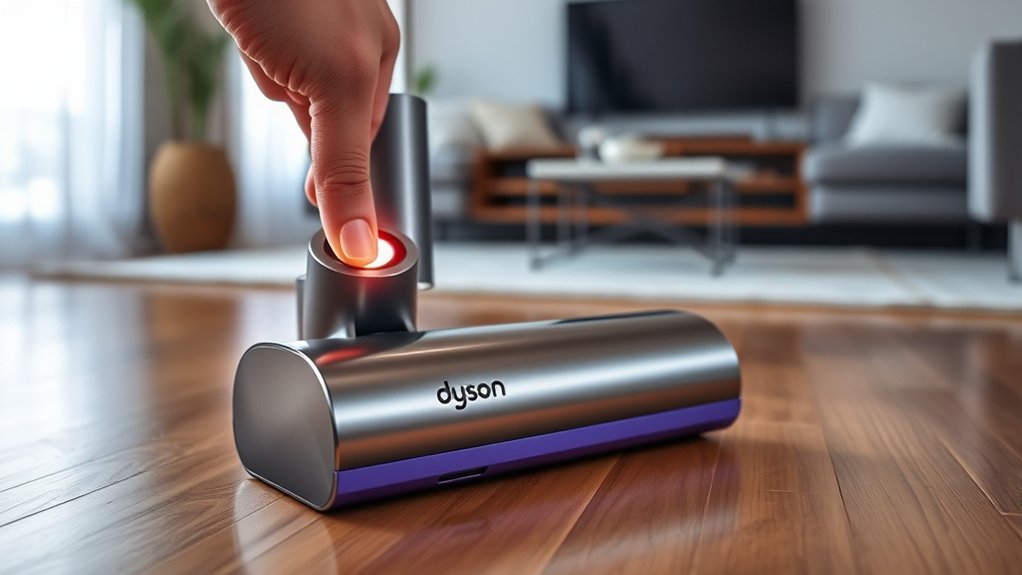
Locate the power button, usually found on the handle or main body, and press it firmly to start your Dyson vacuum. Use the trigger and lock mechanism for continuous operation without holding down the button.
If the vacuum doesn’t start, check the battery charge and all connections for any issues.
Keep reading to discover helpful tips for choosing cleaning modes and troubleshooting startup problems with your Dyson vacuum.
Key Takeaways
- Ensure the vacuum is fully assembled with the battery securely installed and charged before attempting to power it on.
- Locate the power button near the handle or main body and familiarize yourself with its position and symbol.
- Firmly press and hold the power button until the motor starts, releasing it if the vacuum has a trigger lock.
- For corded models, plug the vacuum securely into a power outlet and uncoil the cord completely.
- Check for any debris blocking the power button or trigger and confirm the vacuum is free of blockages before use.
Unpack and Identify All Dyson Vacuum Parts
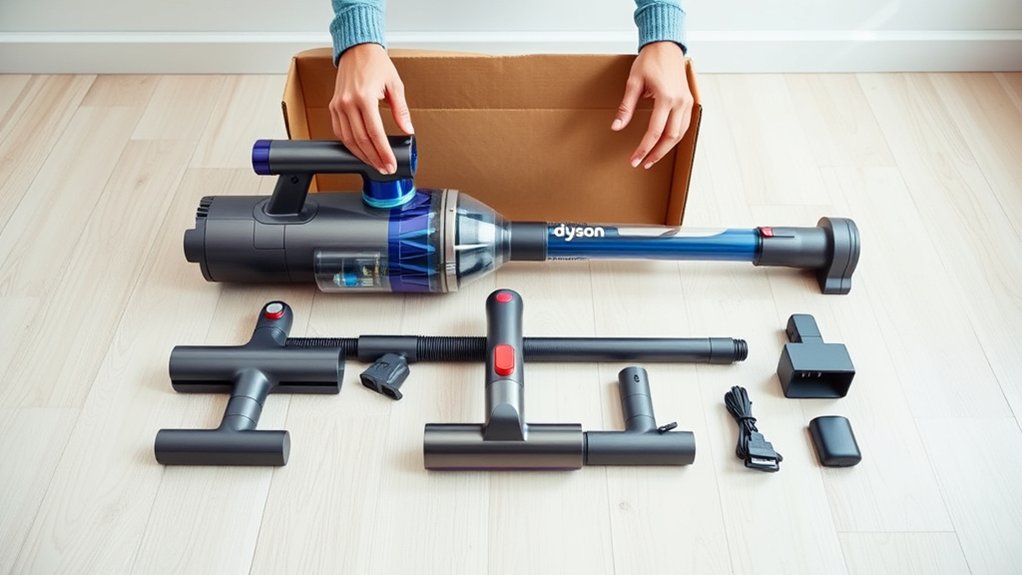
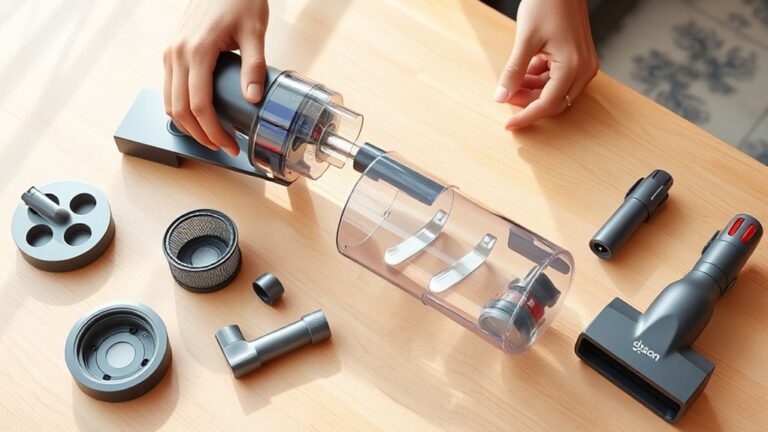
Where should you begin when setting up your new Dyson vacuum? Start by carefully unpacking the box on a clean surface. You’ll find several parts, including the main vacuum body, wand, cleaner head, filters, and charging dock or cord.
Take a moment to identify each piece by matching them with your user manual or quick start guide. This helps guarantee nothing’s missing and prepares you for smooth assembly. Check for any protective covers or packaging materials on the parts and remove them.
Organizing the components in front of you makes the next steps easier and faster. Once you recognize all the components, you’re ready to move on confidently, knowing you have everything required to get your Dyson vacuum up and running.
Install and Charge Your Dyson Vacuum Battery
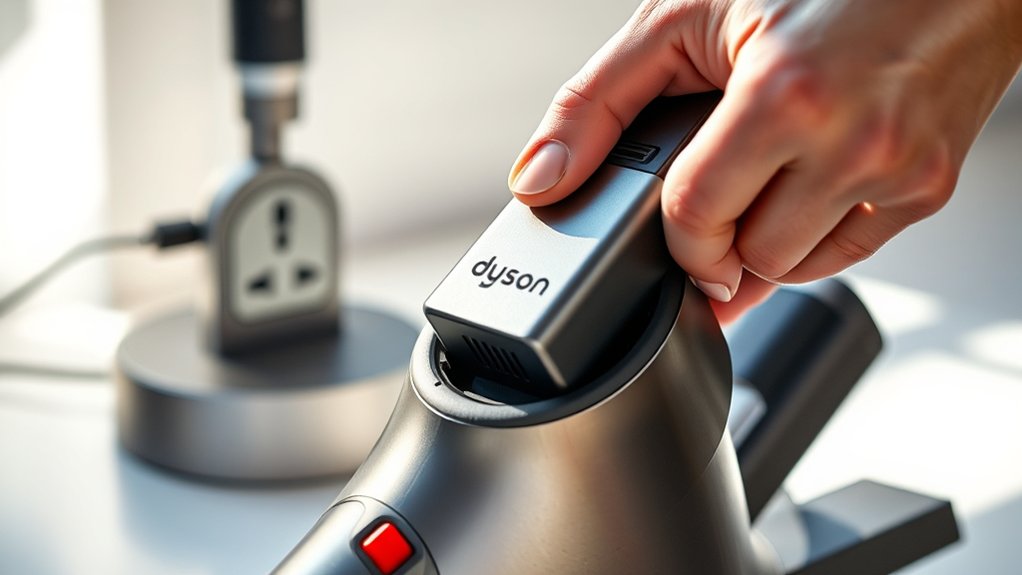
How do you get your Dyson vacuum ready for its first use? Start by installing and charging the battery properly. First, locate the battery compartment, usually at the vacuum’s base or handle.
Slide or click the battery into place until you hear a secure snap. Next, grab the charger and connect it to the battery or vacuum, depending on your model. Plug the charger into a power outlet, ensuring the charging light turns on to confirm it’s working.
Here’s a quick checklist to follow:
- Confirm battery fits snugly and is locked in place
- Use only the charger that came with your Dyson
- Charge fully before first use for maximum performance
- Keep the vacuum in a cool, dry spot while charging
This sets you up for a smooth vacuuming experience.
Assemble the Vacuum Components Step-by-Step
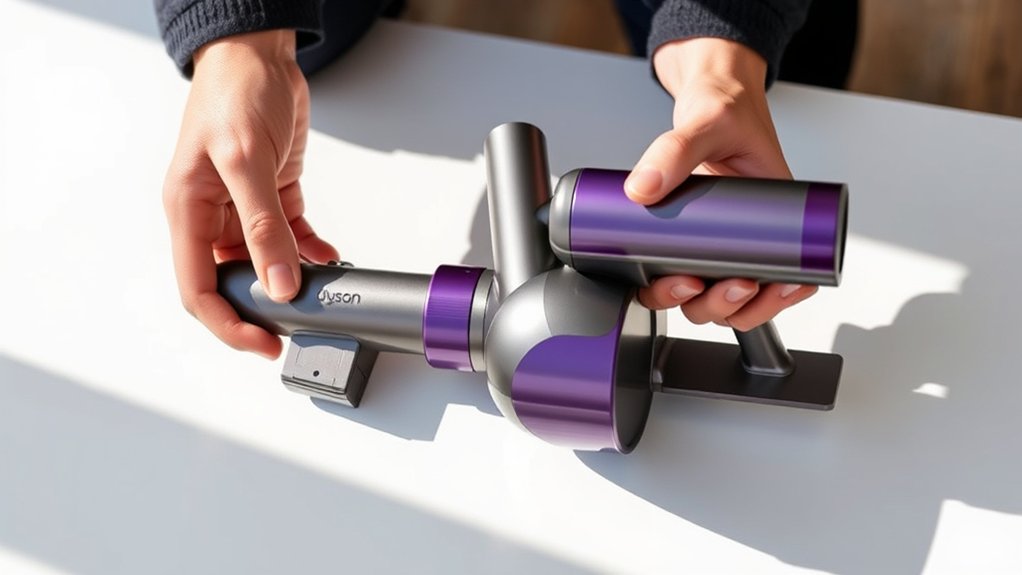
Now that your battery is ready, start by identifying each vacuum part carefully. Connect the components securely, making certain they click into place.
Finally, check the alignment to guarantee everything fits perfectly before turning it on.
Identify Vacuum Parts
Before you power on your Dyson vacuum, you need to identify its essential parts and understand how they fit together. Knowing these components helps you assemble and operate your vacuum efficiently.
Start by locating the main body, which houses the motor and dustbin. Then, find the wand or extension tube that connects the main body to the cleaning head. The cleaning head is the part that contacts the floor, often equipped with brushes or rollers.
Finally, identify the power cord or battery pack, depending on your model.
- Main body (motor and dustbin)
- Wand or extension tube
- Cleaning head with brushes or rollers
- Power cord or battery pack
Recognizing these parts ensures you’re ready to assemble your Dyson vacuum properly.
Connect Components Securely
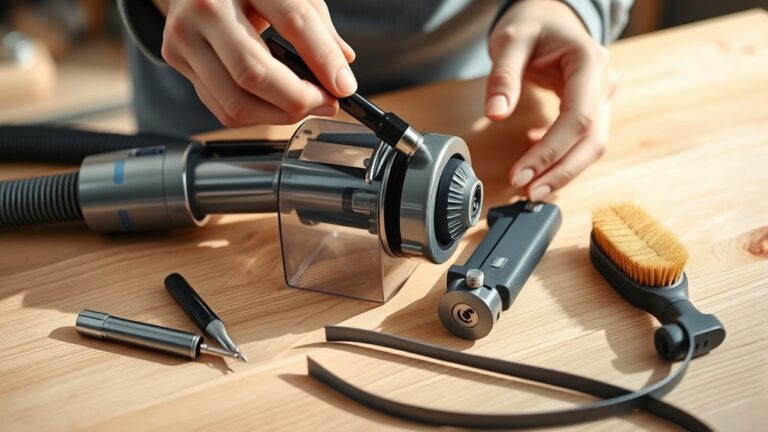
Once you’ve identified the main parts of your Dyson vacuum, it’s time to connect them securely. Start by attaching the wand to the main body; you should hear a click confirming a firm fit.
Next, connect the cleaner head to the wand, guaranteeing the locking mechanism aligns properly. Finally, attach any additional accessories if needed.
| Component | Connection Tip |
|---|---|
| Wand to Body | Push firmly until you hear a click |
| Cleaner Head to Wand | Align locking tabs before clicking |
| Accessories | Snap into designated slots gently |
Make sure each piece fits snugly to avoid air leaks or loose parts during use. Secure connections ensure your vacuum operates at peak efficiency.
Check Assembly Alignment
How do you guarantee your Dyson vacuum is assembled correctly for peak performance? Start by checking the alignment of each component carefully. Misaligned parts can reduce suction and cause the vacuum to malfunction.
Make sure every piece fits snugly without gaps or wobbles.
Focus on these key points to ensure perfect assembly alignment:
- Confirm the wand clicks firmly into place without tilting.
- Align the dustbin so it locks securely onto the main body.
- Check the brush bar housing sits flush with the floor head.
- Verify the filters are seated properly without forcing them in.
Taking these steps helps your vacuum run smoothly and extends its lifespan.
Proper alignment guarantees you get the most out of your Dyson’s powerful cleaning abilities.
Locate the Power Button on Your Dyson Vacuum
Finding the power button on your Dyson vacuum is the key to getting it up and running quickly. Usually, the power button is located near the handle or on the main body, within easy reach of your thumb or fingers. On most models, it’s a clearly marked button, often circular or rectangular, with a power symbol.
Take a moment to familiarize yourself with its exact position before you start cleaning. If your vacuum is cordless, the power button might be on the handle or just below it. For upright models, look near the base or on the side.
Knowing where this button is saves you time and prevents fumbling when you’re ready to begin. Keep this in mind as you prepare to switch it on.
Turn On Your Dyson Vacuum
Now that you know where the power button is, turning on your Dyson vacuum is straightforward. Just follow these simple steps to get started quickly and efficiently.
- Make sure the vacuum is properly assembled and ready for use.
- Press the power button firmly; you should feel a click or see an indicator light.
- Hold the button for a moment if your model requires a longer press to activate.
- Listen for the motor to start running, confirming the vacuum is on.
If your Dyson doesn’t start immediately, double-check the power button location and verify it’s pressed correctly.
Once it powers up, you’re all set to begin cleaning with your Dyson vacuum.
Plug In Your Corded Dyson Vacuum (If Applicable)
Before you power on your corded Dyson vacuum, plug the cord securely into a nearby outlet to guarantee uninterrupted cleaning. Make certain the outlet is easily accessible and free from obstructions. Uncoil the cord completely to prevent it from tangling or tripping you during use.
If your vacuum has a cord rewind feature, avoid pulling the cord too hard to protect the mechanism. Double-check that the plug fits snugly into the socket, ensuring a stable connection. Avoid using extension cords unless necessary, as they can reduce power and increase the risk of overheating.
Once plugged in, keep the cord away from sharp edges or moving parts of the vacuum. This simple step ensures your Dyson vacuum runs smoothly without unexpected power interruptions.
Choose the Right Cleaning Mode on Your Dyson Vacuum
Dyson vacuums offer multiple cleaning modes tailored to different surfaces and messes, so selecting the right one can make your cleaning more efficient. Before you start, check your vacuum’s mode selector and pick the setting that matches your floor type or cleaning needs. Using the correct mode helps maximize suction and battery life while protecting delicate surfaces.
Here are common Dyson cleaning modes you’ll find:
- Auto Mode: Adjusts power based on floor type automatically.
- Eco Mode: Conserves battery for lighter cleaning tasks.
- Max Mode: Delivers full suction for deep cleaning.
- Hard Floor Mode: Optimized for bare floors without damaging them.
Choose the right mode, and you’re set for a quick, effective clean.
Keep Your Vacuum Running With the Trigger and Lock
Selecting the right cleaning mode sets you up for success, but keeping your vacuum running smoothly depends on how you handle the trigger and lock mechanism. When you press the trigger, your Dyson vacuum powers on, but holding it continuously can tire your hand during longer cleaning sessions.
To avoid this, engage the trigger lock by pressing the trigger and sliding the lock button into place. This keeps the vacuum running without needing to hold the trigger. When you’re done, simply press the trigger again to release the lock and turn off the vacuum.
Using the trigger and lock correctly not only saves your hand from strain but also helps you control the vacuum’s power efficiently throughout your cleaning, making the process quicker and easier.
Troubleshoot Common Dyson Vacuum Startup Issues
If your vacuum won’t start despite holding the trigger and engaging the lock, don’t worry—you can quickly identify and fix common startup issues. First, check the battery level; a low or dead battery is often the culprit. Next, inspect the power button and trigger for any stuck parts or debris blocking them.
Also, examine the bin and filter to ensure they’re properly attached, as some models won’t start if components aren’t secured. Lastly, look for any blockages in the airflow path that might cause the vacuum to shut down for safety.
- Verify the battery is charged and correctly installed
- Clean debris around the power button and trigger
- Ensure all components like the bin and filter snap into place
- Clear any blockages in the hose or brush head
Maintain Your Dyson Vacuum for Smooth Operation
To keep your Dyson vacuum running smoothly, you should clean the filter regularly and clear the brush roll of any debris. Don’t forget to check the battery health to guarantee consistent power.
These simple steps will help you avoid startup issues and extend your vacuum’s lifespan.
Regular Filter Cleaning
Although your Dyson vacuum works hard to keep your home clean, it also needs regular filter cleaning to maintain peak performance. A clogged filter reduces suction power and strains the motor, causing inefficient cleaning.
To keep your vacuum running smoothly, clean the filter every 1-3 months depending on usage.
Follow these steps for regular filter cleaning:
- Remove the filter according to your Dyson model’s instructions.
- Rinse the filter under cold water; avoid detergents or washing machines.
- Gently squeeze out excess water without wringing.
- Let the filter air dry completely for at least 24 hours before reinstalling.
Clear Brush Roll
Why does your Dyson vacuum sometimes lose suction or make unusual noises? Often, the culprit is a clogged or tangled brush roll. Hair, threads, and debris can wrap around the brush, restricting its movement and reducing cleaning efficiency.
To fix this, first unplug your vacuum for safety. Then, remove the brush roll according to your model’s instructions. Use scissors or a seam ripper to carefully cut away tangled hair and fibers without damaging the bristles.
Wipe down the brush roll and check for any stuck debris inside the housing. Once it’s clean and free spinning, reassemble the parts. Regularly clearing the brush roll keeps your Dyson running smoothly and maintains ideal suction, helping you vacuum faster and more effectively every time.
Check Battery Health
Since your Dyson vacuum relies heavily on its battery, checking its health regularly guarantees consistent power and peak performance. A weak or failing battery can cause your vacuum to lose suction or shut off unexpectedly.
To keep your vacuum running smoothly, follow these tips to assess and maintain battery health:
- Monitor the runtime: If your vacuum’s runtime decreases markedly, it’s time to check the battery.
- Inspect for damage: Look for swelling, leaks, or corrosion on the battery pack.
- Use only Dyson-approved chargers to avoid damaging the battery.
- Store your vacuum in a cool, dry place to preserve battery life.
Frequently Asked Questions
How Do I Replace the Vacuum Filter on My Dyson?
You’ll remove the filter from your Dyson by twisting or pulling it out, depending on the model. Then, rinse it under cold water until clear.
Let it dry completely for 24 hours before reinstalling to avoid damage.
Can I Use Dyson Vacuum Attachments on Other Brands?
Think of Dyson attachments like puzzle pieces made for one set; you can’t always fit them on other brands. You’ll likely find they don’t connect properly, so it’s best to stick with Dyson-specific tools.
What Should I Do if My Dyson Vacuum Overheats?
If your Dyson vacuum overheats, turn it off and unplug it immediately. Let it cool for at least 45 minutes.
Check for blockages or a full bin before restarting. Don’t use it until it’s completely cooled.
How Do I Store My Dyson Vacuum Properly?
Think of your Dyson like a book on a shelf—store it upright in a cool, dry spot, preferably on its docking station. This keeps it ready, just like a well-kept story waiting for you to dive back in anytime.
Are Dyson Vacuum Parts Covered Under Warranty?
Yes, Dyson vacuum parts are covered under warranty if your vacuum is within the warranty period.
You’ll want to check your specific model’s warranty terms to see which parts are included and for how long.
Conclusion
Now that you know how to turn on your Dyson vacuum quickly, you’re ready to tackle any mess efficiently. Did you know Dyson vacuums can capture 99.97% of microscopic dust particles? That means not only are you cleaning visible dirt, but you’re also improving your home’s air quality.
Just follow these steps, and your vacuum will be up and running in no time. This will make your cleaning routine easier and more effective. Using your Dyson vacuum properly ensures powerful suction and optimal performance every time you clean.