10 Steps to Repair a Leaky Bathroom Faucet
To repair a leaky bathroom faucet, it is essential to follow a clear and effective process. Start by turning off the water supply and opening the faucet to drain any remaining pressure.
Identifying your specific faucet type will help you select the right tools and replacement parts needed for the repair.
Carefully remove the faucet handle, taking care to protect surfaces and avoid damage during the process.
Inspect the cartridge, washers, and O-rings thoroughly. Clean these components and replace any worn or damaged parts to ensure a proper seal.
Reassemble the faucet securely and turn the water back on.
Test the faucet to check for any remaining leaks. If the drip persists, following a step-by-step guide will help you fix the problem effectively and restore your bathroom faucet to proper working order.
Key Takeaways
- Turn off the water supply and drain the faucet before starting to prevent water flow during repair.
- Identify the faucet type and handle style to select the correct replacement parts.
- Remove the handle carefully, inspecting internal parts for damage, corrosion, or mineral buildup.
- Replace worn washers, cartridges, or O-rings with matching parts and clean all components thoroughly.
- Reassemble the faucet, turn on the water supply gradually, and test for leaks, tightening parts if needed.
Turn Off the Faucet Water Supply Safely
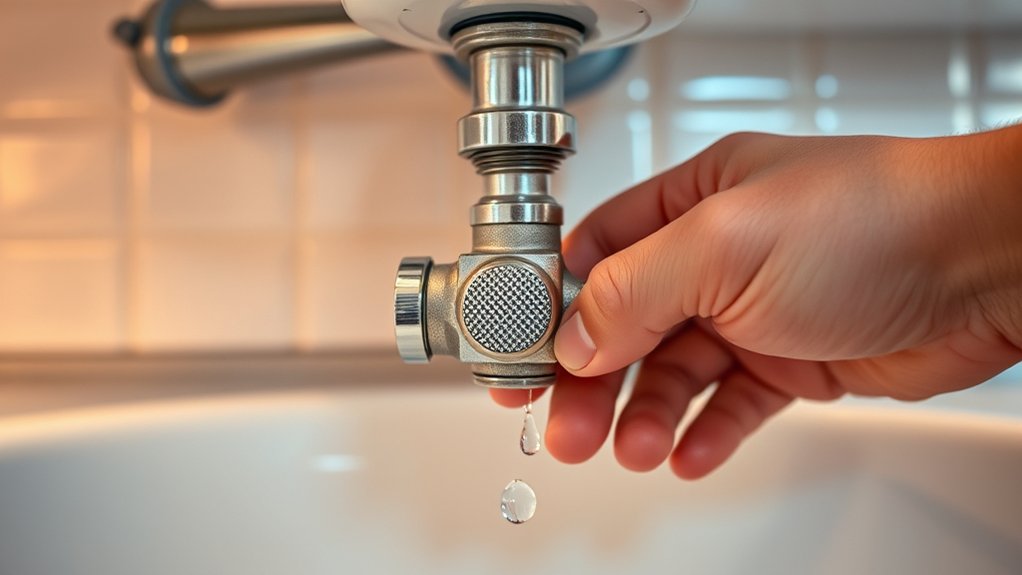
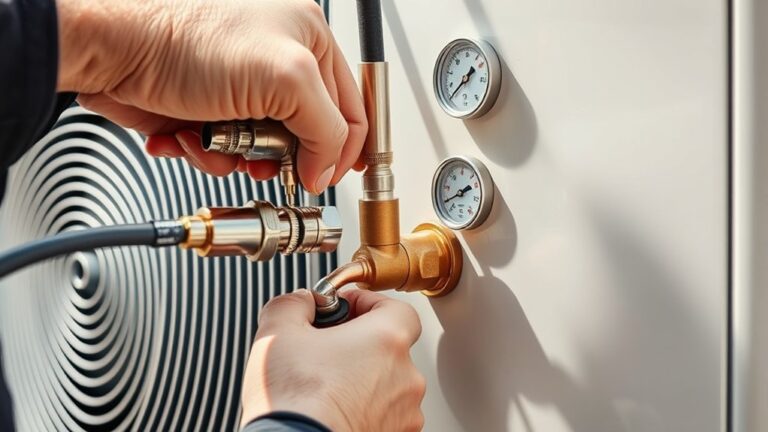
Before you begin any repairs, make sure you turn off the water supply to the faucet. Locate the shutoff valves under the sink—usually, you’ll find two, one for hot water and one for cold. Turn both valves clockwise to close them completely.
If you don’t have individual shutoff valves, you’ll need to turn off the main water supply for your home. After shutting off the water, open the faucet to release any remaining pressure and drain residual water. This step prevents water from spilling when you start disassembling the faucet.
Double-check that the water is off by trying to turn on the faucet again. If no water comes out, you’re ready to proceed safely with your repair. This simple precaution avoids messes and potential damage.
Identify the Type of Your Bathroom Faucet
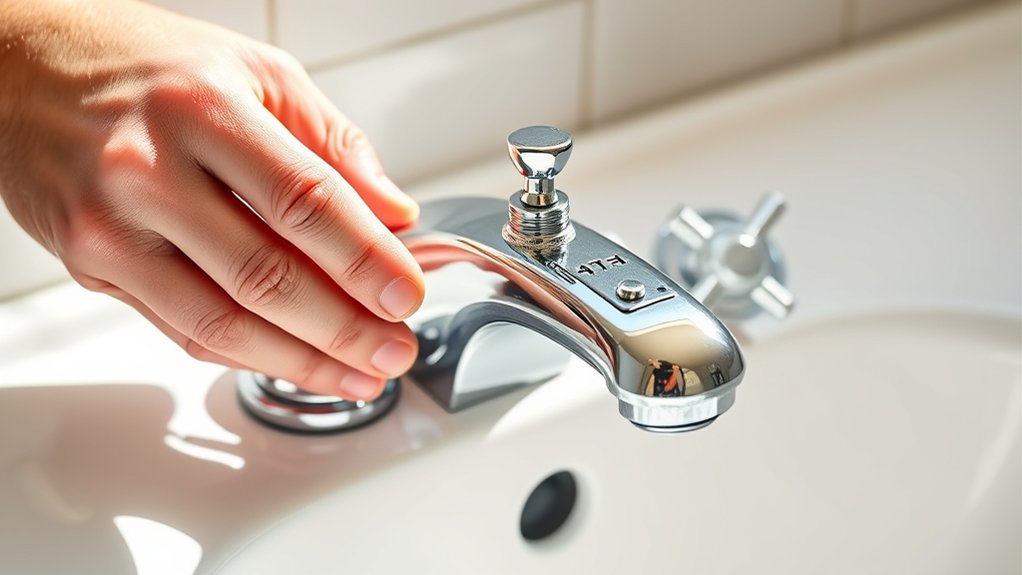
Knowing the type of bathroom faucet you have is essential for choosing the right repair method and parts. Faucets mainly come in four types, each with unique mechanisms. You’ll want to identify yours before starting.
| Faucet Type | Handle Style | Common Issue |
|---|---|---|
| Compression | Two separate handles | Worn-out washers causing leaks |
| Cartridge | Single or double handle | Cartridge wear or damage |
| Ball | Single handle | Ball assembly leaks |
| Ceramic Disk | Single handle | Disk seal wear |
Check how many handles you have and how they operate. For example, if you have two handles controlling hot and cold separately, it’s likely a compression faucet. This step guarantees you get the right replacement parts and fixes the leak efficiently.
Gather Essential Tools: Wrenches, Screwdrivers & More
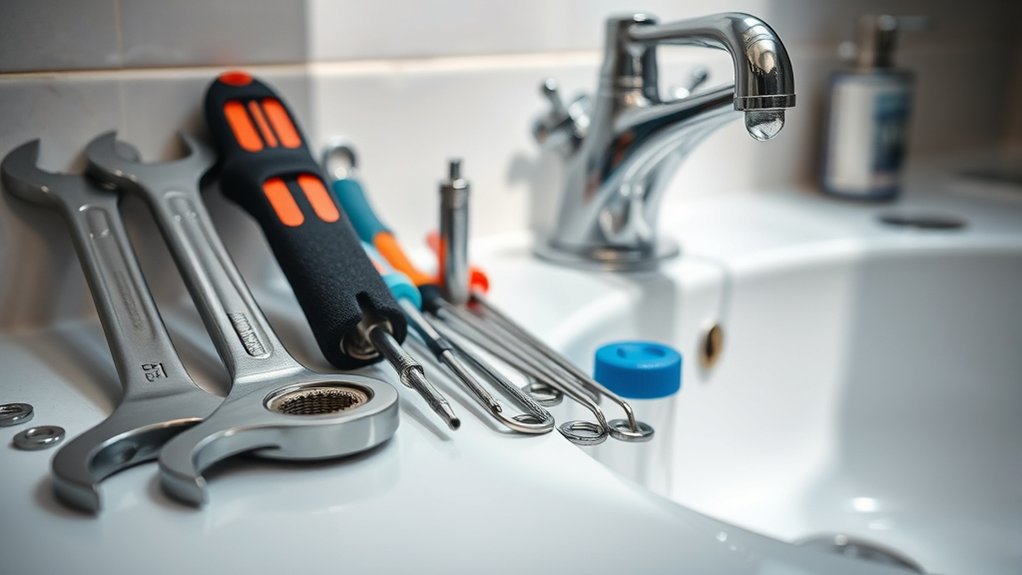
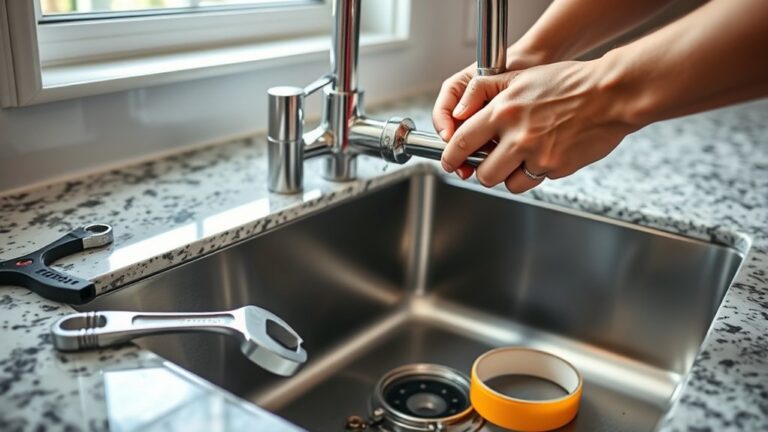
Before you start fixing your leaky faucet, make sure you have the right tools on hand. You’ll need wrenches to loosen nuts and various screwdrivers to remove screws without damaging them.
Choosing the correct screwdriver size and type will save you time and prevent stripping.
Must-Have Repair Tools
Although fixing a leaky bathroom faucet might seem straightforward, having the right tools on hand makes the job much easier and faster. You’ll want to gather a few must-have items before you start to avoid interruptions and frustration.
Here are the top tools you need:
- Adjustable Wrench – Essential for loosening and tightening nuts without damaging them.
- Pliers – Great for gripping small parts and turning stubborn components.
- Utility Knife – Useful for cutting old plumber’s tape or trimming seals.
With these tools ready, you’ll be able to tackle most faucet repairs efficiently. Make sure everything is within reach so you can work smoothly and fix that leak in no time.
Selecting The Right Screwdrivers
Since faucets often use different types of screws, you’ll want to have the right screwdrivers on hand to handle each one without stripping or damaging them. Typically, you’ll encounter Phillips and flathead screws, so make sure you have both types in various sizes. A precision screwdriver set can be especially helpful for small screws in tight spaces.
Using the correct size and type guarantees a secure grip and prevents slipping, which can cause damage to the faucet or make repairs harder. Avoid using worn or ill-fitting screwdrivers, as they increase the risk of stripping screws. Investing in quality tools will save you time and frustration, making the repair smoother and more efficient.
Have a magnetic screwdriver handy too; it helps keep screws from falling and getting lost during your repair.
Remove the Faucet Handle Without Causing Damage
You’ll want to start by locating any hidden screws, often tucked under decorative caps. Use the right tools to avoid stripping or damaging these fasteners.
To keep your faucet looking good, protect the surface from scratches by placing a cloth or tape around the handle before prying it off.
Locate Hidden Screws
Finding the hidden screws is the key to removing your faucet handle without causing damage. These screws often sit out of plain sight, tucked under decorative caps or behind the handle itself.
Here’s how to locate them effectively:
- Inspect the Handle Closely: Look for small caps or plugs that might conceal the screws. Use a flat tool to gently pry these open.
- Check the Base and Sides: Some screws hide along the base or on the sides of the handle, especially on older models.
- Consult the Manufacturer’s Guide: If you have it, the manual usually points out where screws are hidden.
Use Proper Tools
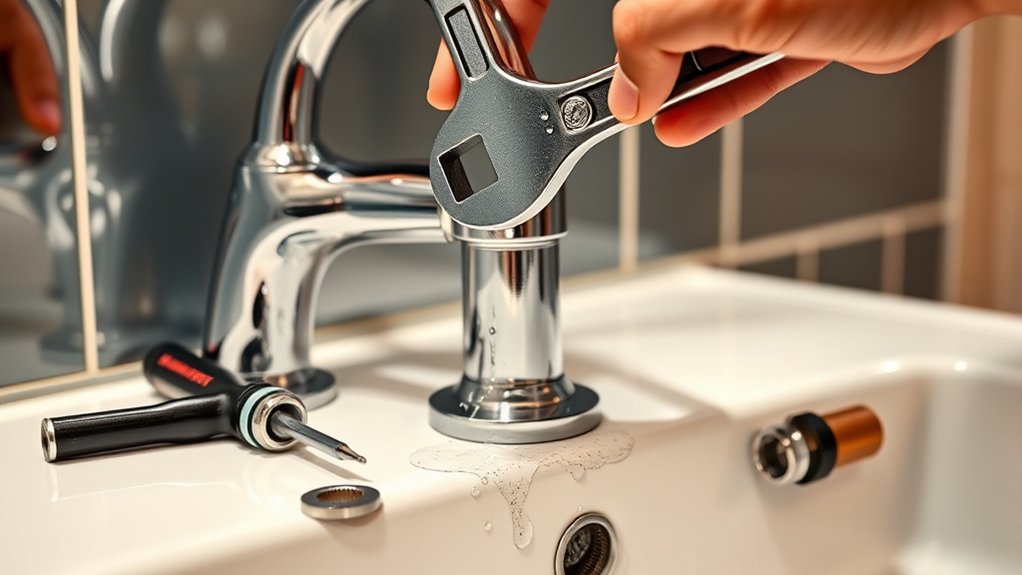
After locating the hidden screws, the next step is to gather the right tools to remove the faucet handle without causing damage. You’ll need a screwdriver that matches the screw type—usually a Phillips or flathead—and an adjustable wrench or Allen key if your faucet uses set screws.
Having a handle puller handy can help if the handle is stuck. Avoid using pliers directly on the handle, as they can cause dents or scratches. Before you start, wrap the wrench or tool with a cloth to cushion the surface.
Work slowly, turning screws counterclockwise, and gently wiggle the handle to loosen it. Using the proper tools guarantees a smooth removal process and keeps your faucet intact for an easier repair.
Prevent Surface Scratches
Although removing the faucet handle might seem straightforward, taking extra precautions can prevent unsightly scratches on the surface.
You’ll want to protect your faucet’s finish while working carefully to avoid damage.
Follow these steps to prevent surface scratches:
- Cover the area: Wrap the faucet base and surrounding surface with painter’s tape or a soft cloth to cushion against accidental slips.
- Use the right tools: Choose tools with clean, smooth edges, like a rubber-coated wrench or a plastic pry tool, to minimize contact damage.
- Apply gentle pressure: When prying off the handle, work slowly and evenly, avoiding sudden force that could scratch or chip the finish.
Inspect Cartridge and Washer for Damage
Before reassembling your faucet, carefully inspect the cartridge and washer for signs of wear or damage. Look for cracks, corrosion, or mineral buildup that could affect their function. The cartridge should move smoothly without sticking.
The washer should be flat and intact, not warped or brittle. Use a magnifying glass if needed to spot small tears or deformities. Pay close attention to the edges where the washer seals, as damage here often causes leaks.
If you notice any discoloration or residue, gently clean the parts to get a clearer view. Taking your time during this inspection helps verify you identify any issues that need addressing before putting everything back together, which will save you from future leaks and frustration.
Replace Worn Cartridge or Washer Parts
Once you spot a worn cartridge or washer, it’s time to remove the old parts carefully. You’ll want to identify any signs of damage before installing the replacements.
Follow the steps to fit the new pieces securely and stop the leak for good.
Identifying Cartridge Issues
When your faucet keeps dripping despite tightening the handles, it’s time to check the cartridge or washers inside. The cartridge controls water flow, and if it’s worn or damaged, leaks happen.
To identify cartridge issues, follow these steps:
- Look for visible damage: Remove the handle and inspect the cartridge for cracks, corrosion, or mineral buildup. Any visible wear means replacement is needed.
- Test water flow control: Turn the faucet on and off with the cartridge removed. If water flow doesn’t stop properly when the cartridge is reinstalled, it’s likely defective.
- Notice persistent leaks: If dripping continues even after replacing washers, the cartridge is probably the culprit.
Spotting these signs early prevents further damage and saves you time during repairs.
Removing Old Washers
Although you’ve identified the cartridge as the source of the leak, you’ll need to remove the old washers to complete the repair. First, turn off the water supply to avoid any mess. Use a wrench or pliers to carefully loosen and remove the retaining nut holding the cartridge in place.
Once exposed, take out the cartridge and examine the washers beneath it. Old washers often crack, flatten, or become brittle, causing leaks. Use a flathead screwdriver to gently pry out the worn washers without damaging the surrounding parts.
Keep track of their orientation and position, as this will help when you install new ones. Removing these washers thoroughly guarantees a better seal once you replace them, preventing future drips and maintaining faucet functionality.
Installing Replacement Parts
Start by carefully placing the new cartridge or washers into their proper positions, matching the orientation of the old parts you removed. This guarantees the faucet functions smoothly without leaks. Make sure each part fits snugly to prevent any gaps that could cause drips.
Follow these steps for a secure installation:
- Align the cartridge or washers exactly as the originals were positioned to maintain proper flow control.
- Tighten any retaining nuts or screws firmly but avoid over-tightening, which can damage the parts.
- Reassemble the faucet handle and test the water flow to confirm the leak is fixed.
Clean and Inspect Faucet Components
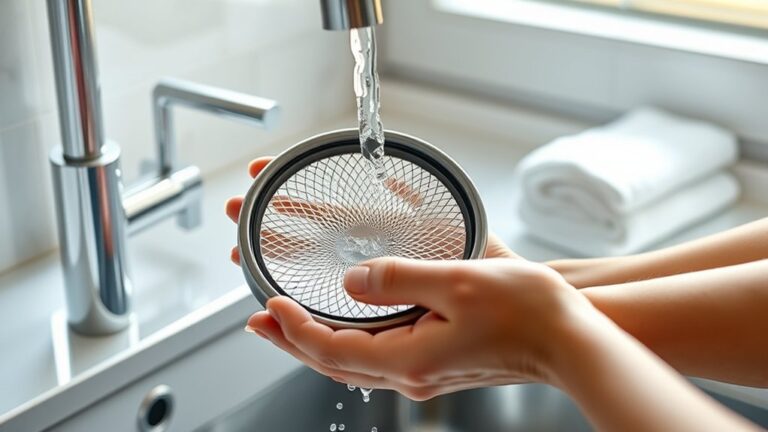
Before reassembling your faucet, you’ll want to thoroughly clean and inspect each component to identify any damage or buildup that might be causing the leak. Start by soaking parts like washers, O-rings, and valve seats in a vinegar solution to dissolve mineral deposits. Use a soft brush or cloth to remove any remaining grime.
Check all parts carefully for cracks, corrosion, or wear. Pay special attention to rubber washers and seals, which often degrade and cause leaks. If you spot any damaged components, replace them to guarantee a proper seal.
Make sure all parts are completely dry before moving on. Taking the time to clean and inspect now helps prevent future leaks and guarantees your faucet works smoothly once you reassemble it.
Reassemble the Faucet Step-by-Step
Once your faucet components are clean, dry, and free of damage, you can begin reassembling the faucet. Take your time to verify each part fits correctly, preventing future leaks or malfunctions.
- Reinstall the Cartridge or Valve – Place the cartridge or valve back into the faucet body carefully, aligning it as it was before disassembly. Secure it with any retaining clips or nuts.
- Replace Washers and O-Rings – Slide the new washers and O-rings into their respective positions to create a watertight seal. Make sure they’re seated properly to avoid leaks.
- Reattach Handle and Trim – Put the handle back on and tighten screws or nuts. Then, snap or screw on the trim pieces to finish the faucet’s exterior.
Test the Faucet to Confirm the Leak Is Fixed
Although you’ve reassembled the faucet carefully, you’ll want to turn the water supply back on and test it to make certain the leak is completely fixed. Start by slowly opening the shut-off valves under the sink. Once water flows through the faucet, check for any drips or moisture around the base and handles.
Run both hot and cold water separately to ensure there’s no leak from either side. Pay close attention to the spout and connections. If everything stays dry, operate the faucet several times to confirm the fix holds under regular use.
Catching any issues now saves you from bigger problems later. Once you’re confident the leak is gone, clean up your workspace and enjoy your fully functional faucet.
What to Do If Your Faucet Still Leaks?
If your faucet still leaks after your initial repair, don’t worry—you can take a few additional steps to pinpoint and fix the problem. First, double-check that all parts are seated correctly and tightened. Sometimes a loose washer or O-ring causes continued dripping.
Next, inspect for worn or damaged parts that might need replacing; old seals or corroded valves are common culprits. Finally, consider whether mineral buildup is interfering with proper sealing—clean affected components thoroughly.
- Reassemble carefully, ensuring no parts are misaligned.
- Replace any visibly worn or damaged washers, seals, or cartridges.
- Clean and remove mineral deposits with vinegar or a descaling solution.
If leaks persist, it might be time to consult a plumber for professional help.
Frequently Asked Questions
How Can I Prevent Faucet Leaks in the Future?
You can prevent faucet leaks by regularly checking for worn-out washers, tightening loose parts, and cleaning debris.
Don’t overtighten handles, and consider upgrading to higher-quality faucets for better durability and fewer leaks over time.
What Causes a Faucet to Start Leaking Initially?
Ever wonder why your faucet starts leaking in the first place? It’s usually because washers or seals wear out, mineral buildup damages parts, or corrosion happens.
You’ll notice leaks once these components fail or degrade over time.
Are There Eco-Friendly Faucet Repair Options Available?
Yes, you can choose eco-friendly faucet repair options like using biodegradable plumbers’ grease, replacing rubber washers with sustainable materials, or installing water-saving aerators. These choices help you conserve water and reduce environmental impact effectively.
How Long Does a Typical Faucet Repair Take?
Fixing a faucet usually takes about 30 minutes to an hour, like a quick pit stop. If you’re prepared and have the right tools, you’ll have it dripping-free in no time!
Can I Repair a Faucet Leak Without Professional Help?
Yes, you can repair a faucet leak without professional help. Just turn off the water, gather basic tools, follow a clear guide, and take your time.
It’s easier than you might think with patience and care.
Conclusion
Now that you’ve gently nursed your faucet back to health, you can enjoy peaceful, drip-free mornings. Remember, a little patience and care go a long way in keeping your bathroom running smoothly.
If the leak decides to make a comeback, don’t hesitate to revisit these steps or call in a helping hand. With your newfound skills, you’re well on your way to mastering the art of a serene, leak-free sink.
By following these 10 steps to repair a leaky bathroom faucet, you can save water, reduce damage, and maintain a functional bathroom. Keep these tips handy to ensure your sink stays in top shape.