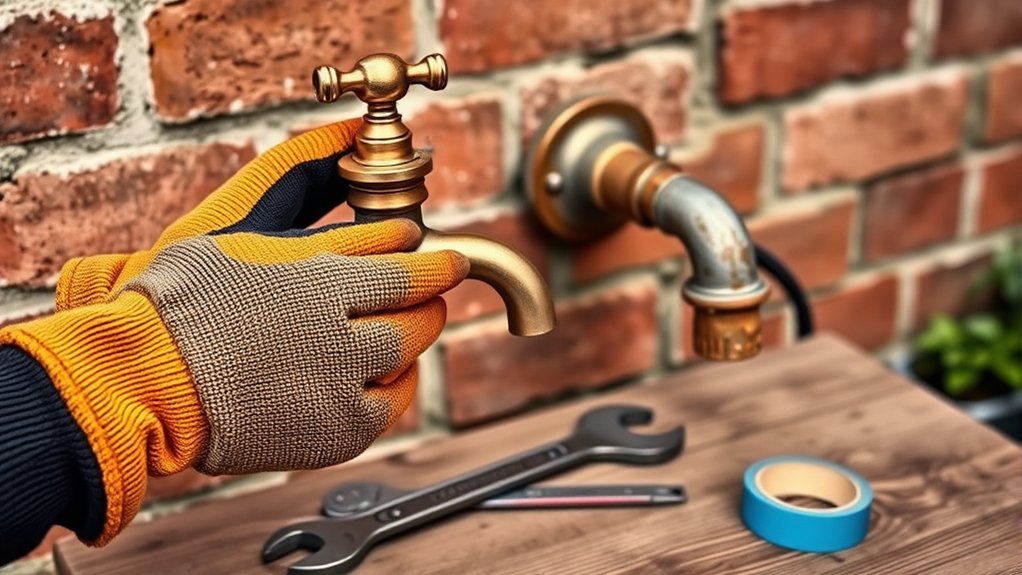
How to Change an Outside Water Faucet in 7 Easy Steps
To change an outside water faucet in 7 easy steps, start by gathering essential tools such as a wrench, plumber’s tape, and a bucket. Replacing an outdoor faucet is a straightforward DIY task that can save you from costly plumbing repairs.
First, shut off the water supply and drain any remaining water from the faucet.
Next, carefully remove the old faucet, applying penetrating oil if it’s stuck or difficult to loosen.
After removing the old faucet, clean the pipe threads thoroughly to ensure a tight seal.
Wrap the threads with plumber’s tape and securely install the new faucet.
Finally, turn the water back on and check for leaks to confirm a proper installation.
Don’t forget to winterize the faucet to protect it from freezing temperatures.
Keep reading for detailed tips and tricks to make this process even easier.
Key Takeaways
- Shut off the main water supply and open the outside faucet to drain remaining water before starting.
- Use a wrench to carefully unscrew and remove the old faucet, applying penetrating oil if stuck.
- Clean the pipe threads thoroughly and wrap them with plumber’s tape to ensure a tight seal.
- Screw the new faucet onto the pipe by hand, then tighten securely with a wrench without overtightening.
- Turn the water supply back on, check for leaks, and winterize the faucet by draining and insulating it.
Gather Your Tools and Materials
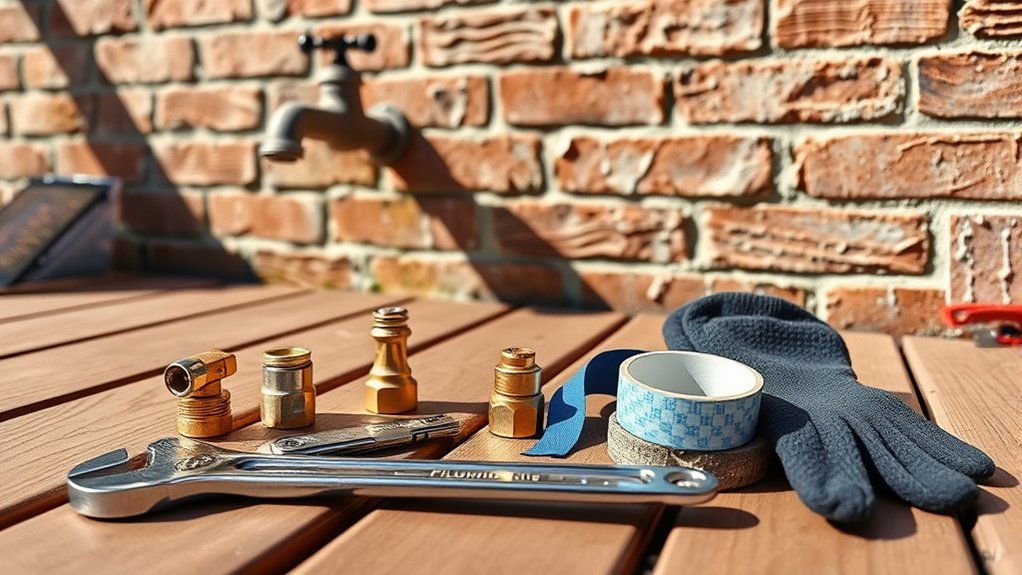
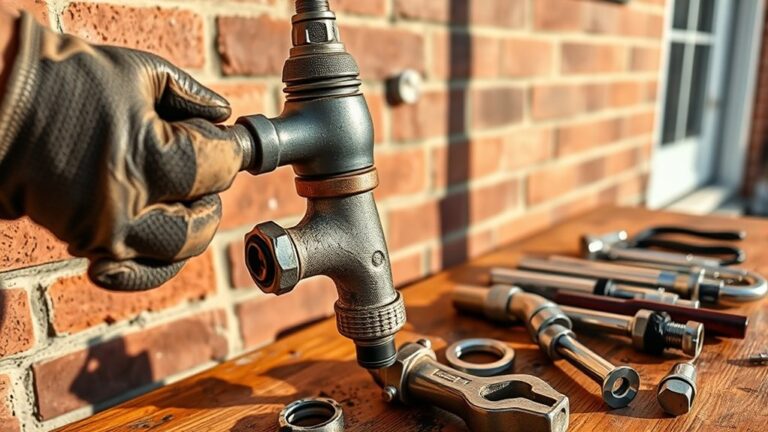
Before you begin replacing your outside water faucet, make sure you have all the necessary tools and materials on hand. You’ll need a replacement faucet that matches your current setup, a pipe wrench or adjustable wrench, plumber’s tape (Teflon tape), and a bucket to catch any residual water. Keep some rags nearby to dry any spills.
Additionally, have a screwdriver and a pair of pliers ready for any small adjustments. If your faucet is soldered, you might need a propane torch and solder, but most modern outdoor faucets use threaded connections. Having these tools ready will save you time and frustration, ensuring a smoother replacement process.
Double-check your faucet type to get the correct replacement and avoid extra trips to the hardware store.
Shut Off the Outside Faucet’s Water Supply Safely
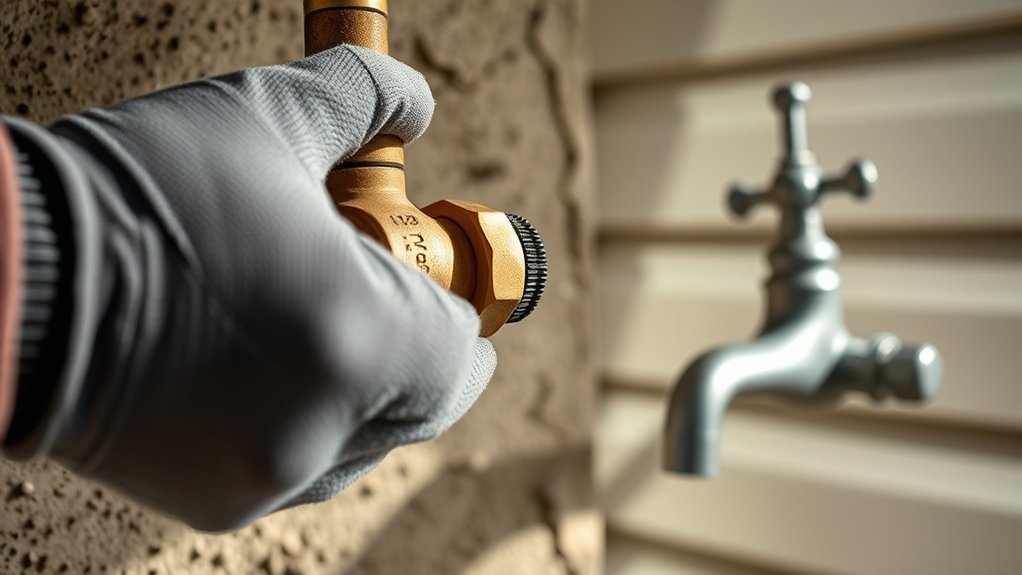
While you might be keen to replace your outside faucet, you need to first shut off its water supply to prevent leaks and water damage. Locate the main water shutoff valve inside your home, usually found near the water meter or where the main line enters. Turn this valve clockwise to stop water flow.
If your home has a separate shutoff valve for the outside faucet, use that instead to avoid disrupting indoor water. Once closed, open the outside faucet to drain any remaining water in the pipe. This relieves pressure and reduces the risk of water spraying when you remove the faucet.
Double-check that no water flows from the spigot before proceeding, ensuring you’ve shut the supply off safely and effectively.
Remove the Old Outside Faucet Carefully (And Troubleshoot Issues)
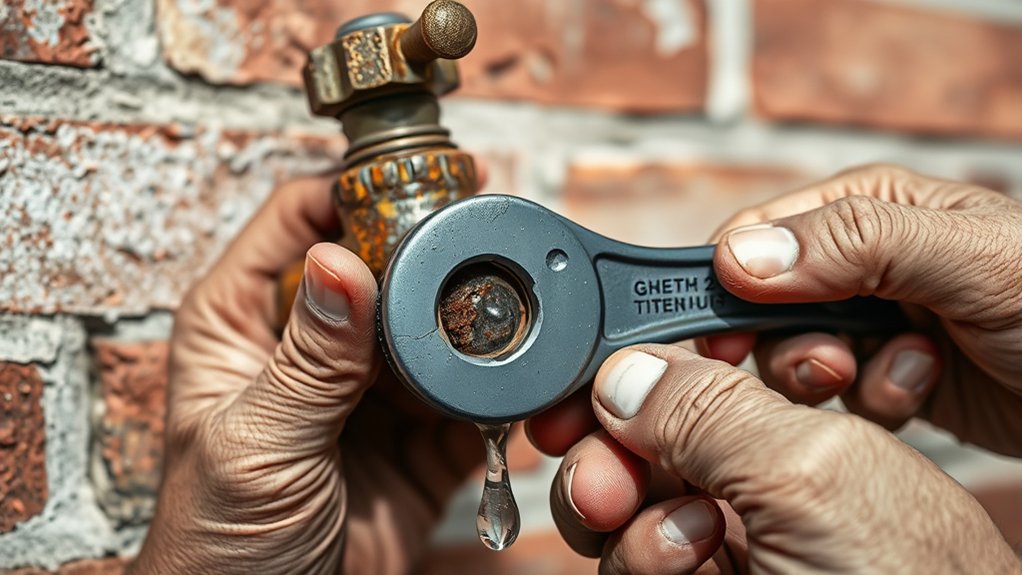
Since you’ve shut off the water supply and drained the faucet, you can now carefully unscrew the old outside faucet using a wrench or pliers. Hold the pipe steady with one tool while turning the faucet counterclockwise with the other. If it feels stuck, apply penetrating oil and wait a few minutes before trying again.
Watch out for these common issues:
- Corroded Threads: Use moderate force to avoid damaging the pipe.
- Leaking Pipe: Inspect for cracks or corrosion once the faucet’s removed.
- Broken Faucet Handle: Note if the handle spins without turning water off.
- Stuck Faucet: Apply heat carefully to loosen tight fittings if needed.
Handle everything gently to prevent pipe damage and prepare for the next step.
Clean the Pipe and Wrap It With Plumbing Tape
Once you’ve removed the old faucet, you should clean the exposed pipe thoroughly to remove any debris, old tape, or corrosion. Use a wire brush or sandpaper to scrub the pipe threads until they’re smooth and shiny. This guarantees a tight, secure seal with no leaks.
Next, wrap the pipe threads with plumbing tape (also called Teflon tape). Hold the pipe steady and wrap the tape clockwise, overlapping the tape by about half its width. Apply two to three layers to create a reliable seal.
Avoid wrapping too loosely or too tightly, which can cause leaks or make it hard to screw on the new faucet. Proper cleaning and taping set the foundation for a leak-free installation and a long-lasting connection.
Install the New Outside Water Faucet Correctly
Before you screw the new faucet onto the taped pipe, make sure to align it properly so the handle faces an accessible direction. This guarantees ease of use once installed.
Follow these steps to install the new outside water faucet correctly:
- Thread the faucet onto the taped pipe by hand, turning clockwise until snug.
- Use an adjustable wrench to tighten the faucet securely, but avoid overtightening to prevent damage.
- Position the faucet so the spout points downward to prevent water from pooling.
- Check that the faucet feels stable and doesn’t wobble; if it does, tighten slightly more.
Test the New Faucet for Leaks and Proper Flow
After securing the new faucet in place, you’ll want to verify it works correctly and doesn’t leak. First, turn on the main water supply slowly to avoid pressure surges. Then, open the outside faucet fully and watch closely for any drips or moisture around the connection points.
Check both the handle area and the base where it connects to the wall. If you spot any leaks, tighten the fittings gently with a wrench—don’t overdo it, or you might damage the pipes. Next, observe the water flow to ensure it’s steady and strong.
A weak flow could indicate debris blockage or improper installation. Once you confirm no leaks and proper flow, your new outside faucet is ready for use.
Winterize and Maintain Your Outside Water Faucet
To protect your outside water faucet during winter, you need to drain it properly to prevent freezing damage. Make sure to insulate the faucet with foam covers or wraps to keep it safe from cold temperatures.
Regularly check for leaks to maintain its efficiency and avoid costly repairs.
Drain Outdoor Faucet Properly
Even if the temperature hasn’t dropped yet, you should drain your outdoor faucet to prevent water from freezing inside and causing damage. Proper drainage helps maintain your faucet and avoids costly repairs in winter.
Here’s how to do it:
- Turn off the water supply valve inside your home connected to the outdoor faucet.
- Open the outdoor faucet fully to let any remaining water drain out.
- Use compressed air to blow out leftover water from the faucet and connected pipes, if available.
- Leave the faucet handle open until spring to allow any residual moisture to escape.
Insulate Against Freezing Temperatures
Properly draining your outdoor faucet sets the stage for protecting it against freezing temperatures. Once drained, wrap the faucet with insulating materials like foam covers or fiberglass sleeves to prevent ice buildup. Secure insulation tightly to *guarantee* no cold air seeps in.
You might also use heat tape for extra protection in extremely cold areas. Remember, insulation not only prevents pipe bursts but also saves you costly repairs.
| Insulation Type | Benefits |
|---|---|
| Foam Cover | Easy to install, reusable |
| Fiberglass Sleeve | Durable, excellent insulation |
| Heat Tape | Provides active heat, reliable |
Regular Leak Inspection Tips
Although you’ve insulated your outdoor faucet, you still need to check for leaks regularly throughout the winter. Small leaks can freeze and cause bigger problems, so staying proactive is key.
Here are four simple tips to help you catch leaks early:
- Inspect the Faucet Base: Look for any drips or moisture around the faucet and handle.
- Check Hose Connections: Remove hoses and examine the connection points for cracks or water residue.
- Listen for Drips: In quiet moments, listen closely near the faucet for any dripping sounds.
- Monitor Water Meter: Turn off all water inside, then check the meter for unexpected movement indicating leaks.
Frequently Asked Questions
Can I Change an Outside Faucet Myself Without Plumbing Experience?
Yes, you can change an outside faucet yourself without plumbing experience. Just turn off the water, gather basic tools, follow a clear step-by-step guide, and take your time to avoid mistakes and leaks.
Be sure to work carefully and double-check connections to prevent leaks. This project can be manageable with patience and attention to detail.
If you feel unsure at any point, consider consulting a professional to avoid potential damage.
What Type of Outside Faucet Is Best for Cold Climates?
You’ll want a frost-free or freeze-proof outside faucet for cold climates. These faucets prevent water from freezing inside, reducing burst pipe risks. They’re designed to drain water away from the house, keeping everything safe and functional.
How Long Does It Typically Take to Replace an Outside Faucet?
You’ll usually spend about one to two hours replacing an outside faucet.
As you work, imagine the satisfying twist of the wrench freeing the old valve, making way for a fresh, drip-free flow.
Are There Any Legal Permits Required for Faucet Replacement?
You usually don’t need legal permits to replace an outside water faucet, but local regulations vary.
It’s best to check with your city or county building department to make sure you’re following any specific rules or codes.
What Should I Do if the Water Supply Line Is Damaged?
If the water supply line is damaged, you should turn off the main water valve, assess the damage, and replace or repair the line using proper materials.
If unsure, call a licensed plumber to avoid leaks or further damage.
Conclusion
Now that you’ve navigated these necessary, nifty steps, you’re ready to relish a reliable, refreshed faucet. Remember, routine rinses and regular winterizing will ward off wear and water woes. By being bold and breezing through the basics, you’ll boost your backyard’s brilliance and banish bothersome drips.
So, grab your gear, get going, and give your outside water faucet the fabulous fix it deserves—fast, fun, and flawless! Maintaining your outside water faucet not only ensures efficiency but also prevents costly repairs. With these easy steps, changing an outside water faucet has never been simpler or more satisfying.