How to Take Out a Kitchen Faucet in 7 Easy Steps
To take out a kitchen faucet in seven easy steps, start by gathering essential tools such as an adjustable wrench and screwdriver. Proper preparation is key to a smooth faucet removal process. Turning off the water supply and opening the faucet to drain any remaining water helps prevent spills and damage.
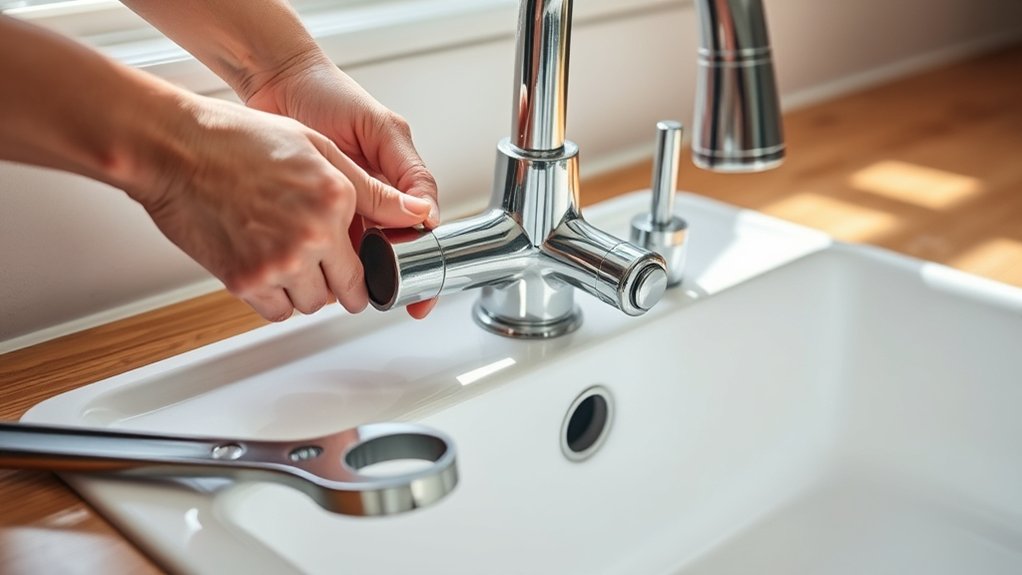
Next, carefully disconnect the water lines using a wrench, ensuring no leaks occur. Loosen the mounting nuts located under the sink to free the faucet. Remove the old faucet gently to avoid damaging the sink or countertop.
Finally, clean the sink area thoroughly to remove any residue or buildup. Preparing the sink properly guarantees a smooth installation afterward. Keep going if you want to master each step with confidence.
Key Takeaways
- Turn off the water supply valves under the sink and open the faucet to drain remaining water.
- Disconnect the hot and cold water supply lines using an adjustable or basin wrench carefully.
- Loosen and remove securing nuts underneath the sink with the appropriate wrench, applying penetrating oil if needed.
- Lift the faucet away from the sink once all nuts are fully loosened and the faucet is free.
- Clean the sink area thoroughly, removing old putty, grime, and debris before installing a new faucet.
Gather Essential Tools for Faucet Removal
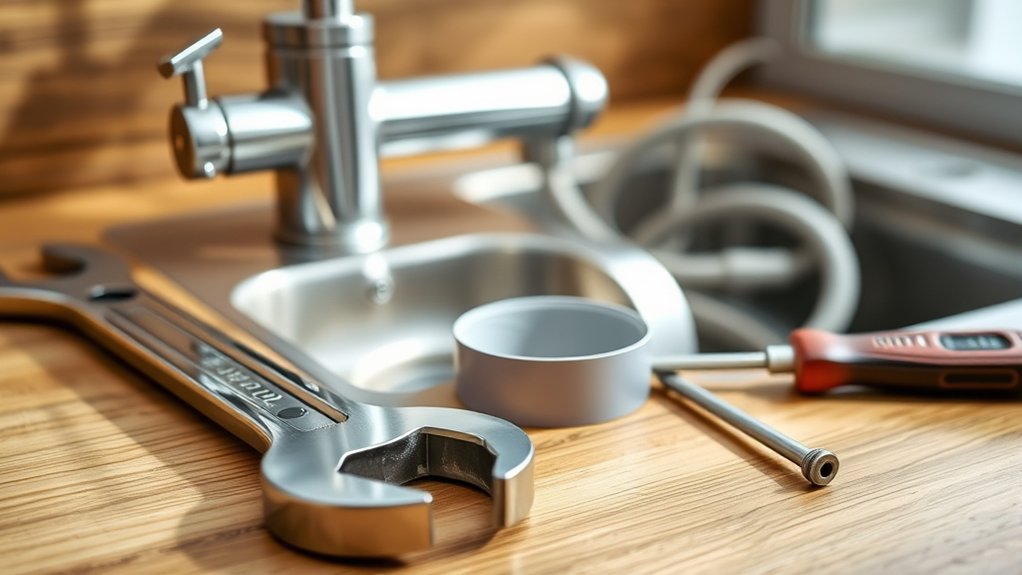
Before you start removing your kitchen faucet, make sure you have all the essential tools on hand. You’ll need an adjustable wrench to loosen nuts, a basin wrench for hard-to-reach areas under the sink, and a screwdriver—usually Phillips or flathead depending on your faucet. Keep a bucket or towel nearby to catch any leftover water.
Plumbers’ putty or silicone sealant might come in handy if you plan to reinstall or replace the faucet. Don’t forget a flashlight to see clearly in tight, dim spaces. Having these tools ready will save you time and frustration during the removal process.
Preparing well guarantees you can work efficiently and avoid running back and forth searching for the right equipment once you’ve started.
Turn Off Your Kitchen Faucet Water Supply and Drain Lines
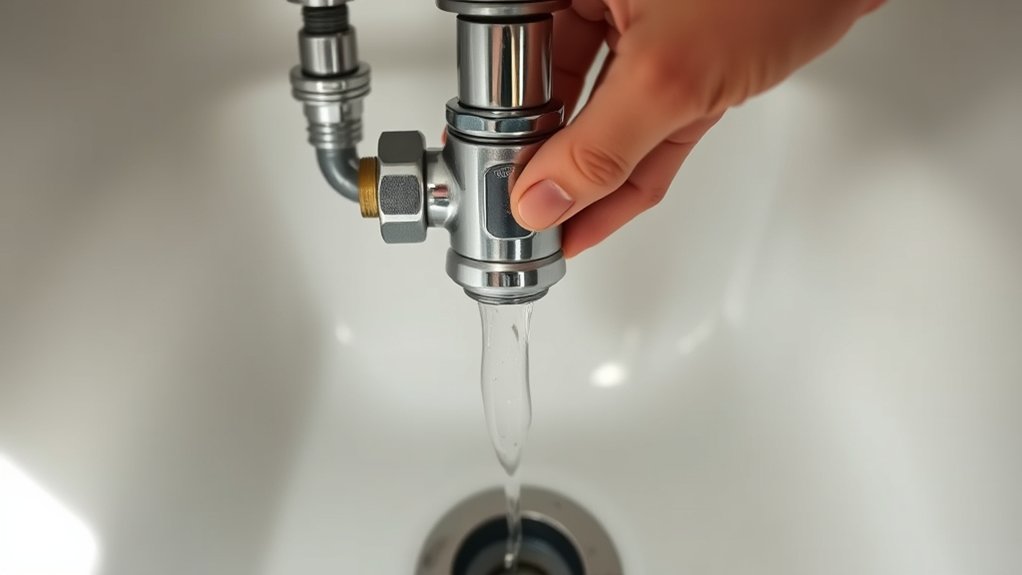
Once you locate the shut-off valves beneath your sink, turn them clockwise to cut off the water supply to your kitchen faucet. This stops water flow and prevents leaks during removal.
Next, open the faucet to drain any remaining water in the lines. Also, check the drain pipes for any water buildup and place a bucket underneath to catch drips.
| Step | Action | Tip |
|---|---|---|
| Locate valves | Find shut-off valves under sink | Usually near the wall |
| Turn valves | Rotate clockwise to close | Don’t force to avoid damage |
| Open faucet | Release trapped water | Use both hot and cold sides |
| Check drain lines | Look for water and place bucket | Prevents mess during removal |
Turning off and draining guarantees a smooth faucet removal process.
Safely Disconnect the Kitchen Faucet Water Supply Lines
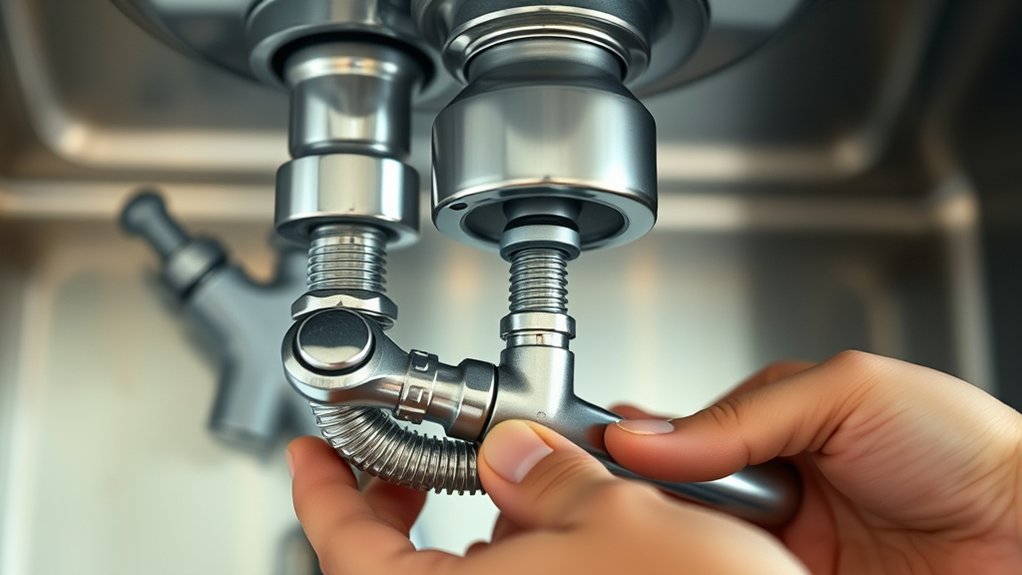
Now that the water valves are off, you’re ready to disconnect the supply lines safely. Make sure you have the right tools, like an adjustable wrench, to avoid damaging the fittings.
Take your time loosening the connections to prevent leaks or breaks.
Turn Off Water Valves
Although turning off the water valves might seem straightforward, doing it carefully guarantees you won’t cause leaks or water damage. First, locate the shutoff valves under your sink—usually two, one for hot water and one for cold. Turn each valve clockwise until it stops; don’t force it if it feels stuck.
Once closed, open the faucet to relieve any remaining pressure and drain the water from the lines. This step prevents unexpected drips when you disconnect the supply lines. Double-check by feeling the faucet for water flow.
If water still runs, verify the valves are fully closed or consider shutting off your home’s main water supply to avoid spills. Proper valve shutdown is key to a smooth, mess-free faucet removal.
Use Proper Tools
Before you disconnect the water supply lines, make sure you have the right tools on hand to avoid damaging the fittings or causing leaks. Typically, you’ll need an adjustable wrench or a basin wrench to loosen the nuts connecting the supply lines to the faucet. A basin wrench is especially helpful in tight spaces beneath the sink.
Use a pair of pliers if the fittings are stubborn, but avoid applying excessive force to prevent stripping the threads. Keep a bucket or towel nearby to catch any residual water. As you work, turn the wrench counterclockwise to loosen the connections carefully.
Using the proper tools lets you safely disconnect the water lines without causing damage, making the removal process smoother and more efficient.
Loosen the Nuts Holding Your Kitchen Faucet
Once you’ve shut off the water supply, you can start loosening the nuts that secure your kitchen faucet. These nuts are usually located underneath the sink, holding the faucet tightly in place. To loosen them:
- Use an adjustable wrench or basin wrench for better access in tight spaces.
- Turn the nuts counterclockwise to loosen them, applying steady pressure to avoid stripping.
- If the nuts are stuck, apply a penetrating oil and wait a few minutes before trying again.
Keep in mind, you might need to hold the faucet steady from above while loosening the nuts to prevent it from twisting. Take your time and make sure all securing nuts are fully loose before moving on. This step sets you up for a smooth faucet removal next.
Remove the Old Kitchen Faucet From the Sink
How do you remove the old kitchen faucet from the sink without causing damage? After loosening the mounting nuts, gently wiggle the faucet to break its seal with the sink. If it feels stuck, don’t force it; use a putty knife or a flat tool to carefully loosen any remaining caulk or plumber’s putty around the base.
Once loosened, lift the faucet straight up and away from the sink. Be mindful of any remaining water in the pipes to avoid spills. If your faucet has a pull-out sprayer, disconnect its hose before fully removing the faucet.
Set the old faucet aside, keeping all parts together for reference or disposal. You’re now ready to proceed with cleaning or installing your new fixture.
Clean and Inspect the Sink Area After Removal
Although you’ve removed the old faucet, you’ll want to thoroughly clean and inspect the sink area to guarantee a smooth installation of your new fixture. Start by wiping away any grime, mineral deposits, or old plumber’s putty that might have collected around the sink holes.
Next, check the sink surface carefully for any damage or corrosion that could affect the seal of the new faucet.
Here’s what to focus on:
- Remove debris and buildup to assure a clean surface.
- Inspect for chips, cracks, or rust that may need repair.
- Confirm that the mounting holes are clear and undamaged.
Taking these steps now saves you from leaks or installation issues later on.
Prepare Your Sink for the Next Steps
Before installing your new faucet, you’ll want to prepare the sink area properly to guarantee a secure and leak-free fit. Start by wiping down the sink surface to remove any dirt, grime, or old plumber’s putty residue. Check the mounting holes for any damage or corrosion, as these can affect the faucet’s stability.
If you find any buildup, use a scraper or fine sandpaper to smooth the area. Next, inspect the rubber or foam gasket that will sit between the faucet and sink; replace it if it’s worn or missing. Finally, gather all necessary tools and parts to keep them within reach.
Taking these steps secures your new faucet will install smoothly and function without leaks.
Frequently Asked Questions
How Do I Choose the Right Replacement Faucet?
You’ll want to measure your sink’s hole size, check water supply lines, and pick a style matching your kitchen.
Don’t forget to take into account single or double handles, finish, and your budget before buying the replacement faucet.
Can I Install a New Faucet Myself After Removal?
Installing a new faucet yourself is like assembling a puzzle—you can do it with patience and the right tools. Just follow the instructions carefully, tighten connections securely, and you’ll have a fresh faucet in no time.
What Should I Do if Water Leaks After Faucet Removal?
If water leaks after removal, you should turn off the main water supply immediately. Check all connections for tightness, replace damaged washers or seals, and use plumber’s tape.
If leaks persist, call a professional plumber promptly.
How Long Does a Typical Faucet Removal Take?
You’ll usually spend about 30 to 60 minutes removing a kitchen faucet. It depends on your tools, faucet type, and any stuck parts.
Taking your time and staying organized helps you avoid delays and frustrations.
Are There Any Safety Precautions When Handling Old Faucets?
Like walking through a minefield, you should wear gloves and safety glasses when handling old faucets. They might have sharp edges or lead solder.
Turn off water to avoid surprises, and work patiently to stay safe.
Conclusion
Now that you’ve skillfully untangled your kitchen faucet, you’ve cleared the stage for a fresh, new performance. Think of your sink as a blank canvas, ready for its next masterpiece. With the old faucet gone, you’re not just removing a fixture—you’re opening the door to transformation.
So, take a moment to admire your handiwork, because this small victory sets the flow for countless future meals and memories. Removing a kitchen faucet may seem simple, but it’s a crucial step in upgrading your kitchen. By following these easy steps, you’ve paved the way for a smooth installation of your new faucet and a refreshed kitchen space.