10 Steps to Repair an Outdoor Faucet Fast
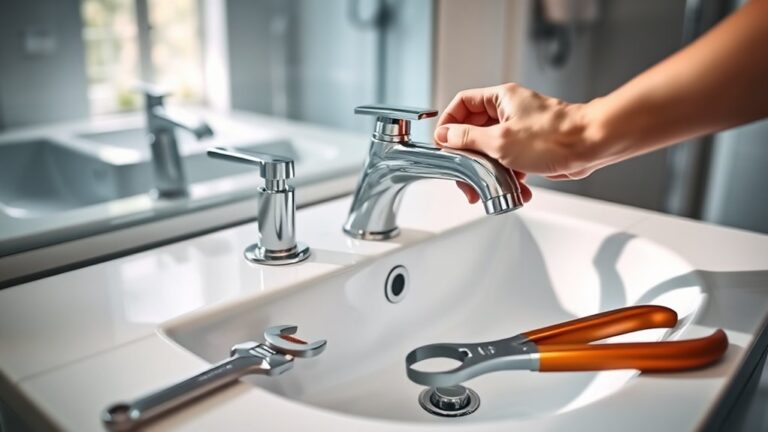
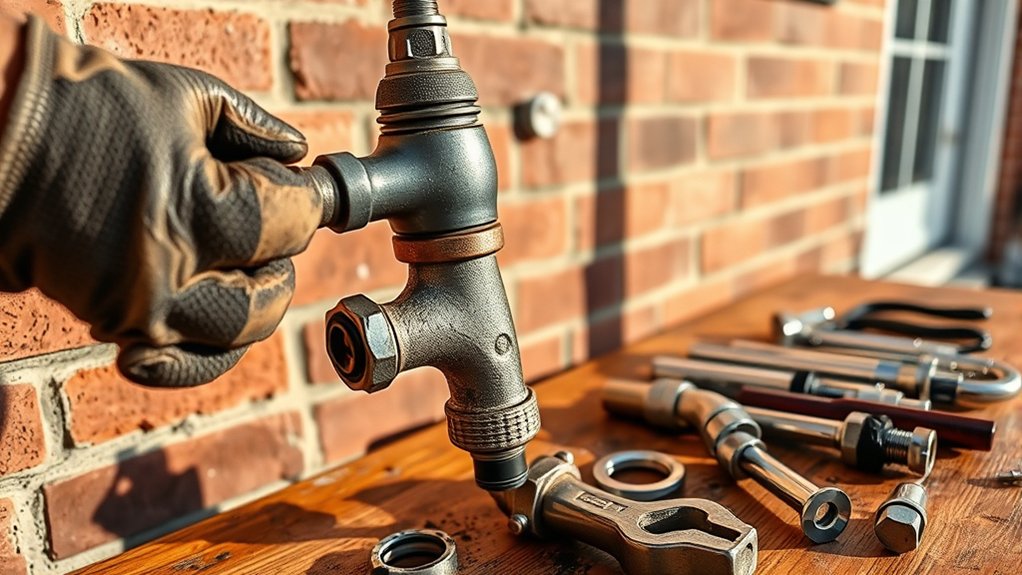
First, identify your outdoor faucet type and gather necessary tools like wrenches, screwdrivers, washers, and plumber’s tape. Repairing an outdoor faucet fast requires knowing these basics to save time and prevent water damage. Having the right tools at hand makes the process smoother and more efficient.
Next, turn off the water supply and drain any leftover water by fully opening the faucet. Remove the handle to inspect for worn parts, then tighten or replace the packing nut or washers to stop leaks.
Reassemble the faucet carefully and restore water flow, checking for leaks.
You’ll also want to know how to handle frozen pipes and keep your faucet well maintained for lasting use. Proper maintenance ensures your outdoor faucet remains functional through all seasons.
Key Takeaways
- Turn off the main water supply and fully open the faucet to drain all residual water before starting repairs.
- Remove the faucet handle by unscrewing the decorative cap and inspect internal parts for wear or damage.
- Tighten or replace the packing nut, washers, and O-rings using an adjustable wrench to stop leaks and restore function.
- Reassemble the faucet carefully, securing all components in the correct order without overtightening.
- Turn water back on slowly and test the faucet for leaks and smooth operation before finishing.
How to Identify Your Outdoor Faucet Type
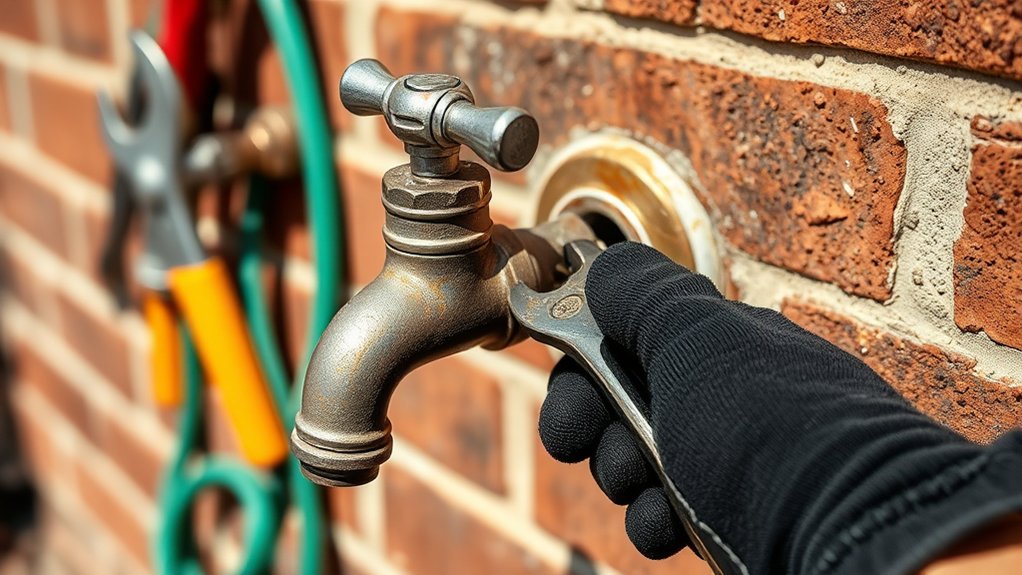
Before you start fixing your outdoor faucet, you need to identify its type. Most outdoor faucets fall into a few common categories: compression, ball valve, gate valve, and frost-free. Look closely at the handle—if it’s a round knob, it’s likely a compression valve.
If there’s a lever handle, you’re probably dealing with a ball valve. Gate valves have a wheel-like handle that you turn to open or close the water flow. Frost-free faucets are longer and designed to prevent freezing; they often have a vacuum breaker near the spout.
Knowing your faucet type helps you understand the repair steps and the parts you’ll need. Take a moment to inspect your faucet before moving on to repairs to avoid surprises.
Gather the Tools and Materials You’ll Need
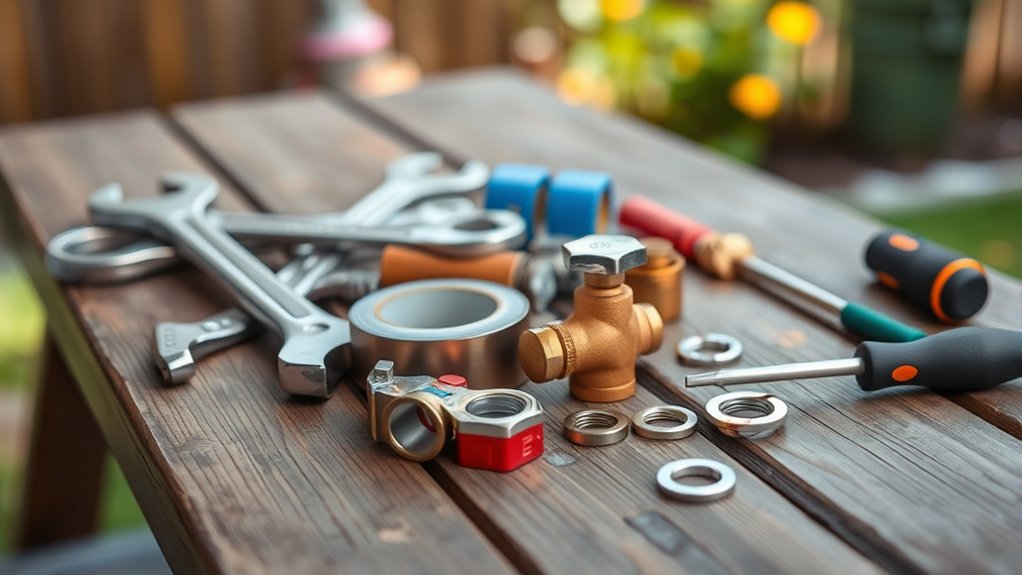
Before you start the repair, make sure you have the right tools and materials on hand. You’ll need items like a wrench, plumber’s tape, replacement washers, and possibly new faucet parts.
Gathering everything now will save you time and frustration later.
Essential Tools Overview
To repair your outdoor faucet quickly, you’ll need a handful of essential tools and materials ready at hand. Having these tools organized will save you time and frustration.
You won’t have to stop mid-repair to find what you need, allowing you to work efficiently and effectively.
| Tool | Purpose | Tip |
|---|---|---|
| Adjustable Wrench | Tighten or loosen fittings | Use the right size for grip |
| Screwdriver | Remove screws | Have both flathead and Phillips |
| Pipe Wrench | Grip and turn pipes | Apply steady pressure |
| Plumber’s Tape | Seal threaded connections | Wrap clockwise for best seal |
Gather these tools before you start to guarantee a smooth repair process.
Required Materials Checklist
Once you’ve gathered the right tools, make sure you have the necessary materials ready to complete your outdoor faucet repair. Having everything on hand will save time and prevent frustrating trips to the hardware store.
Here’s a quick checklist to guide you:
- Replacement washers or O-rings to stop leaks
- Plumber’s tape (Teflon tape) for sealing threads
- Faucet repair kit (if your faucet model requires it)
- Pipe joint compound to ensure a watertight seal
- A bucket or container to catch any residual water
Check each item carefully, matching sizes and types specific to your faucet. With these materials ready, you’ll be set to tackle the repair efficiently and get your outdoor faucet working like new.
Turn Off the Faucet’s Water Supply
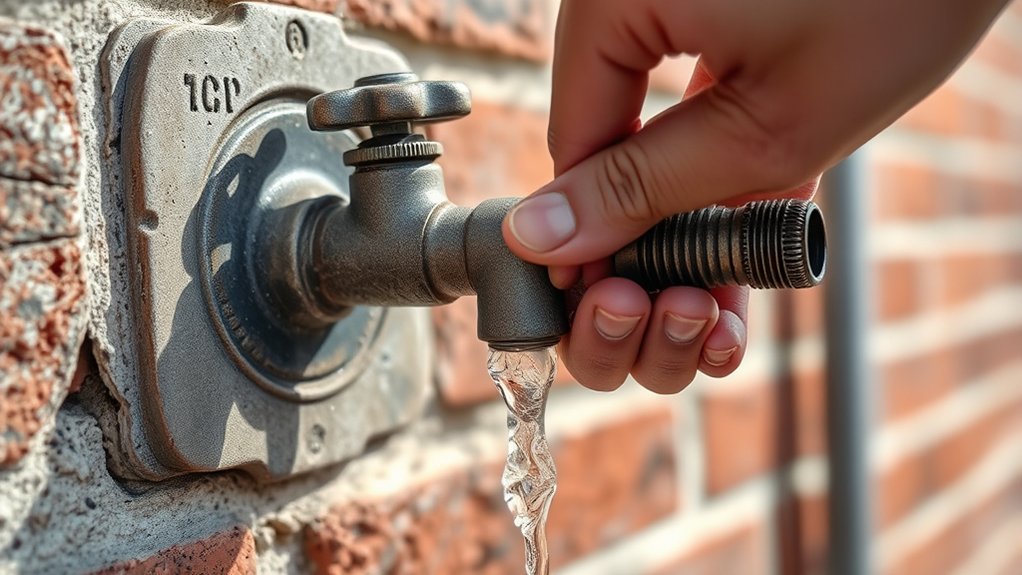
First, locate the main water valve or the outdoor shutoff valve for your faucet. Turn it off to stop the water flow completely.
Make sure the water is off by opening the outdoor faucet and checking that no water comes out.
Locate Main Water Valve
Before you start any repairs, you’ll need to shut off the water supply to the outdoor faucet. The best way to do this is by locating your main water valve. Here’s how you can find it quickly:
- Check near your water meter, usually by the street or sidewalk.
- Look inside your home, often in the basement or utility room.
- Search garage walls or crawl spaces for valve handles.
- Inspect outdoor hose bibs or irrigation control boxes.
- Consult your home’s blueprint if you’re unsure.
Once you locate the main valve, turn it clockwise to stop the water flow. This step guarantees no water runs while you fix the faucet, preventing leaks and water damage. Knowing your main valve location saves time and hassle during repairs.
Shut Off Outdoor Valve
Although you’ve shut off the main water valve, you still need to turn off the outdoor valve directly connected to the faucet. This valve controls water flow specifically to your outdoor faucet, preventing leaks or water damage while you work. It’s often located near the faucet or inside a nearby basement or crawl space.
Look for a small lever or round handle and turn it clockwise until it stops. If your outdoor valve is a ball valve, the handle should be perpendicular to the pipe when closed. Make sure to close it fully to cut off the water supply effectively.
Taking this step guarantees safety and keeps water contained, making your repair process smoother and avoiding unexpected water sprays once you start fixing the faucet.
Verify Water Flow Stopped
Two quick tests can confirm that the water supply to your outdoor faucet is fully shut off. First, turn the faucet handle to the open position and check for any water flow. If nothing comes out, you’re on the right track.
Next, inspect the shut-off valve inside your home or at the main water line. Here’s how to verify:
- Open the faucet completely.
- Look for any dripping or steady flow.
- Listen for running water sounds.
- Check the shut-off valve for a fully closed position.
- If water still flows, try turning off the main supply temporarily.
Once these steps show no water flow, you can safely proceed with your outdoor faucet repair without any leaks.
Drain Remaining Water From the Outdoor Faucet
Since water left inside the faucet can freeze and cause damage, you’ll want to drain any remaining water thoroughly. Start by opening the faucet fully to let all water inside the pipe escape. Tilt or gently shake the faucet if possible to encourage trapped water to flow out.
Next, check the hose bib to verify no residual water is stuck inside. If your outdoor faucet has a vacuum breaker or backflow preventer, remove it carefully to make sure no water remains trapped there. You can also use a small brush or cloth to wipe out any moisture around the spout.
Draining the water completely helps prevent freezing and minimizes corrosion, setting you up for a smooth and successful repair.
Remove the Faucet Handle and Inspect for Wear
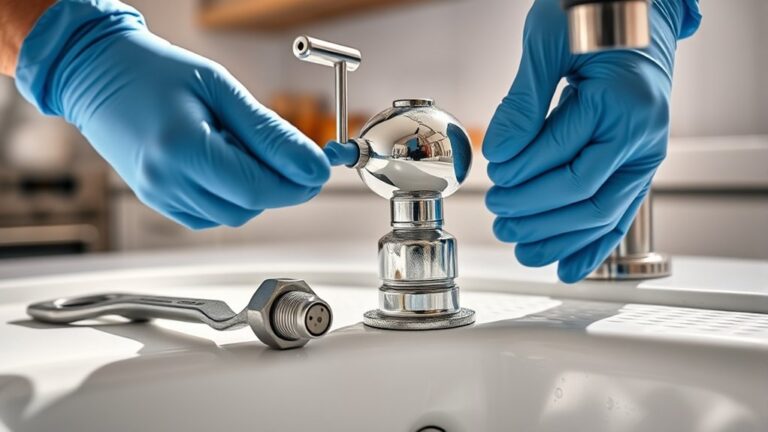
Before you can fix most issues, you’ll need to remove the faucet handle to access its internal parts. Start by locating the screw that holds the handle in place—usually under a decorative cap or on the side. Use a screwdriver to carefully remove it, then gently pull the handle off.
Begin by unscrewing the faucet handle to reveal the internal components for repair.
Once the handle is off, inspect it closely for signs of wear or damage. Look for:
- Cracks or breaks in the handle material
- Worn or stripped screw holes
- Corrosion or mineral buildup
- Loose or bent components
- Any debris lodged inside the handle mechanism
Noticing any of these issues helps you understand what parts might need replacing or cleaning before moving forward with the repair process.
Replace the Washer or Cartridge in Your Outdoor Faucet
When your outdoor faucet leaks or drips, replacing the washer or cartridge often stops the problem quickly. First, turn off the water supply to the faucet. Next, remove the screw holding the handle and take off the handle itself.
Use a wrench to unscrew the packing nut and extract the stem. If your faucet uses a washer, check the bottom of the stem, remove the old washer, and replace it with a new one of the same size.
For cartridge-style faucets, pull out the old cartridge and insert a new one that matches your model. Reassemble the faucet by reversing the steps. Turn the water back on and test for leaks.
Replacing these parts restores a tight seal and stops drips efficiently.
Tighten or Replace the Packing Nut to Stop Leaks
You’ll find the packing nut just behind the faucet handle, securing the stem in place. To stop leaks, use a wrench to tighten the nut gently—don’t overdo it, or you could cause damage.
If tightening doesn’t work, replacing the packing nut might be your next step.
Identify Packing Nut Location
One key step in stopping leaks is locating the packing nut on your outdoor faucet. The packing nut helps seal the valve stem and prevent water from dripping. To find it, start by:
- Looking just behind the faucet handle
- Checking for a hexagonal-shaped nut
- Inspecting the area where the faucet connects to the pipe
- Noticing any parts that can be tightened with a wrench
- Identifying a section that seems separate from the main body
This nut is usually smaller than the main valve and sits around the stem. Knowing exactly where the packing nut is will make tightening or replacing it easier and more effective. Once you spot it, you’re ready for the next step in fixing that leak fast.
Steps To Tighten Nut
Although locating the packing nut is essential, tightening or replacing it correctly will actually stop the leak. First, use an adjustable wrench to gently tighten the packing nut clockwise.
If the leak persists, turn off the water, remove the nut, and inspect the packing material. Replace it with new packing tape or a new washer if worn.
Reassemble and tighten the nut again to test for leaks.
| Step Number | Action | Tip |
|---|---|---|
| 1 | Locate packing nut | Usually near faucet handle |
| 2 | Tighten nut gently | Use adjustable wrench |
| 3 | Turn off water supply | Prevent water flow |
| 4 | Replace packing | Use proper size & material |
| 5 | Re-tighten & test | Check for any leaks |
Reassemble the Faucet and Test for Leaks
Before turning the water back on, carefully reassemble the faucet by reversing the steps you took to disassemble it. Start by:
- Placing the washer and packing back in their correct spots.
- Sliding the stem into the faucet body.
- Securing the packing nut without overtightening.
- Reattaching the handle and tightening its screw.
- Reinstalling any decorative caps or covers.
Once everything’s snug, turn the water supply back on slowly. Watch closely for any drips or pooling water around the faucet. If you spot leaks, tighten connections slightly until water stops escaping.
Testing ensures your repair holds and prevents future water waste. Taking these careful steps will have your outdoor faucet working smoothly again in no time.
Handle Frozen or Broken Pipes Affecting Your Faucet
Frozen or broken pipes can quickly turn a simple faucet repair into a major headache. If you suspect a frozen pipe, don’t force the faucet handle; instead, gently apply heat using a hairdryer or warm towels wrapped around the pipe. Avoid open flames to prevent damage or fire hazards.
For broken pipes, first turn off your main water supply to prevent flooding. Next, drain any remaining water by opening nearby faucets. Inspect the damaged section carefully—if the break is small, you might use a pipe repair clamp or epoxy putty as a temporary fix.
For larger breaks, cutting out the damaged pipe section and replacing it with a new one is necessary. Always wear protective gear and, if unsure, call a professional to avoid costly mistakes.
Maintain Your Outdoor Faucet to Prevent Problems
To keep your outdoor faucet working smoothly and avoid costly repairs, you should perform regular maintenance throughout the year. Taking a few simple steps can prevent common issues like leaks or freezing. Here’s what you can do:
- Inspect the faucet for leaks or drips monthly.
- Turn off the water supply to the outdoor faucet before winter.
- Drain any remaining water from the faucet and connected hoses.
- Replace worn washers or seals promptly to prevent leaks.
- Apply a silicone-based lubricant to the handle to keep it turning easily.
Frequently Asked Questions
Can I Repair an Outdoor Faucet Without Shutting off the Main Water Supply?
You can’t safely repair an outdoor faucet without shutting off the main water supply. Leaving it on risks water damage and makes fixing leaks much harder.
Always turn off the water to avoid mess and injury.
What Type of Plumber’s Tape Is Best for Outdoor Faucets?
You might think all plumber’s tape works the same outdoors, but you’ll want PTFE tape rated for outdoor use. It resists weather and UV damage, ensuring a tight, leak-free seal on your outdoor faucet connections.
This type of tape is specifically designed to withstand harsh conditions. Using the right tape helps prevent leaks and prolongs the life of your outdoor plumbing. Always check the packaging to confirm it’s suitable for exterior applications.
How Do I Know if My Outdoor Faucet Needs a Full Replacement?
You’ll know your outdoor faucet needs full replacement if it leaks constantly, won’t shut off, has visible cracks, or rust inside.
If repairs don’t stop dripping or water flow is weak, it’s time to replace it completely.
Are There Seasonal Considerations for Outdoor Faucet Repairs?
You should definitely consider seasons when repairing outdoor faucets—about 60% of plumbing issues happen in winter due to freezing. Don’t wait; fix leaks before freezing temps cause pipes to burst and worsen damage.
Can I Use a Power Washer to Clean My Outdoor Faucet?
You can use a power washer to clean your outdoor faucet, but be careful. Use a low-pressure setting to avoid damaging seals or fittings, and keep the nozzle at a safe distance to prevent water intrusion or corrosion.
Conclusion
By following these 10 steps, you can quickly fix your outdoor faucet and avoid costly water damage. Did you know that over 10% of homes experience plumbing leaks annually, wasting thousands of gallons of water? Taking a few minutes to repair your faucet not only saves water but also helps reduce your utility bills.
Keep up with regular maintenance to guarantee your outdoor faucet stays in top shape and prevents future issues. Proper outdoor faucet repair and maintenance are essential for efficient water use and long-lasting plumbing. By addressing problems early, you ensure your outdoor faucet operates smoothly and leak-free.