How to Unscrew a Faucet Aerator in 10 Easy Steps
To unscrew a faucet aerator in 10 easy steps, start by turning off the water supply under your sink and opening the faucet to release any remaining pressure. This essential step ensures a smooth and safe removal process.
Next, protect the aerator by wrapping it with tape or cloth to prevent scratches during removal.
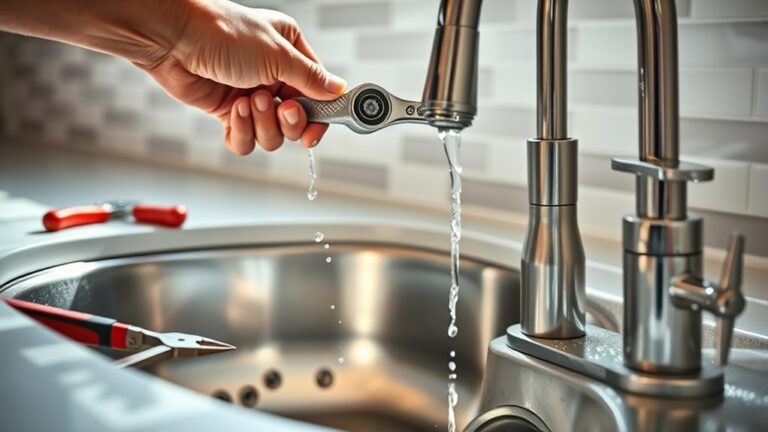
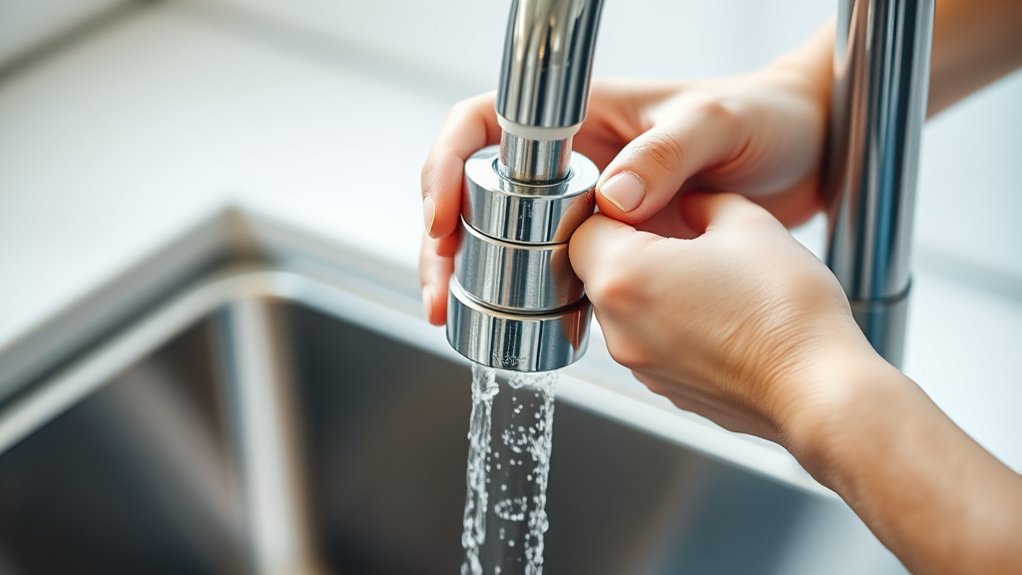
Grip the aerator firmly and twist it counterclockwise. If it’s stuck, use pliers carefully to avoid damage.
Applying vinegar or penetrating oil can help loosen a stubborn aerator.
Once removed, clean or replace the internal parts as needed.
Finally, reattach the aerator securely to prevent leaks.
Follow these steps to master each part of the process and guarantee a smooth fix every time.
Key Takeaways
- Turn off the water supply valves under the sink and open the faucet to drain remaining water.
- Wrap the aerator with a cloth or tape to protect the finish before unscrewing.
- Grip the aerator firmly and twist counterclockwise by hand or use pliers for stubborn ones.
- Apply penetrating oil and wait 10–15 minutes if the aerator is stuck or corroded.
- After removal, clean internal parts with vinegar or replace if damaged before reinstalling.
What Is a Faucet Aerator and Why Unscrew It?
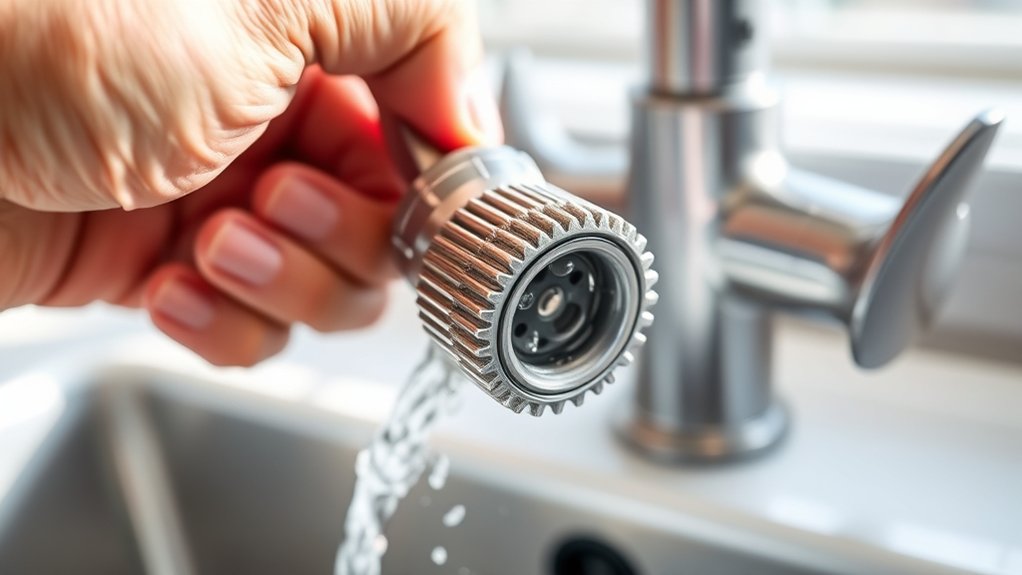
What exactly is a faucet aerator, and why might you want to unscrew it? A faucet aerator is a small device screwed onto the tip of your faucet. It mixes air with water, reducing splash and conserving water while maintaining steady flow.
You might want to unscrew it to clean out debris or mineral buildup that restricts water flow. Removing the aerator also helps when you need to replace a damaged screen or upgrade to a different type for better water efficiency or pressure. Sometimes, unscrewing it is necessary to fix leaks or inspect the faucet’s condition.
Knowing how to remove your aerator keeps your faucet working smoothly and helps you troubleshoot common issues without calling a plumber.
Identify Your Faucet Aerator Type (Threaded, Snap-On, and More)
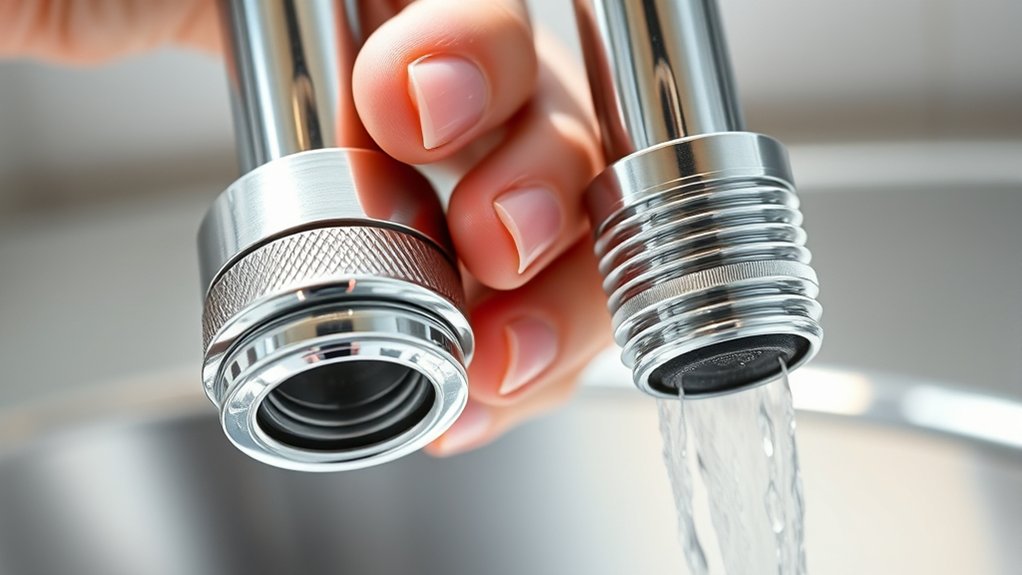
Before you try to unscrew your faucet aerator, you’ll want to identify its type. Most aerators are either threaded, which screw on and off, or snap-on, which pop into place.
Knowing your model helps you choose the right method to remove it safely.
Common Aerator Types
Since faucet aerators come in various designs, identifying your specific type is essential before attempting to unscrew it. The most common types you’ll find are threaded, snap-on, and pressure-fit aerators. Threaded aerators screw onto the faucet spout, often requiring a counterclockwise twist to remove.
Snap-on aerators simply click onto the faucet and can be popped off with a bit of gentle prying. Pressure-fit aerators hold in place with tight seals, needing careful wiggling or prying. You might also encounter some with built-in flow restrictors or dual-threaded designs, so paying close attention helps avoid damage.
Knowing your aerator type makes the removal process smoother and prevents unnecessary frustration or broken parts.
Threaded Vs. Snap-On
Although faucet aerators come in various styles, you’ll most commonly encounter two main types: threaded and snap-on. Knowing which type you have helps you unscrew it without damage.
- Threaded aerators screw onto the faucet spout with visible threads. You’ll usually grip and turn them counterclockwise to remove.
- Snap-on aerators don’t have threads; they simply snap into place. You’ll need to gently pry or pull them off, often using a small tool or your fingernail.
- Threaded ones often require a wrench or pliers for a firm grip, while snap-ons rely on clips or friction.
- Both types serve the same purpose but differ in their removal methods, so identifying your type first saves time and effort when unscrewing your aerator.
Identifying Your Model
Knowing whether your aerator is threaded or snap-on is a great starting point, but there are other styles and variations you might come across. Some aerators have external threads that screw onto the faucet, while others use internal threads that fit inside the spout. You might also find aerators with a slip-on design, secured by a clip or gasket.
To identify your model, first examine the connection closely. Look for visible threads or locking mechanisms. If your aerator twists off easily, it’s likely threaded.
If it feels like it snaps or slides off with a little force, you probably have a snap-on or slip-on type. Checking the manufacturer’s markings or model number on the aerator can also help you find exact details online.
Turn Off the Water Supply to Your Faucet
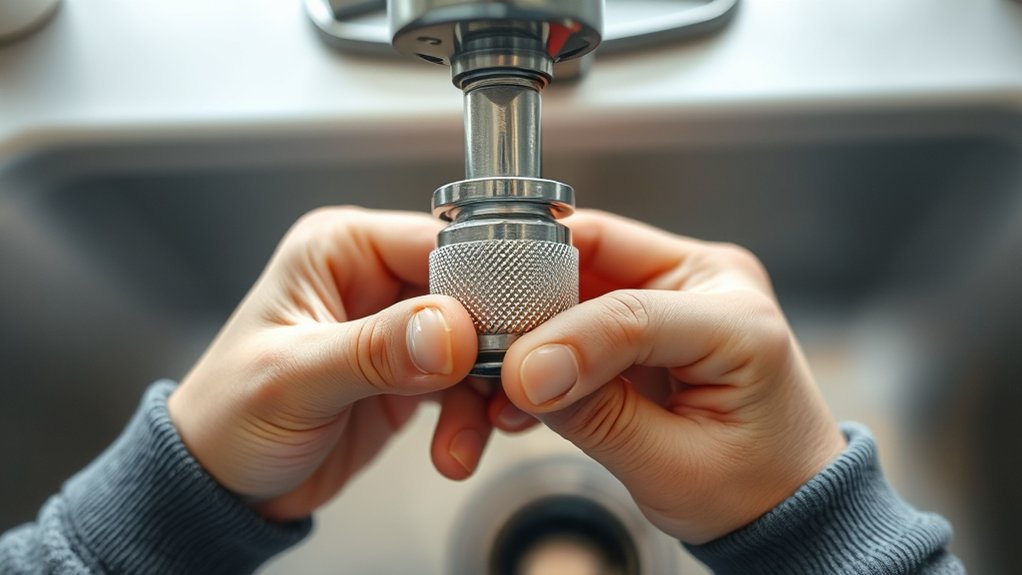
How do you prevent water from flooding your sink while working on the aerator? The key is turning off the water supply to your faucet before you start.
Here’s how to do it efficiently:
1. Locate the shut-off valves under your sink—there’s usually one for hot and one for cold water. 2. Turn both valves clockwise until they’re fully closed to stop water flow. 3. Open the faucet to drain any remaining water in the pipes, reducing pressure.
4. Double-check that no water comes out when you turn the faucet on again.
Gather Tools to Remove a Faucet Aerator
Before you start unscrewing the faucet aerator, make sure you have the right tools on hand to make the job easier and prevent damage. Typically, you’ll need a pair of adjustable pliers or a wrench to grip the aerator firmly. If the aerator is small or delicate, needle-nose pliers might work better.
Keep a small container nearby to hold any tiny parts that might come loose. You might also want a towel or rag to protect the faucet’s finish when using tools. Having a flashlight can help you see clearly under the sink or in tight spaces.
Gathering these tools upfront saves you time and avoids frustration during removal. With everything ready, you’ll be set for a smooth and safe process.
Protect the Aerator With Tape or a Cloth Before Removal
Before you start unscrewing, wrap the aerator with tape or a soft cloth to prevent scratches and damage. Choose a protective material that won’t slip or tear easily as you work.
This simple step helps keep your faucet looking new while you remove the aerator.
Prevent Scratches And Damage
To safeguard your faucet aerator from scratches and damage during removal, wrap it with tape or cover it with a soft cloth. This simple step cushions the aerator, preventing dents and surface marks. When you’re ready to unscrew it, follow these tips to keep it safe:
- Use painter’s tape or masking tape to avoid adhesive residue.
- Wrap the cloth or tape snugly around the aerator to ensure full coverage.
- Avoid metal tools directly contacting the aerator’s surface.
- Turn the aerator slowly and steadily to minimize stress and slipping.
Choose Proper Protective Material
When you’re ready to remove your faucet aerator, choosing the right protective material guarantees you won’t damage its finish. Wrapping the aerator with tape or a soft cloth provides a barrier between your tools and the delicate surface. This simple step prevents scratches and dents during removal.
Use materials that won’t leave residue or cause slipping.
Here’s a quick guide to help you pick the best protective material:
| Protective Material | Best For |
|---|---|
| Painter’s Tape | Easy removal, no residue |
| Soft Cloth | Gentle, reusable |
| Rubber Band | Extra grip, protects edges |
| Masking Tape | Affordable, temporary protection |
| Silicone Pad | High grip, non-abrasive |
Choose one that fits your need and protect your aerator effectively!
How to Remove the Faucet Aerator: By Hand, Wrench, or Tools
Although faucet aerators often come off easily by hand, you might need a wrench or specific tools if they’re stuck or corroded. Start by gripping the aerator firmly and twisting counterclockwise. If it won’t budge, try these steps:
- Wrap a cloth around the aerator to protect its finish.
- Use an adjustable wrench for extra leverage, turning slowly to avoid damage.
- If the wrench slips, apply some penetrating oil and wait 10-15 minutes before trying again.
- For particularly stubborn aerators, use a pair of slip-joint pliers with protective padding to prevent scratching.
Clean or Replace the Faucet Aerator Screen and Internal Parts
Since debris and mineral buildup often clog the faucet aerator screen, you’ll want to clean or replace its internal parts to restore proper water flow. First, carefully remove the screen and any washers or flow restrictors inside the aerator housing. Soak these parts in white vinegar for about 30 minutes to dissolve mineral deposits.
After soaking, gently scrub them with an old toothbrush to remove stubborn debris. Rinse everything thoroughly with water before reassembling. If the screen is damaged or heavily corroded, replace it with a new one from your local hardware store.
Make sure all parts are intact and free of cracks or tears. Taking these steps guarantees your faucet delivers steady, clean water without splashing or reduced pressure.
Reinstall the Faucet Aerator Properly to Avoid Leaks
To prevent leaks and guarantee smooth water flow, you need to reinstall the faucet aerator carefully and securely. Follow these steps to ensure a proper fit:
- Inspect the aerator housing and threads for damage or debris; clean if necessary.
- Insert the cleaned or replaced screen and internal parts back into the aerator housing in correct order.
- Align the aerator with the faucet spout threads carefully, avoiding cross-threading.
- Screw the aerator onto the faucet by hand, turning clockwise until snug, then tighten slightly with a wrench or pliers using a cloth to protect the finish.
Test Faucet Aerator Water Flow After Reassembly
Once you’ve reassembled the aerator, turn on the faucet to check the water pressure. Watch the spray pattern closely to make sure it flows evenly.
Finally, inspect the connection to confirm there are no leaks around the seal.
Check Water Pressure
How can you tell if your faucet aerator is working properly after reassembly? One key indicator is consistent water pressure. To check this, follow these steps:
- Turn on the faucet fully and observe the water flow.
- Compare the flow to what you remember before removing the aerator.
- Use a water pressure gauge if you want an exact measurement; attach it to the faucet and note the reading.
- Watch for any sudden drops or weak flow, which could signal blockages or improper installation.
If the pressure feels strong and steady, your aerator is functioning well. If not, you might need to disassemble and clean it again or check for damaged parts.
Checking pressure ensures your faucet delivers water efficiently without leaks or drips.
Inspect Spray Pattern
Why does the spray pattern matter after reassembling your faucet aerator? It’s a key indicator that everything’s working properly. Once you screw the aerator back on, turn the faucet on and watch the water flow closely.
The spray should be even, consistent, and free of irregular streams or splashes. If you notice gaps or uneven distribution, it might mean debris is still trapped inside or the aerator parts aren’t aligned correctly. A smooth spray pattern also guarantees efficient water use and a better washing experience.
If the flow looks off, you might want to unscrew the aerator again and check for blockages or misalignment. Inspecting the spray pattern helps confirm your reassembly job was successful before moving on to checking for leaks.
Confirm Leak-Free Seal
Although a smooth spray pattern indicates proper assembly, you’ll want to confirm there’s no water leaking around the aerator. To guarantee a leak-free seal, follow these steps:
- Turn the faucet on slowly to check the water flow.
- Carefully inspect the area around the aerator for any drips or moisture.
- If you spot leaks, tighten the aerator gently with your hand or a rubber grip—avoid over-tightening.
- Re-test the water flow and check again for leaks until the seal is secure.
Troubleshooting Common Faucet Aerator Removal Issues
Even if you’ve followed the usual steps, you might still find your faucet aerator stubbornly stuck. Don’t worry—this is common. Mineral buildup or corrosion often causes it.
To loosen it, soak a cloth in white vinegar and wrap it around the aerator for 15-30 minutes. Then, try unscrewing it again. If it’s still stuck, use a rubber strap or jar opener for better grip, avoiding damage.
Applying a small amount of penetrating oil can help break down rust, but be sure to wipe off any residue before reattaching. If the aerator’s edges are rounded off, gently tap it with a wrench or pliers wrapped in tape to avoid further damage. Patience and the right tools will get it off safely.
Frequently Asked Questions
How Often Should I Clean My Faucet Aerator?
You should clean your faucet aerator every three to six months to prevent buildup and maintain water flow.
If your water is hard or you notice reduced pressure, clean it more often to keep things running smoothly.
Can a Clogged Aerator Affect Water Pressure?
Absolutely, a clogged aerator can drop your water pressure like a rock falling off a cliff. You’ll notice weaker flow and uneven spray, making everyday tasks frustrating.
Cleaning it regularly keeps your water strong and steady.
Are Faucet Aerators Compatible With All Faucet Brands?
You’ll find faucet aerators aren’t universally compatible with all brands. Different faucets have varying thread sizes and styles, so you’ll need to check your faucet’s specifications or choose a universal aerator designed to fit multiple models.
What Materials Are Faucet Aerators Typically Made From?
You know what they say, “Don’t judge a book by its cover.” Faucet aerators are typically made from brass, plastic, or stainless steel.
You’ll find brass is durable, plastic is lightweight, and steel offers corrosion resistance.
Can I Install a Water Filter Instead of an Aerator?
Yes, you can install a water filter instead of an aerator. Just make sure the filter fits your faucet’s size and threading. You’ll enjoy cleaner water, but installation steps might differ slightly from aerators.
Conclusion
Now that you’ve unscrewed your faucet aerator, imagine the clear, steady stream of water flowing effortlessly from your faucet. With a clean screen and properly reinstalled parts, you can enjoy the revitalizing splash without any drips or clogs.
Remember, a little care and the right tools make this simple task quick and satisfying—like turning on a faucet to a perfect flow every time. Following these easy steps to unscrew a faucet aerator ensures your faucet works efficiently and lasts longer.
You’ve got this! Keeping your faucet aerator clean is key to maintaining optimal water flow and preventing common issues.