How to Install a Bathroom Faucet in 7 Easy Steps
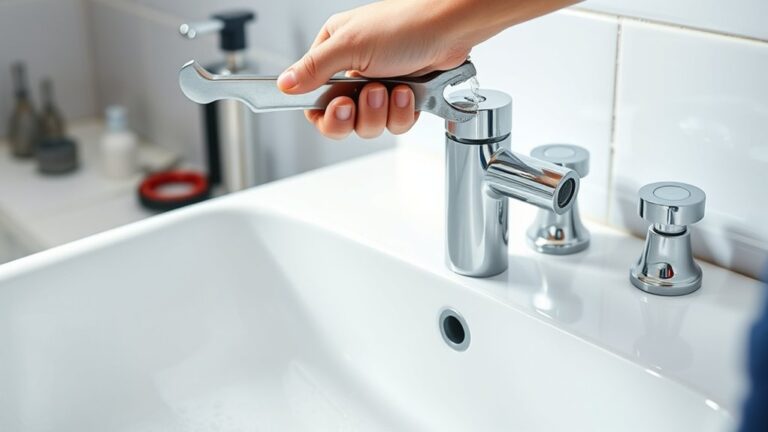
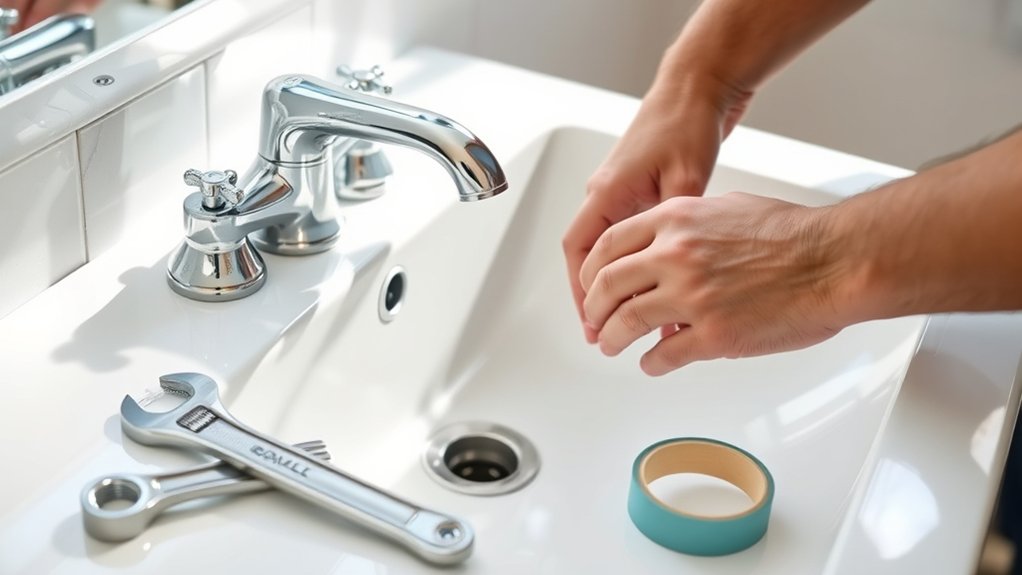
To install a bathroom faucet in 7 easy steps, start by gathering essential tools like a wrench, plumber’s tape, and putty. Having these tools ready will make the installation process smoother and help you achieve a professional finish. Proper preparation is key to a successful bathroom faucet installation.
Next, turn off the water supply to prevent any leaks. Open the faucet to drain any remaining water, and place a bucket underneath to catch drips.
Carefully remove the old faucet and clean the area thoroughly.
Position the new faucet and secure it with mounting nuts.
Connect the supply lines to the hot and cold valves, then tighten them properly.
Finally, test the faucet for leaks to ensure everything is working perfectly.
Follow these basics, and you’ll soon master a flawless faucet install.
Key Takeaways
- Turn off water supply valves and open faucet to drain remaining water before starting installation.
- Remove the old faucet by loosening mounting nuts and disconnecting supply lines carefully.
- Clean the sink surface and mounting holes, removing old putty or caulk for a smooth installation.
- Position the new faucet with gasket or putty, tighten mounting nuts securely from underneath.
- Connect supply lines to corresponding valves, turn on water slowly, and check for leaks.
Gather Tools and Materials for Bathroom Faucet Installation
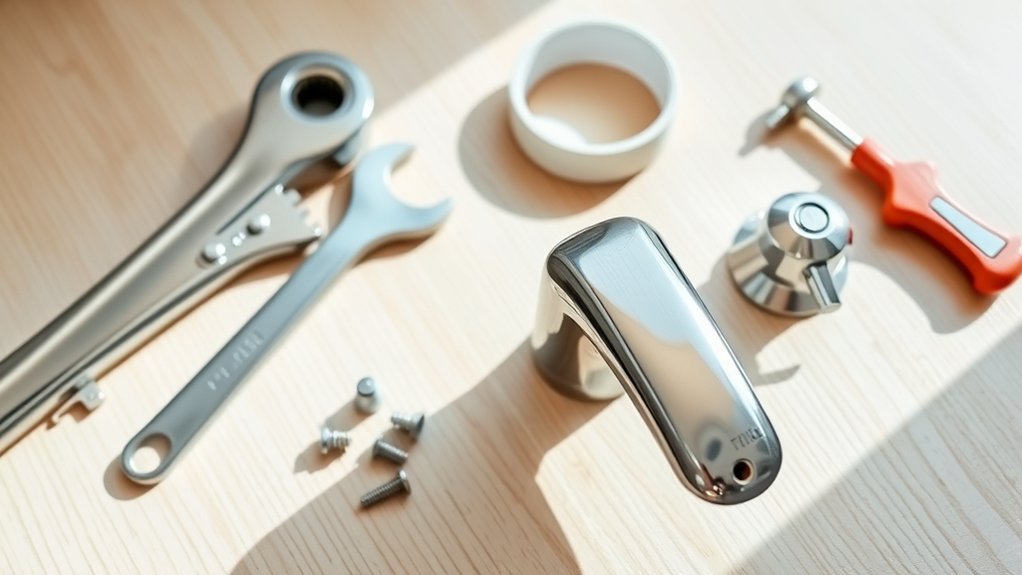
Before you begin installing your bathroom faucet, make sure you gather all the necessary tools and materials. You’ll need an adjustable wrench, basin wrench, plumber’s tape, and a screwdriver. Having a bucket or bowl handy will help catch any leftover water.
Grab a clean cloth to wipe up spills and some plumber’s putty or silicone sealant to guarantee a watertight seal. Also, keep the new faucet’s installation instructions close, as they often include specific requirements or tips. Double-check that you have all faucet components, including mounting nuts, supply lines, and washers.
Preparing these items beforehand saves time and prevents frustrating interruptions once you start. With everything on hand, you’ll be ready to smoothly move on to the next steps in your faucet installation.
Turn Off Water and Prep the Sink
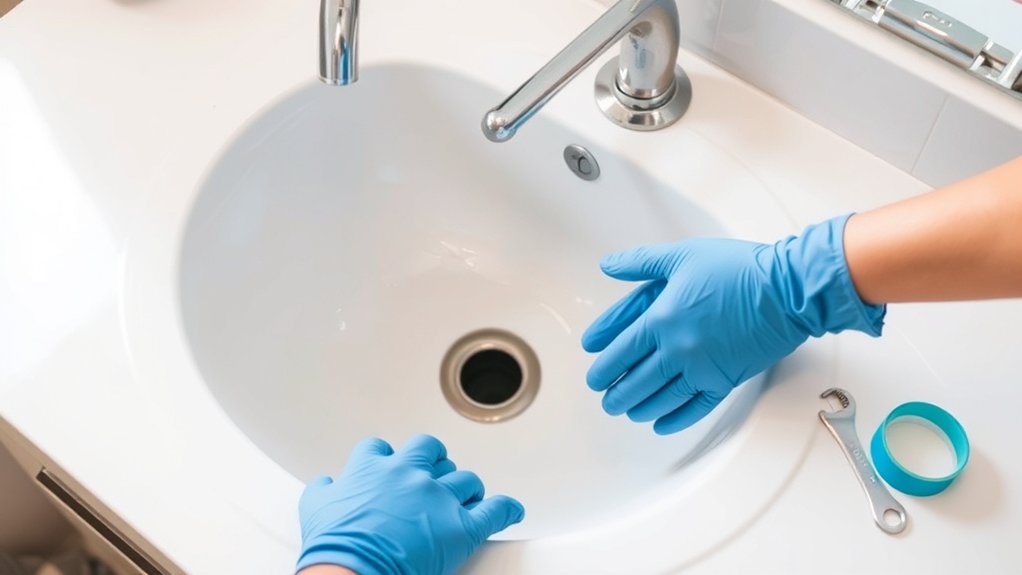
Once you’ve gathered your tools and materials, turn off the water supply valves under the sink to prevent leaks during installation. If you can’t find individual shut-off valves, turn off the main water supply for the house. Next, open the faucet to drain any remaining water from the lines and relieve pressure.
Place a bucket or towel under the sink to catch drips. Clear out the cabinet under the sink to give yourself plenty of working space. Wipe down the sink surface and surrounding area to remove grime and debris, making certain a clean workspace for the new faucet.
Finally, inspect the sink’s mounting holes and confirm they’re free of old putty or caulk to help the new faucet fit securely. This prep sets you up for a smooth installation.
Remove the Old Faucet Without Damage
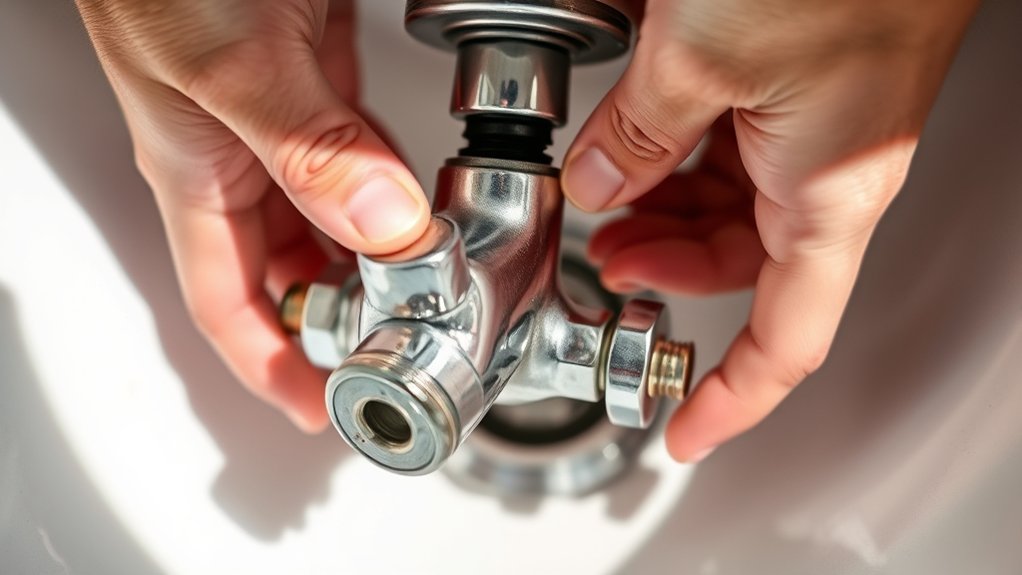
With the water turned off and your workspace prepped, you’re ready to remove the old faucet carefully to avoid damage. Start by loosening the mounting nuts under the sink using a basin wrench. Next, disconnect the water supply lines, making sure to hold a bucket underneath to catch any leftover water.
Turn off water, loosen mounting nuts with a basin wrench, then disconnect supply lines with a bucket ready.
Gently lift the faucet from the sink, avoiding any sudden moves that could crack the countertop or sink. Finally, clean the area thoroughly to remove old putty or grime.
Keep these tips in mind:
- Use the right tools to prevent stripping nuts
- Work slowly to avoid cracking porcelain or damaging fittings
- Keep a towel handy for spills
- Inspect the sink surface for damage before installing the new faucet
Install the New Bathroom Faucet on the Sink
How do you guarantee a smooth installation of your new bathroom faucet? Start by placing the faucet carefully into the sink’s mounting holes. Make sure the faucet’s gasket or putty is properly positioned beneath to prevent leaks.
Align the faucet so it sits straight and flush against the sink surface. From underneath the sink, thread the mounting nuts onto the faucet’s tailpieces. Tighten these nuts by hand first, then use a basin wrench to secure them firmly without over-tightening.
Check that the faucet remains aligned as you tighten. Once the faucet is snug and stable, wipe away any excess putty if used. Your new faucet is now correctly positioned on the sink, ready for the next step of connecting the water supply lines.
Securely Connect Hot and Cold Water Supply Lines
First, locate the hot and cold water supply valves under your sink. Next, connect the supply lines to the corresponding valves, making sure to tighten each connection securely. This guarantees you avoid leaks and maintain proper water flow.
Identify Water Supply Valves
Where are the water supply valves located, and how can you guarantee a secure connection for your faucet? Typically, you’ll find the hot and cold water supply valves under the sink, attached to the wall or cabinet. Before connecting your faucet, you need to identify these valves clearly to avoid confusion.
Here’s what to do:
- Look for two small valves: one for hot water (usually on the left) and one for cold (on the right).
- Check that valves are fully functional and not corroded or leaking.
- Turn off both valves before disconnecting any lines to prevent water spills.
- Use flexible supply lines designed for bathroom faucets to ensure a secure fit.
Tighten Connections Correctly
Since a secure connection prevents leaks and water damage, you’ll want to tighten the hot and cold water supply lines carefully. First, hand-tighten the supply line nuts onto the faucet’s threaded tailpieces. Once snug, use an adjustable wrench to give each nut an additional quarter to half turn.
Avoid over-tightening, as this can damage the fittings or strip the threads. Check that the lines aren’t twisted or kinked, allowing water to flow freely. After tightening, turn on the water valves slowly and inspect each connection for leaks.
If you spot any drips, gently tighten the nut a bit more. Properly securing these connections guarantees your faucet functions smoothly without causing water damage or costly repairs down the line.
Test the Bathroom Faucet for Leaks and Flow
Although the faucet may look properly installed, you’ll want to turn on the water supply and check for any leaks or irregular flow before finishing the job. Start by slowly opening the main water valve, then test the faucet handles one at a time. Watch closely for drips or puddles under the sink and around the faucet base.
Also, listen for any unusual sounds like hissing or banging.
Here’s what to check:
- Make certain water flows smoothly and consistently from both hot and cold sides
- Look for water pooling around connections or underneath the sink
- Confirm the faucet shuts off completely without dripping
- Check for any loose fittings that may need tightening
Addressing issues now prevents bigger problems later.
Clean Up and Final Touches After Installation
Once you’ve confirmed the faucet works properly and there are no leaks, it’s time to clean up your workspace and complete the final touches. Start by wiping down the faucet and sink area to remove any fingerprints, dust, or debris from installation. Use a soft cloth and a mild cleaner to avoid damaging the finish.
Next, check that all tools and leftover materials are gathered and put away safely. Remove any protective tape or packaging from the faucet. Finally, inspect the faucet’s handles and spout to ensure they move smoothly and are securely fastened.
Taking these steps leaves your bathroom looking polished and your new faucet ready for use. Now you can enjoy your freshly installed bathroom faucet with confidence.
Frequently Asked Questions
What Type of Faucet Is Best for Low Water Pressure?
You’ll want a faucet designed for low water pressure, like a single-handle or pressure-compensating model. These faucets maintain steady flow even with low pressure, so you won’t struggle with weak water streams in your bathroom.
How Do I Choose a Faucet Finish That Resists Tarnishing?
Don’t let your faucet’s finish fade like a worn-out coin. You’ll want to pick finishes like brushed nickel, stainless steel, or chrome—they resist tarnishing and hold up well against water, soap, and everyday wear.
Can I Install a Faucet Without Professional Plumbing Experience?
Yes, you can install a faucet without professional experience if you follow clear instructions and have basic tools.
Take your time, watch tutorial videos, and double-check connections to avoid leaks or damage.
What Are Common Signs That My Faucet Needs Replacement?
Think of your faucet as a weary storyteller; if it drips endlessly, struggles to turn, or leaks beneath the surface, it’s signaling you to replace it before the tale floods your bathroom with trouble.
How Can I Maintain My Faucet to Prevent Future Leaks?
You can maintain your faucet by regularly cleaning aerators, tightening loose parts, and checking for leaks. Avoid harsh cleaners, replace washers when needed, and flush the system occasionally to prevent mineral buildup and keep it working smoothly.
Conclusion
Now that you’ve finished installing your bathroom faucet, you’re like a modern-day craftsman, turning your sink into a fountain of fresh possibilities. Just as a painter adds the final strokes or a chef plates the last garnish, your careful steps have brought function and style together.
With every drop flowing perfectly, you’ve mastered a small but mighty feat—proving that with the right tools and a bit of know-how, you can conquer any home project. Installing a bathroom faucet may seem daunting, but following simple steps makes it manageable.
By taking the time to install your bathroom faucet correctly, you ensure lasting durability and enhance your bathroom’s overall look. This successful bathroom faucet installation shows that DIY projects can save money and give you a sense of accomplishment.