How to Replace a Bathroom Sink Faucet in 7 Simple Steps
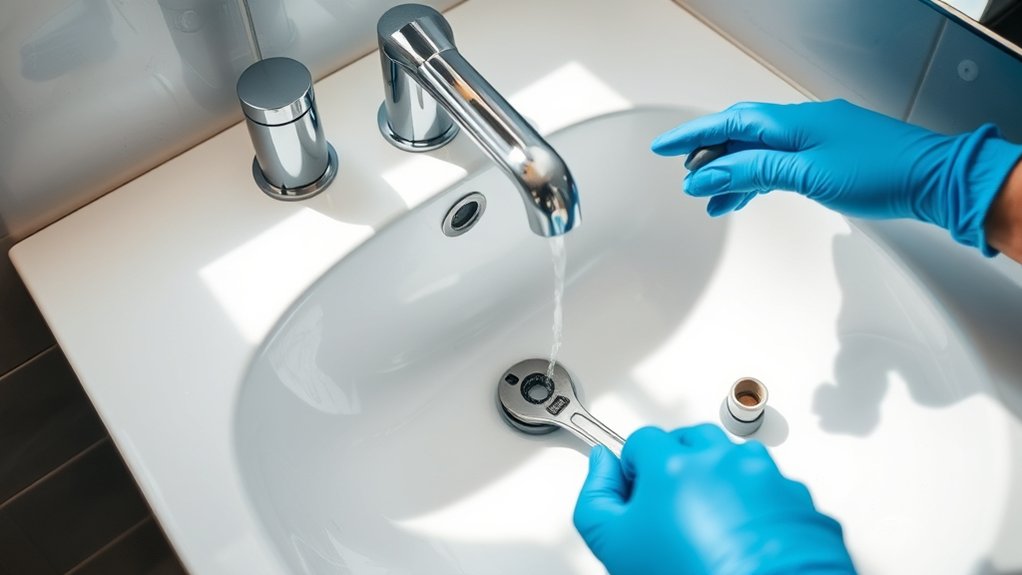
To replace your bathroom sink faucet in 7 simple steps, start by shutting off the water supply and gathering all necessary tools. Replacing a bathroom sink faucet can be an easy DIY project that improves both the look and functionality of your bathroom.
Having the right tools on hand will make the process smoother and more efficient.
Next, remove the old faucet carefully and clean the sink connections to ensure a proper seal. Then, install the new faucet by following the manufacturer’s instructions, secure all fittings tightly, and reconnect the water lines.
Turn the water back on slowly and check for leaks, tightening any loose connections as needed.
Finally, test the faucet’s function to guarantee everything works smoothly. Follow along to master these steps with helpful tips and troubleshooting advice.
Key Takeaways
- Turn off the water supply and open the faucet to drain remaining water before starting.
- Loosen and remove mounting nuts and supply lines to detach the old faucet carefully.
- Apply plumber’s tape on new faucet threads and position it securely over the sink holes.
- Connect water supply lines to the faucet and shutoff valves, tightening all fittings properly.
- Slowly turn on water, check for leaks, and test faucet function before finishing the installation.
Turn Off Water and Get Your Tools Ready
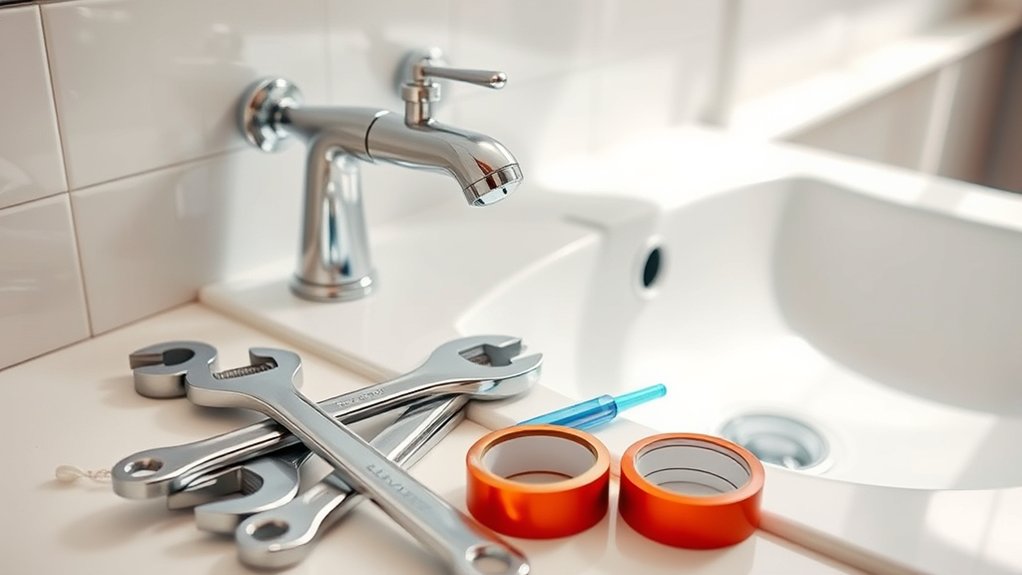
Before you begin, make sure to turn off the water supply to your bathroom sink to prevent any leaks or spills. Locate the shutoff valves under the sink and turn them clockwise until they stop. If you don’t find individual valves, turn off the main water supply to your home.
Next, gather the tools you’ll need: an adjustable wrench, basin wrench, plumber’s tape, a bucket to catch drips, and a cloth for cleanup. Having everything ready before you start saves time and frustration. Double-check that the water is off by turning on the faucet and confirming no water flows.
Once you’re sure the supply is cut, clear out the area under the sink so you have easy access to the plumbing. Now, you’re set to move on.
Remove the Old Bathroom Sink Faucet
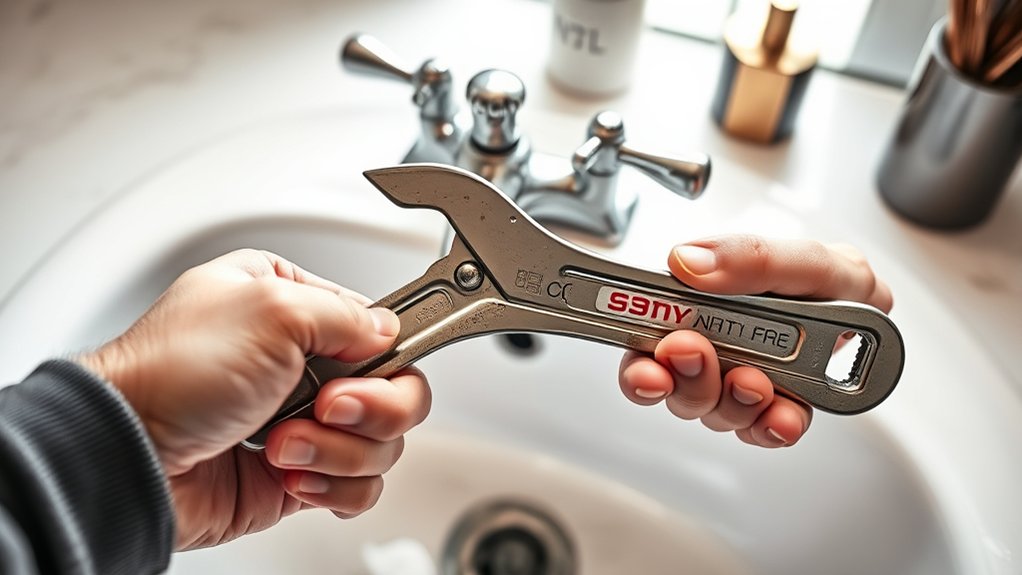
Now that the water supply is off, you can start disconnecting the faucet connections beneath the sink. Use a wrench to carefully loosen the nuts holding the faucet in place.
Once everything’s disconnected, you’ll be ready to lift out the old faucet.
Turn Off Water Supply
Two main valves control the water supply to your bathroom sink, and you’ll need to shut both off to avoid leaks while removing the old faucet. These valves are usually located under the sink, one for hot water and one for cold. Before you start, make sure to:
- Turn each valve clockwise until tight to stop water flow.
- Open the faucet to drain any remaining water in the lines.
- Use a flashlight if you have trouble locating the valves.
If you don’t see individual shutoff valves, you may need to turn off the main water supply for your home. Once the water is off and the faucet drains, you’re ready to remove the old faucet without worrying about water spraying or flooding.
Disconnect Faucet Connections
How do you safely disconnect the faucet connections without causing a mess? First, place a bucket or towel under the sink to catch any leftover water. Then, use an adjustable wrench to loosen the nuts connecting the water supply lines to the faucet.
Turn them counterclockwise until they detach. Next, disconnect the water supply lines from the shutoff valves by loosening their nuts. Be ready for a small amount of water to drip out—this is normal.
After the supply lines are free, remove any mounting nuts or clips holding the faucet to the sink. Finally, lift the faucet straight up and out. By working carefully and keeping your tools handy, you’ll avoid spills and prepare the sink for the new faucet installation.
Clean and Inspect Sink Connections After Removal
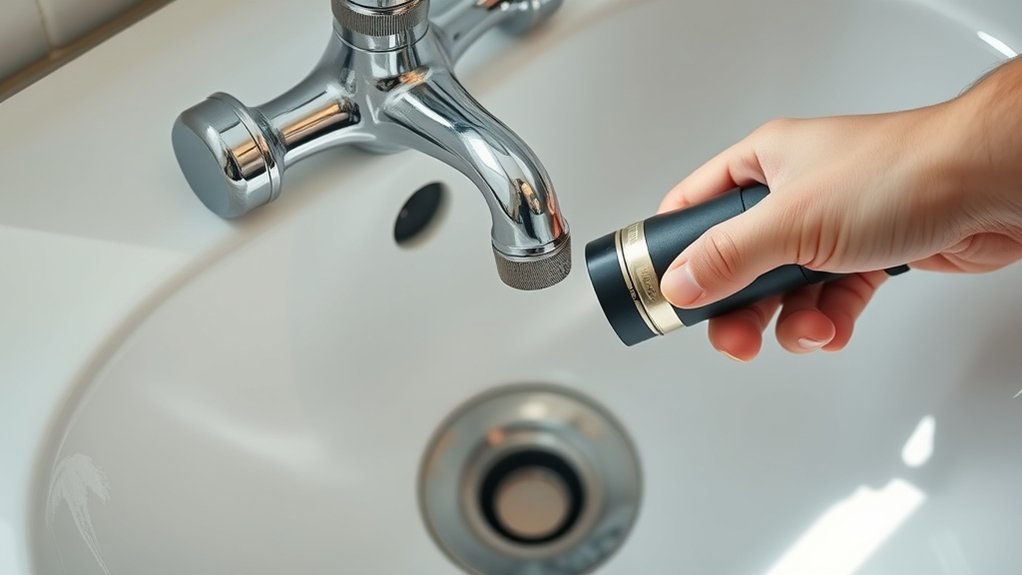
After removing the old faucet, take time to thoroughly clean the sink connections to prevent buildup and guarantee a tight seal with the new fixture. Start by wiping away any old plumber’s putty, grime, or mineral deposits that could interfere with the new installation. Use a cloth or a soft brush to reach tight spots without damaging the surface.
Next, inspect the connections carefully for any signs of damage, corrosion, or cracks that might cause leaks later. Check the condition of the faucet holes as well.
Carefully inspect connections and faucet holes for damage or corrosion to prevent future leaks.
Here’s what to do next:
- Remove leftover debris and old sealant completely.
- Examine the mounting holes and surrounding areas for damage.
- Look for corrosion or worn threads on the water supply lines.
Cleaning and inspecting now saves headaches later.
Install the New Bathroom Sink Faucet
Start by aligning the faucet components carefully to guarantee a proper fit. Then, tighten the mounting hardware securely to prevent any leaks or movement.
Finally, connect the water supply lines firmly to complete the installation.
Align Faucet Components Properly
Although aligning the faucet components may seem tricky, careful placement guarantees a secure fit and prevents leaks. Start by positioning the faucet base evenly over the sink holes, making sure it’s centered.
Next, align the handles or levers so they operate smoothly without hitting the backsplash or each other. Finally, check that the spout directs water straight into the sink basin without splashing.
To align your faucet components properly:
- Make certain the gasket or seal sits flat between the faucet and sink surface.
- Adjust the faucet’s angle so water flows cleanly into the drain area.
- Confirm all parts line up with their mounting holes before tightening any hardware.
Taking time here helps avoid leaks and makes the faucet function perfectly.
Secure Mounting Hardware Tight
Once you’ve aligned the faucet components correctly, you’ll need to secure the mounting hardware tightly to guarantee the faucet stays stable and leak-free. Use a basin wrench or adjustable wrench to tighten the mounting nuts underneath the sink. Don’t overtighten, or you risk damaging the sink or faucet.
Tighten evenly by alternating between nuts if there are multiple. Check that the faucet doesn’t move or wiggle.
| Step | Tip |
|---|---|
| Position faucet | Ensure holes align perfectly |
| Hand-tighten nuts | Start threading by hand |
| Tighten with wrench | Use steady, moderate pressure |
| Alternate tightening | Tighten nuts evenly to avoid stress |
| Final check | Test faucet stability by gently moving it |
Connect Water Supply Lines
After securing the mounting hardware and confirming your faucet is stable, you can move on to connecting the water supply lines. First, attach the flexible supply lines to the faucet’s threaded tailpieces. Make sure you match the hot and cold lines correctly to avoid confusion later.
Next, connect the other end of the supply lines to the shutoff valves under the sink. Tighten all connections with an adjustable wrench, but don’t overtighten—this can damage the fittings.
- Use plumber’s tape on threads to ensure a watertight seal
- Hand-tighten connections before using a wrench
- Double-check that hot and cold lines correspond correctly
Once connected, turn on the shutoff valves slowly and check for leaks before finishing up.
Reconnect Water Lines and Test for Leaks
How do you guarantee your new faucet works perfectly without any leaks? First, reconnect the water supply lines to the faucet’s corresponding hot and cold inlets. Hand-tighten the connections, then use an adjustable wrench to snug them up—avoid overtightening to prevent damage.
Once connected, turn the water supply valves back on slowly. Next, check each connection point carefully for drips or moisture. Use a dry cloth or paper towel to spot even small leaks.
If you see any, gently tighten the fittings a bit more, but don’t force them. Finally, run the faucet, letting both hot and cold water flow to verify everything operates smoothly and leak-free. This step secures your installation is secure before you move on.
Wrap Up Installation and Troubleshoot Common Problems
Before you finish up your installation, take a moment to secure all components firmly and clean up the workspace. Double-check that the faucet is tight and aligned properly.
Ensure all parts are secure and the faucet is properly aligned before completing your installation.
Once everything’s in place, turn the water back on and observe the faucet carefully for any leaks or drips.
If you notice any issues, here are some common problems to troubleshoot:
- Leaks at connections: Tighten fittings or reapply plumber’s tape to ensure a secure seal.
- Low water flow: Remove and clean aerators or check supply valves for blockages.
- Dripping faucet: Replace worn-out washers or cartridges inside the faucet.
Addressing these quickly will keep your new faucet working smoothly and prevent damage.
Now you’re ready to enjoy your updated bathroom sink!
Extra Tips for a Smooth Faucet Replacement
Though replacing a bathroom sink faucet can seem straightforward, a few extra tips can save you time and frustration along the way. First, always turn off the water supply completely before you start to avoid messy leaks. Use a basin wrench to reach tight spaces under the sink—it makes loosening nuts much easier.
Keep a bucket handy to catch any leftover water. When installing the new faucet, apply plumber’s tape on threaded connections to ensure a watertight seal. Don’t overtighten fittings; snug is enough and prevents damage.
Finally, check for leaks by slowly turning the water back on and observing all connections. Taking these simple precautions will help you replace your faucet smoothly and confidently.
Frequently Asked Questions
What Type of Faucet Is Best for Low Water Pressure?
You’ll want a faucet with a pressure-compensating flow restrictor or a single-handle design. These types maintain steady water flow even with low pressure, ensuring you get consistent performance without frustrating drips or weak streams.
How Do I Choose a Faucet That Matches My Bathroom Decor?
You’ll want to pick a faucet style and finish that complements your bathroom’s theme, like modern chrome for sleek looks or brushed bronze for rustic vibes.
Match colors and shapes to your existing decor for a cohesive feel.
Can I Replace a Faucet Without Removing the Sink?
You can replace a faucet without removing the sink, but “measure twice, cut once” applies—you’ll need to work carefully in tight spaces. Disconnect water lines, unscrew the old faucet, and install the new one from above.
Take your time to avoid damaging any connections or the countertop. Make sure to turn off the water supply before starting the replacement.
Using the right tools will make the process smoother and help you reach difficult areas. Double-check all connections for leaks once the new faucet is installed.
What Materials Are Most Durable for Bathroom Faucets?
You’ll want faucets made from solid brass or stainless steel since they resist corrosion and last longer. Chrome or nickel finishes add durability and style, but avoid plastic parts—they wear out quickly and can cause leaks.
How Often Should Bathroom Faucets Be Replaced?
You should swap your sink’s setup every seven to ten years, especially since wear and water woes weaken working parts.
Watch for wobbles, leaks, or limescale buildup—these signs signal it’s time to tackle a timely replacement.
Conclusion
Now that you’ve replaced your bathroom sink faucet in just seven simple steps, don’t you feel accomplished? With the water off, tools ready, and a bit of patience, you’ve transformed your sink without a plumber.
Remember to test for leaks and troubleshoot any issues before wrapping up. If you follow these tips, future replacements will be even easier.
Ready to enjoy your refreshed bathroom faucet every day? You’ve got this! Replacing a bathroom sink faucet is a great DIY project that saves money and boosts your home maintenance skills.