How to Stop a Dripping Faucet in 7 Easy Steps
To stop a dripping faucet in 7 easy steps, start by identifying the leak. Turn off the water supply and inspect your faucet type to understand the source of the drip. This initial step is crucial for an effective repair.
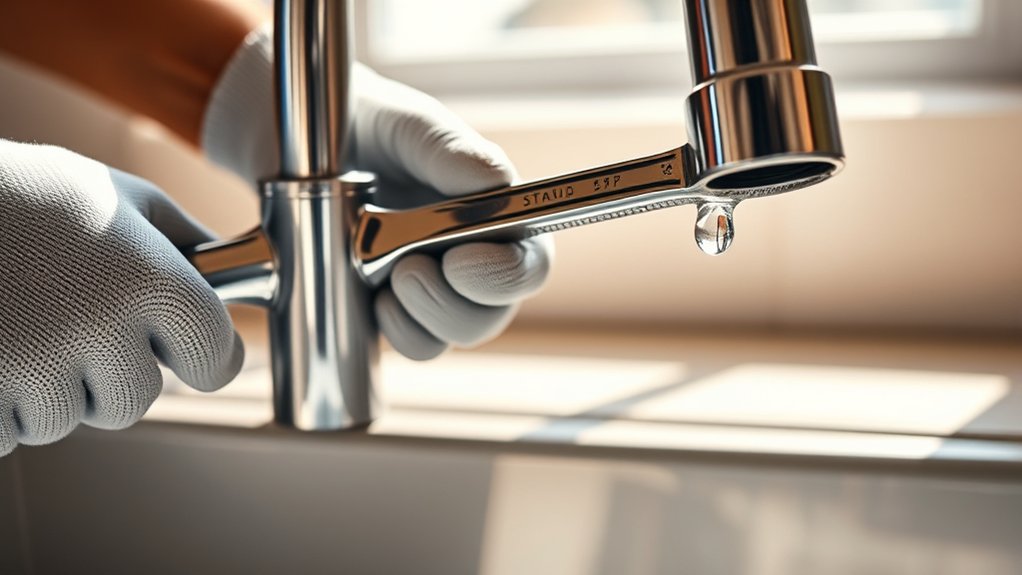
Next, gather essential tools such as an adjustable wrench and replacement washers. Make sure you have everything ready before proceeding to avoid interruptions.
Safely shut off the water supply to prevent any mess while working on the faucet.
Carefully disassemble the faucet, paying attention to each part. Replace any worn washers or damaged components, and clean away any mineral buildup.
Once cleaned and repaired, reassemble the faucet securely.
Finally, turn the water back on slowly and test for leaks.
By following these straightforward steps, you’ll keep your faucet drip-free and efficient, ensuring a lasting repair success.
Key Takeaways
- Turn off the water supply and dry the faucet to locate the exact source of the drip.
- Disassemble the faucet carefully by removing handles and packing nuts to access worn washers or O-rings.
- Replace damaged washers, O-rings, or seals specific to your faucet type to stop leaks effectively.
- Reassemble the faucet securely, ensuring all parts fit properly and are tightened without overtightening.
- Turn on water slowly, test for leaks, and monitor the faucet to confirm the drip has stopped.
How to Identify the Cause of Your Faucet Drip
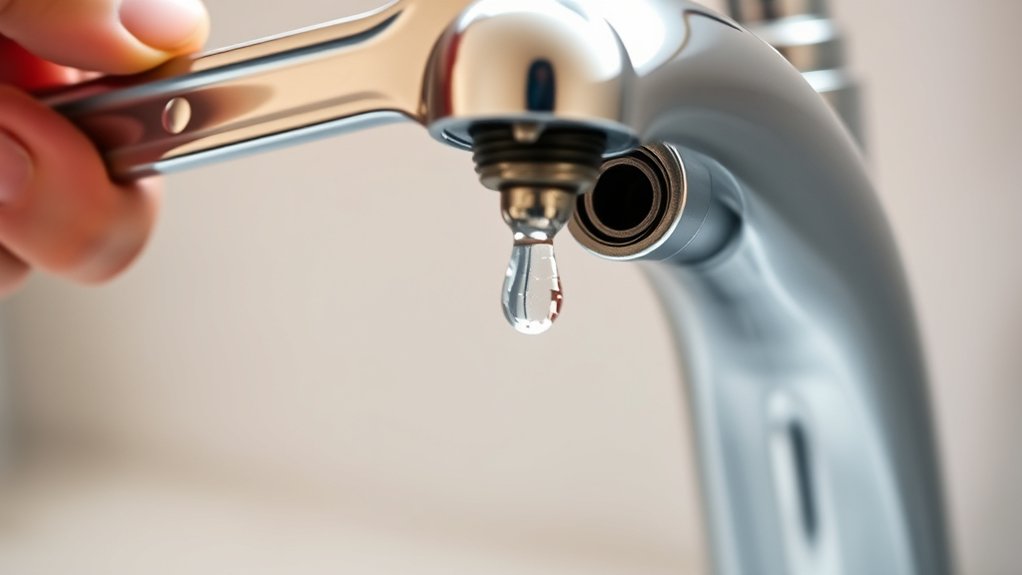
Before you can fix a dripping faucet, you need to pinpoint what’s causing it. Start by turning off the water supply and drying the faucet to spot where the drip originates. Check the faucet type—compression, cartridge, ball, or ceramic disk—as each has unique parts that might wear out.
Common causes include worn-out washers, damaged O-rings, or corroded valve seats. You might also find mineral buildup interfering with proper sealing. Pay attention to whether the drip happens when the faucet is off or only during use; this helps narrow down the faulty component.
Gather the Tools You Need for Faucet Repair
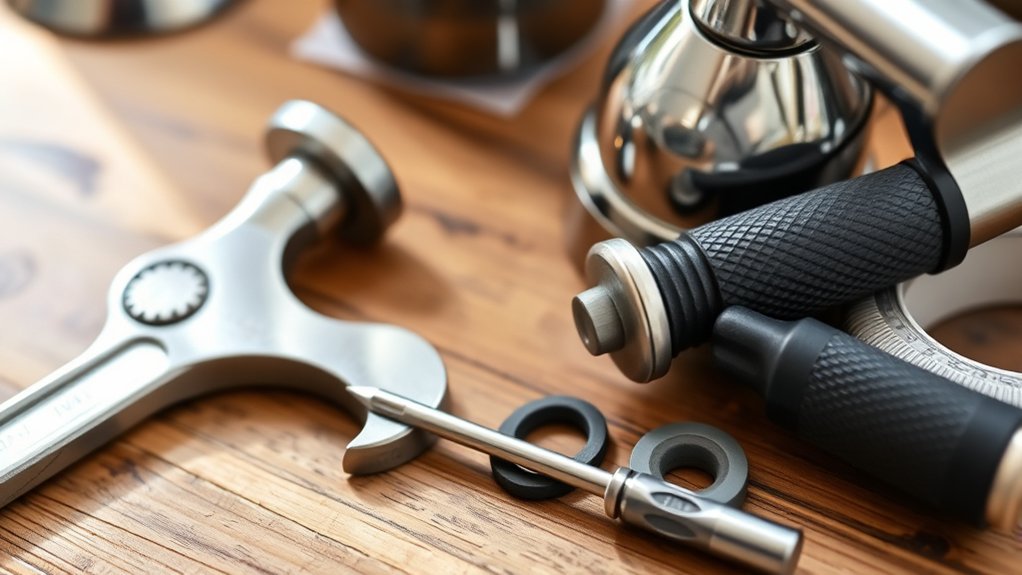
Now that you’ve identified the cause of your faucet’s drip, it’s time to gather the right tools to fix it. You’ll need a few basics: an adjustable wrench to loosen nuts, a screwdriver (both flathead and Phillips) to remove screws, and replacement washers or O-rings specific to your faucet type.
Keep a pair of needle-nose pliers handy for gripping small parts and a cloth to protect your fixtures from scratches. A small bowl or container will help you keep removed parts organized, so none get lost. If you need to clean parts, a brush or some vinegar can be useful.
Having these tools ready will make the repair process smoother and quicker, so you won’t have to stop midway searching for supplies.
Turn Off the Water Supply Safely Before You Start
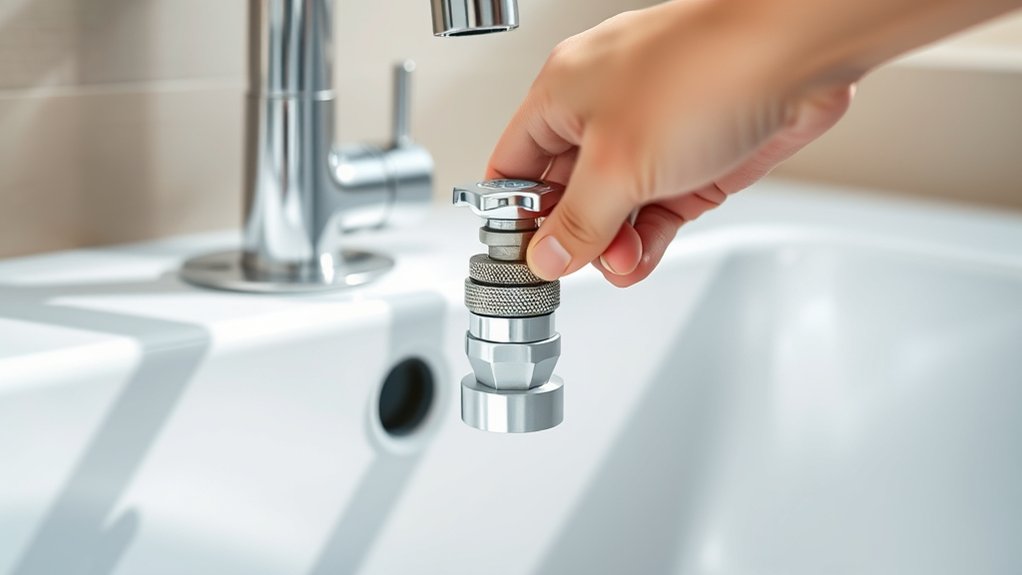
Before you begin fixing your faucet, make sure you turn off the water supply safely. Start by locating the main water valve and then shut off the cold water supply to the faucet.
Finally, double-check that the water is completely off to avoid any surprises.
Locate Main Water Valve
Although it might seem like a small step, locating your main water valve is essential to stopping a dripping faucet safely. Before you start any repair, shutting off the water supply prevents leaks and water damage.
Here’s how to find it quickly:
- Check near your water meter, often outside your home or in the basement.
- Look for a round wheel or lever attached to a pipe entering your house.
- In warmer climates, the valve might be in a covered box in your yard.
- If you live in an apartment, the main valve may be in a utility closet or hallway.
Knowing this location saves time and keeps your home dry while fixing your faucet. Keep a wrench nearby to turn it off when ready.
Shut Off Cold Supply
Once you’ve located your main water valve, you’ll want to shut off the cold water supply directly to the faucet to prevent any unwanted dripping while you work.
Look under the sink for the cold water shutoff valve—usually a small, round handle or lever attached to a pipe. Turn the valve clockwise until it stops to close it completely. If the valve is a lever, push it perpendicular to the pipe to shut it off.
This step isolates the faucet’s water flow, making repairs easier and cleaner. If you don’t find a local shutoff, you may need to turn off the main water valve instead. Remember, always handle valves gently to avoid damage or leaks when shutting off the water supply.
Verify Water Is Off
Since shutting off the water supply is essential, you’ll want to make certain no water is flowing before you start working on your faucet. To verify the water is off, follow these steps:
- Turn on the faucet handle to check for any water flow.
- If water still drips, double-check that the shutoff valve is fully closed.
- Test other nearby faucets to ensure the supply is completely stopped.
- If water continues to flow, locate and turn off the main water valve to your home.
Confirming the water is off helps prevent unwanted leaks and water damage while you work. Taking this simple step saves you time and hassle, making the repair process smoother and safer.
Carefully Disassemble Your Faucet Without Breaking It
Before you start taking your faucet apart, make sure you have the right tools on hand and a clear workspace to prevent losing small parts. Begin by removing any decorative caps on the faucet handle to access screws. Use a screwdriver or Allen wrench to carefully loosen and remove these screws without stripping them.
Gently pull the handle off, avoiding excessive force that could crack or damage it. Next, use an adjustable wrench to unscrew the packing nut, turning counterclockwise. Keep track of each part as you remove it by placing them in order on your workspace.
Take your time and work methodically—rushing can lead to broken components. With patience, you’ll have your faucet disassembled smoothly, ready for the next step without causing any damage.
Swap Out Worn Washers and Seals to Stop the Leak
After carefully disassembling your faucet, you’ll be able to see the washers and seals that often cause leaks when worn out. These small parts wear down over time, leading to that annoying drip. To fix this, follow these steps:
- Identify the damaged washer and seals by checking for cracks, flattening, or stiffness.
- Purchase exact replacements from a hardware store to guarantee a proper fit.
- Remove the old washers and seals gently using a screwdriver or pick tool.
- Install the new washers and seals by pressing them firmly into place, then reassemble your faucet.
Replacing these parts restores a tight seal and stops water from leaking, saving you money and preventing water waste.
Remove Mineral Buildup Inside Your Faucet for Better Flow
Containing dissolved minerals, hard water often leaves deposits inside your faucet that restrict water flow and cause drips. To remove this buildup, first turn off the water supply and disassemble the faucet as needed. Soak the affected parts in white vinegar for 30 minutes to an hour; the acidity dissolves mineral deposits effectively.
If soaking isn’t enough, gently scrub with an old toothbrush or a soft brush to break up stubborn residue. Rinse all parts thoroughly with clean water to remove loosened minerals and vinegar. Dry the components completely before moving on.
Regularly cleaning mineral buildup helps maintain smooth water flow and prevents leaks caused by clogged or damaged parts. This simple step improves your faucet’s performance and extends its lifespan.
Reassemble Your Faucet and Test to Stop the Drip
Now that you’ve cleaned the parts, carefully align them as you reassemble your faucet. Make sure to tighten all components securely to prevent leaks.
Once everything’s in place, turn on the water and test for any remaining drips.
Align Parts Correctly
When you reassemble your faucet, make sure each part fits precisely in its original position to prevent further leaks. Misaligned components can cause water to drip again, so take your time for accuracy.
Follow these steps to align parts correctly:
- Place the cartridge or valve stem back into the faucet body, ensuring it sits flush.
- Align washers and O-rings so they rest evenly without twisting or folding.
- Match the handle’s position to its original angle before securing it.
- Check that the spout and any decorative caps line up without gaps or unevenness.
Once everything’s aligned, you’ll be ready to test your faucet for leaks confidently. Proper alignment is essential to stopping that annoying drip.
Tighten Components Securely
Although aligning the parts correctly is essential, tightening the components securely guarantees your faucet stays leak-free. Begin by carefully reassembling each part, ensuring they fit snugly without forcing anything. Use the right tools, like a wrench or screwdriver, to tighten screws, nuts, and bolts firmly but avoid overtightening, which can damage threads or crack components.
Pay close attention to washers and seals, making sure they sit properly before securing them. Once everything is tightened, double-check each connection to confirm nothing is loose. Properly securing these parts prevents water from seeping through gaps and stops future drips.
Taking this step seriously will save you time and effort, ensuring your faucet functions smoothly without leaks for the long haul.
Test Water Flow
How do you know if your faucet repair worked? After reassembling your faucet, it’s crucial to test the water flow to ensure the drip has stopped. Follow these steps:
- Turn the water supply back on slowly to avoid sudden pressure.
- Open the faucet fully and observe the water flow for any dripping.
- Check under the sink for leaks around the valve or connections.
- Close the faucet and see if any drops continue to fall.
If the dripping stops, you’ve successfully fixed the faucet. If not, you may need to tighten components again or replace faulty parts. Testing now saves you from wasting water and prevents further damage.
Keep an eye on it for a few minutes to confirm the repair holds.
Frequently Asked Questions
Can a Dripping Faucet Increase My Water Bill Significantly?
Yes, a dripping faucet can substantially increase your water bill over time. You’re fundamentally wasting gallons of water daily, which adds up. Fixing the drip quickly saves money and conserves water, benefiting both your wallet and the environment.
How Often Should I Inspect My Faucet for Leaks?
Leaks can sneak up like silent shadows, so you should inspect your faucet every few months.
Regular checks help you catch drips early, saving water and money before they turn into a costly, constant drip-drip-drip.
Are There Eco-Friendly Products to Prevent Faucet Drips?
Yes, you can use eco-friendly faucet repair kits with biodegradable washers or silicone seals. These products reduce waste and last longer, helping you prevent drips while protecting the environment.
They do so without harsh chemicals or plastic components.
Can a Dripping Faucet Cause Mold or Water Damage?
Yes, a dripping faucet can cause mold and water damage over time. You’ll want to fix it quickly because constant moisture creates the perfect environment for mold growth and can damage walls, floors, and cabinets near the leak.
Ignoring the drip allows water to accumulate, which might lead to structural issues. Even small leaks can increase humidity levels, encouraging mold spores to thrive. Addressing the problem promptly helps protect your home’s integrity and your health.
When Should I Call a Professional Plumber Instead of DIY?
When your faucet’s little hiccups turn into persistent storms, it’s time to call a professional. If leaks worsen, parts are hard to reach, or you lack tools, don’t hesitate—let an expert handle the job safely.
Conclusion
Fixing a dripping faucet might seem tricky, but remember, “a stitch in time saves nine.” By identifying the cause, gathering the right tools, and carefully replacing worn parts, you’ll save water and avoid costly repairs down the line.
Take your time to clean and reassemble your faucet properly, and you’ll stop that annoying drip for good. With these simple steps, you’ll keep your home running smoothly and conserve resources effortlessly.
By following these easy steps to stop a dripping faucet, you not only prevent water waste but also maintain your plumbing effectively. This quick fix helps save money and ensures your faucet works like new. Start today and enjoy a drip-free home!