How to Draw a Vacuum in 7 Easy Steps
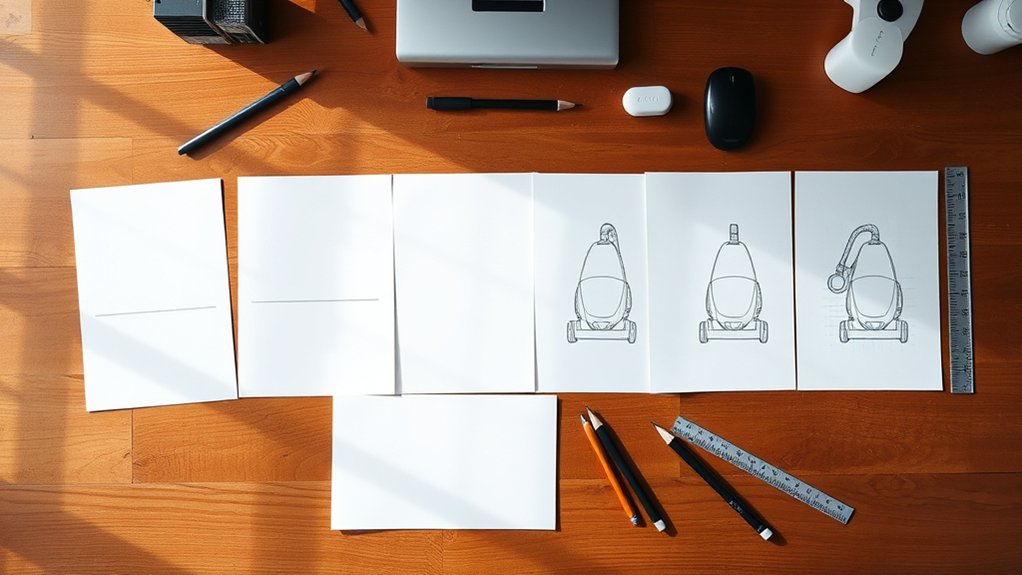
To draw a vacuum in 7 easy steps, start by gathering your pencils, eraser, and paper. Set up a well-lit workspace to ensure you can see all the details clearly. Having the right tools and environment will make your drawing process smoother.
Lightly sketch the vacuum’s basic body shape using simple geometric forms. This foundation helps capture the overall structure accurately before adding details.
Next, add the handle and main tube to define the vacuum’s silhouette.
Follow by drawing the sturdy base and cleaning head. Include details like buttons and wheels to make your vacuum look realistic.
Then clean up your lines for clarity, erasing any unnecessary marks.
Finally, add shading and texture to bring your drawing to life. These finishing touches provide depth and dimension.
Keep going to uncover tips for perfecting your drawing.
Key Takeaways
- Begin with light sketches of basic geometric shapes to outline the vacuum’s overall body and proportions.
- Draw the handle and main tube with smooth lines, ensuring ergonomic and proportional connections.
- Add the base and cleaning head using sturdy, rounded shapes positioned for stability.
- Incorporate small details like buttons, vents, and wheels lightly to enhance realism.
- Refine important lines with confident strokes and clean up overlapping marks for a polished finish.
Get Your Materials Ready and Set Up Your Space

Before you start drawing your vacuum, gather all the essential materials to guarantee a smooth process. You’ll need a good set of pencils—ranging from hard (H) to soft (B) leads—so you can create both light guidelines and darker details. Grab an eraser, preferably a kneaded one, to easily correct mistakes without damaging your paper.
Have a sharpener handy to keep your pencils precise. Choose quality drawing paper that can handle erasing and shading without tearing. Set up a clean, well-lit workspace where you can comfortably sit and spread out your tools.
Make sure your light source doesn’t cast distracting shadows on your paper. Organizing your materials and space beforehand helps you focus fully on your drawing without interruptions or frustration.
Sketch the Basic Shape of the Vacuum Body
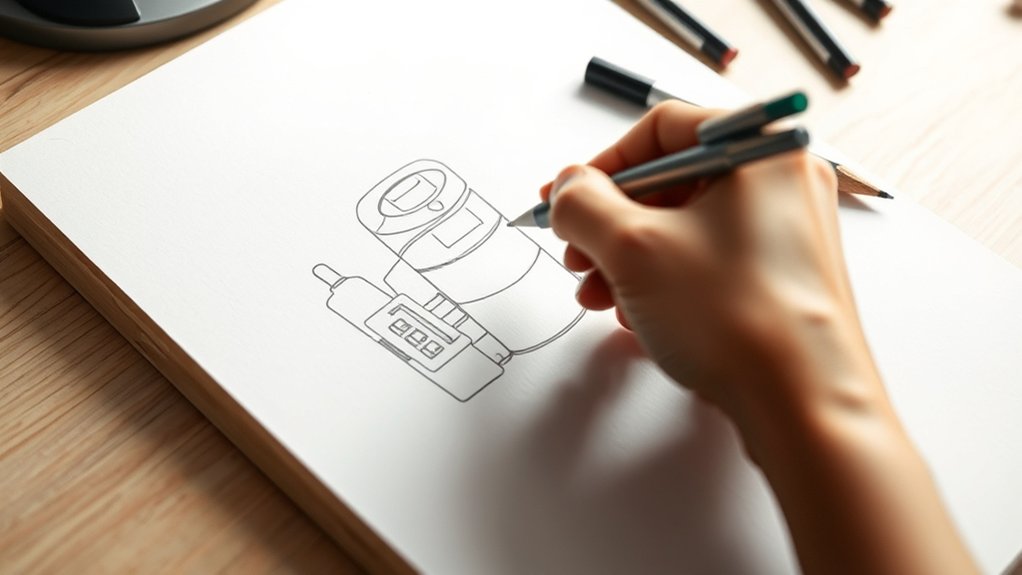
Once you have your materials ready, start by lightly sketching the basic shape of the vacuum body using simple geometric forms like rectangles and cylinders. Focus on capturing the main structure’s proportions and overall size. Don’t worry about details yet; keep your lines loose and light so you can easily adjust them later.
Begin with a rectangle or box shape for the vacuum’s main container, then add a cylinder or elongated oval to represent the dustbin or motor section. Make sure the shapes connect smoothly, as this will form the foundation for your drawing. Keep checking your proportions from different angles, ensuring the body looks balanced.
This step sets the stage for adding more specific features in the next phase.
Draw the Vacuum Handle and Main Tube
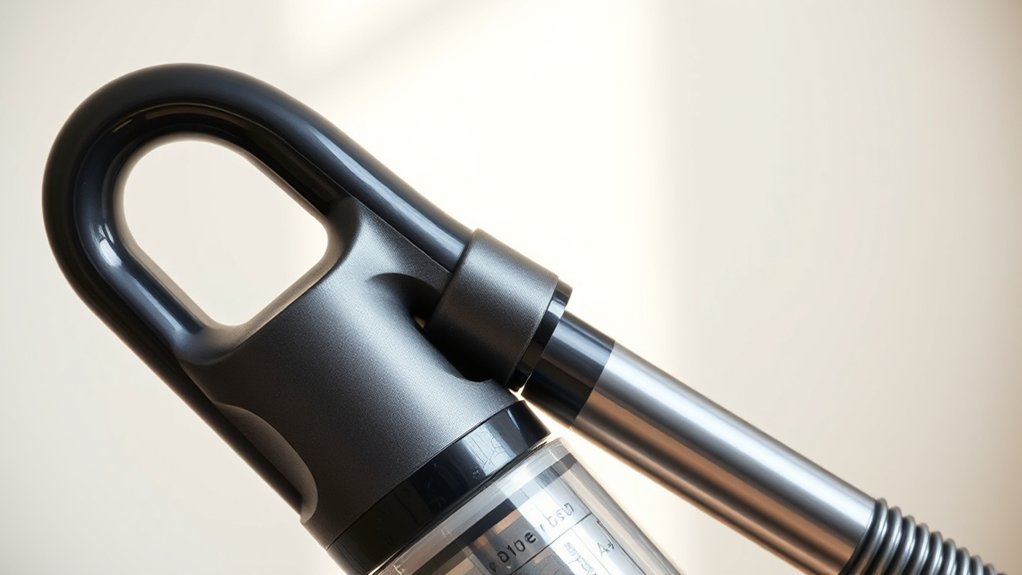
Now, focus on sketching the handle, making sure its shape feels natural and ergonomic.
Next, draw the main tube, connecting it smoothly to the body and handle.
Keep your lines confident to capture the vacuum’s structure clearly.
Sketching Handle Shape
How do you capture the vacuum’s handle and main tube with simple lines? Start by lightly sketching the handle’s basic shape—usually a slightly curved rectangle or elongated oval. Keep your lines smooth and confident, as the handle often has a rounded, ergonomic design.
Next, draw a straight or gently angled line extending downward from the handle’s base to represent the main tube’s starting point. Don’t worry about details yet; focus on proportions and connection points between the handle and tube. Make sure the handle’s thickness matches the vacuum’s style—neither too thick nor too thin.
This simple framework sets the stage for adding more detail later. By mastering these initial shapes, you’ll create a solid foundation that captures the vacuum’s structure clearly and accurately.
Drawing Main Tube
Where do you start when drawing the main tube that connects to the vacuum handle? Begin by extending a straight or slightly curved line downward from the base of the handle. This tube should be proportional to the handle—neither too thick nor too thin.
Use smooth, confident strokes to outline the tube’s length. Next, add a parallel line beside it to create the tube’s thickness, connecting both lines at the ends to form a solid shape. Pay attention to perspective; the tube might taper slightly as it moves away from the handle.
Don’t forget to include any details like seams or connectors where the tube attaches to the handle or vacuum body. This step establishes the vacuum’s core structure, so keep your lines clean and precise for a polished look.
Add the Vacuum Base and Cleaning Head
Before you move on to the finer details, focus on sketching the vacuum base and cleaning head, as these parts form the foundation of your drawing. Start by outlining a sturdy, rectangular base, then add the cleaning head extending from it, often a rounded rectangle or slightly curved shape. Keep proportions balanced to maintain realism.
Use this quick reference to guide your shapes and positioning:
| Part | Shape Tip |
|---|---|
| Vacuum Base | Wide rectangle, flat bottom |
| Cleaning Head | Rounded rectangle, slight curve |
| Connection | Narrow tube linking base and head |
| Positioning | Align base directly beneath main tube |
With the base and head in place, your drawing gains stability and clarity, making the next steps smoother.
Add Details: Buttons, Vents, and Wheels
Once you’ve established the base and cleaning head, you can start adding smaller details like buttons, vents, and wheels to bring your vacuum drawing to life. These elements add realism and make your drawing more interesting. Focus on placing each detail carefully to maintain balance.
Here are key details to include:
- Small circular or rectangular buttons on the handle or body
- Air vents with parallel lines near the motor area
- Wheels beneath the base for mobility
- Power switch, often a small slider or toggle
- Cord storage hooks or clips on the side
Add these details lightly at first, so you can adjust if needed. They’ll give your vacuum a polished, functional look without overwhelming the main shape.
Clean Up Your Sketch and Make Lines Clear
Although your sketch may look rough now, cleaning up your lines will make your vacuum drawing clearer and more polished. Start by erasing any unnecessary or overlapping strokes that make your drawing look messy. Use a sharp pencil or fine liner to reinforce the important outlines, focusing on smooth, confident lines.
Keep your hand steady as you trace over the main shapes and details, ensuring consistency in line weight to emphasize the vacuum’s structure. Don’t forget to tidy up small elements like buttons and vents, making them distinct but not overpowering. This step helps your drawing look intentional and easy to understand.
Take your time refining these lines because a clean base will make the next steps, like shading and texturing, much easier to execute.
Shade and Texture Your Drawing for Realism
As you add shading and texture, you’ll bring depth and realism to your vacuum drawing. Focus on light sources and shadows to create a three-dimensional effect. Use different shading techniques to represent various materials like metal, plastic, and fabric.
Don’t forget subtle details that make the vacuum look authentic.
Here are some tips to enhance your shading and texture:
- Use cross-hatching for metallic parts to show shine.
- Apply smooth gradients on plastic surfaces for softness.
- Add tiny dots or rough lines to mimic fabric or filters.
- Darken areas under handles and crevices to emphasize depth.
- Blend pencil strokes gently for a polished finish.
Frequently Asked Questions
What Type of Vacuum Is Best for Beginners to Draw?
You’ll want a simple, upright vacuum with clear shapes and minimal details. This type makes it easier to capture basic lines and proportions, helping you focus on form without getting overwhelmed by complex parts or textures.
Can I Use Digital Tools Instead of Traditional Pencils?
Yes, you can definitely use digital tools instead of traditional pencils. They offer flexibility, easy corrections, and a variety of brushes to experiment with.
You’ll find digital drawing efficient and fun, especially for beginners.
How Long Does It Usually Take to Complete the Drawing?
It usually takes you about 30 minutes to an hour to complete the drawing, depending on your detail level and experience.
If you’re new, expect to spend more time practicing and refining your skills.
Are There Any Recommended References for Vacuum Designs?
You can use product catalogs, online images, and vacuum manufacturer websites as references. Checking out simple line drawings or blueprints helps, too. These sources make it easier for you to capture accurate shapes and details.
What Are Common Mistakes to Avoid When Drawing Vacuums?
You shouldn’t overcomplicate shapes or ignore perspective. Don’t forget details like the hose or buttons, and avoid making it too symmetrical.
Make sure proportions feel right, or your vacuum won’t look believable or functional.
Conclusion
Now that you’ve mastered drawing a vacuum in just seven easy steps, you’re basically an art wizard! Your sketch isn’t just a vacuum—it’s a masterpiece that could suck up the entire art world with its realism.
Keep practicing, and soon you’ll be drawing appliances so lifelike, they’ll jump off the page and start cleaning your room for you. Who knew art could be this powerful?
Keep creating, and let your imagination roar! With these simple drawing steps, your ability to draw a vacuum will continue to improve, making your artwork even more impressive and detailed.