How to Clean Vacuum Cleaner Hose in 7 Easy Steps
To clean your vacuum cleaner hose effectively and maintain its performance, follow these seven easy steps. Regular cleaning helps prevent blockages, eliminates odors, and extends the life of your vacuum hose.
Start by detaching the hose and inspecting it carefully for any signs of damage or clogs that could affect suction power.
Gather essential tools like a flexible brush and mild detergent to assist in the cleaning process. Remove debris gently using the brush or a straightened wire, ensuring you don’t damage the hose.
Next, wash the hose with lukewarm, soapy water while avoiding any electrical components.
After washing, allow the hose to dry thoroughly in a well-ventilated area to prevent mold or mildew.
Once dry, reassemble the hose and test your vacuum for proper suction.
Keep following these tips to keep your vacuum cleaner hose clean longer and working better.
Key Takeaways
- Detach the hose and inspect for blockages, cracks, or holes using light and a flashlight.
- Use a flexible brush or pipe cleaner to remove debris and clear stubborn clogs.
- Wash the hose with lukewarm water and mild detergent, avoiding electrical parts.
- Rinse thoroughly and shake out excess water to remove soap residue.
- Hang the hose to dry completely before reassembling and testing suction.
Detach and Inspect Your Vacuum Hose

Before you begin cleaning, detach the vacuum hose from the main unit and attachments. This step guarantees you can thoroughly inspect and clean the hose without damaging the vacuum. Carefully disconnect it by twisting or pulling, depending on your model.
Once detached, hold the hose up to a bright light or sunlight to check for blockages, cracks, or holes. Pay close attention to the ends where debris tends to gather. If you spot any damage, consider repairing or replacing the hose to maintain your vacuum’s efficiency.
Inspecting the hose at this stage helps you identify any issues that could reduce suction or cause leaks. Taking your time here prevents bigger problems later and sets you up for effective cleaning.
Gather Tools and Supplies You Need
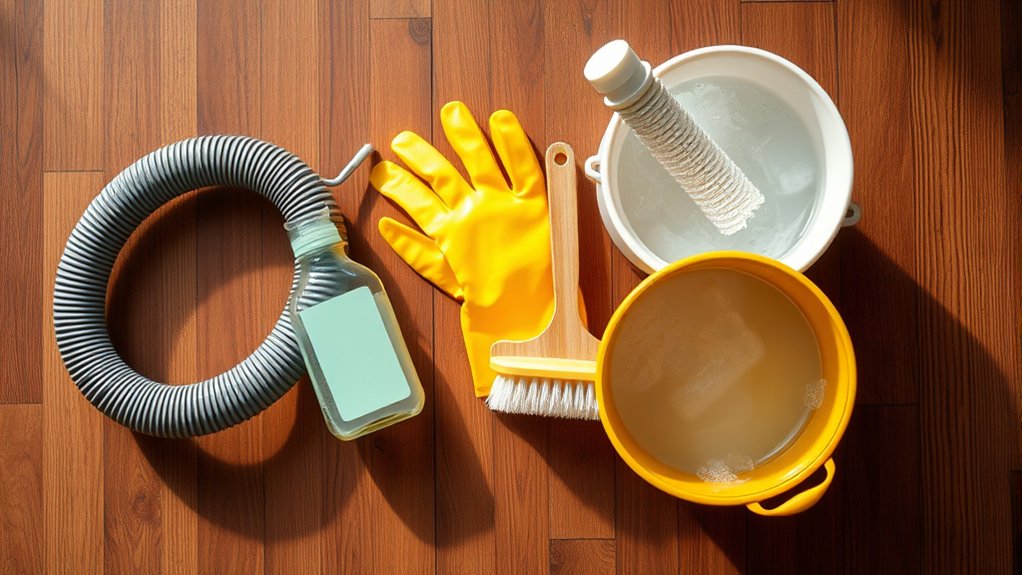
Before you start cleaning, gather the essential tools like a brush, a long flexible rod, and a bucket.
You’ll also need recommended cleaning supplies such as mild detergent and warm water.
Having everything ready will make the process smoother and more effective.
Essential Cleaning Tools
Although cleaning a vacuum cleaner hose might seem straightforward, having the right tools makes the job much easier and more effective. You’ll want to gather a few essentials before you start:
- A flexible brush or long pipe cleaner to reach inside the hose.
- A screwdriver or wrench to disconnect the hose from the vacuum.
- A bucket or basin for soaking the hose if needed.
- A microfiber cloth or towel for drying and wiping down the exterior.
These tools guarantee you can access all parts of the hose, loosen debris, and dry it thoroughly to prevent mold or damage.
Recommended Cleaning Supplies
When you start cleaning your vacuum hose, having the right supplies on hand makes the process smoother and more efficient. You’ll want to gather materials that tackle dirt, dust, and grime without damaging the hose. Using the right cleaning agents and tools ensures a thorough clean and extends your vacuum’s lifespan.
| Cleaning Supply | Purpose |
|---|---|
| Mild Dish Soap | Removes dirt and sticky residues |
| Warm Water | Helps loosen debris and grime |
| Soft Brush | Dislodges dirt inside the hose |
| Microfiber Cloth | Wipes exterior without scratching |
Keep these supplies ready before you begin, so you don’t interrupt your cleaning flow.
Remove Debris and Blockages From the Hose
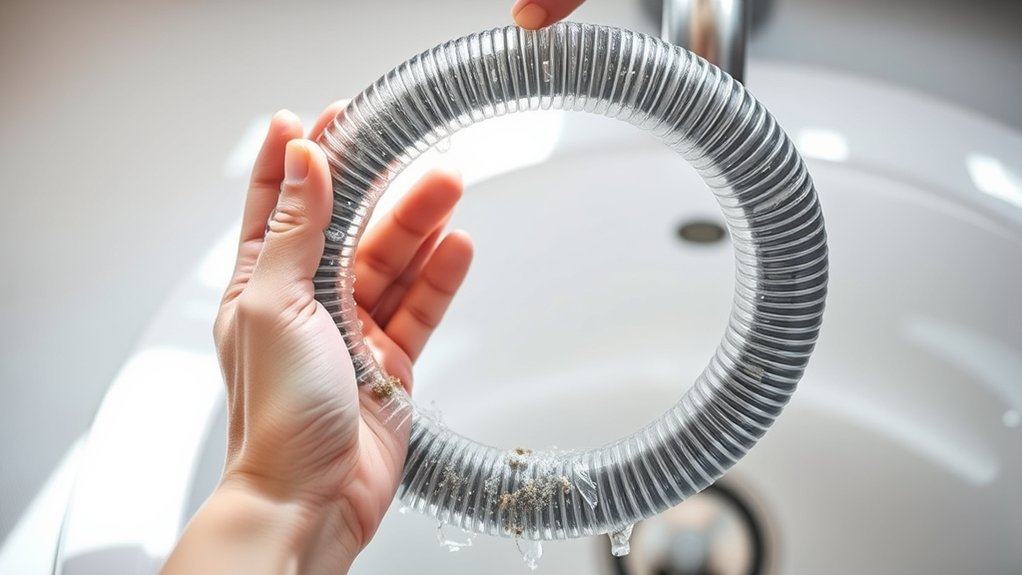
Since blockages can reduce your vacuum’s efficiency, you’ll want to carefully inspect the hose for any debris or clogs. Start by detaching the hose from the vacuum and shining a flashlight inside to spot any obstructions. To clear debris, follow these steps:
Regularly check your vacuum hose for blockages by detaching it and inspecting with a flashlight.
- Use a long, flexible brush or broomstick to gently push or pull the blockage out.
- For stubborn clogs, insert a straightened wire hanger carefully to dislodge debris without damaging the hose.
- Shake the hose vigorously to loosen and remove smaller particles stuck inside.
- Recheck with a flashlight to ensure the hose is clear before reattaching it to your vacuum cleaner.
Removing blockages regularly keeps your vacuum working efficiently and extends its lifespan.
Wash Your Vacuum Hose Without Causing Damage
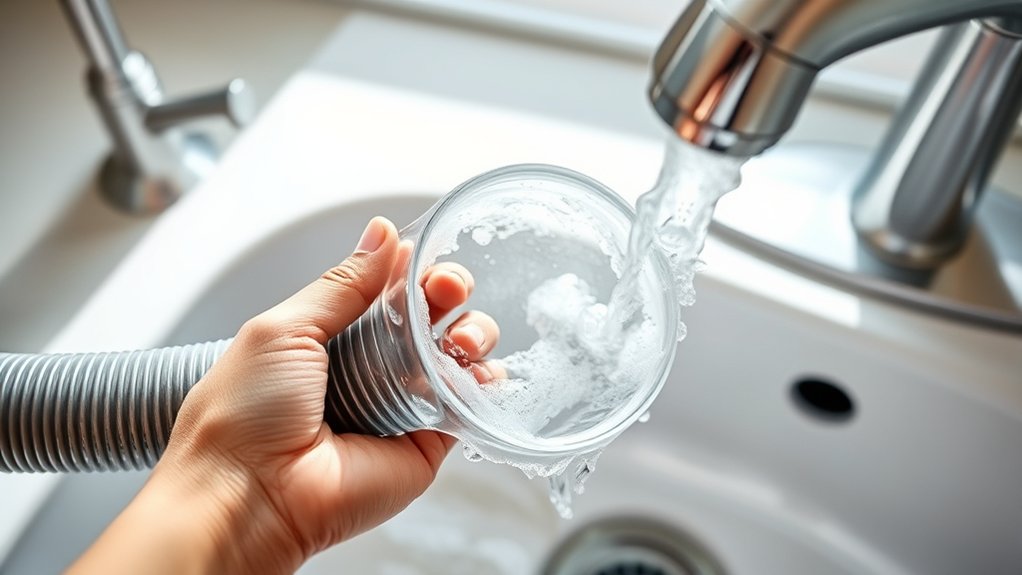
After clearing out debris and blockages, you’ll want to wash your vacuum hose to remove any remaining dust and dirt. Start by detaching the hose from the vacuum cleaner to avoid water damage to the machine. Use lukewarm water mixed with a mild detergent or dish soap.
Avoid harsh chemicals that can degrade the hose material. Gently swish the soapy water through the hose or use a soft cloth or sponge to clean the inside. For stubborn dirt, a flexible brush designed for hoses can help without causing tears.
Rinse thoroughly with clean water to remove all soap residue. Be careful not to soak any electrical connectors or parts. Taking these steps *guarantees* you clean your hose effectively without causing damage.
Dry Your Vacuum Hose Thoroughly to Prevent Mold
Although washing your vacuum hose removes dirt and grime, drying it thoroughly is essential to prevent mold growth. Moisture trapped inside can create a breeding ground for mold, which can damage your hose and affect air quality.
To dry your vacuum hose properly:
- Shake out excess water by holding one end and swinging the hose gently.
- Use a dry cloth to wipe the interior as far as you can reach.
- Leave the hose hanging vertically in a well-ventilated area for several hours or until completely dry.
- Avoid storing the hose in a closed or damp space to guarantee no moisture remains.
Following these steps helps keep your vacuum hose clean, safe, and mold-free.
Reassemble and Test Your Vacuum Hose
Once your vacuum hose is completely dry, you can reassemble it by securely attaching both ends to their respective connectors. Make certain each connection is tight to prevent air leaks that could reduce suction power. Double-check for any bends or kinks in the hose that might restrict airflow.
After reassembling, plug in your vacuum and turn it on to test the hose’s performance. Listen for unusual noises and feel for consistent suction at the hose’s end. If suction seems weak, inspect the connections again or check if debris remains inside.
Proper reassembly ensures your vacuum works efficiently and prolongs the hose’s lifespan. Taking these steps helps you get back to cleaning with confidence and ease.
Preventive Tips to Keep Your Vacuum Hose Clean Longer
To keep your vacuum hose clean longer, you should regularly inspect it for blockages and avoid sucking up large debris that can cause clogs. Here are some preventive tips to help you maintain your hose efficiently:
- Use a pre-filter or screen at the hose entrance to catch larger particles before they enter.
- Empty the vacuum bag or bin frequently to prevent buildup that can reduce suction and strain the hose.
- Avoid vacuuming sharp objects or liquids that can damage or clog the hose internally.
- Store the hose properly, avoiding kinks or tight bends that can weaken its structure over time.
Frequently Asked Questions
Can I Use Vinegar to Deodorize My Vacuum Hose?
Yes, you can use vinegar to deodorize your vacuum hose. Just mix equal parts water and vinegar, pour it through the hose, let it sit briefly, then rinse thoroughly to remove odors and freshen it up.
How Often Should I Replace My Vacuum Hose?
Don’t wait until the cows come home—replace your vacuum hose every 1 to 3 years or if you notice cracks, holes, or loss of suction.
Regular checks keep your vacuum working like a charm!
Will Cleaning the Hose Improve Suction Power?
Yes, cleaning your vacuum hose will improve suction power by removing clogs and buildup. You’ll notice better airflow and more efficient dirt pickup, making your vacuum work like new again.
Don’t skip this simple step!
Are All Vacuum Hoses Compatible With All Vacuum Models?
No, not all vacuum hoses fit every vacuum model. You’ll need to check your vacuum’s brand and model specifications to find a compatible hose. Using the wrong hose can reduce suction and cause damage.
Can Pet Hair Damage My Vacuum Hose?
Pet hair can be a sneaky saboteur for your vacuum hose, clogging and wearing it down over time. You’ll want to remove it regularly to keep airflow smooth and prevent damage that could shorten your vacuum’s life.
Conclusion
Cleaning your vacuum hose is like giving your vacuum a fresh breath of life. Just like a clogged artery slows blood flow, a blocked hose reduces suction power by up to 50%.
By following these simple steps, you’ll keep your vacuum running smoothly and extend its lifespan. Remember, a little regular maintenance saves you from bigger headaches—so treat your vacuum hose well, and it’ll keep your home spotless with ease!
Regularly cleaning your vacuum hose is essential for optimal performance. Keeping the hose free from blockages ensures maximum suction power. This simple maintenance step helps your vacuum cleaner last longer and work more efficiently.