How to Check Vacuum Leaks Using Spray
To check for vacuum leaks using spray, start by ensuring your engine is cool and turned off.
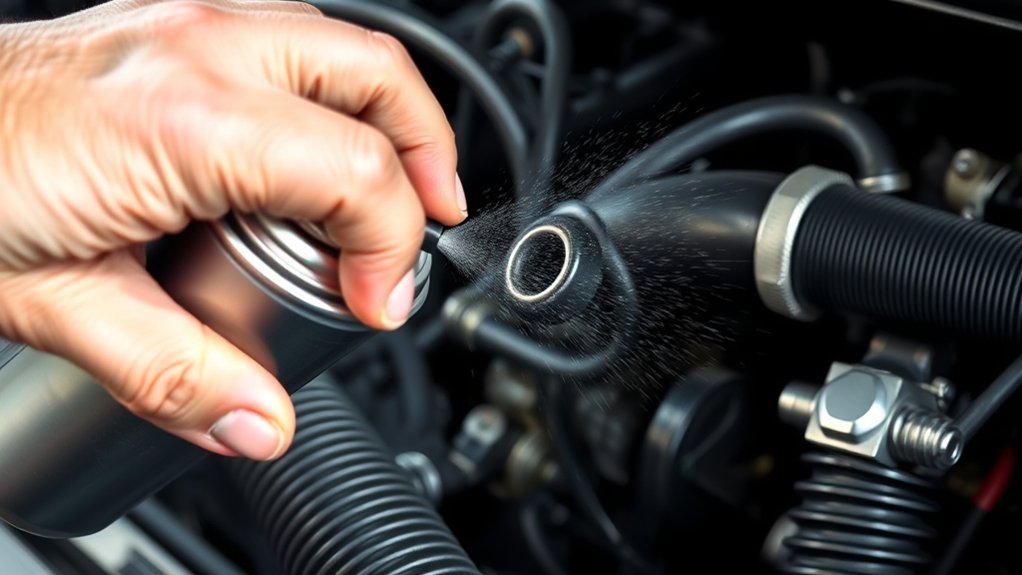
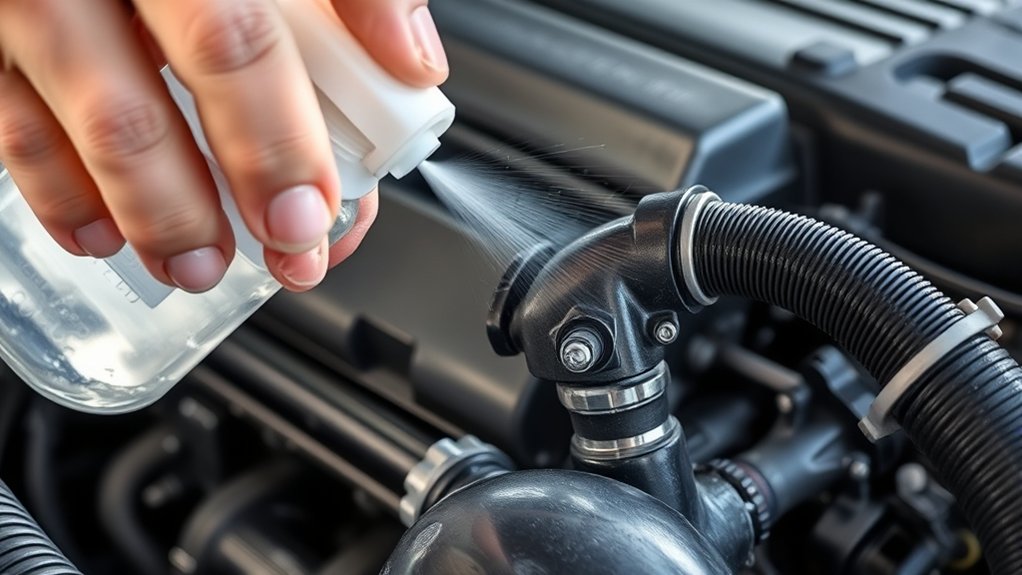
This method involves spraying soapy water, carb cleaner, or a smoke spray around critical areas such as vacuum hoses, intake gaskets, and the throttle body.
These sprays help reveal leaks by causing bubbles, smoke, or changes in idle speed.
Carefully observe these signs as they indicate where air may be escaping.
Using a flashlight can help illuminate hard-to-see spots, making the inspection more effective.
Always wear appropriate safety gear to protect yourself during the process.
If you continue to experience issues or find leaks difficult to locate, additional steps and tips are available for accurate diagnosis and effective repair.
Following these guidelines ensures a thorough vacuum leak check and helps maintain engine performance.
Key Takeaways
- Spray carburetor cleaner or soapy water around vacuum hoses and intake areas to detect leaks by changes in engine idle or visible bubbles.
- Perform the test with the engine off initially, then observe for engine speed changes when sprayed on suspected leak spots.
- Focus on connections, brittle hoses, and gaskets, spraying carefully to avoid engine damage and ensure accurate leak detection.
- Use a flashlight and inspection mirror to access and closely inspect hard-to-see vacuum lines during the spray test.
- Wear safety glasses and gloves, and work in a well-ventilated area to ensure safe handling of sprays and prevent inhalation hazards.
What Causes Vacuum Leaks in Your Vehicle
Although vacuum leaks can occur for various reasons, they usually happen when cracks, holes, or loose connections develop in your vehicle’s vacuum system. Over time, hoses can become brittle and crack due to heat and wear. You might also find that clamps and fittings loosen with engine vibrations, creating gaps.
Sometimes, improper installation or aftermarket parts cause poor seals. Additionally, rodents chewing on wires and hoses can create unexpected leaks. Even minor damage to intake manifolds or gaskets can let air slip in where it shouldn’t.
If you don’t address these issues, your engine performance will suffer. Knowing these common causes helps you focus your inspection and catch leaks early before they lead to bigger problems.
Why Spray Testing Is the Best Way to Find Vacuum Leaks
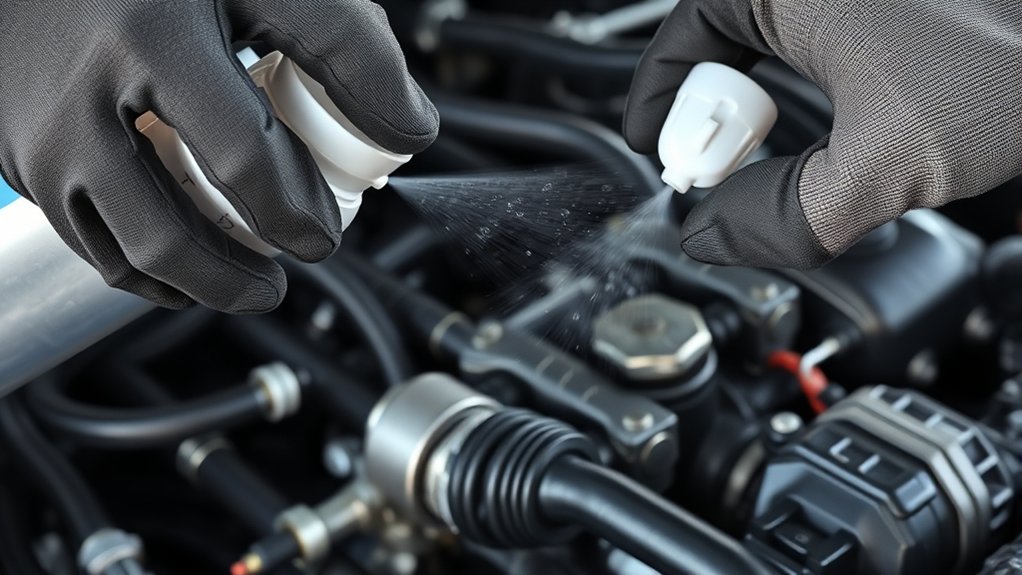
Because vacuum leaks can be tricky to spot, spray testing offers a quick and effective way to pinpoint them. When you spray a specialized liquid or even water around suspected areas, the engine’s idle speed changes if a leak is present. This immediate feedback helps you identify the exact spot without guessing.
Unlike other methods, spray testing doesn’t require complicated equipment or prior technical knowledge. You can perform it right in your driveway, saving time and money. Plus, it works on all types of vacuum lines and hoses, making it versatile.
Tools and Sprays for Vacuum Leak Detection
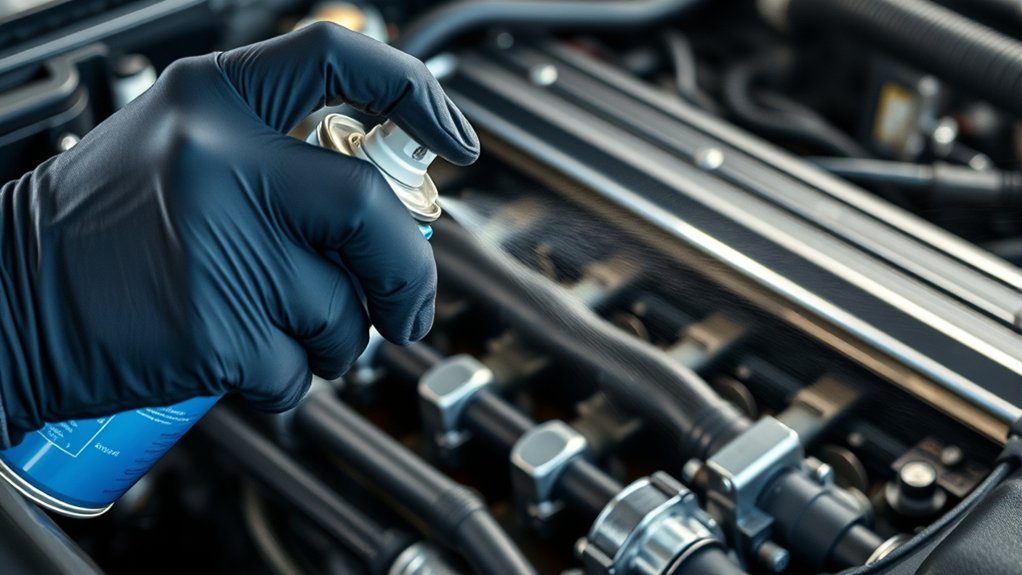
To spot vacuum leaks effectively, you’ll need the right sprays and tools on hand. Common leak detection sprays make it easy to identify escaping air, while essential tools help you access hard-to-reach areas.
Let’s go over what you’ll need to get started.
Common Leak Detection Sprays
What makes certain sprays ideal for detecting vacuum leaks? You want sprays that react visibly and safely on contact with leaks. Many sprays create bubbles or change texture when they hit escaping air, making leaks easy to spot.
Others may have a strong scent or conductive properties to aid detection. Here’s a quick look at common types:
| Spray Type | Detection Method | Best For |
|---|---|---|
| Soapy Water | Bubble formation | General leak spotting |
| Electronic Leak Detector Spray | Conductivity change | Sensitive, precise leaks |
| UV Leak Detection Spray | Fluorescent glow under UV light | Hard-to-see leaks |
| Smoke Detection Spray | Smoke escape visibility | Larger leaks, quick checks |
Choosing the right spray depends on the leak’s size and location, so keep a few types handy.
Essential Tools Overview
Sprays are just one part of the vacuum leak detection process—you’ll also need a set of reliable tools to accurately find and assess leaks. Start with a basic hand-held vacuum gauge to measure system pressure. It helps you spot irregular drops indicating leaks.
Next, grab a flashlight or inspection mirror to examine hard-to-see areas where leaks often hide. A smoke machine can be invaluable; it sends visible smoke through the system, revealing leaks quickly. Don’t forget gloves to protect your hands and safety glasses for your eyes.
Finally, have a spray bottle filled with soapy water handy—it bubbles up when sprayed on leaks, confirming their location. Using the right combination of sprays and tools makes your vacuum leak detection more efficient and precise.
How to Prepare Your Engine and Tools for Spray Testing
Before you start testing for vacuum leaks with spray, make sure your engine is cool and turned off to prevent any accidents. Open the hood and remove any engine covers that might block access to hoses and connections. Gather your spray can—usually carburetor cleaner or starter fluid—and a flashlight to help you see tight spots clearly.
Wear safety glasses and gloves to protect yourself from harmful chemicals. Keep a rag nearby to wipe off any excess spray. Make sure the area is well-ventilated to avoid inhaling fumes.
Double-check that your battery connections are secure to prevent electrical issues during testing. Once everything’s set, you’re ready to carefully apply the spray in targeted areas to locate leaks efficiently.
Which Areas to Spray When Checking for Vacuum Leaks
Once you’ve prepared your engine and tools, focus on the key areas where vacuum leaks most commonly occur. Start by spraying around the intake manifold gasket, as it’s a frequent leak point. Check the throttle body and its gasket, along with vacuum hoses connected to the intake manifold, brake booster, and PCV valve.
Don’t forget to spray around the carburetor base if your vehicle has one. Inspect the EGR valve and any vacuum-operated components, such as the distributor advance or HVAC controls. Pay close attention to hose connections, cracks, or brittle spots.
Spraying these critical spots allows you to detect changes in engine idle or sound, helping you pinpoint leaks quickly and accurately.
Safe Ways to Use Spray When Checking for Leaks
Although using spray is an effective way to detect vacuum leaks, you need to handle it carefully to avoid damaging engine components or causing safety hazards.
Here are safe ways to use spray when checking for leaks:
- Choose the right spray – Use a non-flammable, engine-safe spray like carburetor cleaner or soapy water to prevent fire risks and protect sensitive parts.
- Keep the engine off initially – Start with the engine off to avoid igniting flammable sprays and to identify obvious leaks without moving parts interfering.
- Apply spray sparingly – Spray lightly and only on suspected leak areas to avoid oversaturating components, which could cause electrical issues or damage sensors.
Following these steps helps you check for leaks safely and effectively without risking damage or injury.
Engine Reactions and Signs to Detect Vacuum Leaks While Spraying
When you spray around suspected vacuum leak areas, pay close attention to how your engine reacts—changes in idle speed, rough running, or stalling often signal a leak. If the engine speed suddenly rises or becomes erratic, the spray might be sealing or disturbing a leak, affecting the air-fuel mixture. Listen for any shifts in engine noise, like a smoother or rougher sound, which can also indicate a leak.
Don’t overlook hesitation or misfires, as these can happen when extra air enters the intake unexpectedly. Keep spraying around hoses, intake manifold gaskets, and vacuum lines, noting where your engine’s behavior changes. Detecting these signs helps you pinpoint the leak location effectively before moving on to repairs.
Immediate Steps After Detecting a Vacuum Leak
Noticing changes in your engine’s behavior while spraying helps you locate the vacuum leak, but identifying it is just the start. Once you’ve pinpointed the leak, you need to take immediate action to prevent further damage and guarantee safety.
Here are three steps you should follow right away:
- Turn off the engine – This prevents any potential damage caused by the unmetered air affecting engine performance.
- Inspect the affected area – Look for obvious signs of wear, cracks, or loose connections around the leak.
- Document the location – Make notes or take pictures to help when you’re ready to repair or consult a mechanic.
How to Fix Common Vacuum Leak Types at Home
Since vacuum leaks vary in type and location, fixing them at home requires different approaches tailored to the specific issue. For small cracks or holes in vacuum hoses, you can use high-quality duct tape or rubber patches as a temporary fix. If a hose is severely damaged, replacing it entirely is the best option.
For leaks around vacuum fittings or connectors, tighten clamps and guarantee all connections are secure. Using silicone sealant on joints can help create an airtight seal. When you find leaks in the intake manifold gasket, minor leaks might be sealed with gasket sealers, but larger ones usually need gasket replacement.
Always clean the area before applying any sealant or tape to assure proper adhesion and a lasting repair.
When to Seek Professional Help for Vacuum Leaks?
If your vacuum leak symptoms won’t go away, it’s time to call a pro. Some leaks require complex engine diagnostics that need specialized tools and experience.
Plus, professionals can handle safety and emission concerns to keep your car running right.
Persistent Vacuum Leak Symptoms
When vacuum leaks persist despite your efforts to locate and seal them, it’s time to contemplate professional help. Some symptoms indicate a deeper issue that spray tests alone can’t fix.
Watch for these persistent signs:
- Rough Idle or Stalling – Your engine keeps sputtering or stalling even after you’ve tried sealing visible leaks.
- Check Engine Light – The light stays on or returns frequently, signaling ongoing vacuum-related problems.
- Poor Fuel Economy – You notice a sudden drop in mileage despite normal driving habits.
If you spot these symptoms, it’s wise to get a mechanic involved. They have the tools and expertise to diagnose hidden leaks and prevent further damage.
Don’t delay—persistent vacuum leaks can affect your engine’s performance and longevity.
Complex Engine Diagnostics
Persistent vacuum leak symptoms often signal issues that go beyond simple fixes and spray tests. If you’ve sprayed around hoses and intake areas but still notice rough idling, poor fuel economy, or check engine lights, it’s time to call in a professional.
Complex engine diagnostics require specialized tools like smoke machines, scan tools, and pressure testers that can detect elusive leaks. You might also face problems caused by faulty sensors, damaged intake manifolds, or internal engine issues that a spray test can’t reveal.
Don’t waste time guessing—experienced mechanics can pinpoint the root cause efficiently. Seeking professional help guarantees accurate diagnosis, prevents further damage, and saves you money in the long run by addressing hidden vacuum leaks properly.
Safety and Emission Concerns
Although some vacuum leaks may seem minor, they can quickly lead to serious safety and emission problems that require professional attention. If you notice rough idling, poor fuel economy, or your check engine light stays on despite your efforts, it’s time to call a mechanic.
Ignoring these issues can cause further engine damage or increase harmful emissions.
Here are three signs you should seek professional help:
- Persistent engine stalling or hesitation during acceleration
- Failed emissions test linked to vacuum leaks
- Unusual hissing sounds you can’t locate or fix with spray testing
Don’t risk your safety or the environment—getting expert help guarantees your vehicle runs smoothly and meets emission standards.
Tips to Prevent Future Vacuum Leaks in Your Engine
To keep your engine running smoothly, you need to regularly inspect and maintain vacuum hoses and connections. Check for cracks, brittleness, or loose fittings and replace damaged parts immediately. Keep your engine bay clean to prevent debris buildup that can cause wear.
Use quality replacement hoses designed for your vehicle’s specifications. Tighten clamps securely but avoid overtightening, which can damage hoses.
| Tip | Why It Matters |
|---|---|
| Regular Inspections | Detect leaks early before damage sets in |
| Use OEM Parts | Ensure correct fit and durability |
| Clean Engine Bay | Prevent dirt-related hose wear |
| Proper Clamp Tightness | Avoid hose damage and secure seals |
Following these tips helps you avoid costly repairs and keeps your engine efficient.
Frequently Asked Questions
Can Vacuum Leaks Affect Fuel Efficiency?
Yes, vacuum leaks can hurt your fuel efficiency by causing your engine to run lean or rich. You’ll notice rough idling or poor performance, which means your car uses more fuel than it should.
Fixing leaks helps.
Are Vacuum Leaks Dangerous to Drive With?
Driving with vacuum leaks is like walking on thin ice—you’re risking engine stalling, rough idling, and poor performance. You shouldn’t ignore them because they can lead to costly repairs and unsafe driving conditions.
How Long Does Spray Testing Take on Average?
Spray testing usually takes about 10 to 15 minutes. You’ll quickly spot leaks by watching engine RPM changes as you spray, so don’t worry—it’s a fast and effective way to find vacuum leaks.
Can Vacuum Leaks Cause Engine Overheating?
Absolutely, vacuum leaks can cause engine overheating because they disrupt the air-fuel mix, making your engine run lean.
Think of it as a recipe missing a key ingredient, causing your engine to overheat and struggle.
Is Spray Testing Suitable for All Vehicle Types?
Spray testing isn’t suitable for all vehicle types, especially those with sensitive electronics or complex intake systems. You should check your vehicle’s manual or consult a professional before using spray to avoid damage or inaccurate results.
Conclusion
Now that you know how to use spray testing to sniff out vacuum leaks, you’re armed to keep your engine running smoothly. Think of it like a detective’s magnifying glass, revealing hidden trouble spots with ease. By acting quickly and following simple fixes, you’ll prevent small leaks from turning into costly headaches.
Stay vigilant by regularly performing vacuum leak tests with spray to catch issues early. This method helps ensure better engine performance and fuel efficiency. Your engine will thank you with fewer surprises on the road and improved reliability.