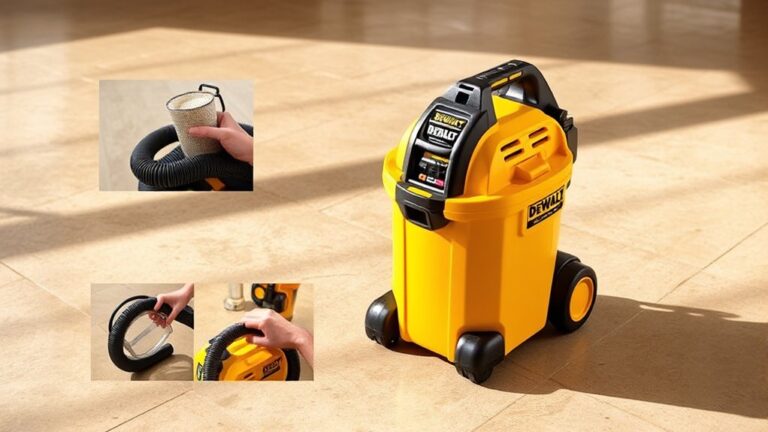
How to Switch Your Shop Vac From Blower to Vacuum in 10 Steps
To switch your shop vac from blower to vacuum, first unplug the unit to ensure safety.
Identify the vacuum port on your shop vac, which is essential for proper connection. Detach the hose from the blower port carefully.
Next, securely connect the hose to the vacuum port, making sure all seals are airtight to prevent loss of suction.
Install the appropriate vacuum filter to protect the motor and improve performance. Check the filter and hose for any clogs that could reduce airflow.
Set your power switch to vacuum mode and test the suction to confirm proper airflow and no leaks.
After using your shop vac, clean the filters thoroughly to maintain efficiency.
Finally, store the vacuum properly to extend its lifespan and keep it ready for future use.
Following these steps will optimize your shop vac’s performance and longevity, ensuring reliable operation every time.
Key Takeaways
- Unplug the shop vac and detach the hose from the blower port before switching to vacuum mode.
- Insert the hose securely into the vacuum port, ensuring a tight and airtight connection.
- Attach any necessary vacuum extensions or nozzles for effective cleaning.
- Set the mode switch or dial to vacuum, confirming the motor runs in the correct direction.
- Check and clean or replace filters to maintain suction efficiency and prevent motor damage.
Identify Blower and Vacuum Ports on Your Shop Vac
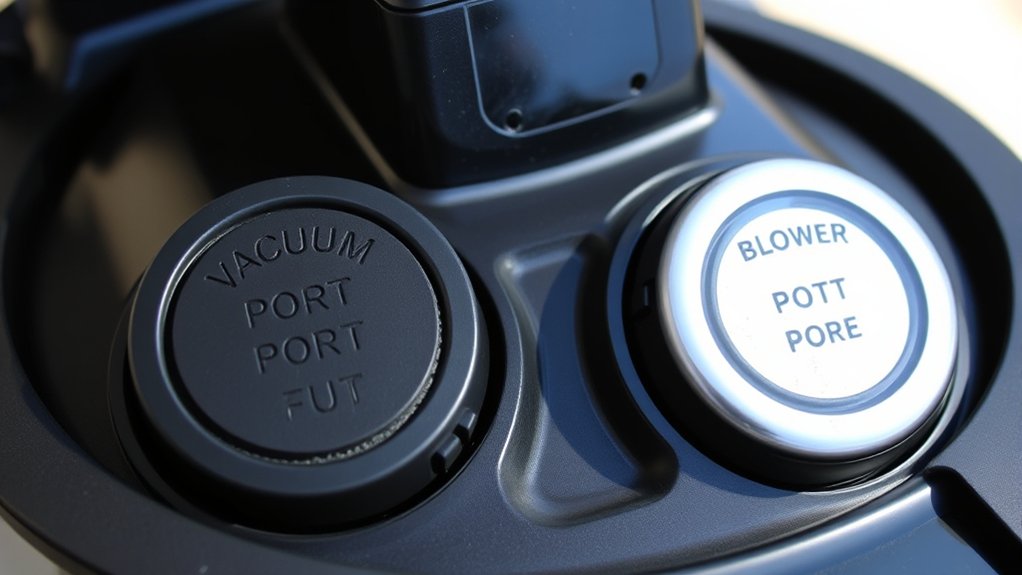
Before you switch your shop vac from vacuum mode to blower mode, you need to identify the correct ports. Most shop vacs have two main ports: one for vacuuming and one for blowing. The vacuum port usually connects to the hose that sucks in debris, while the blower port expels air to clear leaves or dust.
Check your shop vac’s body for labels or symbols indicating “vacuum” or “blower.” If you don’t see any markings, consult your user manual or look for the port connected directly to the motor’s intake (vacuum) versus the one connected to the exhaust (blower). Recognizing which port serves which function ensures you attach the hose properly and avoid damaging your tool or reducing its efficiency.
Gather Tools for Mode Switching
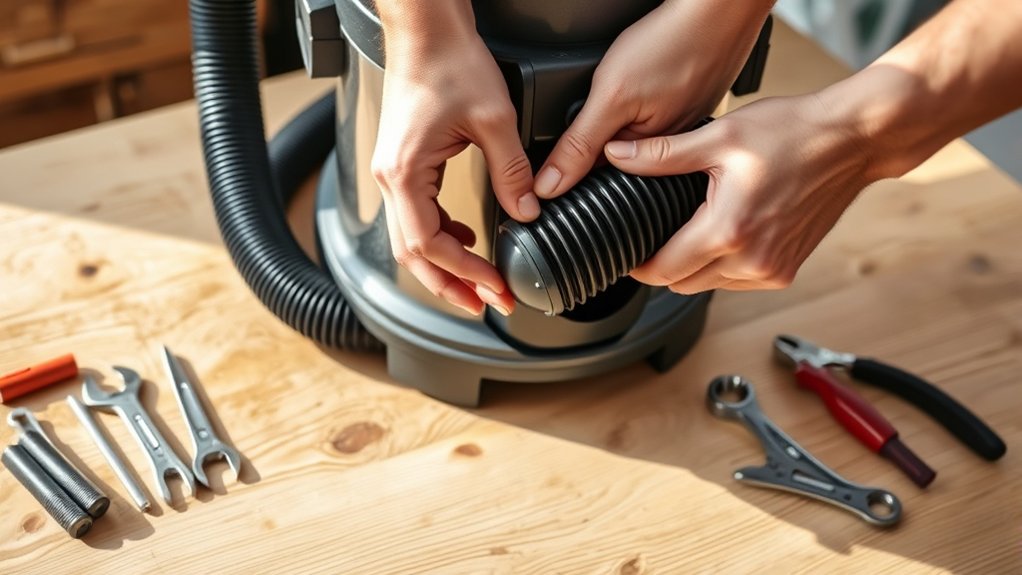
Before switching modes, make sure you have the essential tools like screwdrivers and wrenches ready. Don’t forget to gear up with safety glasses and gloves to protect yourself during the process.
Having everything prepared will make the switch smooth and safe.
Essential Tools Checklist
Although switching your shop vac from blower to vacuum mode is straightforward, having the right tools on hand makes the process smoother and faster. Being prepared saves you frustration and keeps your workflow uninterrupted.
Here’s a checklist to help you gather what you need before you start:
| Tool | Why You Need It |
|---|---|
| Screwdriver | To loosen or tighten hose clamps |
| Replacement Filters | To guarantee clean vacuuming |
| Shop Vac Hose | To connect securely in either mode |
Make sure each item is within reach. This way, you avoid scrambling mid-task and stay focused on your job.
With these essentials ready, you’ll switch modes confidently and get back to work without delay.
Safety Gear Preparation
Because switching your shop vac between blower and vacuum modes involves handling dust and debris, you’ll want to equip yourself with the right safety gear to protect your eyes, lungs, and skin. Start by putting on safety goggles to shield your eyes from flying particles. Use a dust mask or respirator to prevent inhaling fine dust, especially if you’re dealing with hazardous materials.
Wear gloves to protect your hands from sharp debris and potential irritants. Long sleeves and pants can help prevent skin irritation. Before you begin, make sure your gear fits properly and is in good condition.
Taking these precautions guarantees a safer, more comfortable experience while you switch modes and operate your shop vac efficiently.
Unplug and Prepare Your Shop Vac
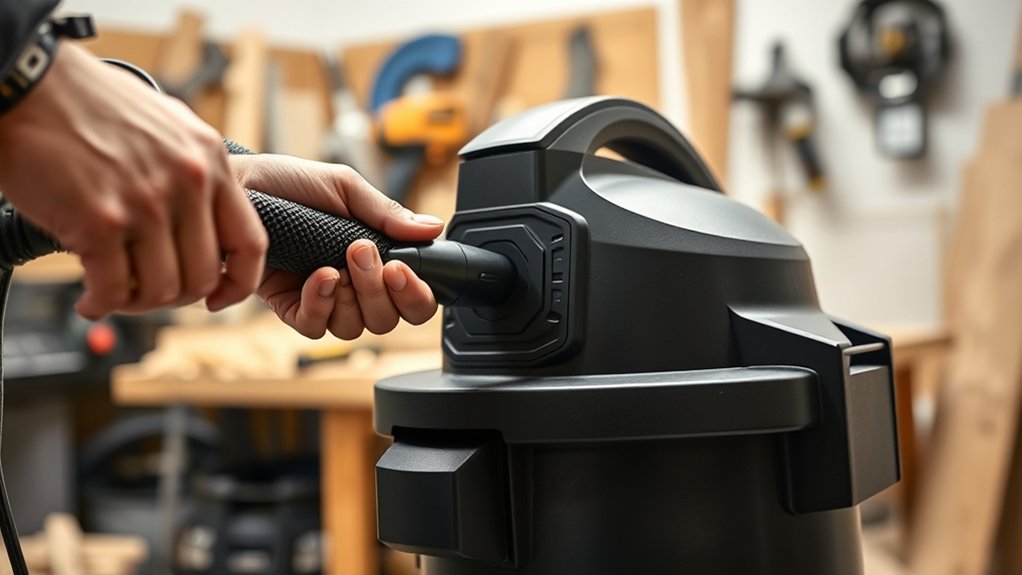
When you’re ready to switch your shop vac from blower to vacuum, start by unplugging it to guarantee your safety. Disconnecting the power prevents accidental startups while you adjust the machine. Place the shop vac on a stable surface to keep it steady during preparation.
Next, inspect the unit for any debris or blockages that could interfere with vacuum mode. Empty the collection tank if it’s full, and ensure the filter is clean or replaced if necessary. Check all seals and connections for damage or wear, since airtight seals are essential for effective vacuuming.
Taking these simple steps sets you up for a smooth transition and maximum performance when you switch modes.
Switch Shop Vac Hoses to Vacuum Mode
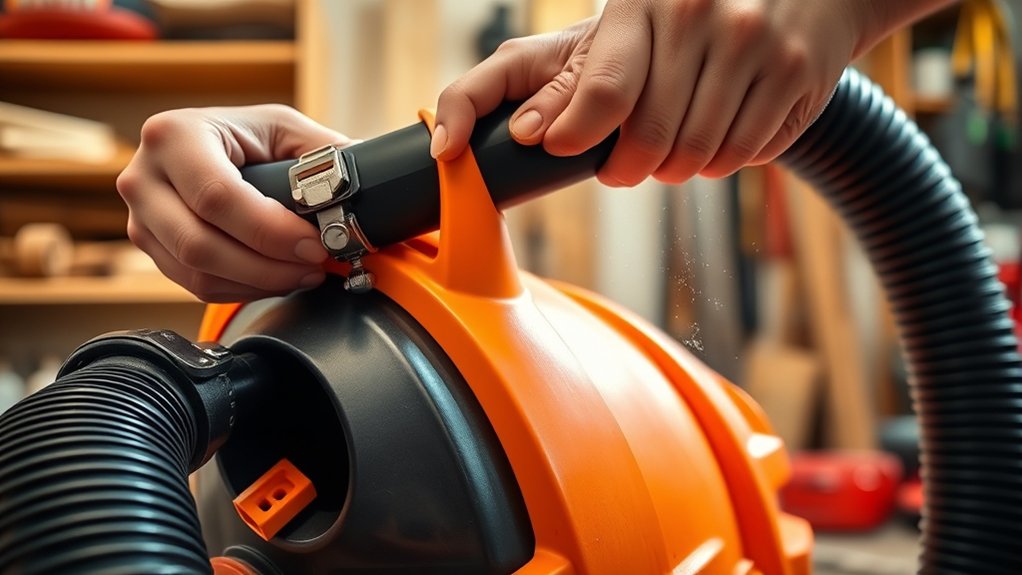
Before you start, make sure you have the correct hoses and attachments for vacuum mode. Locate the hose port labeled for vacuum use—usually found near the top of the unit. Detach the hose from the blower port if it’s still connected there.
Firmly insert the hose into the vacuum port, ensuring it fits snugly to prevent any air leaks. Attach any necessary extensions or nozzles to the hose’s other end, depending on your cleaning needs. Double-check that all connections are secure so your shop vac can maintain proper suction.
Avoid forcing the hose if it doesn’t fit; instead, verify you’re using the right hose or attachment. Once everything is connected correctly, you’re ready to proceed to the next step in switching your shop vac to vacuum mode.
Install the Correct Vacuum Filter
How do you know which vacuum filter fits your shop vac? First, check your model number on the manufacturer’s label or manual. This info helps you find the exact filter designed for your unit.
Next, consider the type of debris you’ll vacuum—fine dust or larger particles require different filters. Finally, look for filters labeled specifically for vacuum use, not blower-only models.
Here’s how to install the correct filter:
- Remove the existing filter or empty the filter compartment.
- Align the new filter’s edges with the filter holder or gasket.
- Press firmly until it snaps or fits securely in place.
Installing the right filter ensures efficient suction and protects your motor from damage.
Secure the Vacuum Bag or Canister
After installing the correct vacuum filter, the next step is to secure the vacuum bag or canister properly. Start by placing the vacuum bag or canister into its designated compartment, making certain it sits evenly without any folds or gaps.
If you’re using a bag, make sure the opening fits snugly around the intake port to prevent dust from escaping. For canisters, align it carefully with the locking mechanism or clips. Once in place, fasten all latches or clamps tightly to hold the bag or canister securely.
Don’t leave it loose, as this can reduce suction power and cause debris to spill. Properly securing the bag or canister ensures efficient vacuum operation and keeps your workspace clean.
Check Seals and Connections for Leaks
While securing the vacuum bag or canister is essential, you also need to check all seals and connections for leaks to maintain strong suction. Even a small gap can reduce your shop vac’s efficiency.
Here’s how to guarantee a tight seal:
- Inspect the gasket around the lid or canister. Look for cracks, tears, or dirt that might prevent a proper seal.
- Check hose connections by firmly pressing and twisting them into place. Loose fittings cause air to escape.
- Examine clamps and latches to make sure they’re fully engaged and not damaged.
Set Power to Vacuum Mode
Before you start using your shop vac as a vacuum, make sure to switch the power setting from blower to vacuum mode. Most shop vacs have a clearly marked switch or dial—usually located near the power button or on the side of the unit. Flip or rotate it to the vacuum position to confirm the motor runs in the correct direction for suction.
If your model has a removable motor head, double-check that it’s securely attached and oriented properly for vacuuming. Avoid forcing the switch; if it doesn’t move smoothly, inspect for obstructions or consult the manual. Setting the power correctly prevents motor damage and guarantees efficient suction.
Once set, your shop vac is ready to capture debris effectively.
Test Your Shop Vac in Vacuum Mode
Now that your shop vac is set to vacuum mode, double-check that all hose connections are secure. Take a moment to inspect the vacuum filters for any clogs or damage.
Finally, turn it on and test the suction power to make sure it’s working properly.
Check Hose Connections
How do you know if your shop vac is properly set up for vacuum mode? One key step is to check the hose connections. A secure, airtight connection ensures maximum suction power and prevents leaks.
Follow these steps to verify your hose setup:
- Attach the hose firmly to the vacuum port—make sure it clicks or fits snugly without gaps.
- Inspect both ends of the hose for cracks, holes, or damage that could reduce suction.
- Confirm any additional attachments, like extension wands or filters, are connected tightly and correctly.
If the hose isn’t sealed well, your shop vac won’t pull debris effectively. Take your time here, as a solid connection makes all the difference in vacuum performance.
Inspect Vacuum Filters
Once your hose connections are secure, take a moment to inspect the vacuum filters. Check for any dirt, debris, or damage that might reduce airflow or strain the motor. If the filters look clogged, remove and clean them according to the manufacturer’s instructions—usually by tapping out dust or rinsing with water.
Make sure the filters are completely dry before reinstalling to prevent mold or damage. Also, inspect the filter housing for cracks or misalignment, ensuring a tight seal. Properly maintained filters improve suction efficiency and prolong your shop vac’s life.
Skipping this step can cause overheating or poor vacuum performance. So, always keep your filters in good shape before you proceed with using your shop vac in vacuum mode.
Test Suction Power
Before fully relying on your shop vac in vacuum mode, you’ll want to test its suction power to make sure it’s working effectively. This helps confirm proper setup and filter condition. Here’s how to do it:
- Turn on the vacuum and hold the hose end near a light piece of paper or tissue.
- Observe how well the paper sticks to the hose—strong suction will pull it firmly.
- Check for consistent airflow by moving your hand around the hose opening; you shouldn’t feel any weak spots or leaks.
If suction feels weak, double-check the filter placement and hose connections. Testing suction power ensures your shop vac performs efficiently, saving you time and effort on cleanup tasks.
Clean and Store Your Shop Vac
Although you’ve finished using your shop vac, you’ll want to clean it thoroughly to keep it running smoothly. First, empty the canister and dispose of debris properly. Remove and clean the filter to maintain suction power.
Wipe down the exterior to prevent dust buildup. Store your shop vac in a dry, cool place to avoid damage.
Here’s a quick cleaning checklist to follow:
| Task | Frequency | Notes |
|---|---|---|
| Empty Canister | After each use | Prevents clogging |
| Clean Filter | Weekly or as needed | Ensures proper airflow |
| Wipe Exterior | Weekly | Reduces dust accumulation |
| Check Hoses | Monthly | Detect cracks or blockages |
| Store Properly | After each use | Avoids moisture damage |
Following these steps guarantees your shop vac stays efficient and lasts longer.
Frequently Asked Questions
Can I Use My Shop Vac to Pick up Liquids?
Yes, you can use your shop vac to pick up liquids, but make sure it’s designed for wet use. Always check the filter and settings, and empty the tank promptly to avoid damage or mold buildup inside.
How Often Should I Replace the Vacuum Filter?
You should replace your vacuum filter every 3 to 6 months, or sooner if it looks dirty or clogged.
Check it regularly to keep your shop vac working efficiently and to maintain strong suction power.
What Safety Gear Is Recommended When Using a Shop Vac?
You should wear safety goggles to protect your eyes, a dust mask or respirator to avoid inhaling debris, and hearing protection if it’s loud.
Gloves help protect your hands from sharp objects or irritants while you work.
Can I Use My Shop Vac Outdoors in Wet Conditions?
You can use your shop vac outdoors in wet conditions, but only if it’s designed for wet use. Always check the manufacturer’s instructions, avoid submerging it, and use proper safety gear to prevent electric shock or damage.
What Types of Debris Can Damage My Shop Vac?
Sharp metal shards and large rocks can be like thieves stealing your shop vac’s strength. Avoid sucking up nails, glass, or thick liquids—they can clog or damage the motor, leaving you with a broken tool and frustration.
Conclusion
Switching your shop vac from blower to vacuum is simple when you follow these steps. For example, imagine Jake, a DIY enthusiast who quickly switched modes to clean sawdust after a woodworking project. By identifying the ports, swapping hoses, and checking seals, he saved time and avoided mess.
With just a few adjustments, you can easily make your shop vac work harder for you. Keeping your workspace clean and efficient every time is possible when you know how to switch your shop vac from blower to vacuum. This quick switch enhances your cleaning power and overall project efficiency.