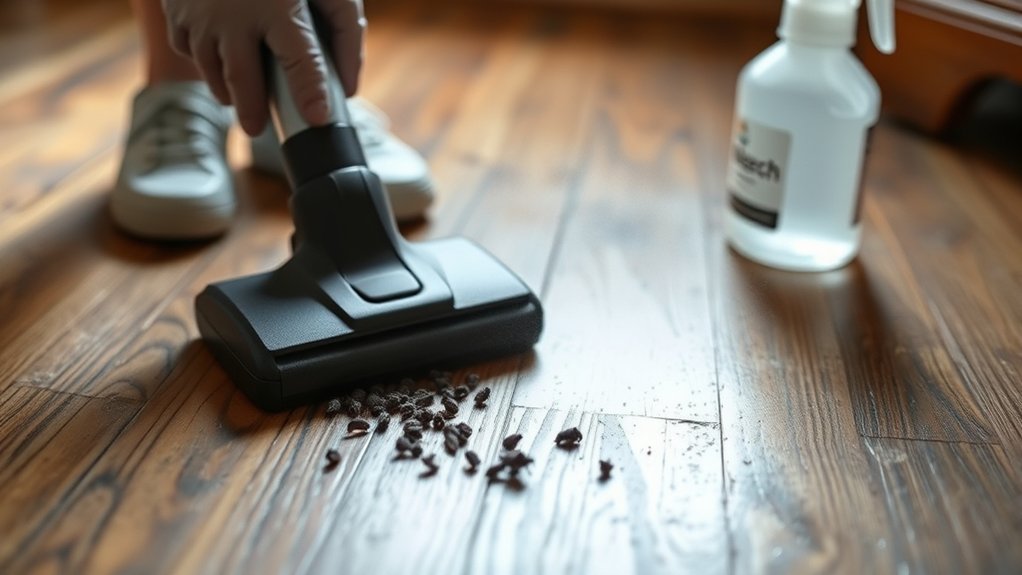
How to Safely Vacuum up Mouse Droppings After Spraying Them With Bleach
To safely vacuum mouse droppings after spraying them with bleach, it is essential to follow proper safety measures. Wearing a properly fitted respirator, gloves, and protective eyewear helps protect you from harmful pathogens.
Using a 1:10 bleach solution to spray the droppings disinfects the area and reduces the risk of airborne contamination.
Allow the bleach to sit for at least five minutes to ensure effective disinfection and to avoid stirring up dust.
Next, use a HEPA-filter vacuum to gently remove the debris without spreading particles.
Carefully seal and dispose of the vacuum bag or container to prevent further contamination.
Finally, clean and disinfect the vacuum parts thoroughly to maintain safety.
These steps help guarantee effective cleanup, but there is more to know for thorough, safe removal of mouse droppings.
Key Takeaways
- Wear protective gear including gloves, a respirator or N95 mask, and eyewear before handling mouse droppings or vacuuming.
- Spray droppings thoroughly with a 1:10 bleach solution and let sit for at least five minutes before vacuuming.
- Use a HEPA-filter vacuum with a sealed system, vacuum slowly to minimize dust disturbance, and avoid regular household vacuums.
- After vacuuming, carefully remove and seal vacuum bags or containers in plastic bags before disposing of them outdoors.
- Disassemble vacuum parts, disinfect with at least 70% alcohol or bleach solution, rinse washable parts, and dry thoroughly before reuse.
Why Bleach Works to Disinfect Mouse Droppings
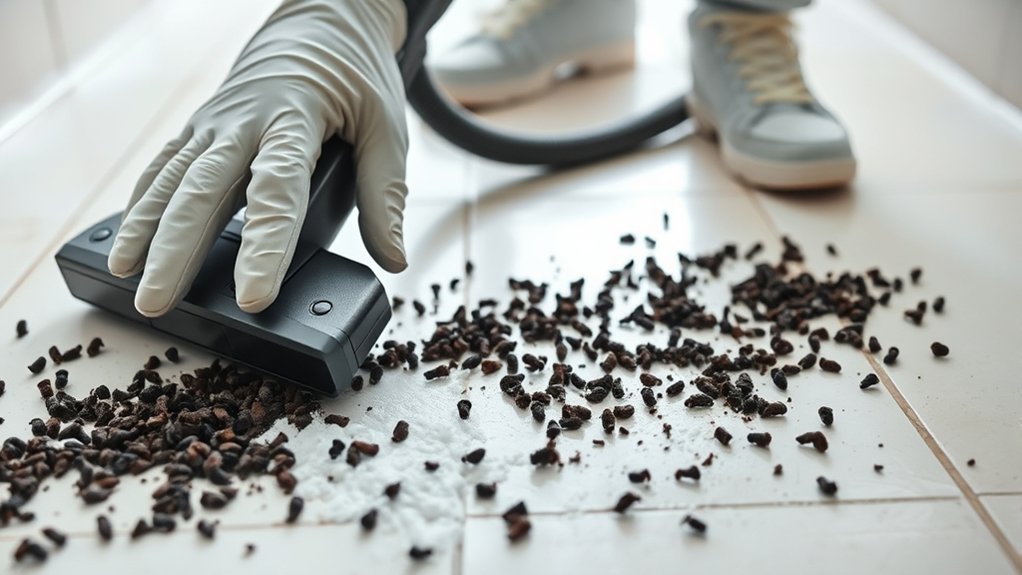
Because mouse droppings can carry harmful pathogens, you need a disinfectant that kills bacteria and viruses effectively. Bleach works because it contains sodium hypochlorite, a strong antimicrobial agent. When you apply bleach to mouse droppings, it breaks down the cell walls of bacteria and viruses, rendering them inactive.
This prevents harmful diseases from spreading when you clean up. Bleach also neutralizes hantavirus, a dangerous virus often found in rodent droppings. Using bleach guarantees that the area is thoroughly sanitized, reducing your risk of exposure.
Just remember to dilute it properly—usually one part bleach to ten parts water—for safe and effective disinfection. This way, you can confidently tackle mouse droppings knowing you’ve minimized health risks.
How to Prepare Your Space Before Cleaning Mouse Droppings
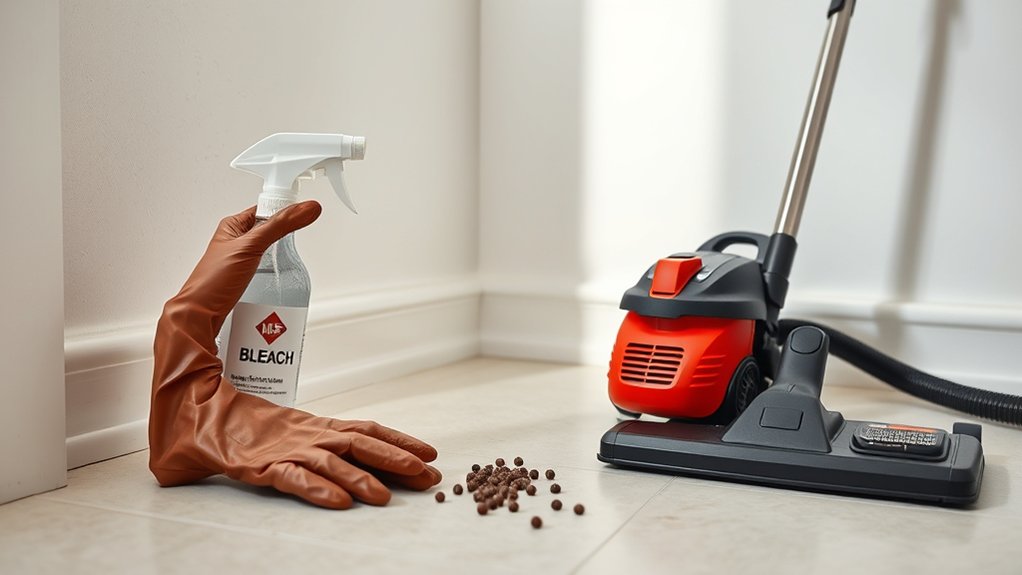
Before you start cleaning mouse droppings, make sure you ventilate the area by opening windows and doors for at least 30 minutes. This helps reduce harmful airborne particles. Next, remove any pets and children from the space to keep them safe.
Clear away clutter and items near the droppings to give yourself room to work and prevent cross-contamination. Avoid sweeping or vacuuming dry droppings directly, as it can release dangerous particles into the air. Instead, prepare a bleach solution to spray on the droppings and let it soak for at least five minutes.
Finally, gather your cleaning supplies nearby so you can work efficiently without moving back and forth, which might disturb contaminated surfaces. These steps will help you manage the cleanup safely and effectively.
Protective Gear Needed Before Vacuuming Mouse Droppings
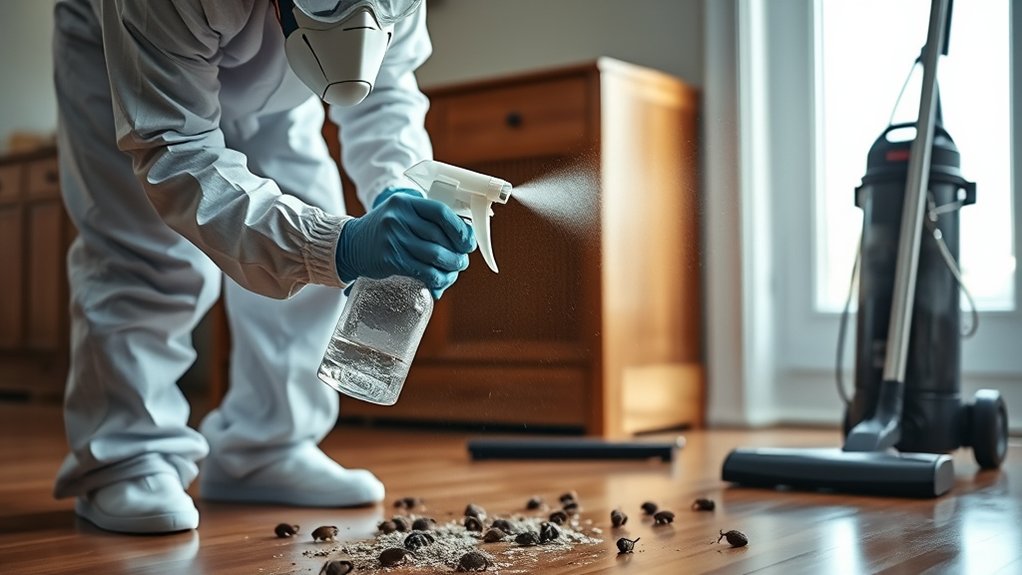
Once you’ve prepared the area and treated the droppings with a disinfectant, it’s important to gear up properly to protect yourself while vacuuming. Wearing the right protective gear reduces your risk of inhaling harmful particles or coming into direct contact with contaminated materials.
Make sure you have:
- Respirator or N95 mask: To filter out airborne particles and prevent breathing in dust or pathogens.
- Disposable gloves: To keep your hands safe from germs and chemicals.
- Protective eyewear: To shield your eyes from any splashes or debris.
Using this gear guarantees your safety throughout the cleanup process. Avoid touching your face or other surfaces until you’ve removed and disposed of your protective items properly.
How to Spray Bleach on Mouse Droppings Safely
Before you spray bleach on mouse droppings, make sure you prepare a proper diluted solution to avoid harsh fumes. Apply the bleach carefully to soak the droppings without splashing or spreading dust.
Taking these steps will help you disinfect safely and reduce health risks.
Preparing Bleach Solution
How do you prepare a bleach solution that effectively disinfects mouse droppings without risking your safety? First, ensure you’re in a well-ventilated area or open windows to avoid inhaling fumes.
Then, mix the bleach solution carefully to create a disinfectant that’s strong enough but safe to use. Use cold water to prevent releasing harmful chlorine gas.
Follow these steps:
- Combine 1 part bleach with 10 parts cold water (e.g., 1 cup bleach to 10 cups water).
- Use a plastic container to avoid reactions with metal.
- Label the solution clearly and prepare it fresh right before use for maximum effectiveness.
Applying Bleach Safely
While you’re ready to disinfect, make sure you spray the bleach solution directly onto the mouse droppings without stirring up dust. Hold the spray bottle close to the droppings and apply enough bleach to saturate them thoroughly. Avoid splashing or spraying from too far away, which can spread harmful particles.
After spraying, let the bleach sit for at least five minutes to guarantee it kills any viruses or bacteria. Keep the area well-ventilated by opening windows or using a fan to avoid inhaling bleach fumes. Wear gloves and a mask throughout the process to protect your skin and lungs.
Never mix bleach with other cleaners, especially ammonia, as this creates toxic gases. Following these steps helps you apply bleach safely before vacuuming.
How Long to Let Bleach Sit on Mouse Droppings Before Vacuuming
Since mouse droppings can carry harmful pathogens, you’ll want to let the bleach solution sit on them for at least 5 minutes to effectively disinfect the area before vacuuming. This contact time ensures the bleach kills bacteria, viruses, and other contaminants that might be present. Don’t rush this step—proper disinfection reduces your risk of exposure during cleanup.
After spraying, avoid disturbing the droppings to let the bleach work thoroughly. Here’s what to keep in mind:
- Allow a minimum of 5 minutes for the bleach to disinfect.
- Keep the area well-ventilated to avoid inhaling fumes.
- Do not attempt to vacuum or sweep until the time has passed.
Following these guidelines helps you clean safely and minimize health risks.
Choosing the Right Vacuum for Cleaning Mouse Droppings
Before you start vacuuming mouse droppings, you need to pick a vacuum that effectively contains hazardous particles without spreading them into the air. Opt for a vacuum with a HEPA filter, as it traps tiny particles and prevents them from escaping. Avoid regular household vacuums because they can blow contaminated dust back into the room.
A vacuum with a sealed system is ideal to guarantee all debris remains inside. If possible, use a vacuum specifically designed for hazardous waste or construction debris. Also, check that the vacuum bag or canister seals tightly and dispose of it carefully after use.
Choosing the right vacuum minimizes your exposure to harmful pathogens and keeps the environment safe while you clean up.
How to Vacuum Mouse Droppings Safely Without Spreading Dust
To vacuum mouse droppings safely without spreading dust, you’ll need to take careful steps that minimize airborne particles. Start by ensuring the droppings are thoroughly sprayed with bleach and left to soak for at least 5 minutes to disinfect and dampen them. This reduces dust when vacuuming.
Use a vacuum equipped with a HEPA filter to trap tiny particles effectively. Keep these points in mind: vacuum slowly and avoid stirring up dust by moving the nozzle gently over the droppings. Wear protective gear like gloves and a mask to prevent inhaling any contaminants.
After vacuuming, seal the vacuum bag or container immediately to prevent any particles from escaping. Following these steps helps you clean safely without spreading harmful dust.
How to Dispose of Vacuum Bags After Cleaning Mouse Droppings
After vacuuming mouse droppings, you need to handle the vacuum bags carefully to prevent any contamination. First, wear disposable gloves before removing the bag to avoid direct contact with the droppings or dust. Seal the vacuum bag tightly by folding the opening and securing it with strong tape or placing it inside a second plastic bag.
Double-bagging helps contain any particles that might escape. Next, dispose of the sealed bags in an outdoor trash bin to keep your living area safe. Avoid shaking or compressing the bags, as this can release harmful particles into the air.
Finally, remove your gloves carefully and wash your hands thoroughly with soap and water to guarantee no contamination remains.
How to Clean and Sanitize Your Vacuum After Cleaning Mouse Droppings
After vacuuming mouse droppings, you’ll want to carefully disassemble your vacuum’s components to reach all contaminated areas. Use an effective disinfectant to thoroughly sanitize each part, preventing any lingering germs.
Taking these steps guarantees your vacuum stays safe to use for future cleaning.
Disassembling Vacuum Components
When you finish vacuuming mouse droppings, you’ll want to carefully disassemble your vacuum’s components to prevent spreading contaminants. Start by unplugging the vacuum to guarantee safety. Then, remove the dust container or bag and empty it into a sealed plastic bag.
Next, detach any removable parts like filters, hoses, and brush rolls. Focus on these key steps:
- Handle each part gently to avoid stirring up dust or droppings.
- Place removable parts on a disposable surface or plastic sheet.
- Avoid shaking parts to minimize airborne particles.
Disassembling your vacuum thoroughly helps prepare it for proper cleaning and sanitizing, reducing the risk of spreading harmful particles around your home.
Using Effective Disinfectants
Because mouse droppings can carry harmful pathogens, you’ll want to use disinfectants that effectively kill bacteria and viruses when cleaning your vacuum. Start with a disinfectant containing at least 70% alcohol or a bleach solution—about one part bleach to nine parts water. After disassembling your vacuum, wipe down all surfaces, including the hose, filters, and dustbin, with your chosen disinfectant.
Let it sit for at least 10 minutes to guarantee proper sanitization. Avoid harsh chemicals that might damage vacuum parts. Once disinfected, rinse components that can be washed with water and dry them completely before reassembling.
Using effective disinfectants reduces the risk of spreading contaminants, keeping your vacuum safe for future use and protecting your health.
Preventing Reinfestation After Cleaning Mouse Droppings
To keep mice from returning, you’ll need to seal entry points and remove food sources that attract them. Check your home thoroughly for gaps around doors, windows, pipes, and vents, and seal them with steel wool or caulk.
Keep your kitchen tidy by storing food in airtight containers, and clean up crumbs and spills promptly. Reducing clutter also limits places where mice can nest.
Focus on these key steps to prevent reinfestation:
- Seal cracks and holes around your home’s foundation and walls.
- Store food securely and clean up any spills immediately.
- Maintain a clutter-free environment to eliminate hiding spots.
Warning Signs You Need a Professional for Mouse Droppings Cleanup
If you notice a large accumulation of mouse droppings or signs of extensive damage, it’s time to call in a professional. Handling heavy infestations can expose you to harmful pathogens like hantavirus, which require specialized removal techniques. Additionally, if you find droppings in hard-to-reach or sensitive areas, such as inside walls or ventilation systems, professionals have the right tools to clean safely.
Another warning sign is if you spot nesting materials or chewed wiring, which pose fire hazards and need expert assessment. Finally, persistent or recurring droppings after your cleanup attempts suggest an ongoing infestation that professionals can effectively address. Don’t risk your health or property—knowing when to seek professional help ensures thorough, safe cleanup and long-term relief.
Top Mistakes to Avoid When Vacuuming Mouse Droppings
When vacuuming mouse droppings, you shouldn’t use a dry vacuum because it can spread harmful particles into the air. Make sure you always wear proper protective gear to keep yourself safe.
Avoiding these mistakes will help you clean more effectively and reduce health risks.
Avoid Dry Vacuuming
Although it might seem efficient, using a dry vacuum to clean up mouse droppings is a dangerous mistake. Dry vacuuming stirs up harmful particles, including viruses and bacteria, into the air, increasing your risk of inhaling them. Instead, always wet the droppings with a disinfectant like bleach before cleaning to neutralize pathogens.
Dry vacuuming can also clog your vacuum and contaminate its filters, making it unsafe to use later.
Here’s why you should avoid dry vacuuming:
- Airborne particles spread quickly, raising infection risks
- Contaminants can damage vacuum components
- Dry vacuuming fails to kill germs, leaving hazards behind
Stick to wet methods to keep yourself and your environment safe.
Use Proper Protective Gear
Wearing the right protective gear is essential for safely handling mouse droppings. You should always put on disposable gloves to prevent direct contact with harmful pathogens. A high-quality N95 respirator mask will protect your lungs from airborne particles, especially after spraying bleach.
Don’t forget safety goggles to shield your eyes from irritants. Avoid cloth masks or simple dust masks—they won’t filter out dangerous particles effectively. Make sure your gloves fit snugly and cover your wrists, and change them immediately if they tear or get contaminated.
After you finish, carefully remove all gear without touching your face, then wash your hands thoroughly with soap and water. Proper protection minimizes your risk of infection and keeps the cleanup process safe and efficient.
Frequently Asked Questions
Can Bleach Damage Surfaces Around Mouse Droppings?
Yes, bleach can damage surfaces like wood, fabric, and painted walls around mouse droppings. You should dilute it properly and test a small area first to avoid discoloration or corrosion while cleaning effectively.
This precaution helps ensure that the surfaces remain intact and safe to use. Proper ventilation and protective gear are also recommended during cleaning. Always follow safety guidelines to minimize risks.
Are There Alternatives to Bleach for Disinfecting Droppings?
You might think bleach is the only disinfectant, but it’s not. You can use hydrogen peroxide, vinegar, or commercial disinfectants.
Just make sure to wear gloves and ventilate the area to stay safe while cleaning.
How Often Should I Check for Mouse Droppings After Cleaning?
You should check for mouse droppings at least once a week after cleaning. Regular checks help you catch new activity early and keep your space safe.
Increase frequency if you notice signs of infestation.
Can Vacuuming Mouse Droppings Cause Allergic Reactions?
Vacuuming mouse droppings can stir up allergens and harmful particles, so it might trigger allergic reactions or respiratory issues. You’ll want to protect yourself with a mask and gloves to avoid breathing in trouble hiding in the dust.
Is It Safe to Clean Mouse Droppings During Pregnancy?
It’s best you avoid cleaning mouse droppings during pregnancy to reduce infection risks. If you must, wear gloves, a mask, and ventilate well.
Ask someone else to handle it if possible for your safety.
Conclusion
Cleaning mouse droppings might feel risky, but spraying bleach first makes it safe by disinfecting harmful germs. You might worry about bleach fumes, but proper ventilation and protective gear keep you secure. By following these steps, you’ll effectively clean without stirring up dangerous particles.
Remember, thorough cleaning and prevention are key to keeping your home safe and mouse-free. Using bleach to disinfect before vacuuming helps minimize the risk of airborne contaminants. If it feels overwhelming, don’t hesitate to call a professional for help.
Safe vacuuming after spraying bleach ensures you reduce exposure to harmful germs and maintain a healthy environment. Prioritize safety and cleanliness to protect your household from potential health issues related to mouse droppings.