Fix Bathtub Faucet in 7 Easy Steps
You can fix your bathtub faucet in 7 easy steps by first recognizing if it needs repair, such as dripping or leaks. Identifying the faucet type is essential to ensure you use the correct tools and parts.
Next, turn off the water supply completely to avoid any mess or accidents.
Gather necessary tools like screwdrivers and wrenches before you begin. Carefully remove the handle to access the internal components of the faucet.
Inspect the parts closely to identify worn washers or cartridges that need replacement.
Replace any damaged washers or cartridges to stop leaks and restore proper function.
Finally, troubleshoot common issues like low water pressure or uneven flow to ensure the faucet works smoothly.
Keep following along to discover detailed tips for a smooth bathtub faucet repair process.
Key Takeaways
- Turn off the main water supply and open the faucet to drain remaining water before starting repairs.
- Remove the faucet handle by unscrewing and gently pulling it off to access internal components.
- Inspect washers or cartridges for wear, cracks, or mineral buildup, and remove damaged parts carefully.
- Replace worn washers or cartridges with matching new parts, cleaning the valve seat before installation.
- Reassemble the faucet handle securely and turn the water supply back on to test for leaks and proper flow.
Recognize Signs Your Bathtub Faucet Needs Repair
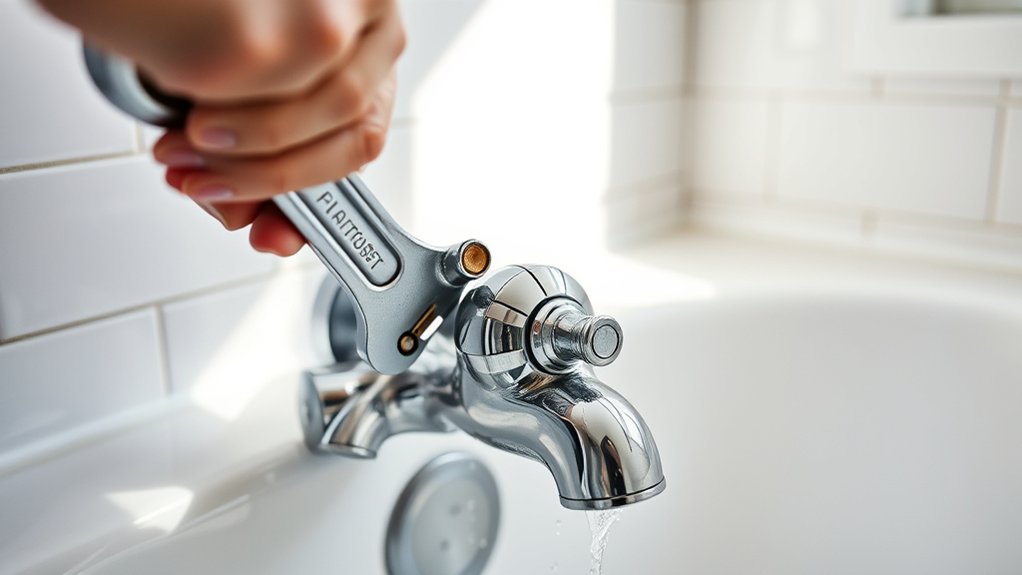
How can you tell when your bathtub faucet needs fixing? First, listen for dripping sounds after you turn off the water. That constant drip wastes water and signals worn-out washers or seals.
Listen for dripping after shutoff—constant drips waste water and signal worn washers or seals needing repair.
Next, watch for leaks around the base or handle, which often mean loose or damaged parts. If the water flow weakens or becomes uneven, mineral buildup or internal damage might be the cause.
You might also notice rust stains or corrosion on the faucet, which could lead to further problems if ignored. Finally, if the handle feels loose or hard to turn, it’s time to act.
Recognizing these signs early helps you avoid bigger issues and keeps your bathtub functioning smoothly.
Figure Out What Kind of Bathtub Faucet You Have
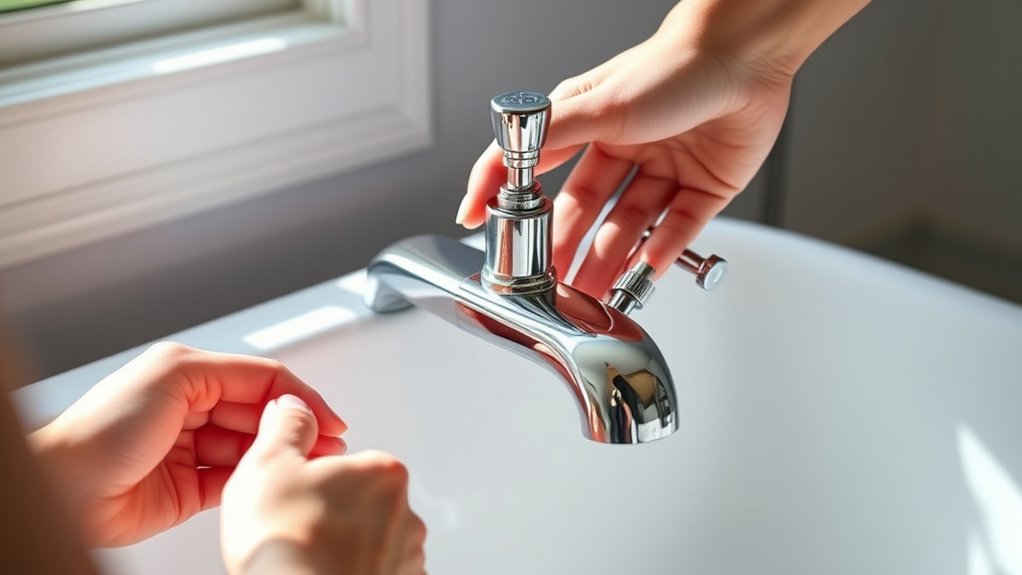
Noticing signs that your bathtub faucet needs repair is just the first step. Next, you need to figure out what kind of faucet you have. Faucets generally fall into four main types: compression, cartridge, ball, and ceramic disc.
Compression faucets have separate hot and cold handles that you turn to control water flow. Cartridge faucets use a single handle that lifts and moves to regulate temperature and flow. Ball faucets have a round ball inside the handle, which controls flow and temperature as you move it.
Ceramic disc faucets feature a single lever and use ceramic discs inside for smooth operation. Identifying your faucet type will help you find the right replacement parts and tools, making your repair process much easier and more efficient.
Turn Off the Water Supply to Your Bathtub Faucet
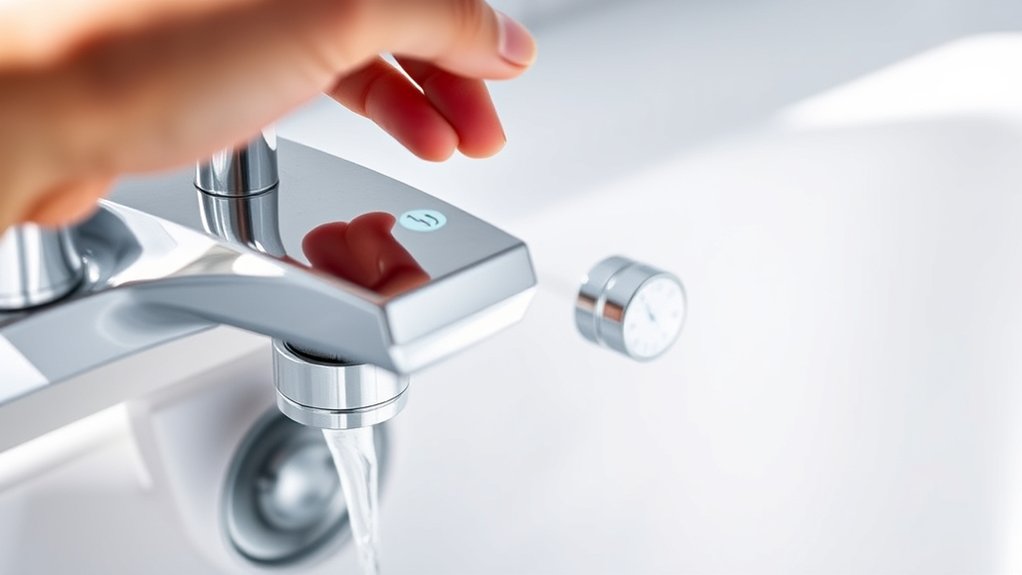
Before you begin any repairs, you’ll need to turn off the water supply to your bathtub faucet to prevent leaks and water damage. Start by locating the main water shutoff valve for your home, usually found near the water meter or where the main line enters your house. Turn it clockwise to close it completely.
If your bathroom has individual shutoff valves under the sink or near the tub, you can use those instead. After shutting off the water, open the bathtub faucet to drain any remaining water in the pipes. This step *guarantees* no water will spill when you start working on the faucet.
Double-check that the water is off by turning the faucet on again; if no water flows, you’re ready to proceed safely with your repair.
Grab the Tools You’ll Need for the Repair
Once you’ve confirmed the water is fully shut off, gather the tools needed to fix your bathtub faucet. You’ll want a flathead and a Phillips screwdriver for removing screws. An adjustable wrench or a pair of pliers will help loosen nuts and fittings.
Have a hex key (Allen wrench) handy if your faucet uses set screws. Keep a cloth or rag nearby to protect surfaces and catch drips. If you suspect worn-out washers or cartridges, prepare replacement parts to save time.
Additionally, a flashlight can improve visibility in tight spaces. Finally, consider having plumber’s grease to lubricate moving parts during reassembly. Organizing these tools before you start will make the repair smoother and prevent interruptions.
Remove the Faucet Handle to Access Internal Parts
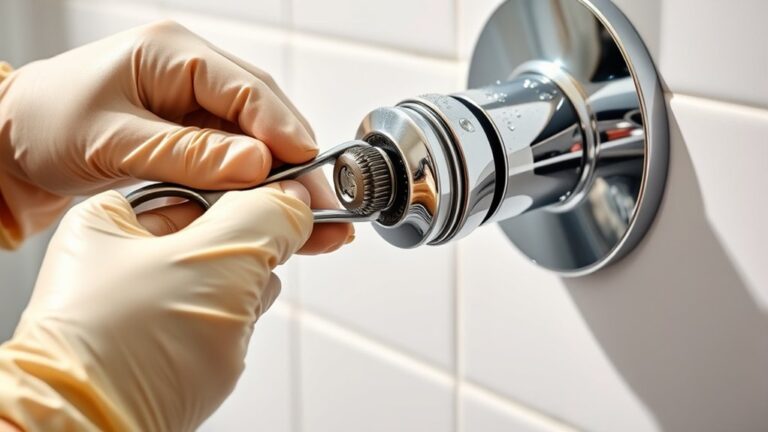
Although it might seem straightforward, removing the faucet handle carefully is essential to avoid damaging any parts. First, locate the screw securing the handle—it’s usually hidden under a decorative cap. Pry off the cap gently with a flathead screwdriver or a knife.
Then, use the appropriate screwdriver or Allen wrench to loosen and remove the screw. Once the screw is out, grip the handle firmly and pull it straight off. If it feels stuck, wiggle it slightly while pulling to loosen it.
Avoid forcing it too hard to prevent breaking the handle or the valve stem. With the handle removed, you’ll have clear access to the internal parts for your next repair steps. Keep all screws and parts in a safe place for reassembly.
Inspect and Replace Worn Bathtub Faucet Washers or Cartridges
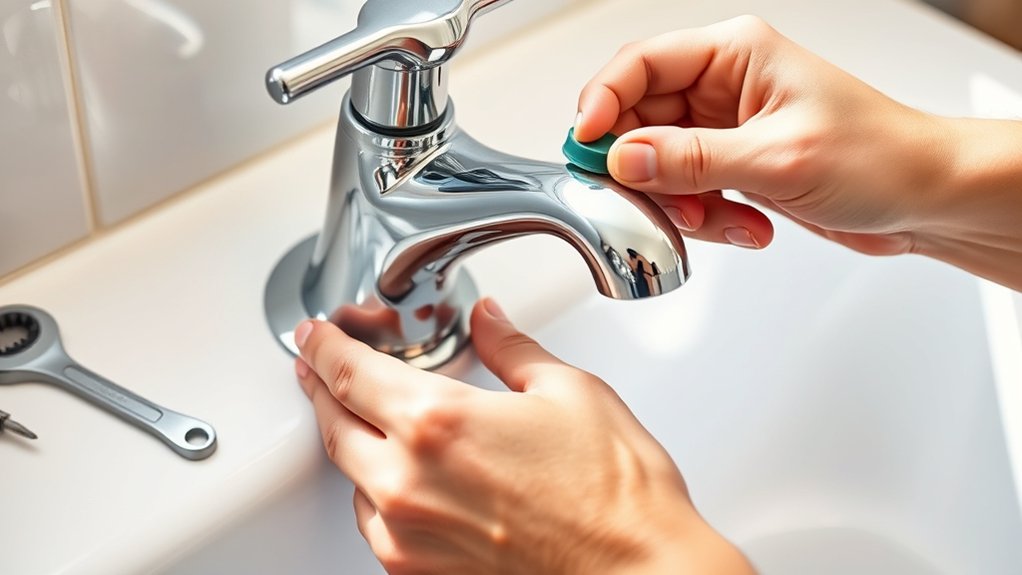
With the faucet handle removed, you can now examine the washers or cartridges inside the faucet. Look for signs of wear like cracks, flattening, or mineral buildup, which often cause leaks or drips. If you spot a worn washer, gently pry it out with a flathead screwdriver.
For cartridge faucets, pull the cartridge straight out after loosening any retaining clips or nuts. Compare the old part with a new one from your hardware store to verify a perfect fit. Before installing the replacement, clean the valve seat and surrounding area to prevent future leaks.
Insert the new washer or cartridge carefully, then reassemble the faucet handle. Turning the water supply back on, test the faucet for smooth operation and confirm the leak is fixed.
Troubleshoot Common Bathtub Faucet Problems
If your bathtub faucet isn’t working properly, identifying the cause quickly can save you time and frustration. Start by checking for leaks, low water pressure, or temperature control issues. Each problem often has a simple fix.
| Problem | Likely Cause |
|---|---|
| Leaking faucet | Worn washers or cartridges |
| Low water pressure | Clogged aerator or valve |
| Dripping after off | Faulty valve seat |
| Temperature issues | Malfunctioning mixing valve |
Frequently Asked Questions
Can I Upgrade My Bathtub Faucet to a More Modern Style?
Yes, you can upgrade your bathtub faucet to a modern style. Just choose a compatible design, turn off the water, remove the old faucet, and install the new one.
It’s a straightforward way to refresh your bathroom.
How Do I Prevent Mold Buildup Around My Bathtub Faucet?
Imagine Sarah, who wiped her faucet dry after every shower to prevent mold. You should do the same—keep the area dry, improve ventilation, and use mold-resistant caulk to stop mold buildup around your bathtub faucet effectively.
By wiping down the faucet regularly, you remove excess moisture that mold needs to grow. Improving ventilation helps reduce humidity in the bathroom, making it less hospitable for mold spores.
Applying mold-resistant caulk seals gaps where water can accumulate, further preventing mold growth. Following these steps consistently will keep your bathtub faucet area clean and mold-free.
What Type of Plumber Should I Hire for Complex Faucet Repairs?
You should hire a licensed plumbing contractor with experience in complex faucet repairs. They’ve got the skills and tools to handle tricky issues, ensuring your faucet works perfectly without causing future leaks or damage.
Are There Eco-Friendly Faucet Options to Save Water?
When it comes to saving water, you can’t put all your eggs in one basket.
You’ll find eco-friendly faucets with aerators and flow restrictors that cut water use without sacrificing performance,
helping you conserve and save money.
How Often Should I Replace My Bathtub Faucet Entirely?
You should replace your bathtub faucet every 10-15 years or sooner if you notice leaks, corrosion, or reduced water flow. Regular maintenance helps, but once damage affects function or efficiency, it’s time for a new faucet.
Conclusion
Now that you know how to fix your bathtub faucet in just seven easy steps, you can save yourself time and money.
Did you know that leaking faucets waste over 3,000 gallons of water per year? That’s not only costly but also harmful to the environment.
By tackling repairs yourself, you’re preventing water waste and avoiding costly plumber bills.
So grab your tools, follow these steps, and enjoy a perfectly working faucet again!
Fixing your bathtub faucet is a simple DIY project that helps conserve water and reduce expenses. Taking these seven easy steps ensures a quick and efficient repair, making your bathroom faucet function like new.