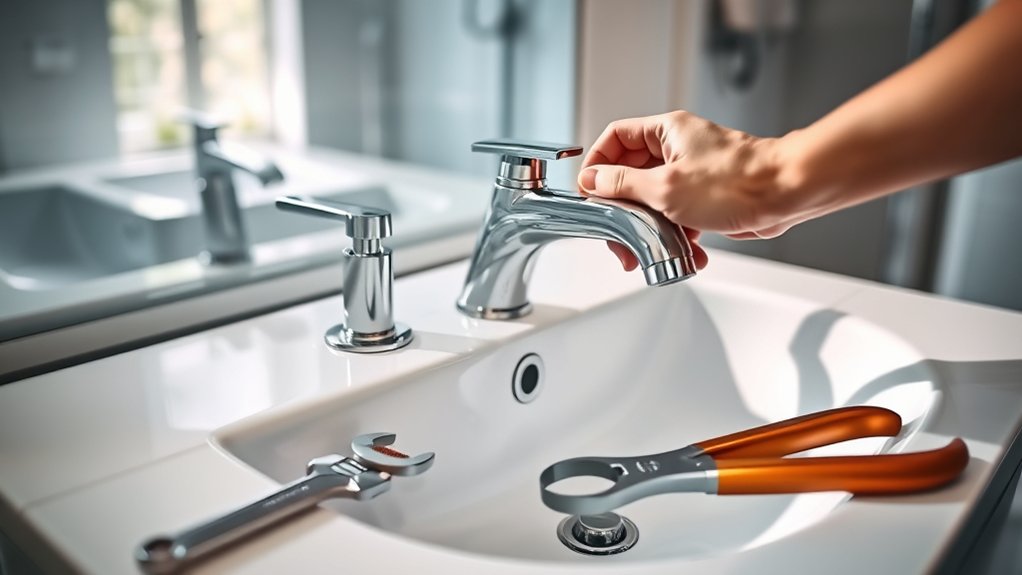
10 Easy Steps to Change a Bathroom Faucet
To change a bathroom faucet in 10 easy steps, start by turning off your water supply and clearing your workspace for safety and efficiency.
Changing a bathroom faucet can seem daunting, but with the right tools and clear instructions, it’s a manageable DIY project.
First, disconnect the old faucet and clean the sink surface thoroughly to ensure a smooth installation.
Next, organize the new parts and confirm they fit your sink properly.
Install the new faucet by securing it correctly and reconnecting the water lines.
Finally, test for leaks and troubleshoot any issues as needed.
Following these steps will have your faucet working smoothly, and there’s more handy advice to help you finish the job right.
Key Takeaways
- Turn off the water supply and open the faucet to drain remaining water before starting.
- Disconnect supply lines and remove mounting nuts to lift off the old faucet carefully.
- Clean the sink surface thoroughly, removing old putty and debris for a smooth installation area.
- Position and secure the new faucet with gaskets and mounting hardware, ensuring proper alignment.
- Reconnect supply lines, turn on water, check for leaks, and test faucet functionality.
Gather the Tools You’ll Need
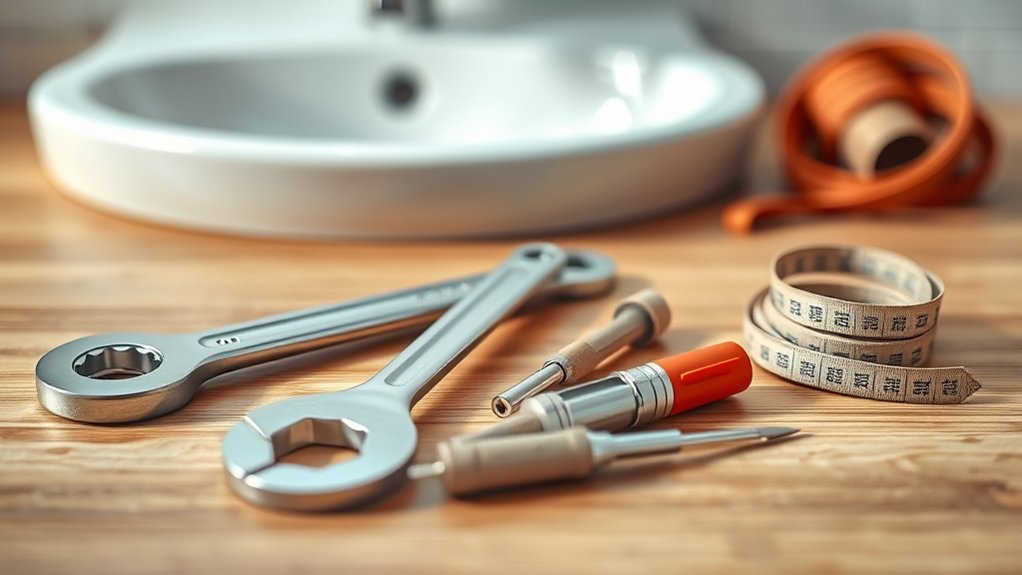
Before you begin removing the old faucet, make sure you’ve gathered all the necessary tools. You’ll need an adjustable wrench to loosen and tighten nuts, a basin wrench to reach tight spots under the sink, and a screwdriver to remove screws on mounting hardware. Have a bucket handy to catch any leftover water in the lines.
You’ll also want some plumber’s tape to guarantee a tight seal when installing the new faucet. Keep a towel nearby to wipe up drips and protect your countertop. Finally, have your new faucet and any included parts ready to go.
Having these tools within reach will save you time and frustration once you start the actual replacement process. Preparing well sets you up for a smoother, quicker job.
Turn Off the Water and Clear Your Workspace
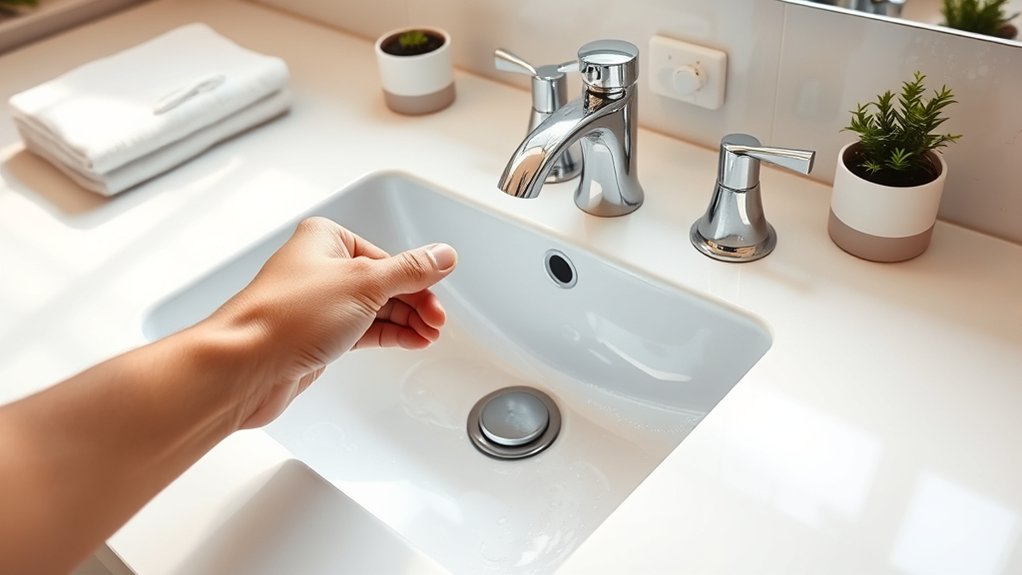
With your tools and new faucet ready, it’s time to shut off the water supply to prevent any leaks or spills while you work. Follow these steps to prepare your workspace:
Before starting, gather your tools and shut off the water to avoid leaks during faucet replacement.
- Locate the water shut-off valves under the sink and turn them clockwise until fully closed.
- Open the faucet to drain any remaining water from the lines.
- Clear the area around the sink, removing personal items and cleaning off the countertop.
- Lay down a towel or bucket under the sink to catch any drips during the faucet removal.
Remove the Old Faucet Step by Step
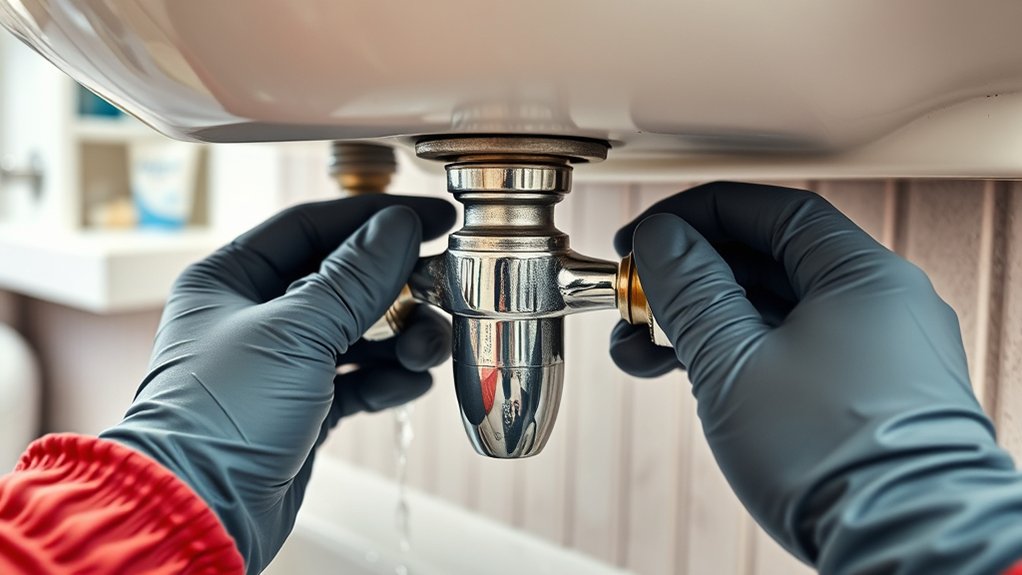
Although removing the old faucet might seem intimidating, you can tackle it step by step to make the process manageable. First, disconnect the water supply lines using an adjustable wrench.
Then, loosen and remove the mounting nuts underneath the sink. Carefully lift the faucet off the sink surface. If there’s any old putty or sealant, avoid scraping it off now—you’ll handle that later.
| Step | What to Do |
|---|---|
| 1. Disconnect Lines | Use wrench to loosen supply lines |
| 2. Remove Nuts | Unscrew mounting nuts below sink |
| 3. Lift Faucet | Pull faucet straight up carefully |
| 4. Leave Residue | Don’t remove putty yet |
Following these steps will ensure you remove the faucet cleanly and safely.
Clean the Sink Surface Before Installing
Since residue and old sealant can prevent a proper seal, you’ll want to thoroughly clean the sink surface before installing your new faucet. This guarantees a tight fit and prevents leaks.
Follow these steps to get the surface ready:
- Remove any visible debris and old plumber’s putty using a plastic scraper.
- Apply a mild bathroom cleaner or vinegar solution to break down soap scum and mineral deposits.
- Wipe the area clean with a damp cloth, then dry it completely to avoid moisture under the new faucet.
- Inspect the surface for any damage or rough spots; sand them lightly if needed to create a smooth, even base.
Taking these steps will help your new faucet sit securely and function properly.
Prepare Your New Faucet Parts for Installation
Before you start, carefully inspect all the faucet components to make sure nothing’s missing or damaged. Gather your tools and supplies so everything’s within reach during installation.
Also, double-check that the new faucet is compatible with your sink to avoid any fitting issues.
Inspect All Faucet Components
Once you open the new faucet package, carefully lay out all the components to make certain nothing is missing or damaged. Taking this step early prevents delays during installation. Inspect each part for defects like cracks, scratches, or bent pieces.
Pay special attention to seals and washers to avoid leaks later. Check the finish for any blemishes that could affect appearance.
Here’s what to inspect closely:
- Faucet body – ensure no dents or cracks.
- Handles – confirm smooth operation and secure fit.
- Mounting hardware – verify all screws, nuts, and washers are included.
- Supply lines – check for kinks, cracks, or loose fittings.
Identifying issues now saves time and frustration during installation.
Organize Tools And Supplies
Gathering all the necessary tools and supplies at the start will streamline your faucet installation. Lay out your new faucet parts on a clean surface, making sure everything shown in the instructions is present. This includes washers, mounting nuts, and any decorative caps.
Next, gather your tools—typically, you’ll need an adjustable wrench, basin wrench, plumber’s tape, and a screwdriver. Keep these tools within easy reach. Organize small parts in a container to prevent loss.
Having everything ready prevents interruptions and helps you focus on the job. Double-check the instructions for any specialized tools or materials. When you’re organized, you can work efficiently and avoid frustration, making the installation smoother and quicker from start to finish.
Check Compatibility With Sink
Having your tools and parts organized makes it easier to focus on checking if your new faucet fits your sink. Before you start installation, verify everything matches up perfectly to avoid surprises. Here’s what you should check:
- Mounting Holes: Count the number of holes in your sink and make sure your faucet’s design matches—whether it’s one, two, three, or more holes.
- Hole Size: Measure the diameter of the sink’s holes; your faucet’s mounting hardware needs to fit snugly.
- Water Supply Lines: Check if the faucet’s supply lines match your plumbing connections or if adapters are needed.
- Faucet Height and Reach: Confirm the faucet’s height and spout reach won’t interfere with your sink basin or surrounding space.
Getting these details right will make installation smoother and avoid costly adjustments later.
Position and Secure the New Faucet
Before you secure the new faucet, make sure it sits properly in the sink holes and aligns with the countertop. Place the faucet carefully, checking that it’s centered and level.
Once satisfied, slide the rubber gasket and metal plate underneath the faucet’s base to prevent leaks and protect your countertop. Then, from beneath the sink, thread the mounting nuts onto the faucet’s tailpieces and tighten them by hand.
Use a basin wrench for a snug fit, but don’t overtighten.
| Step | Action | Tip |
|---|---|---|
| 1 | Position faucet | Center in sink holes |
| 2 | Insert gasket | Prevent leaks |
| 3 | Place metal plate | Protect countertop |
| 4 | Hand-tighten nuts | Ensure alignment |
| 5 | Use basin wrench | Avoid overtightening |
Connect Water Supply Lines Securely
Two water supply lines need to be connected securely to guarantee your faucet functions properly without leaks. Follow these steps to ensure a tight, reliable connection:
- Align the supply lines with the faucet’s threaded inlets, making sure they’re straight.
- Hand-tighten the nuts onto the faucet’s inlets to avoid cross-threading.
- Use an adjustable wrench to snug the nuts further, but don’t over-tighten—they should be firm but not strained.
- Connect the other ends of the supply lines to the shutoff valves, tightening them the same way.
Test Faucet Function and Check for Leaks
Once you’ve connected the water supply lines, turn on the shutoff valves slowly to restore water flow. Next, open the faucet handles to let water run through both hot and cold sides. Watch carefully for any drips or moisture around the base, supply line connections, and underneath the sink.
If you spot leaks, tighten the connections gently without over-tightening. Check the faucet’s aerator for a smooth, steady stream; this confirms proper water pressure and flow. Also, test the handle’s movement to ensure it operates smoothly without stiffness or unusual resistance.
Running the water for a minute helps clear out any debris and allows you to spot any slow leaks. Once you’re confident everything’s dry and functioning well, you’re ready to enjoy your new faucet.
Troubleshoot Common Faucet Installation Problems
If you notice any issues after installation, don’t worry—most faucet problems have simple fixes. Here’s how to troubleshoot common faucet installation problems:
- Leaks under the sink: Tighten all connections and check that washers and gaskets are properly seated.
- Low water pressure: Remove aerators and clean out debris; also, ensure supply valves are fully open.
- Dripping faucet: Replace worn-out cartridge or O-rings inside the faucet.
- Loose faucet: Secure mounting nuts beneath the sink to stabilize the faucet.
Maintain Your New Faucet for Long-Lasting Use
After addressing any installation issues, you’ll want to keep your faucet working smoothly for years to come. Regular cleaning, avoiding harsh chemicals, and promptly fixing leaks will help maintain its shine and function. Using a soft cloth and mild soap prevents damage to the finish.
Also, check for loose parts occasionally to avoid bigger problems.
Here’s a quick guide to keep your faucet in top shape:
| Task | Why It Matters |
|---|---|
| Clean weekly | Prevents buildup and stains |
| Tighten fittings | Avoids leaks and water waste |
| Inspect seals | Keeps water flow consistent |
Frequently Asked Questions
What Type of Faucet Is Best for Low Water Pressure?
You’ll want a faucet designed for low water pressure, like a single-handle or pressure-compensating faucet. These models maintain steady flow even with low pressure, so you won’t struggle with weak water or inconsistent performance.
How Do I Dispose of My Old Faucet Responsibly?
Before you toss your old faucet into a time capsule, recycle it at a local scrap metal center or donate it if it’s still usable.
You’ll keep harmful materials out of landfills and help the environment thrive.
Can I Install a Faucet Without Professional Plumbing Experience?
Yes, you can install a faucet without professional experience if you follow instructions carefully. Just turn off the water, use basic tools, and take your time.
Watching tutorials helps, too, so you won’t feel overwhelmed.
What Are the Benefits of Different Faucet Finishes?
You’ll love how different faucet finishes boost durability and style—brushed nickel resists fingerprints 30% better than chrome.
Plus, choosing the right finish means less cleaning and a perfect match for your bathroom’s vibe.
How Often Should I Replace Bathroom Faucet Washers?
You should replace bathroom faucet washers every 1-2 years or whenever you notice leaks or drips. Regular checks help prevent water damage and maintain smooth faucet operation, saving you from costly repairs later on.
Checking your washers regularly ensures your faucet works efficiently and lasts longer. Leaky washers can waste water and increase your utility bills.
Replacing washers promptly keeps your bathroom running smoothly and avoids further plumbing issues.
Conclusion
Changing your bathroom faucet is simpler than you might think. With just a few tools and careful steps, you can upgrade your space in under an hour.
Did you know that fixing leaky faucets can save homeowners up to 10% on their water bills? So not only will your bathroom look better, but you’ll also save money and water.
Keep your new faucet maintained, and enjoy a fresh, functional sink for years to come! Regular bathroom faucet maintenance ensures durability and prevents leaks, making your bathroom faucet replacement worthwhile.