How to Fix a Leaky Bathtub Faucet in 10 Easy Steps
To fix your leaky bathtub faucet, start by identifying the faucet type to ensure you use the right repair method. Gather essential tools like wrenches and screwdrivers before you begin.
Next, turn off the water supply to prevent any spills or water damage during the repair process. Carefully remove the faucet handle to access internal components.
Inspect and clean the cartridge, valve stem, or washers, checking for mineral buildup or damage that could cause leaks.
Once cleaned or replaced, reassemble all parts securely. Turn the water back on and check for any remaining leaks.
If drips continue, troubleshoot further for worn parts or corrosion. Following these steps will help you fix common bathtub faucet leaks and restore proper function efficiently.
Key Takeaways
- Turn off the main water supply and verify no water flows from the faucet before starting repairs.
- Remove the faucet handle by unscrewing hidden screws and gently pulling it off without damage.
- Inspect and clean the cartridge, valve stem, washers, and O-rings to remove mineral buildup or replace worn parts.
- Reassemble the faucet carefully, aligning parts correctly and tightening screws without overtightening.
- Turn water back on slowly, test for leaks, and tighten connections if minor drips persist to ensure a proper seal.
Identify Your Leaky Bathtub Faucet Type
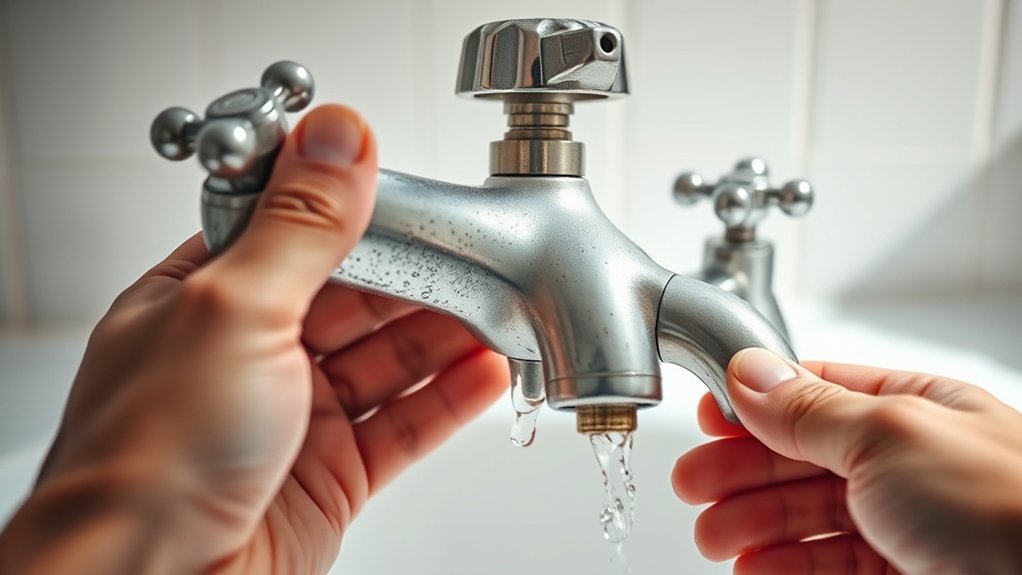
Before you can fix your leaky bathtub faucet, you need to identify its type. Most faucets fall into four categories: compression, cartridge, ball, and ceramic disk. Compression faucets have separate hot and cold handles that you turn to control water flow.
Cartridge faucets use a single, movable cartridge inside the handle to regulate water. Ball faucets feature a ball bearing mechanism inside the handle, common in older models. Ceramic disk faucets have a single lever and rely on two ceramic disks inside to control water flow.
Knowing your faucet type helps you target the right repair approach and find compatible parts. Check your faucet closely, noting the number of handles and how they move to figure out which type you’re dealing with before moving forward.
Gather Your Tools and Materials
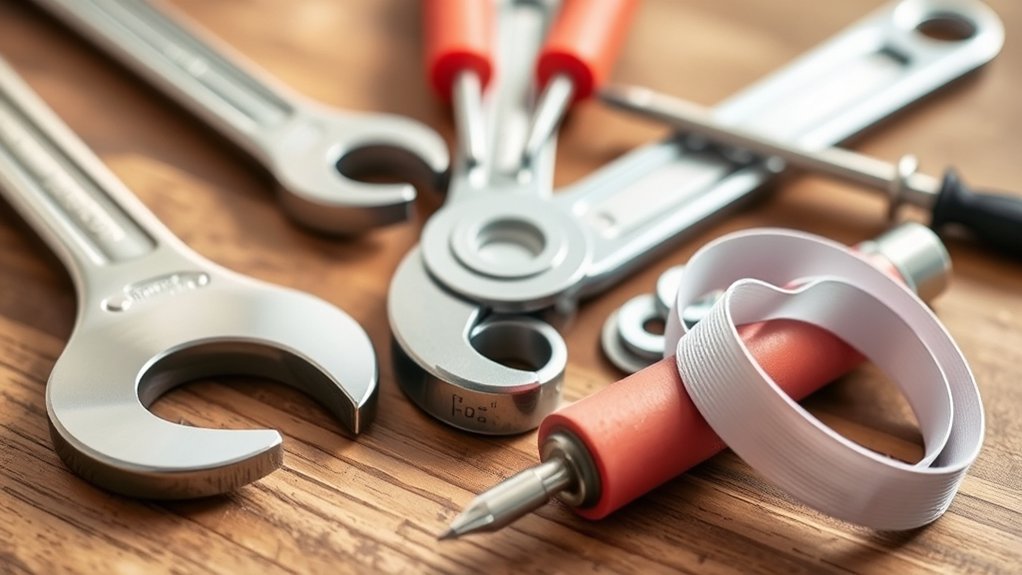
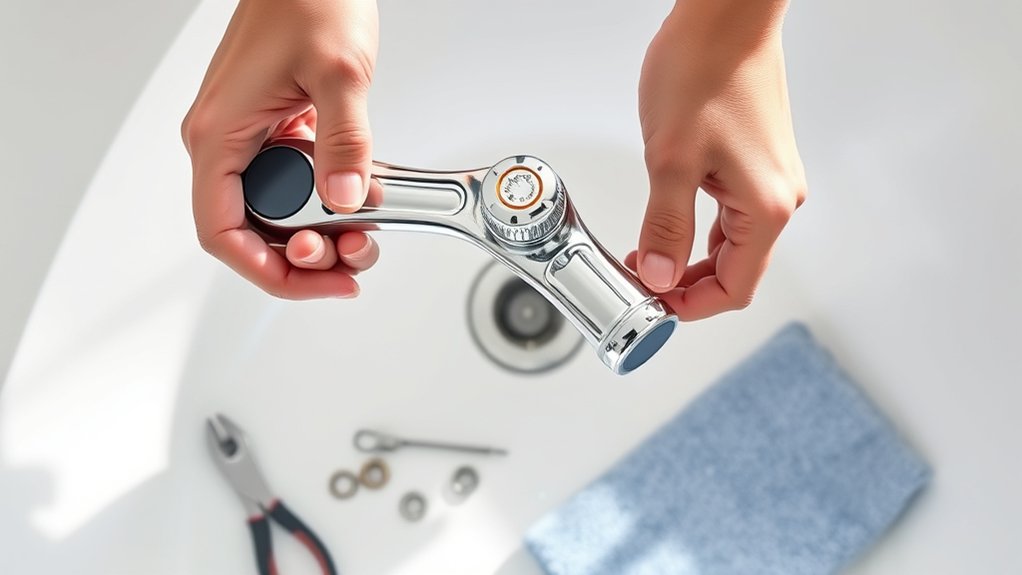
Once you know your faucet type, gather all the necessary tools and materials to guarantee a smooth repair process. You’ll typically need an adjustable wrench, screwdrivers (both flathead and Phillips), pliers, and replacement parts like washers, O-rings, or cartridges specific to your faucet model. Keep a cloth or rag handy to clean up any water spills and protect surfaces.
A flashlight can help you see inside tight spaces, and plumber’s grease ensures smooth reassembly. Having a small container nearby to hold screws and tiny parts will prevent losing them. Make sure your replacement parts match your faucet exactly; bringing the old parts to the hardware store can help.
Preparing these tools and materials before you start saves time and avoids frustration during the repair.
How to Safely Turn Off the Water
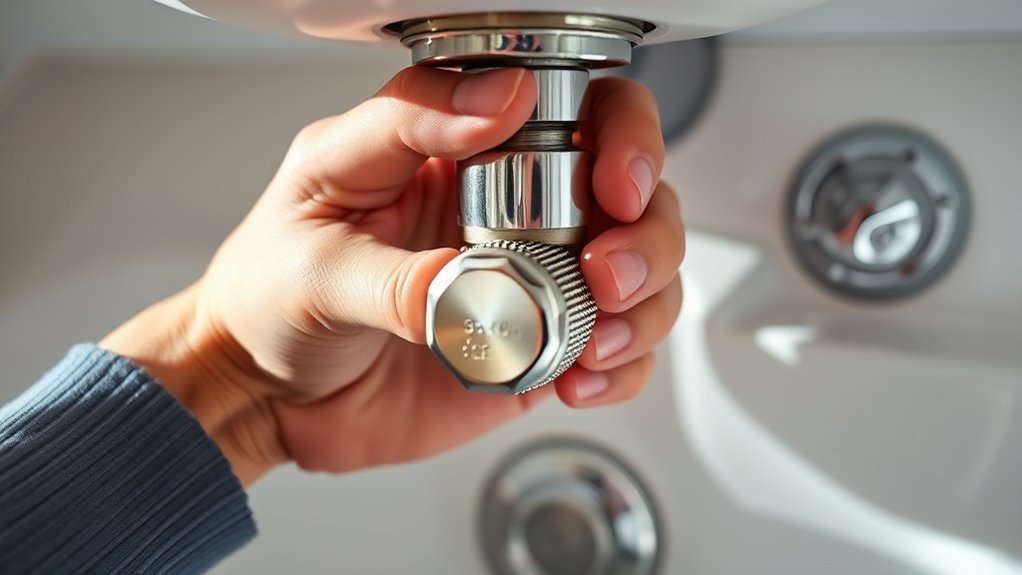
Before you start fixing the leak, you need to turn off the water supply. Locate the main water valve or the specific shutoff valves for your bathtub. Once you’ve closed them, check that the water is completely off by turning on the faucet.
Locate Main Water Valve
Where can you find the main water valve to stop the flow and prevent further leaks? Usually, it’s located near your water meter, which is often outside your home, in a basement, or a utility area. Look for a round handle or a lever attached to a pipe.
In colder climates, it might be inside to avoid freezing. When you find it, turn the valve clockwise to shut off the water supply completely. This step is vital before you start repairing your faucet to avoid water damage and mess.
If you’re unsure, check your home’s blueprint or contact your water provider for guidance. Knowing where and how to shut off the main water valve keeps you prepared for emergencies and repairs.
Use Shutoff Valves
Although shutting off the main water valve stops water flow to your entire home, using the bathtub’s shutoff valves lets you isolate the faucet without affecting other areas. These valves are usually located under the sink or access panel near the tub. Turn them clockwise to close and stop water flow to the faucet.
Using these shutoff valves is safer and more convenient, as you won’t disrupt water supply elsewhere. If you don’t see dedicated shutoff valves for the tub, consider installing them for future repairs. Always handle the valves gently to avoid damage.
Once you close them, you’re ready for the next step in fixing your leaky faucet without worrying about water flooding the bathroom or other parts of your home.
Verify Water Is Off
Once you’ve turned the shutoff valves, make certain the water is completely off by testing the faucet. Turn the handle as you normally would and watch for any water flow. If water still trickles out, double-check that you fully closed the valves or locate the main water supply to shut off.
Never skip this step, as working on a faucet with water running can cause leaks or water damage. If your shutoff valves are old or stuck, use pliers carefully or call a professional. Confirming the water is off ensures a safe, dry workspace and prevents frustration during repairs.
Once you’re confident the water’s off, you can proceed with disassembling the faucet to fix the leak without worry.
Remove the Faucet Handle
First, find the screws holding the faucet handle in place—these are often hidden under a decorative cap. Use the right screwdriver to remove them carefully.
If the handle feels stuck, gently wiggle or pull it to avoid damage.
Locate and Remove Screws
Before you can fix the leak, you’ll need to remove the faucet handle by locating and unscrewing the screws that hold it in place. Start by examining the handle carefully; screws are often hidden beneath a decorative cap or cover. Use a flathead screwdriver to gently pry off any caps.
Once exposed, identify the type of screws—usually Phillips or flathead—and select the right screwdriver. Turn the screws counterclockwise to loosen and remove them. Keep the screws somewhere safe so you don’t lose them.
If you don’t see any screws, check the sides or under the handle, as some models have hidden fasteners. Removing the screws will free the handle, preparing you for the next step in fixing your leaky faucet.
Handle Removal Techniques
Although removing the faucet handle might seem tricky, using the right techniques will make it straightforward. First, check for a small cap covering the screw—gently pry it off with a flathead screwdriver to expose the screw beneath. Once visible, use a screwdriver to remove the screw securing the handle.
If the handle doesn’t come off easily, avoid forcing it. Instead, try applying a bit of penetrating oil and wait a few minutes. You can also use a handle puller tool for stubborn handles; it evenly applies pressure to lift the handle without damage.
After loosening, wiggle the handle gently while pulling it straight out. Once removed, you’ll have clear access to the faucet’s inner components, making the next repair steps easier and more effective.
Inspect the Cartridge, Valve Stem, and Parts
When you start inspecting the cartridge, valve stem, and related parts, focus on identifying any signs of wear, corrosion, or mineral buildup that could cause leaks. Carefully examine the cartridge for cracks or damage, as a faulty cartridge often leads to dripping faucets. Check the valve stem for corrosion or mineral deposits that might prevent it from sealing properly.
Use a soft brush or cloth to gently clean away any buildup without damaging the components. Also, look for any loose or broken parts that could affect the faucet’s function. If you notice severe damage or wear, you might need to replace the cartridge or valve stem entirely.
This inspection helps pinpoint the leak’s source before moving on to replacing washers and O-rings.
Replace Worn Washers and O-Rings
Since worn washers and O-rings are common causes of leaks, you’ll want to replace them to restore a tight seal. First, remove the faucet handle and expose the valve stem where the washer and O-ring sit. Carefully take out the old washer, usually held by a screw, and discard it.
Then, slide off the worn O-ring, noting its size and shape for an exact replacement. Head to your local hardware store or order parts online that match these specifications. Before installing, apply a thin layer of plumber’s grease to the new O-ring to guarantee smooth operation.
Secure the new washer onto the valve stem, reinstall the O-ring, and reassemble the faucet. Turn the water back on and check for leaks; your faucet should now stop dripping.
Clean Mineral Deposits and Debris
You’ll want to check for white or crusty buildup around your faucet, which signals mineral deposits. These deposits can block water flow and cause leaks if left alone.
Using vinegar or a commercial cleaner, you can effectively break down and remove this debris to keep your faucet working smoothly.
Identifying Mineral Buildup
Although mineral buildup might seem minor at first, it can cause your bathtub faucet to leak or drip if left unchecked. You’ll want to start by closely inspecting the faucet, especially around the base and spout. Look for white, chalky deposits or crusty residue—these are clear signs of mineral buildup.
Pay attention to any rough or uneven areas on the faucet surface, as these often indicate hardened deposits. Also, check inside the aerator or screen if your faucet has one; mineral particles can clog these parts, affecting water flow and causing leaks.
Effective Cleaning Methods
Once you spot mineral buildup on your faucet, cleaning it promptly can stop leaks and restore proper function. Start by turning off the water supply to avoid any mess. Then, soak a cloth in white vinegar and wrap it around the affected areas.
Let it sit for 30 minutes to dissolve mineral deposits. After soaking, scrub gently with an old toothbrush to remove loosened debris. For stubborn buildup, use a mixture of baking soda and water to create a paste, apply it, and scrub again.
Rinse thoroughly with warm water to wash away residue. Finally, wipe the faucet dry to prevent new deposits. Regularly cleaning your faucet this way keeps it working smoothly and prevents leaks caused by clogged parts.
Reassemble the Faucet Correctly
After ensuring all parts are clean and in good condition, start by positioning the cartridge or valve stem back into the faucet body. Align it carefully to avoid damaging seals.
Next, reattach the retaining clip or nut to hold the cartridge firmly. Then, replace the handle, securing it with the screw. Finally, put back the decorative cap or cover.
Use this checklist to guide your reassembly:
| Step | Action | Tip |
|---|---|---|
| 1 | Insert cartridge/valve stem | Align with guide marks |
| 2 | Secure retaining clip/nut | Tighten without overtightening |
| 3 | Attach handle | Ensure handle orientation |
| 4 | Tighten handle screw | Use correct screwdriver |
| 5 | Replace decorative cap | Press firmly into place |
Reassemble carefully to ensure a proper fit before testing.
Turn Water On and Test for Leaks
With the faucet fully reassembled, you can now turn the water supply back on to check for leaks. Slowly open the main valve and let water flow through the faucet. Watch closely around the base, handles, and spout for any signs of dripping or moisture.
It’s important to test both hot and cold water by turning each handle separately. If you notice any leaks, shut off the water immediately to avoid further damage. Tighten connections gently if you spot minor drips, then retest.
If no leaks appear, run the water for a few minutes to confirm the repair holds under continuous flow. By carefully observing and testing now, you guarantee your fix is solid and your bathtub faucet won’t leak again.
Troubleshoot Common Causes of Persistent Leaks
If your bathtub faucet keeps leaking despite your efforts, you’ll need to dig deeper into common causes that might be behind the problem. First, check if the washer is worn out or damaged—it often causes persistent drips.
Next, inspect the O-ring; a loose or broken O-ring can let water escape. Mineral buildup inside the valve seat can also prevent a tight seal, so clean it thoroughly. Additionally, the cartridge or valve stem might be faulty and need replacement.
Don’t overlook loose or corroded parts, which can cause leaks too. By systematically examining these components, you can pinpoint the issue. If you’re still stuck, consider consulting a professional plumber to avoid causing further damage.
Frequently Asked Questions
Can a Leaky Faucet Increase My Water Bill Significantly?
Yes, a leaky faucet can increase your water bill considerably over time. Even small drips waste gallons daily, adding up to higher costs.
Fixing leaks quickly helps you save money and conserve water effectively.
How Often Should I Perform Maintenance on My Bathtub Faucet?
A stitch in time saves nine—you should perform maintenance on your bathtub faucet every six months. Regular checks help you catch leaks early, saving water and money, and keep your faucet running smoothly without surprise repairs.
Are There Eco-Friendly Products to Prevent Faucet Leaks?
Yes, you can use eco-friendly sealants and washers made from sustainable materials to prevent faucet leaks. You’ll also find biodegradable lubricants that help maintain parts without harming the environment. Always check labels to guarantee they’re eco-safe.
Can Hard Water Cause My Bathtub Faucet to Leak?
Oh, absolutely—hard water loves to sabotage your faucet by leaving mineral deposits that wear out seals and washers.
You’ll find yourself fixing leaks more often, thanks to those stubborn, “helpful” minerals clogging things up.
When Should I Call a Professional Plumber Instead of DIY?
You should call a professional plumber if the leak persists after basic fixes, you’re unsure about handling plumbing tools, or if the problem involves complex issues like damaged pipes or valves.
Don’t risk making it worse.
Conclusion
Now that you’ve tackled each step, it might seem like the leak is fixed— but what if a hidden issue still lurks beneath? Don’t rush to celebrate just yet. Carefully test your work, and if that drip persists, dig a little deeper.
Sometimes, the smallest overlooked part can cause the biggest headaches. Stay patient and persistent; your perfect, leak-free bathtub is just one final fix away. You’re almost there.
By following these 10 easy steps to fix a leaky bathtub faucet, you’re well on your way to enjoying a fully functional, drip-free bathroom fixture. Remember, thorough testing and attention to detail are key to a successful repair. Keep at it, and your bathtub faucet will be leak-free in no time.