How Often to Replace Shark Vacuum Filters Simply
You should replace your Shark vacuum filters every 3 to 6 months to keep your vacuum running efficiently and maintain strong suction power. How often you need to change the filters depends on your usage and environment.
For daily vacuuming, change filters every 1-2 months to avoid buildup that can reduce performance.
If you use your vacuum weekly, aim to replace filters about every 3 months. Watch for signs like reduced suction, bad smells, or visible dirt on the filters as indicators to swap them sooner.
Using genuine Shark filters on time helps protect your vacuum’s motor and extends its lifespan.
Keep reading to discover how to maintain your filters properly and choose the right replacements for your Shark vacuum.
Key Takeaways
- Replace foam and felt filters every 3 months, or more frequently with heavy vacuum use.
- HEPA filters should be replaced approximately every 6 to 12 months depending on usage.
- Signs to replace filters include reduced suction, odors, visible dirt, and frequent clogging.
- Regular filter replacement maintains suction power, protects the motor, and improves air quality.
- Always use genuine Shark filters for proper fit, performance, and vacuum longevity.
What Kinds of Shark Vacuum Filters Are There : And How Long Do They Last?
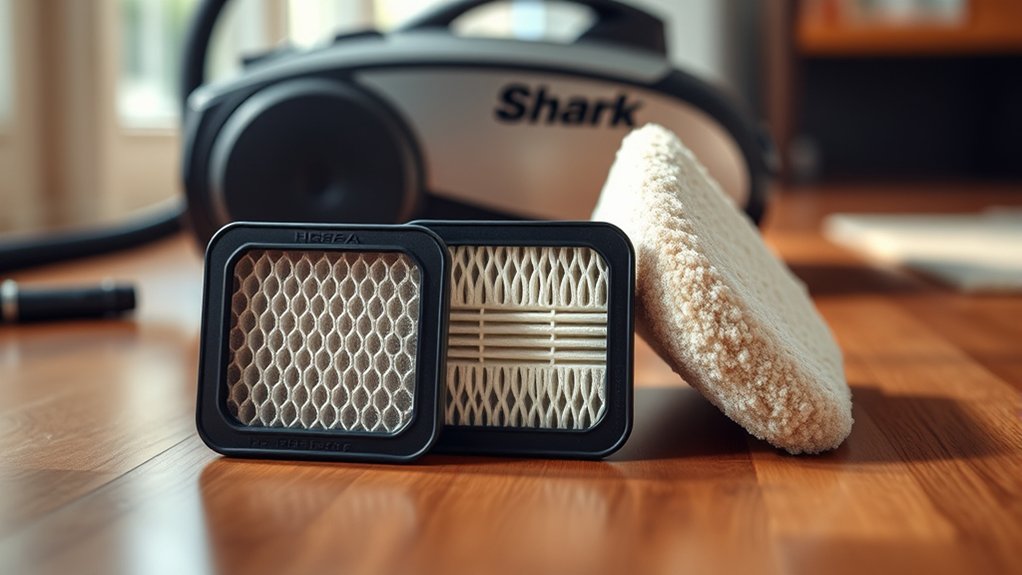
While choosing the right Shark vacuum filter can seem tricky, understanding the main types and their lifespans will help you keep your vacuum running efficiently. You’ll mainly encounter two types: foam filters and HEPA filters. Foam filters trap larger debris and are washable, usually lasting up to three months before needing replacement.
HEPA filters capture finer dust and allergens, essential if you have allergies, and typically last about six months. Some Shark models combine both filters, so you’ll want to replace or clean each according to its specific needs. Knowing your vacuum’s filter type lets you maintain peak suction and air quality.
Keep an eye on your vacuum’s performance, and swapping filters at the right time will extend its life and boost cleaning power.
How Often Should You Replace Shark Vacuum Filters?
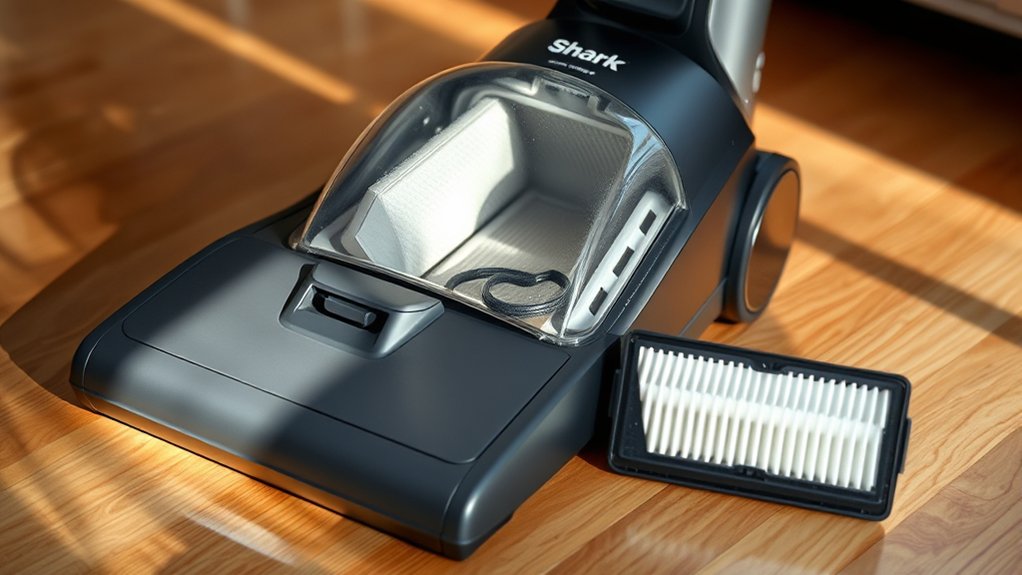
You should replace your Shark vacuum filters based on their lifespan and how often you use the vacuum. Keep an eye out for signs like reduced suction or visible dirt buildup.
Adjust replacement frequency if you vacuum more frequently or in dusty environments.
Filter Lifespan Guidelines
Because your Shark vacuum relies heavily on clean filters to maintain ideal suction and air quality, replacing them regularly is essential. Typically, you should substitute foam and felt filters every 3 months, while HEPA filters last about 6 to 12 months depending on usage. If you vacuum daily or handle heavy debris, consider exchanging filters closer to the 3-month mark to prevent clogging.
For lighter use, you might extend this interval but don’t exceed a year for HEPA filters. Always check your user manual for model-specific guidelines, as some filters have unique lifespans. Sticking to these timelines ensures your vacuum performs at its best and keeps your home’s air cleaner.
Regular filter replacement saves you from costly repairs and maintains efficient cleaning.
Signs To Replace Filters
Even if you stick to the recommended replacement schedule, certain signs will tell you it’s time to change your Shark vacuum filters sooner. Paying attention to these clues helps maintain your vacuum’s performance and air quality.
Watch for these signs that your filters need replacement:
- Reduced suction power, making cleaning less effective
- Unpleasant odors coming from the vacuum during use
- Visible dirt or discoloration on the filter despite cleaning
- Frequent clogging or dust escaping from the vacuum
- Increased motor noise or overheating during operation
If you notice any of these, don’t wait—replace your Shark vacuum filters to keep your home clean and your vacuum running smoothly.
Impact Of Usage Frequency
Noticing signs that your Shark vacuum filters need replacing is just one part of maintaining your vacuum’s efficiency. How often you use your vacuum directly impacts when you should swap filters.
If you vacuum daily, filters clog faster and need replacing every 1-2 months. For weekly use, changing filters every 3 months usually works. Less frequent use means filters last longer.
Here’s a quick guide:
| Usage Frequency | Replacement Interval | Notes |
|---|---|---|
| Daily | 1-2 months | Heavy dirt buildup |
| Weekly | 3 months | Moderate dirt accumulation |
| Bi-weekly | 4-6 months | Light dirt buildup |
| Monthly or less | 6+ months | Minimal dirt accumulation |
Adjust based on your home’s dust and pet situation for best performance.
Signs Your Shark Vacuum Filters Need Changing
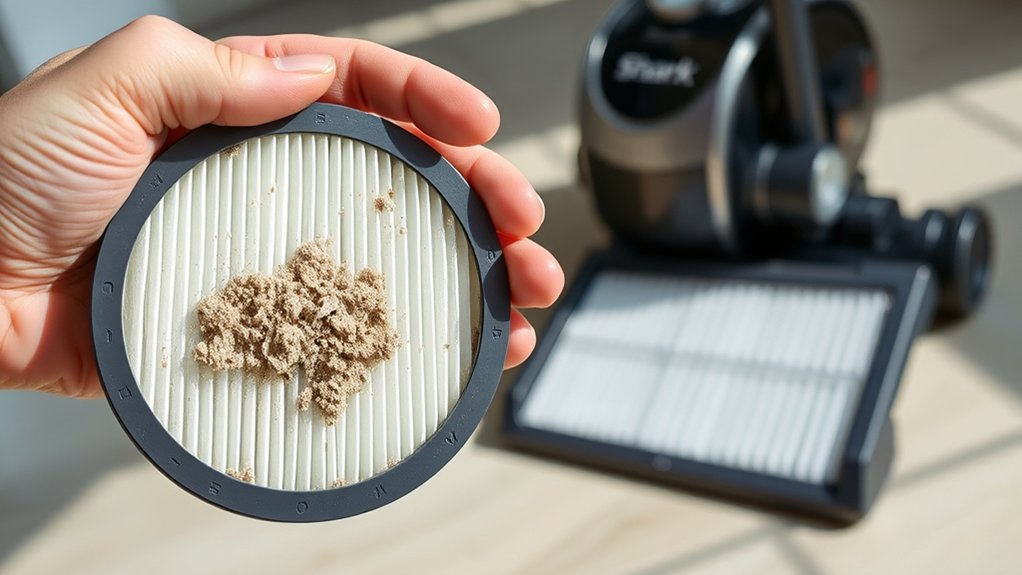
When your Shark vacuum starts losing suction or emits an unusual odor, it’s a clear signal that the filters need changing. Ignoring these signs can reduce cleaning efficiency and strain the motor. You should watch for:
- Noticeable drop in suction power during cleaning
- Unpleasant or musty smell coming from the vacuum
- Visible dirt buildup or discoloration on the filters
- Vacuum overheating or shutting off unexpectedly
- Increased dust escaping from the vacuum exhaust
Paying attention to these signs helps you maintain peak performance and prolong your vacuum’s lifespan. Changing the filters promptly ensures your Shark vacuum continues to clean effectively and protects its internal components from damage.
How to Remove and Replace Shark Vacuum Filters
First, you’ll need to locate the filter on your Shark vacuum. Next, carefully remove the old filter to avoid damage.
Finally, install the new filter securely to keep your vacuum running smoothly.
Locating The Filter
Although Shark vacuums come in various models, locating the filter is usually straightforward once you know where to look. Most filters are easily accessible, designed for quick maintenance without tools. Here’s where you typically find them:
- Inside the dust cup or bin
- Behind a removable cover near the vacuum’s brush roll
- In the vacuum’s main body, often accessible by unclipping a panel
- Near the motor housing, sometimes under a latch
- Along the vacuum’s handle, in models with handheld features
Each location guarantees you can reach the filter without hassle. Before replacing, just identify your model’s specific filter spot by checking the user manual or looking for obvious access points. This saves time and keeps your vacuum running efficiently.
Removing The Old Filter
Before you replace the filter, make sure your vacuum is unplugged to avoid any accidents. Next, locate the filter compartment, usually near the dustbin or motor. Open the compartment by pressing the release button or unlatching the cover.
Carefully remove the old filter by pulling it straight out; some models might require a slight twist to release it. Be gentle to avoid damaging any parts. If your filter is washable, set it aside for cleaning; otherwise, dispose of it properly.
Check the compartment for dust or debris and wipe it clean with a dry cloth before inserting a new filter. Removing the old filter correctly guarantees your vacuum runs efficiently and prolongs its lifespan.
Installing The New Filter
Once you’ve removed the old filter and cleaned the compartment, you can install the new filter by aligning it properly and pressing it firmly into place until it clicks or fits snugly. Make sure the filter matches your Shark vacuum model for maximum performance. Here’s how to do it right:
- Check for any dust or debris inside the filter housing before installing.
- Align the filter tabs or edges with the slots in the compartment.
- Apply even pressure without forcing the filter in.
- Confirm it’s securely seated by giving it a gentle tug.
- Close the vacuum filter cover properly to avoid air leaks.
Following these steps ensures your vacuum runs efficiently and maintains strong suction power. Regular filter replacement improves air quality and extends your vacuum’s lifespan.
Tips to Extend the Life of Your Shark Vacuum Filters
To get the most out of your Shark vacuum filters, you’ll want to maintain them regularly and handle them with care. Clean the filters as recommended, avoid harsh chemicals, and store the vacuum in a dry place.
Regularly checking the filter for buildup helps prevent clogging and extends its lifespan.
| Tip | Action | Frequency |
|---|---|---|
| Rinse with water | Wash under cold water | Every 1-3 months |
| Dry completely | Air dry before reinstallation | 24 hours |
| Avoid machine washing | Prevent damage to filter | Always |
| Clear debris | Remove hair and dust | Weekly |
| Store properly | Keep in dry, cool area | Always |
Why You Should Replace Your Shark Filters on Time
Even if you keep your Shark vacuum filters clean, replacing them on time guarantees your vacuum maintains strong suction and traps dust effectively. When filters become clogged or worn out, your vacuum struggles to pick up debris, reducing cleaning efficiency.
Timely replacement also protects the motor from strain and prevents dust from escaping back into your air. Here’s why you should stick to the replacement schedule:
- Preserve peak suction power
- Improve indoor air quality by trapping allergens
- Extend your vacuum’s lifespan
- Avoid overheating and motor damage
- Maintain consistent cleaning performance
Where to Buy Genuine Shark Vacuum Replacement Filters
Keeping your Shark vacuum running at its best depends not only on timely filter replacement but also on using genuine replacement filters. You can buy these authentic filters directly from Shark’s official website, ensuring compatibility and quality. Authorized retailers like Amazon, Best Buy, and Walmart also stock genuine Shark filters, often with customer reviews to help you choose.
Avoid third-party sellers on marketplaces that might offer counterfeit or substandard products. If you prefer in-person shopping, check local appliance stores or Shark service centers. Always verify the model number and filter type before purchasing to avoid mistakes.
Using genuine filters guarantees proper fit, better filtration, and longer vacuum life, making your investment worthwhile.
How Regular Shark Vacuum Filter Replacement Boosts Performance
When you replace your Shark vacuum filter regularly, you guarantee the machine maintains strong suction and effectively traps dust and allergens. This simple step prevents clogging, ensuring your vacuum runs efficiently every time you clean.
By keeping filters fresh, you not only protect your vacuum’s motor but also improve indoor air quality. You’ll notice better cleaning results and less effort required.
Here’s how regular filter replacement boosts performance:
- Maintains peak suction power
- Traps fine dust, pet dander, and allergens
- Prevents motor overheating and damage
- Extends the vacuum’s lifespan
- Reduces unpleasant odors from trapped debris
Sticking to a replacement schedule keeps your Shark vacuum working like new and your home cleaner.
Frequently Asked Questions
Can I Clean Shark Vacuum Filters With Water?
Yes, you can clean Shark vacuum filters with water. Just rinse them gently under cold water, avoid using soap, and let them air dry completely before reinstalling to keep your vacuum running efficiently and prevent damage.
Are Shark Vacuum Filters Compatible With Other Brands?
Shark vacuum filters usually aren’t compatible with other brands because each brand designs filters to fit specific models.
You’ll want to use Shark filters to guarantee proper fit and performance, avoiding potential damage or reduced suction.
How Do I Dispose of Used Shark Vacuum Filters?
Think of your used Shark vacuum filter as a tired traveler ready to retire.
You should toss it in the regular trash, unless your local recycling program accepts it—then you’ll let it begin a new journey responsibly.
Do Shark Vacuum Filters Affect Allergy Symptoms?
Yes, Shark vacuum filters can help reduce allergy symptoms by trapping dust, pet dander, and pollen.
You’ll notice fewer irritants in the air when you replace filters regularly and keep your vacuum working efficiently.
Can I Use Aftermarket Filters Instead of Shark Originals?
You can use aftermarket filters, but they might not fit perfectly or last as long as Shark originals. For best performance and to maintain warranty, it’s usually better to stick with genuine Shark filters.
Conclusion
Replacing your Shark vacuum filters on time keeps your cleaner running like a well-oiled machine. Don’t let clogged filters turn your vacuum into a dust collector! By changing them regularly, you’ll maintain strong suction, improve air quality, and extend your vacuum’s life.
Keep an eye out for signs it’s time to swap filters, and always use genuine replacements. Treat your vacuum filters right, and they’ll return the favor with spotless floors every time!
To sum up, knowing how often to replace Shark vacuum filters simply ensures your vacuum performs at its best. Regular filter replacement is key to maintaining suction power and air quality, so follow these tips for a cleaner home.