How to Unclog a Shark Vacuum in 10 Easy Steps
To unclog your Shark vacuum in 10 easy steps, start by spotting common signs of clogging like weak suction, strange noises, or reduced cleaning efficiency. These issues often indicate a blockage that needs immediate attention to restore your vacuum’s performance.
Gather essential tools such as scissors, a cleaning brush, and a long, thin object to reach deep clogs.
Next, unplug the vacuum and carefully disassemble key parts for inspection. Check the hose and brush roll for any blockages, removing hair, debris, or tangled fibers that might be causing the clog.
Empty and clean the dust cup thoroughly to ensure no debris remains inside.
Use a long tool to clear deep clogs in narrow areas, then reassemble the vacuum securely.
Finally, test the suction power and maintain a regular cleaning routine to keep your Shark vacuum running at its best.
Keep following for more detailed tips and tricks.
Key Takeaways
- Unplug the vacuum and carefully disassemble detachable parts like the dust cup, hose, and brush cover for easy access.
- Inspect and clear blockages from the hose and brush roll, removing hair and debris with scissors or a cleaning brush.
- Use a flexible tool, such as a straightened wire hanger, to gently dislodge deep clogs inside the hose or wand.
- Clean and dry the dust cup and filters thoroughly before reassembling to maintain suction and prevent mold buildup.
- Reassemble all components securely, ensuring proper alignment and tight connections to restore vacuum performance.
Spot Signs Your Shark Vacuum Is Clogged
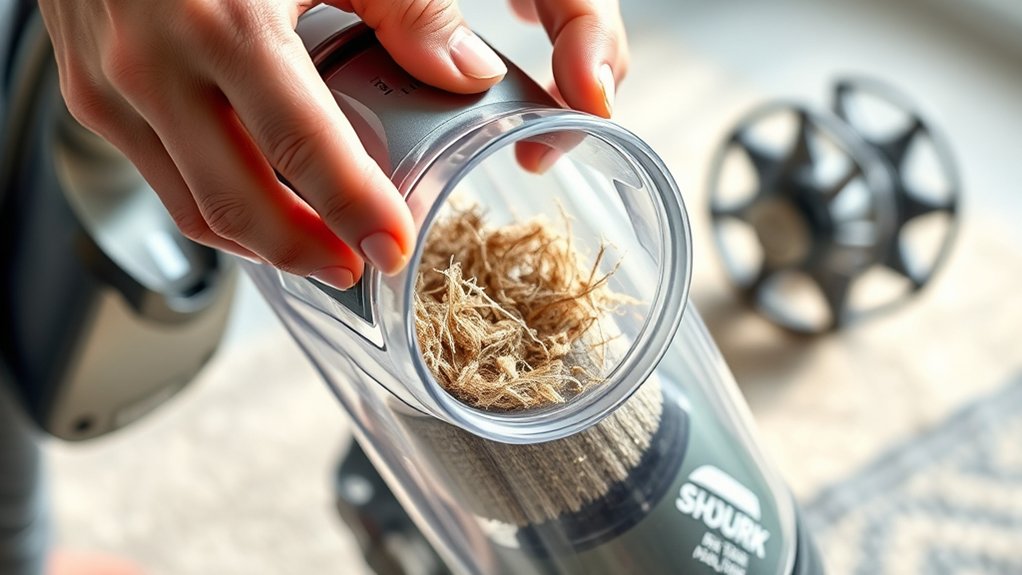
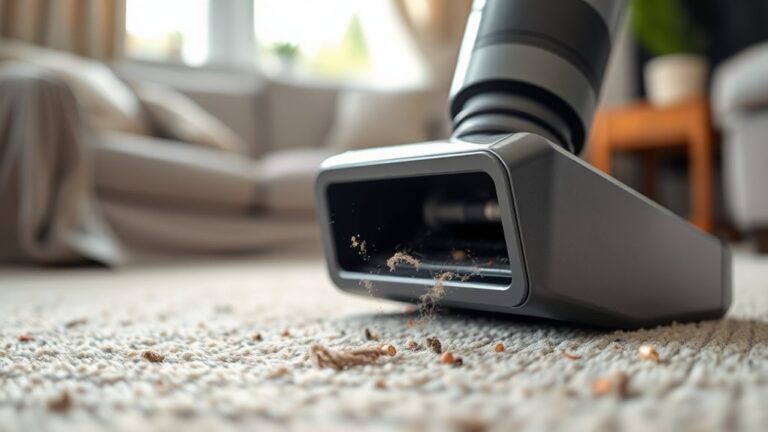
How can you tell if your Shark vacuum is clogged? You’ll notice it struggles to pick up dirt and debris, even on clean floors. If the suction feels weaker than usual, that’s a clear sign.
Another indication is if the vacuum makes unusual noises or the brush roll slows down or stops spinning. You might also see debris stuck inside the hose or brush head. Sometimes, the vacuum might overheat or shut off unexpectedly due to the clog restricting airflow.
Checking for a full dustbin or filter is important too, as these can mimic clog symptoms. Spotting these signs early helps you fix the clog before it causes more damage or reduces cleaning performance markedly.
Gather Tools to Unclog Your Shark Vacuum
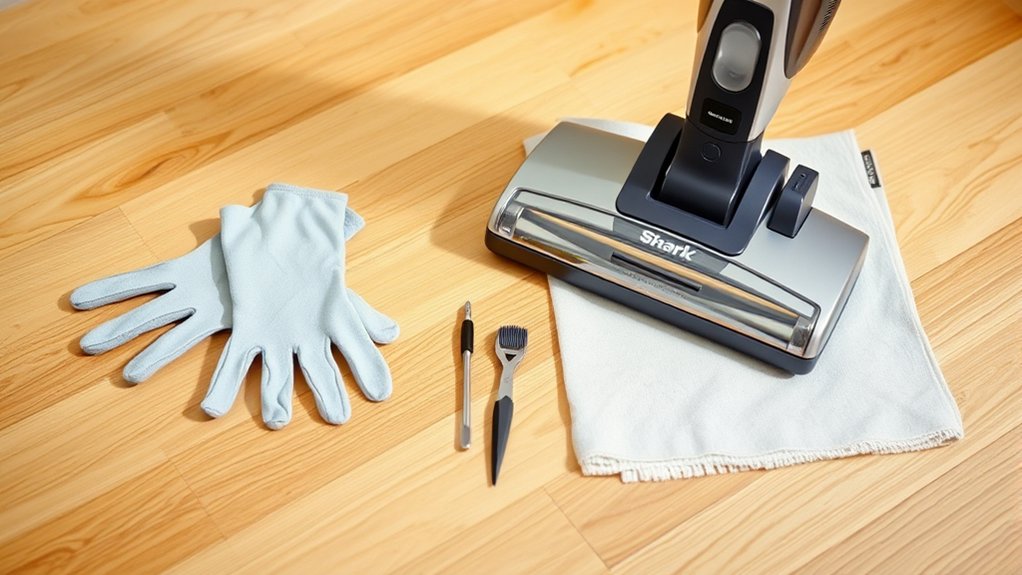
Before you begin unclogging your Shark vacuum, gather a few essential tools to make the process easier and more efficient. You’ll need a pair of scissors or a seam ripper to cut away hair and debris wrapped around brush rolls. A long, flexible cleaning brush or pipe cleaner helps reach deep inside narrow hoses.
Have a screwdriver handy if your model requires removing screws to access internal parts. Keep a soft cloth nearby to wipe dust and dirt during cleaning. You might also want a flashlight to spot clogs in dark, tight spaces.
Finally, consider wearing gloves to protect your hands from sharp objects or dirt. Having these tools ready guarantees you won’t stop midway searching for supplies and helps you unclog your vacuum quickly.
Unplug and Disassemble Your Shark Vacuum
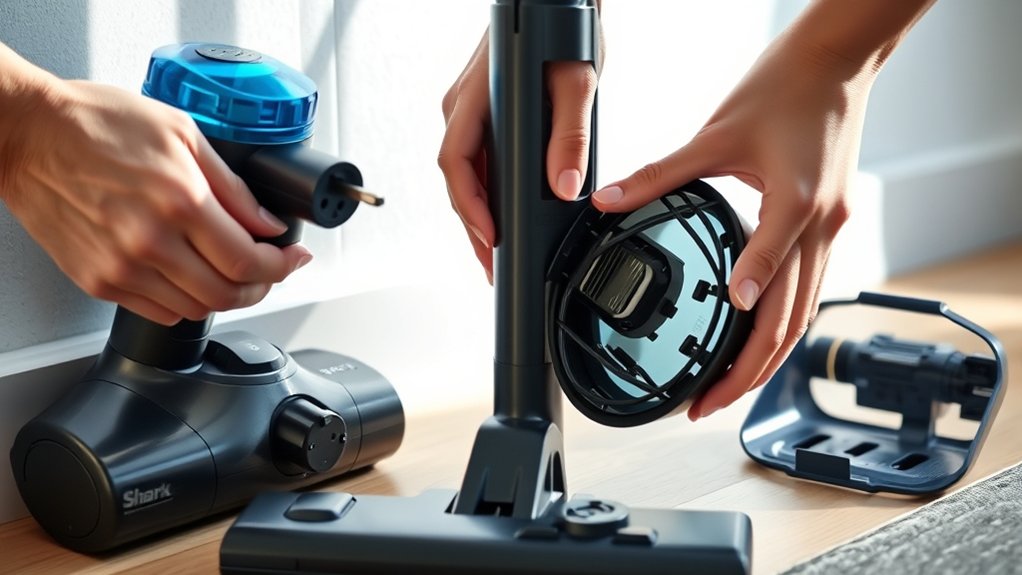
First, make sure your Shark vacuum is unplugged to keep things safe.
Next, find all the parts that can be detached for cleaning.
As you take them apart, keep everything organized so nothing gets lost.
Ensure Power Is Off
Although it might seem obvious, you should always unplug your Shark vacuum before you start any maintenance. This simple step guarantees your safety by preventing accidental activation while you work on the vacuum. Even if your vacuum has a power switch, unplugging it completely cuts off electricity, reducing the risk of shocks or injury.
Before disassembling any parts, double-check that the cord is disconnected from the outlet. If your vacuum has a removable battery, take it out as an extra precaution. Taking these measures protects both you and your vacuum.
Never skip this step, as it’s essential for safe troubleshooting and cleaning. Once you confirm the power is off, you can confidently proceed with unclogging or further disassembly.
Locate Detachable Components
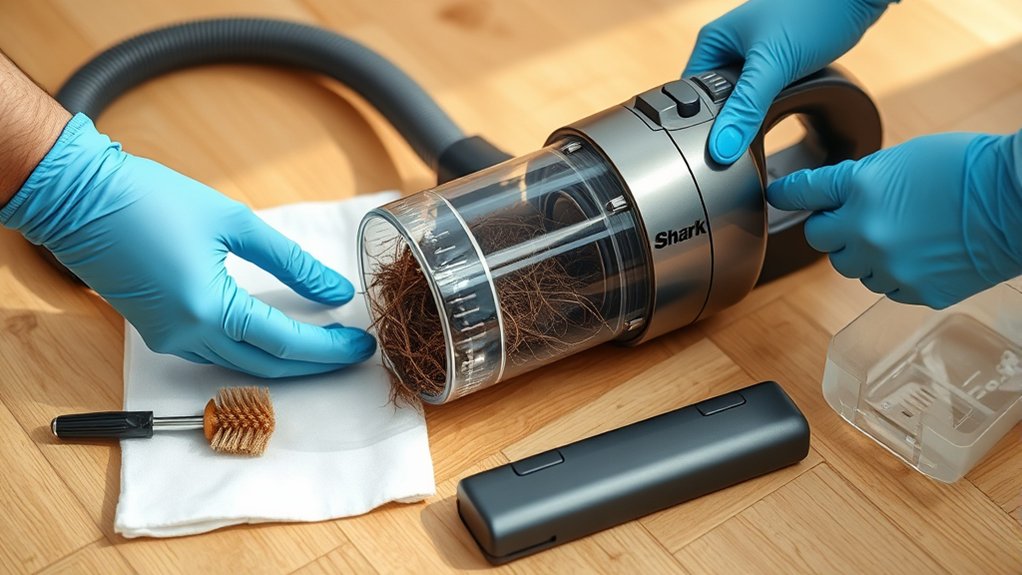
Once you’ve confirmed your Shark vacuum is unplugged, you can start locating the detachable components that might be clogged. Begin by removing the dust cup or canister; most models have a release button or latch for easy detachment.
Next, check the wand and hose—these often come apart by twisting or pressing release buttons. Don’t forget to inspect the brush roll cover, which can usually be unscrewed or popped off to access the brush roll and surrounding areas.
Look for any attachments like crevice tools or motorized brushes that might also be clogged. Knowing exactly which parts come off helps you target the blockage more effectively and prepares you for thorough cleaning.
Always handle components gently to avoid damage during removal.
Organize Parts Carefully
How should you keep track of all the parts after unplugging and disassembling your Shark vacuum? Start by laying each component on a clean, flat surface in the order you removed them. Use small containers or bowls to hold screws and tiny pieces to prevent them from getting lost.
Labeling parts with sticky notes or masking tape can help you remember where each piece belongs. Taking a quick photo before disassembly can also be a handy reference when putting everything back together. Staying organized not only speeds up the unclogging process but also minimizes the risk of damaging your vacuum or misplacing essential parts.
Check Your Shark Vacuum Hose for Blockages
Now, check your Shark vacuum hose for blockages like hair, debris, or small objects that can cause clogs. Make sure to detach the hose carefully by following the manufacturer’s instructions to avoid damage.
Once removed, inspect the inside thoroughly to spot any obstructions.
Identifying Common Hose Blockages
Though your Shark vacuum may seem to lose suction for various reasons, one of the most common causes is a blockage in the hose. Identifying these blockages quickly can save you time and frustration. Look for signs like reduced suction, strange noises, or visible debris when you detach the hose.
Common blockages often include hair, dirt clumps, small toys, or paper scraps lodged inside.
Here’s a quick guide to help you spot typical hose blockages:
| Blockage Type | Common Location | Signs to Watch For |
|---|---|---|
| Hair | Near brush roll | Tangled fibers |
| Dirt clumps | Mid-hose section | Reduced airflow |
| Small toys | Hose entrance | Obstruction feeling |
| Paper scraps | Near hose exit | Crinkling sounds |
| Pet fur | Throughout hose length | Matted debris buildup |
Check these areas carefully to pinpoint the cause.
Safe Hose Detachment Methods
Once you’ve identified potential blockages in your Shark vacuum hose, the next step is to remove the hose safely without causing damage. Follow these steps to detach the hose properly:
- Unplug the Vacuum: Always disconnect the power source before handling any parts to avoid accidental starts or electrical hazards.
- Locate the Hose Connectors: Find where the hose attaches to the vacuum body and the wand. Most Shark models have quick-release buttons or locking mechanisms.
- Press and Twist Gently: Press the release button or twist the connector slowly while pulling the hose away. Avoid forcing it, which could crack or break the hose or connectors.
Clear the Shark Vacuum Brush Roll and Remove Hair
Because hair and debris often wrap tightly around the brush roll, you’ll need to carefully remove it to restore your Shark vacuum’s performance. First, unplug the vacuum and flip it over to access the brush roll. Use a screwdriver if necessary to remove the brush roll cover.
Once exposed, grab scissors or a seam ripper to cut through tangled hair and threads wrapped around the brush. Be cautious not to damage the bristles or the brush roll itself. Pull out the loosened hair and debris with your fingers or tweezers.
After clearing all obstructions, wipe the brush roll clean with a damp cloth. Finally, reassemble the cover and ensure the brush roll spins freely before using the vacuum again. This simple step can considerably improve suction and cleaning efficiency.
Inspect and Clean Shark Vacuum Filters
How often should you check your Shark vacuum filters? Ideally, inspect them every 1-3 months depending on usage. Clogged filters reduce suction and can cause overheating.
Here’s how to keep them clean and functional:
- Remove the Filters: Locate the filters—usually foam or felt—and carefully take them out.
- Rinse with Water: Gently wash the filters under cold water. Avoid using soap or scrubbing, as this can damage them.
- Dry Completely: Let the filters air dry for at least 24 hours before reinstalling. Never use a dryer or direct heat.
Empty and Clean the Shark Vacuum Dust Cup
Where do all the dirt and debris go after vacuuming? They collect in the Shark vacuum’s dust cup. To keep your vacuum running efficiently, you need to empty and clean this dust cup regularly.
First, detach the dust cup from the vacuum by pressing the release button. Empty the contents into a trash bin, making sure to remove all debris. Next, rinse the dust cup with warm water to clear out any stuck particles.
Avoid using harsh detergents, as they can damage the cup. Let the dust cup dry completely before reattaching it to prevent mold or mildew buildup. Keeping the dust cup clean guarantees strong suction and helps prevent clogs, making your vacuum much more effective.
Use a Long Tool to Push Out Deep Shark Vacuum Clogs
When dirt and debris push deeper into your Shark vacuum, simple cleaning won’t clear the blockage. You’ll need a long tool to reach and dislodge stubborn clogs lodged farther inside.
Here’s how to do it safely and effectively:
- Select a long, flexible tool like a straightened wire hanger or a flexible cleaning brush. Avoid anything sharp that might damage internal parts.
- Carefully insert the tool into the hose or wand where the clog is suspected, gently pushing or twisting to break up the debris.
- Once you feel the blockage loosen, pull the debris out or vacuum it up. Repeat as needed until airflow restores fully.
This method guarantees you clear deep obstructions without harming your vacuum’s internal components.
Reassemble Your Shark Vacuum Correctly
Now that you’ve cleared the clog, it’s important to reassemble your Shark vacuum correctly. Make sure each component lines up precisely to avoid any gaps or misalignment.
Double-check that all connections are secure before you start using it again.
Align Components Precisely
Although disassembling your Shark vacuum was necessary to clear the clog, you’ll need to align its components precisely during reassembly to guarantee ideal performance. Misaligned parts can cause airflow issues or damage the vacuum. Follow these steps to assure proper alignment:
- Match each piece to its original position, paying close attention to grooves and tabs.
- Line up the brush roll, belt, and housing so they fit snugly without forcing.
- Check that the dust cup and filter components sit flush with the main body, avoiding gaps.
Taking the time to align everything correctly prevents leaks and maintains suction power. If parts don’t fit easily, stop and double-check their placement before proceeding. Proper alignment sets the foundation for a fully functional Shark vacuum.
Secure All Connections
Since proper alignment is in place, you can focus on securing all connections to guarantee your Shark vacuum operates smoothly. Begin by snapping each part firmly into its designated slot—whether it’s the dustbin, hose, or filter assembly. Make sure clips click into place and seals fit tightly to prevent air leaks, which can reduce suction power.
Double-check the brush roll and belt attachments to confirm they’re locked securely. If your model uses screws, tighten them evenly without overdoing it, avoiding damage. Finally, inspect electrical connectors to confirm they’re fully seated.
Taking these steps carefully will restore your vacuum’s performance and prevent future clogs caused by loose parts or poor seals. Now, your Shark vacuum is ready to tackle dirt efficiently again.
Test Suction and Maintain Your Shark Vacuum
Before you explore deeper maintenance, check your Shark vacuum’s suction to make sure it’s working properly. A strong suction confirms that the vacuum is clear of blockages and running efficiently. Here’s how you can test and maintain it:
Start by checking your Shark vacuum’s suction to ensure it’s free of blockages and operating efficiently.
- Turn on the vacuum and feel the suction at the nozzle or hose. If it’s weak, double-check for clogs or a full dustbin.
- Empty the dustbin and clean or replace filters regularly to prevent suction loss.
- Inspect brush rolls and remove hair or debris that might reduce performance.
Frequently Asked Questions
How Often Should I Replace Shark Vacuum Filters?
You should replace your Shark vacuum filters every 3 to 6 months, depending on usage. If you notice reduced suction or dirt buildup, it’s time to swap them out to keep your vacuum working efficiently.
Can I Use Shark Vacuum Parts With Other Brands?
You generally can’t use Shark vacuum parts with other brands because they’re designed specifically for Shark models. Trying to mix parts might cause fit issues or damage.
Always check compatibility before swapping any components.
What’s the Warranty Period for Shark Vacuums?
Your Shark vacuum sails with a 1-year warranty, covering manufacturing defects. If it falters within that time, you’re covered.
Just keep your proof of purchase handy, and Shark’s got your back, no worries.
Are Shark Vacuums Suitable for Pet Hair?
Yes, Shark vacuums are great for pet hair. You’ll find powerful suction and specialized brushes that pick up fur effectively.
They’re designed to handle stubborn pet hair on various surfaces, making cleaning easier for you.
How Do I Troubleshoot Shark Vacuum Brush Roll Issues?
Picture tangled hair wrapped around spinning brushes—start by unplugging your vacuum, then remove debris manually.
Check for blockages and guarantee the brush roll spins freely. If it’s stuck, inspect the belt and replace it if worn.
Conclusion
Remember when your Shark vacuum felt like it was breathing through a straw? Just like clearing a blocked pipe brings water flowing freely again, unclogging your vacuum restores its powerful suction.
By following these simple steps, you’re giving your vacuum a fresh start—making sure it works efficiently, so your home stays spotless. Regular care prevents future clogs, saving time and frustration.
Keep your Shark happy, and it’ll keep your floors cleaner than ever! Maintaining your Shark vacuum regularly ensures optimal performance and extends its lifespan. With these unclogging tips, your Shark vacuum will continue delivering strong suction and effective cleaning every time.