How to Vacuum Under Bed in 7 Easy Steps
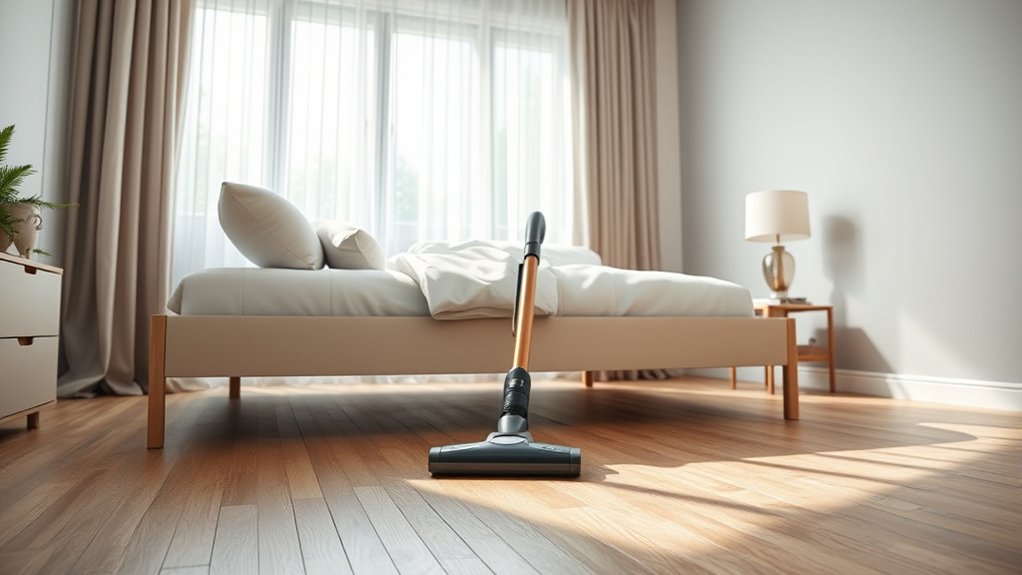
To vacuum under your bed effectively in 7 easy steps, start by clearing out any items and moving nearby furniture for better access.
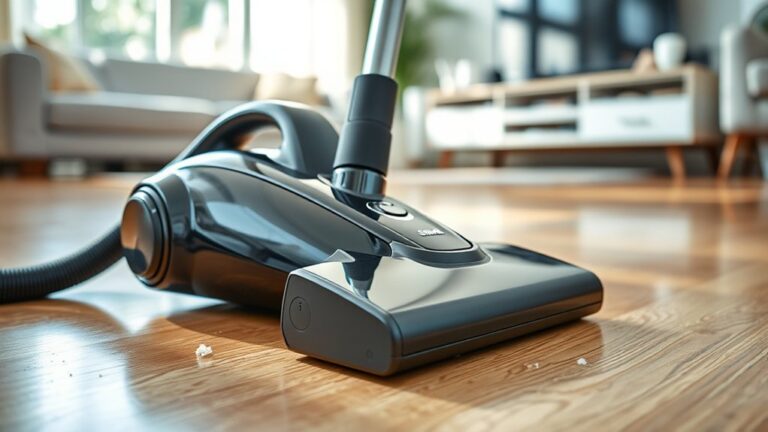
Using the right vacuum for cleaning under the bed is essential, so grab one with a long, slim nozzle or crevice tool. This specialized vacuum attachment helps reach tight spaces and corners where dust collects.
Next, set up your vacuum by adjusting attachments and height settings for optimal performance in confined areas.
Vacuum slowly with steady strokes, focusing on edges and corners to ensure thorough cleaning.
Using a flashlight can help spot missed dust and debris for a more comprehensive clean.
Clean under your bed regularly to prevent buildup and maintain a healthier home environment.
Keep going to discover tips for choosing the best tools and maintaining a cleaner living space.
Key Takeaways
- Clear the area under the bed by removing items and shifting nearby furniture for easy vacuum access.
- Attach a slim nozzle or crevice tool to your vacuum for reaching tight spaces under the bed.
- Vacuum slowly with steady, overlapping strokes, applying gentle pressure for thorough dust removal.
- Use extension wands and swivel heads to access corners and edges effectively under the bed.
- Regularly clean vacuum attachments and inspect for blockages to maintain optimal suction performance.
Clear the Area and Move Furniture for Vacuuming
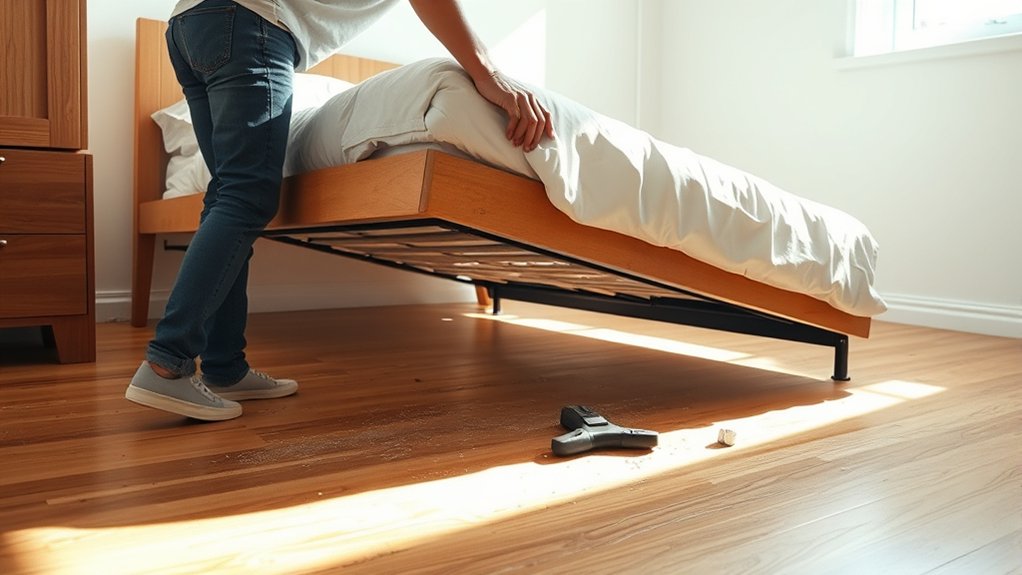
Before you start vacuuming under your bed, take a moment to clear the area and move any nearby furniture. This step creates enough space for you to work comfortably and guarantees your vacuum can reach every spot beneath the bed. Remove items like boxes, shoes, or toys that might be tucked under there.
If you have a nightstand or dresser close by, consider shifting them slightly to give yourself better access. Make sure there are no cords or obstacles that could get tangled with your vacuum. By organizing this space first, you’ll prevent interruptions and make the cleaning process smoother.
Taking these simple actions helps you clean more efficiently and keeps your room tidy while you work.
Gather the Right Vacuum and Attachments
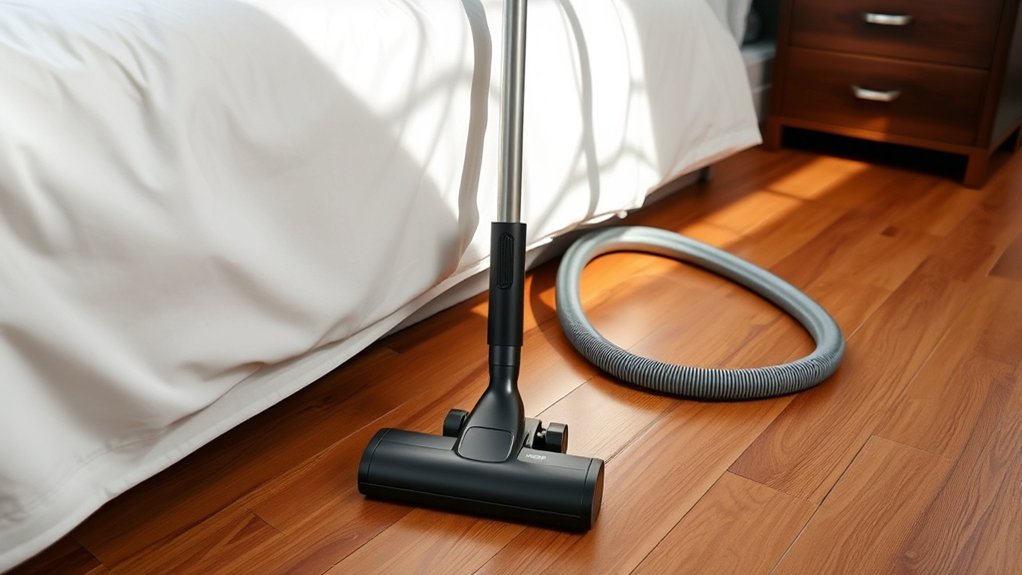
Which vacuum and attachments you choose can make a big difference in how effectively you clean under your bed. You’ll want a vacuum with a long, slim nozzle or a detachable hose to reach tight spaces easily. Some attachments are designed specifically for low-clearance areas, so picking the right ones saves time and effort.
Here’s a quick guide:
| Vacuum Type | Best Attachment | Advantage |
|---|---|---|
| Upright | Crevice tool | Narrow reach under bed |
| Canister | Extension wand | Extra length for deep reach |
| Stick | Motorized brush head | Lightweight, easy maneuver |
| Robot | Built-in low profile | Automatically cleans under |
Choosing the right combo will help you get every dust bunny out from beneath your bed.
Set Up Your Vacuum for Tight Spots
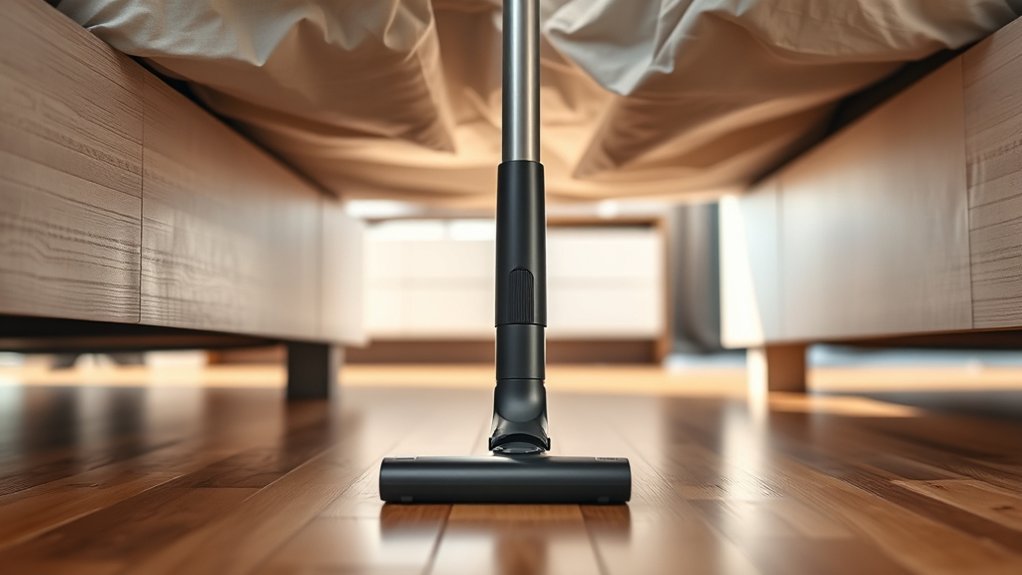
Since tight spots under your bed can be tricky to reach, you’ll want to adapt your vacuum setup for maximum flexibility. Begin by attaching a slim nozzle or crevice tool to your vacuum hose; these tools are designed to fit into narrow spaces easily. If your vacuum has an adjustable wand, extend or shorten it to match the height clearance under your bed.
Make sure to remove any bulky attachments that could block access. Consider using a vacuum with a swivel head or flexible hose to maneuver around bed legs and other obstacles smoothly. Also, check that your vacuum’s height setting is low enough to slide under the bed without scraping the floor or getting stuck.
Proper setup saves time and ensures thorough cleaning.
Vacuum Under Your Bed With Slow, Steady Strokes
When you vacuum under your bed, keep your strokes slow and steady to capture all the dust. Apply consistent pressure to avoid missing spots or damaging surfaces. Controlled movements help your vacuum work efficiently and leave the area truly clean.
Maintain Consistent Pressure
Although it might be tempting to rush, you should vacuum under your bed with slow, steady strokes to guarantee consistent pressure. Keeping even pressure helps the vacuum pick up dust and debris more effectively, preventing patches of dirt from being missed.
If you press too hard, you risk damaging the vacuum or floor, while too light a touch won’t clean thoroughly. Focus on applying firm but gentle pressure so the vacuum head stays in contact with the surface without dragging. This balance improves suction performance and avoids unnecessary strain on your vacuum.
Use Controlled Movements
Vacuuming under your bed requires controlled movements to guarantee you capture all dust and debris effectively. Move the vacuum slowly and steadily in straight lines rather than rushing or using erratic motions. Controlled strokes allow the vacuum to pick up particles thoroughly without scattering them.
Focus on overlapping each pass slightly to make certain you don’t miss any spots. Avoid quick back-and-forth sweeping, which can stir up dust instead of collecting it. By keeping your movements deliberate, you give the vacuum enough time to suction deeply into corners and under furniture edges.
Taking your time with steady strokes not only improves cleaning efficiency but also protects your vacuum and floor from unnecessary wear. This approach makes the task easier and more effective overall.
Use Attachments to Reach Corners and Edges
You’ll want to choose the right vacuum attachment to easily reach corners and edges under your bed. Using tools like crevice or brush attachments helps clean those tight spots more efficiently.
Don’t forget to keep your attachments clean to maintain their performance.
Choosing the Right Attachment
When you need to clean under your bed, selecting the right vacuum attachment makes all the difference. A crevice tool works great for narrow spaces, allowing you to reach tight gaps between bed slats or along the frame. If your vacuum offers a motorized brush attachment, use it to dislodge dust and pet hair from carpeted floors under the bed.
For hard floors, a soft brush attachment helps prevent scratches while picking up debris efficiently. Make sure the attachment is slim enough to fit under the low clearance of your bed without getting stuck. Using the right tool not only improves cleaning efficiency but also protects your surfaces and vacuum.
Take a moment to check your vacuum’s accessories before starting—it’ll save time and effort.
Cleaning Corners Efficiently
Although corners and edges often collect the most dust and debris, they can be tricky to clean without the right attachments. To tackle these tight spots under your bed, switch to a crevice tool or a narrow nozzle. These attachments are designed to reach deep into corners and along edges where the regular vacuum head can’t fit.
Move the vacuum slowly to let the suction pull out hidden dust and crumbs. Don’t forget to angle the attachment to thoroughly clean every nook. Using these tools not only improves your cleaning efficiency but also helps maintain a dust-free environment under your bed.
With the right approach, you’ll keep those hard-to-reach areas spotless without extra effort.
Maintaining Attachment Tools
Because attachment tools play a crucial role in reaching corners and edges, keeping them clean and well-maintained guarantees your vacuum performs at its best. Regularly check for blockages or debris in crevice tools, brushes, and extension wands. Wipe them down after use to prevent dust buildup.
Store attachments properly to avoid damage.
Here’s a quick maintenance checklist:
| Tool Type | Cleaning Method | Maintenance Tip |
|---|---|---|
| Crevice Tool | Use a brush or cloth | Check for clogs |
| Dusting Brush | Wash bristles gently | Air dry completely |
| Extension Wand | Wipe with damp cloth | Inspect for cracks |
| Upholstery Tool | Remove lint and hair | Clean filter regularly |
| Combination Tool | Clean all parts | Store in a dry place |
Maintaining your attachments guarantees easy access to every corner under your bed.
Spot Check for Missed Dust and Debris
After vacuuming under your bed, take a moment to spot check for any missed dust or debris. Use a flashlight or your phone’s light to illuminate dark corners and hard-to-see spots. Look closely along the edges and under any furniture legs where dust tends to accumulate.
If you spot any remaining dust bunnies or small debris, grab a handheld vacuum or use the vacuum’s crevice tool to clean those areas thoroughly. Don’t forget to check under any storage boxes or items you may have forgotten to move.
Taking this extra step guarantees your cleaning is complete and helps maintain a healthier, dust-free environment. Spot checking saves you from allergens and keeps your room feeling fresher longer.
Vacuum Under Your Bed Regularly to Stay Dust-Free
Spot checking for dust and debris helps guarantee you don’t miss hidden buildup, but keeping your space consistently clean requires regular attention. Vacuum under your bed at least once a week to prevent dust accumulation that triggers allergies or irritates your respiratory system.
Using a vacuum with a low-profile attachment makes this task easier, reaching tight spots without moving heavy furniture. Consistency is key—setting a schedule keeps your bedroom fresh and dust-free.
| Frequency | Vacuum Type | Tips |
|---|---|---|
| Weekly | Low-profile nozzle | Use extension wands |
| Bi-weekly | HEPA filter vacuum | Focus on corners and edges |
| Monthly | Upright vacuum | Move bed occasionally for deep clean |
| As needed | Handheld vacuum | Target visible debris |
| Seasonal deep clean | Canister vacuum | Wash bedding and curtains |
Frequently Asked Questions
How Often Should I Replace My Vacuum Filter?
You should replace your vacuum filter every 3 to 6 months, depending on usage. If you notice reduced suction or visible dirt buildup, it’s time.
Check the manufacturer’s guidelines to keep your vacuum working efficiently.
Can Vacuuming Under the Bed Reduce Allergies?
Yes, vacuuming under your bed can reduce allergies. Dust mites thrive there, making up to 10% of household dust. Clearing that hidden grime helps lower allergens,
so you’ll breathe easier and feel more comfortable at home.
What if My Vacuum Is Too Tall to Fit Under the Bed?
If your vacuum’s too tall, try using a vacuum with a low-profile attachment or a handheld vacuum. You can also slide the vacuum’s hose under the bed to reach dust and debris without moving the entire unit.
Are Robotic Vacuums Effective for Under-Bed Cleaning?
Sure, robotic vacuums are effective under beds—if you enjoy watching a tiny robot struggle like it’s auditioning for a dance-off. They’ll clean, but don’t expect flawless results; some dust bunnies might survive.
How Do I Clean the Vacuum Attachments After Use?
You clean vacuum attachments by detaching them, removing debris with a brush or cloth, then washing with warm soapy water.
Let them dry completely before reattaching to prevent damage and maintain suction power for your next use.
Conclusion
Vacuuming under your bed might seem like a small chore, but it transforms a hidden, dusty space into a clean, fresh one. While it’s easy to overlook this area, taking just a few minutes regularly keeps allergens at bay and your room feeling lighter.
The effort you put in now contrasts sharply with the comfort and health you gain later—proving that even the smallest tasks can make a big difference in your home’s wellbeing.
Incorporating vacuuming under the bed into your cleaning routine ensures a healthier living environment. Regular care helps reduce dust buildup and allergens, making your space more comfortable and inviting. This simple step is key to maintaining a clean and fresh home atmosphere.