How to Build a Vacuum Chamber and What It Is Made Of
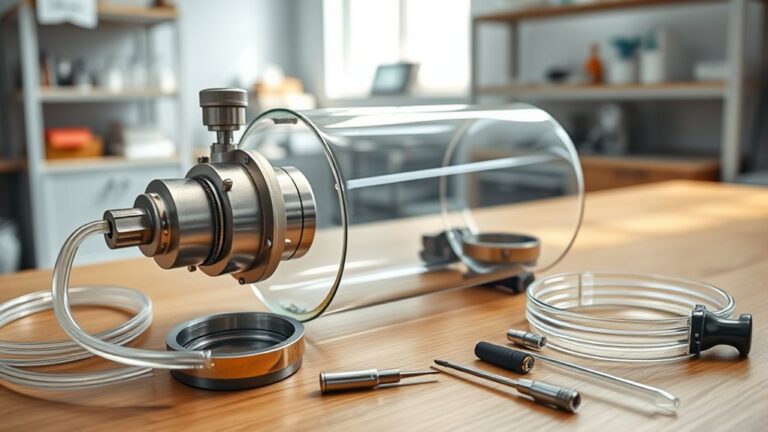
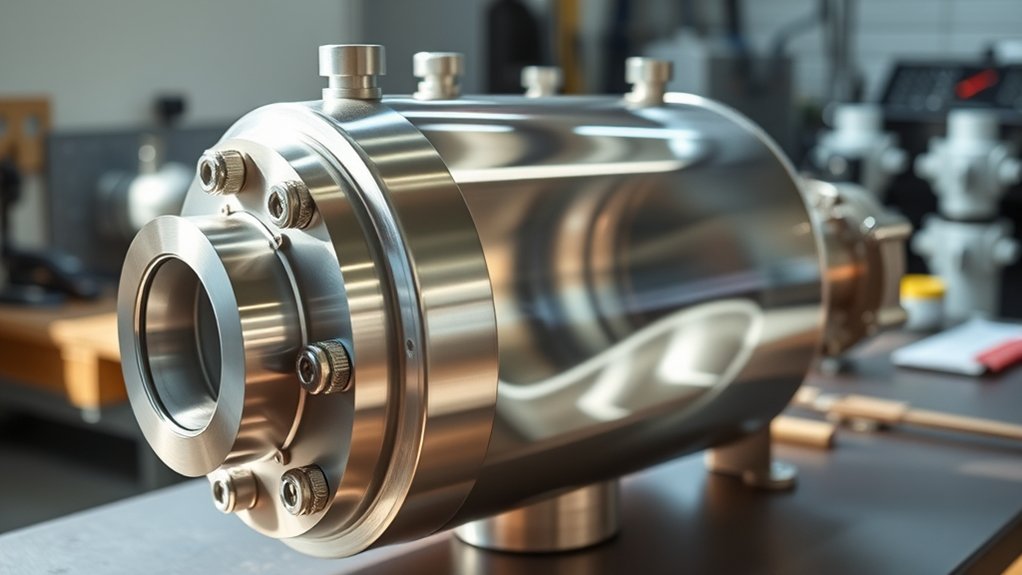
To build a vacuum chamber, it is essential to understand what it is made of and how each component contributes to its functionality. A vacuum chamber is typically constructed using durable materials like stainless steel or thick acrylic, chosen for their strength and airtightness. These materials ensure the chamber can withstand pressure differences and maintain a reliable vacuum environment.
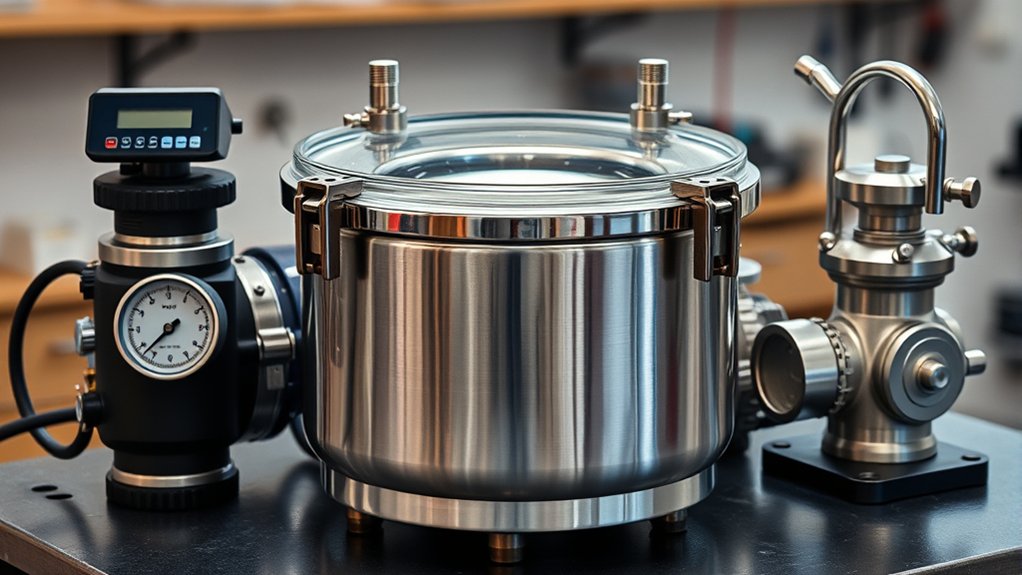
Start with a sturdy body made from stainless steel or thick acrylic to provide both durability and airtightness. Use silicone or Viton O-ring seals to prevent leaks, ensuring the chamber stays sealed under low-pressure conditions. Pair these seals with a vacuum pump that matches your required pressure levels for optimal performance.
Attach transparent lids to allow visibility inside the chamber during operation. Guarantee all sealing surfaces are properly greased to maintain airtightness and prevent leaks. Regular maintenance and leak checks are crucial to keep the vacuum chamber functioning effectively.
If you want to create reliable low-pressure environments for various applications, you’ll find practical assembly and safety tips helpful in the next sections. Building a vacuum chamber correctly ensures safe and efficient operation in scientific, industrial, or hobbyist settings.
Key Takeaways
- Vacuum chambers are made from stainless steel, aluminum, or glass for durability, visibility, and airtight sealing.
- Use silicone or Viton O-rings as seals and gaskets to prevent air leaks around joints.
- Assemble by securely attaching the chamber body, lid, vacuum ports, and applying vacuum grease on sealing surfaces.
- Connect a compatible vacuum pump capable of achieving the required pressure levels for vacuum creation.
- Regularly inspect and maintain seals, clean components, and check for leaks to ensure optimal vacuum performance.
Understanding Vacuum Chambers and Their Benefits
Although vacuum chambers might seem complex, understanding their purpose and benefits is straightforward. You use a vacuum chamber to create a low-pressure environment by removing air and other gases. This allows you to test how materials and products behave without air interference.
For example, it helps in scientific experiments, electronics manufacturing, and even food packaging by extending shelf life. You’ll find vacuum chambers useful for degassing liquids, drying materials, and preventing oxidation. When you control the pressure inside, you can simulate high-altitude conditions or space environments.
This control helps improve product reliability and performance. So, building a vacuum chamber lets you explore and manipulate environments that are impossible under normal atmospheric pressure, making it a powerful tool for testing and manufacturing.
Best Materials to Make Your Vacuum Chamber Airtight
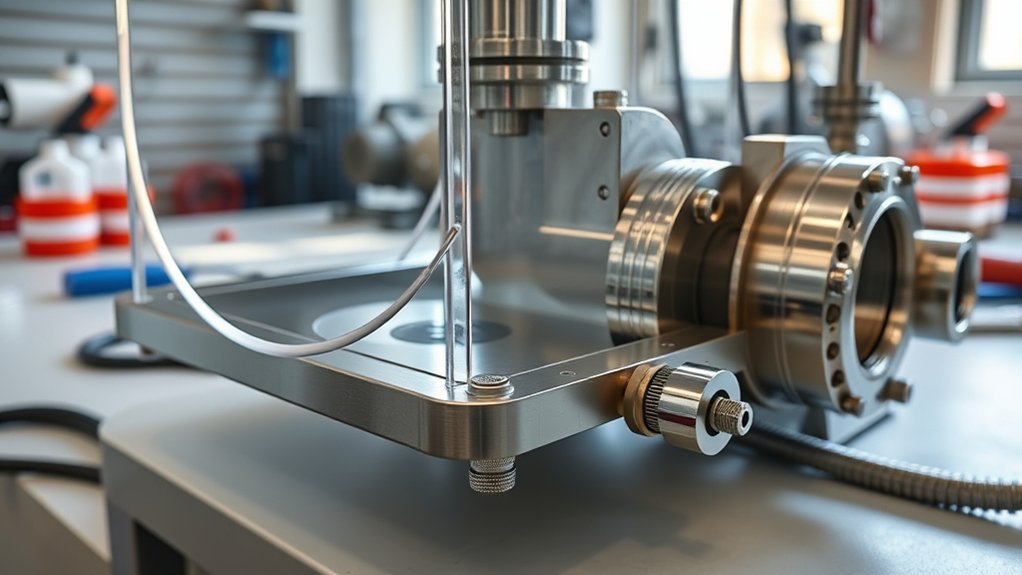
When you build a vacuum chamber, choosing the right materials to guarantee airtightness is essential for maintaining low pressure. You want materials that resist air leakage and withstand pressure differences. Here are the best choices:
- Stainless Steel – Durable, corrosion-resistant, and forms tight seals.
- Aluminum – Lightweight yet strong, with good sealing properties.
- Glass – Ideal for visibility and airtight sealing, though fragile.
- Silicone or Viton O-rings – Flexible sealing materials that prevent leaks around joints.
Each material plays a critical role in keeping the chamber airtight. Combining metals for the chamber body with high-quality elastomer seals ensures your vacuum chamber performs reliably without air infiltration.
Choose materials based on your chamber’s purpose and expected pressure range.
Parts You’ll Need to Build Your Vacuum Chamber
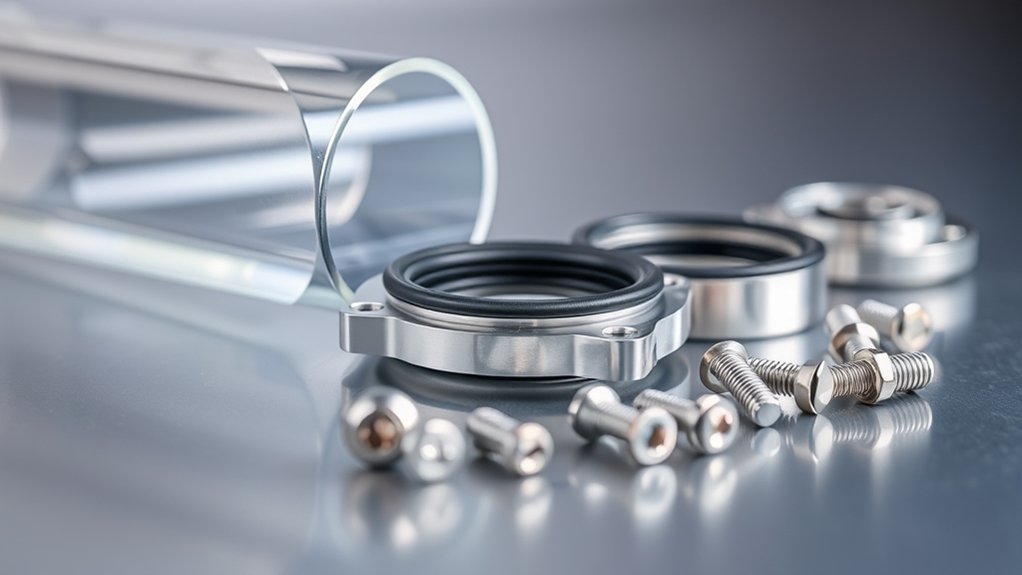
To build your vacuum chamber, you’ll need to gather the right materials for the chamber itself, choose a suitable vacuum pump, and select effective sealing and gasket options. Each part plays a vital role in maintaining airtight conditions.
Let’s explore what you’ll need to get started.
Essential Chamber Materials
Before you start assembling your vacuum chamber, you’ll need to gather the right materials that guarantee a secure, airtight environment. Choosing quality components ensures your chamber performs efficiently and safely.
Here are the essential materials you’ll need:
- Chamber Body: Typically made from stainless steel or thick acrylic, it must withstand pressure differences without deforming.
- Sealing Gasket: Silicone or rubber gaskets create an airtight seal between the chamber body and lid.
- Transparent Lid: Acrylic or tempered glass lets you observe the chamber’s interior while maintaining vacuum integrity.
- Vacuum Ports and Valves: Stainless steel or brass fittings connect the chamber to the vacuum pump and control airflow.
Gathering these durable, compatible materials sets a solid foundation for your vacuum chamber build.
Vacuum Pump Options
Choosing the right vacuum pump complements the sturdy materials you’ve gathered, making certain your chamber achieves and maintains the necessary pressure levels. You’ll typically choose between rotary vane pumps, diaphragm pumps, or turbo pumps depending on your vacuum depth needs and budget. Rotary vane pumps are affordable and effective for moderate vacuums, ideal for most DIY projects.
Diaphragm pumps are oil-free, quieter, and suitable for less demanding vacuum levels. Turbo pumps offer ultra-high vacuum but come at a higher cost and require more maintenance. Consider the pump’s ultimate vacuum pressure, flow rate, and compatibility with your chamber size.
Also, make sure it has the right fittings and power requirements for your setup. Picking a pump that matches your project goals will save you time and frustration.
Sealing and Gasket Types
Although selecting a reliable vacuum pump is essential, guaranteeing your chamber seals tightly is just as important for maintaining a stable vacuum. The seal prevents air leaks, which can ruin your vacuum environment. When choosing sealing and gasket types, consider these key options:
- O-rings – Popular for their flexibility and ease of use, usually made of nitrile or silicone.
- Knife-edge seals – Provide metal-to-metal sealing, ideal for ultra-high vacuum applications.
- Gasket sheets – Made of rubber, Viton, or PTFE, they offer durable, reusable seals.
- Epoxy or RTV silicone – Used for permanent seals or irregular shapes but less common for repeatable use.
Pick the one that matches your vacuum level and chamber material to ensure maximum efficiency.
Safety Precautions for Building and Using Vacuum Chambers
Why does safety matter so much when building and using vacuum chambers? Because these chambers operate under low pressure, any structural failure can cause implosions, posing serious injury risks. You should always wear safety goggles and gloves to protect yourself from flying debris or sharp edges.
Use materials rated for vacuum use to prevent leaks or breaks. Inspect your chamber for cracks before each use and never exceed the recommended pressure limits. Work in a well-ventilated area to avoid inhaling any hazardous fumes from seals or adhesives.
Also, make certain your workspace is clear of unnecessary items to avoid accidents. By following these precautions, you’ll build and operate your vacuum chamber safely and effectively.
Choosing the Right Vacuum Pump for Your Vacuum Chamber
Since the vacuum pump plays a crucial role in creating and maintaining the low-pressure environment inside your chamber, selecting the right one is necessary. You’ll want to take into account these factors:
Choosing the right vacuum pump is essential for maintaining the ideal low-pressure environment in your chamber.
- Vacuum Level: Match the pump’s ultimate vacuum to your chamber’s requirements. Different pumps achieve various vacuum depths.
- Pump Type: Choose between rotary vane, diaphragm, or turbomolecular pumps based on your application and budget.
- Flow Rate: Make certain the pump’s flow rate can evacuate your chamber efficiently without overworking the system.
- Compatibility: Verify the pump materials resist any chemicals or gases you’ll use to avoid damage or contamination.
Step-by-Step Guide to Assembling Your Vacuum Chamber
Before you start assembling your vacuum chamber, gather all necessary tools and components to guarantee a smooth process. Begin by securing the chamber base on a stable surface. Attach the chamber walls, ensuring they fit snugly and align precisely.
Fasten the lid carefully, using bolts or clamps as needed to maintain a tight seal. Install the vacuum pump port and any gauges or valves, tightening connections to prevent leaks. Connect the vacuum pump hose firmly to the port.
Double-check each joint and fitting to confirm everything is secure. Finally, clean the chamber interior to remove any debris or contaminants before use. Following these steps methodically will help you build a reliable vacuum chamber ready for operation.
Tips for Testing and Sealing Your Vacuum Chamber
Once you’ve assembled your vacuum chamber and verified all connections are tight, it’s time to test and seal it properly. Start by evacuating the chamber slowly to monitor pressure changes. Next, check for leaks around seals and fittings using a soapy water solution—bubbles will reveal escaping air.
Then, tighten or replace any faulty seals to guarantee airtight integrity. Finally, apply a thin layer of vacuum grease on O-rings or gasket surfaces to improve the seal and prevent air ingress.
Follow these steps to secure your vacuum chamber:
- Gradually evacuate and monitor pressure.
- Inspect seals with soapy water for leaks.
- Adjust or replace compromised seals.
- Use vacuum grease on sealing surfaces.
This guarantees a reliable vacuum for your experiments.
How to Maintain and Troubleshoot Your Vacuum Chamber
To keep your vacuum chamber functioning effectively, you need to perform regular maintenance and quickly address any issues that arise. Begin by inspecting seals and gaskets for cracks or wear, replacing them as needed to prevent leaks. Clean the chamber interior and vacuum components with a lint-free cloth to avoid contamination.
Check the vacuum pump oil levels and change the oil periodically to maintain peak performance. If you notice a drop in vacuum pressure, examine connections and fittings for tightness. Use a leak detector or soapy water to pinpoint leaks.
Should the pump fail to reach the desired vacuum, consider servicing or replacing worn parts. Staying proactive with these steps ensures your vacuum chamber remains reliable and extends its lifespan.
Practical Uses for Your Vacuum Chamber
Although vacuum chambers might seem like specialized equipment, you’ll find they have a wide range of practical uses across different fields. Once you build one, you can explore these applications:
- Scientific Research: Conduct experiments requiring controlled environments, such as physics and chemistry studies.
- Electronics Manufacturing: Use vacuum chambers for processes like coating and soldering without contamination.
- Food Preservation: Remove air to extend shelf life and prevent spoilage in packaging.
- Material Testing: Simulate extreme conditions to test durability and performance of various materials.
Frequently Asked Questions
Can Vacuum Chambers Be Used for Food Preservation?
Yes, you can use vacuum chambers for food preservation. They remove air, slowing spoilage and extending freshness. Just make sure to use food-safe materials and properly seal the chamber to keep your food fresh longer.
How Long Does It Take to Build a Basic Vacuum Chamber?
It usually takes you a few hours to build a basic vacuum chamber, depending on your tools and experience.
If you have everything ready, you can assemble and test it within a single afternoon.
Are Vacuum Chambers Environmentally Friendly?
You’ll find vacuum chambers pretty environmentally friendly since they mostly use reusable materials. In fact, using vacuum tech can reduce energy consumption by up to 30% in manufacturing, helping you cut down on waste and emissions.
Can I Use a Vacuum Chamber for Scientific Experiments at Home?
Yes, you can use a vacuum chamber for scientific experiments at home, but you’ll need proper safety precautions, reliable equipment, and a good understanding of vacuum principles to avoid accidents and get accurate results.
Ensure you follow all safety guidelines and use equipment designed for vacuum use. Familiarize yourself with how vacuum chambers work and the potential risks involved.
Taking these steps will help you conduct experiments safely and effectively.
What Is the Cost Range for Building a Vacuum Chamber?
You’ll typically spend between $100 and $500 building a basic vacuum chamber, depending on size and materials. Higher-end setups with better pumps or custom parts can cost more, so plan your budget accordingly.
Conclusion
Building your own vacuum chamber might seem challenging, but with the right materials and careful assembly, it’s well within your reach. Remember, “measure twice, cut once”—taking your time guarantees a reliable, airtight seal and safe operation.
By following safety tips and maintenance routines, you’ll enjoy the many practical uses of your vacuum chamber for years to come. Stay patient and precise, and your efforts will truly pay off.
In conclusion, understanding how to build a vacuum chamber and what it is made of is essential for achieving optimal performance. With proper construction and care, your vacuum chamber will be a valuable tool in various applications.