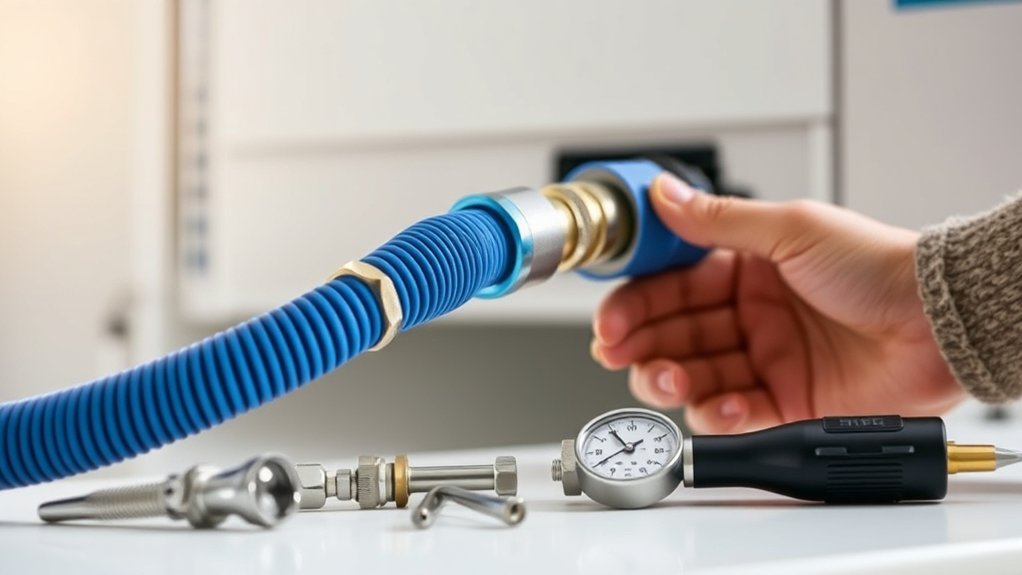
How to Pull Vacuum on Mini Split in 7 Easy Steps
To pull a vacuum on your mini split, you need the right tools and steps to ensure proper system performance. Essential equipment includes a vacuum pump, manifold gauge set, and hoses. These tools help remove air and moisture, which can damage your mini split system if left inside.
First, turn off and unplug the unit. Then, securely connect the vacuum hose to the low-pressure service port. Open both service valves fully before turning on the vacuum pump.
Next, open the low-side valve to start drawing out air and moisture. Monitor the vacuum gauge until you reach at least 500 microns.
Hold this vacuum level for 15-30 minutes to ensure thorough evacuation.
Finally, close the valves and turn off the pump. Learning how to check for leaks and properly finalize the process will help guarantee maximum system performance and longevity.
Key Takeaways
- Turn off and unplug the mini split, then securely connect the vacuum pump to the low-pressure service port using refrigerant hoses.
- Fully open both low-side and high-side service valves on the manifold gauge set before starting the vacuum pump.
- Run the vacuum pump until the system reaches at least 500 microns, ensuring air and moisture are effectively removed.
- Hold the vacuum for 15-30 minutes to check for leaks or moisture presence in the system.
- Close all valves, turn off the vacuum pump, and seal the system to maintain the vacuum before charging refrigerant.
Why Pull a Vacuum on Your Mini Split?
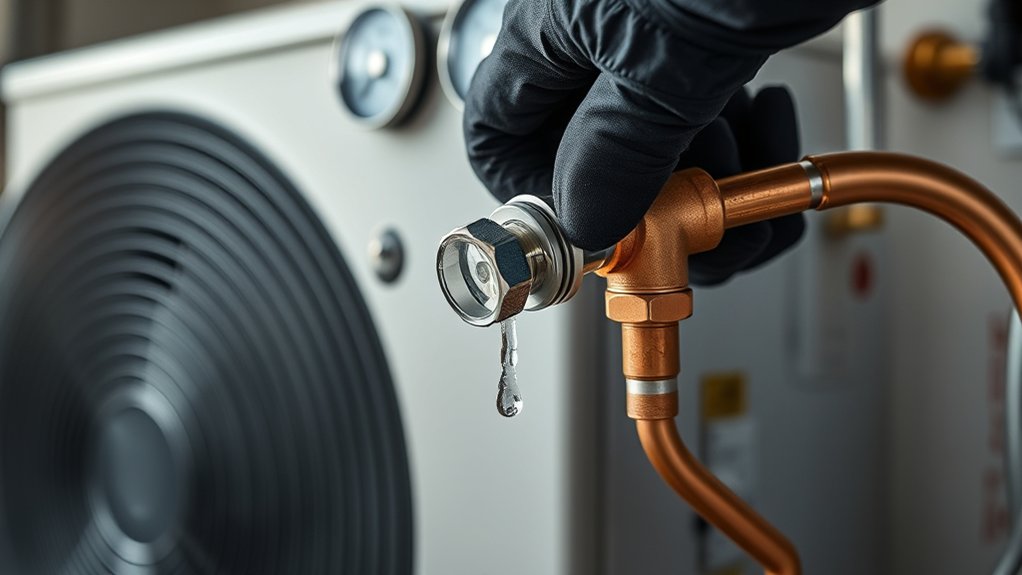
Why should you pull a vacuum on your mini split? Pulling a vacuum removes air, moisture, and contaminants from the system before charging it with refrigerant. If you skip this step, moisture can mix with the refrigerant, causing corrosion, ice formation, and reduced efficiency.
Air inside the system increases pressure and lowers cooling performance. By pulling a vacuum, you guarantee the system operates at peak efficiency and longevity. It also helps you identify leaks—if the vacuum doesn’t hold, you know there’s a problem.
Skipping this process risks costly repairs and shortens your mini split’s lifespan. So, pulling a vacuum is essential for reliable, efficient, and long-lasting operation of your mini split system.
Gather Tools for Pulling Vacuum on Your Mini Split
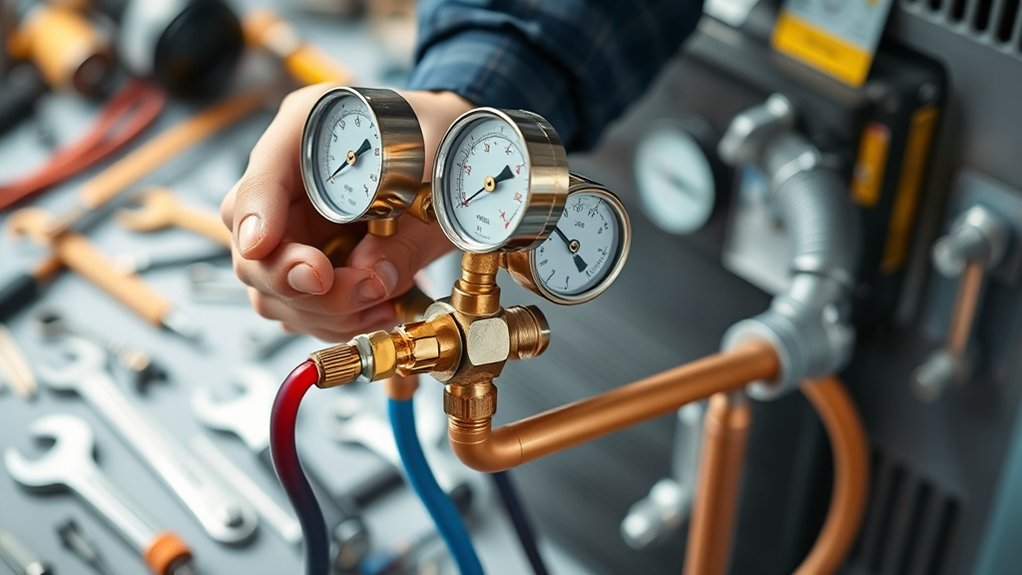
Before you begin pulling a vacuum on your mini split, you’ll need to gather a few essential tools to guarantee the process goes smoothly and safely. Having the right equipment assures you can efficiently remove air and moisture from the system, preventing damage and improving performance.
Here’s a quick list of what you’ll need:
| Tool | Purpose |
|---|---|
| Vacuum Pump | Removes air and moisture from the system |
| Manifold Gauge Set | Monitors pressure during vacuuming |
| Refrigerant Hoses | Connects the pump and gauges to the unit |
| Safety Glasses | Protects your eyes during the process |
Make sure all tools are in good condition before starting to avoid complications.
Turn Off Your Mini Split and Hook Up the Vacuum Pump
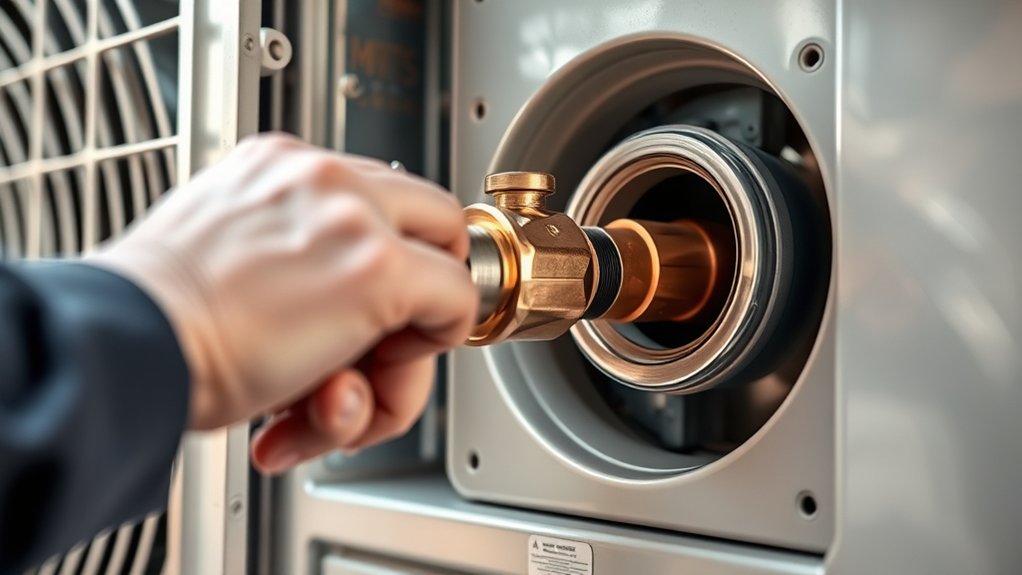
First, make sure you power off your mini split to prevent any damage during the process.
Next, securely connect the vacuum hose to the service port on your unit.
This setup is essential before you start pulling a vacuum.
Power Down Unit
How do you safely prepare your mini split for vacuuming? First, turn off the unit completely to prevent it from running during the process. Locate the power switch or unplug the mini split from the electrical outlet.
If your system has a dedicated breaker, switch it off to ensure no power reaches the unit. This step is crucial to avoid damaging the compressor or other components when you pull a vacuum. Confirm the unit is fully powered down by checking that the display and any indicator lights are off.
Once powered down, you’re ready to proceed with the vacuum pump setup. This ensures a safe, effective vacuuming process without risking electrical or mechanical issues.
Connect Vacuum Hose
Where should you connect the vacuum hose on your mini split? First, make sure your mini split is completely turned off. Locate the service port on the low-pressure side of the unit—this is usually marked and easier to access.
Attach the vacuum hose securely to this port to guarantee a tight seal. Next, connect the other end of the hose to your vacuum pump. Double-check all connections to prevent leaks.
Once everything’s hooked up, you’re ready to start pulling a vacuum. Remember, never connect the hose while the unit is powered on, as this can damage the system or cause injury. Taking these steps carefully will help you evacuate moisture and air effectively from your mini split.
Open Service Valves and Start Pulling Vacuum
Once you open the service valves, you’ll be ready to start pulling vacuum on the mini split system. This step lets the vacuum pump access the refrigerant lines to remove air and moisture. Here’s what you need to do:
- Fully open the low-side (suction) and high-side (discharge) service valves by turning the valve stems counterclockwise, ensuring the pump can evacuate both sides.
- Turn on your vacuum pump and connect it to the manifold gauge set, confirming all connections are tight to prevent leaks.
- Begin pulling vacuum by opening the manifold’s low-side valve, allowing the pump to draw air and moisture from the system efficiently.
Following these steps sets the stage for an effective vacuum process and prepares the mini split for charging.
Monitor Vacuum Level to Remove Moisture Effectively
You need accurate gauges to monitor the vacuum level precisely while pulling vacuum on a mini split. Keeping the vacuum within the ideal range guarantees moisture is removed effectively from the system.
Let’s look at how to track these levels for the best results.
Importance Of Accurate Gauges
Although pulling a vacuum might seem straightforward, using accurate gauges is essential to guarantee you effectively remove moisture from your mini split system. Without precise readings, you risk leaving contaminants that can impair performance or damage components.
To assure accuracy, focus on these three key points:
- Calibrate Regularly – Check your gauges against a known standard often to maintain reliability.
- Use Digital Gauges – They typically offer higher precision and easier readability than analog ones.
- Monitor Continuously – Keep an eye on vacuum levels throughout the process to detect leaks or moisture presence early.
Ideal Vacuum Levels
How low should you pull the vacuum to guarantee all moisture is removed from your mini split system? Aim for a vacuum level of at least 500 microns or lower. This level ensures that you’ve effectively removed air and moisture, which can cause corrosion and reduce system efficiency.
Use a digital micron gauge to monitor the vacuum accurately, as traditional compound gauges won’t measure deep enough. Once you reach 500 microns, hold the vacuum for 15 to 30 minutes to check for leaks or moisture presence. If the level rises, you might have a leak or trapped moisture.
Achieving and maintaining this ideal vacuum level prepares your mini split for optimal refrigerant charging and reliable operation, preventing future system issues.
Close Valves and Turn Off the Vacuum Pump Properly
Once the vacuum gauge shows that the system has reached the desired level of vacuum, close the valves promptly to seal the system and prevent air from re-entering.
Then, turn off the vacuum pump properly to avoid damaging your equipment. Here’s how to do it:
- Close the valve on the vacuum pump side first, isolating the system from the pump.
- Turn off the vacuum pump and let it rest for a minute to cool down.
- Close the valve on the system side to maintain the vacuum inside the mini split.
Check for Leaks on Your Mini Split Before Charging
Before you charge your mini split, you need to check for leaks to guarantee the system stays sealed and operates efficiently. Start by inspecting all connections and fittings visually for any signs of oil residue or damage. Next, use a leak detector or soapy water solution on joints and fittings; bubbles indicate escaping refrigerant.
If you spot leaks, tighten connections or replace faulty parts immediately. After repairs, perform a pressure test with nitrogen to confirm the system holds pressure without dropping. Don’t skip this step—charging a leaking system wastes refrigerant and reduces performance.
Once you’re confident there are no leaks, you can safely proceed with charging your mini split to confirm it runs at its best and lasts longer.
Frequently Asked Questions
Can I Use Any Vacuum Pump for My Mini Split System?
You can’t just use any vacuum pump for your mini split. You need a pump designed for HVAC systems to guarantee proper moisture and air removal.
Using the right pump protects your system and ensures efficient operation.
How Long Does the Vacuum Process Typically Take?
Think of the vacuum process like a breath—it typically takes about 15 to 30 minutes to remove all moisture and air.
You’ll know it’s done when the gauge holds steady, ensuring your mini split runs smoothly.
What Vacuum Level Is Ideal for Mini Split Systems?
You want to achieve a vacuum level of at least 500 microns for mini split systems. This guarantees all moisture and air are removed, preventing damage and ensuring efficient operation.
Don’t settle for anything higher than that.
Is It Safe to Pull a Vacuum Without Professional Training?
“Look before you leap” applies here—you shouldn’t pull a vacuum without proper training. It’s risky and can damage your mini split.
Leave it to pros unless you fully understand the equipment and safety measures involved.
Can Pulling a Vacuum Fix Refrigerant Leaks in Mini Splits?
No, pulling a vacuum won’t fix refrigerant leaks in mini splits. You need to locate and repair the leak first, then pull a vacuum to remove moisture and air before recharging the system with refrigerant properly.
Conclusion
Pulling a vacuum on your mini split might seem tricky, but once you’ve walked through these steps, you’ll handle it like a pro. Think of it as giving your system a deep breath, clearing out moisture and air for peak performance. Just follow the process carefully, and you’ll keep your mini split running smoothly and efficiently.
Remember, a little patience now saves you big headaches later! Properly pulling a vacuum on your mini split is essential for maintaining optimal operation and extending the life of your system. By following these steps, you ensure that your mini split remains energy-efficient and reliable.