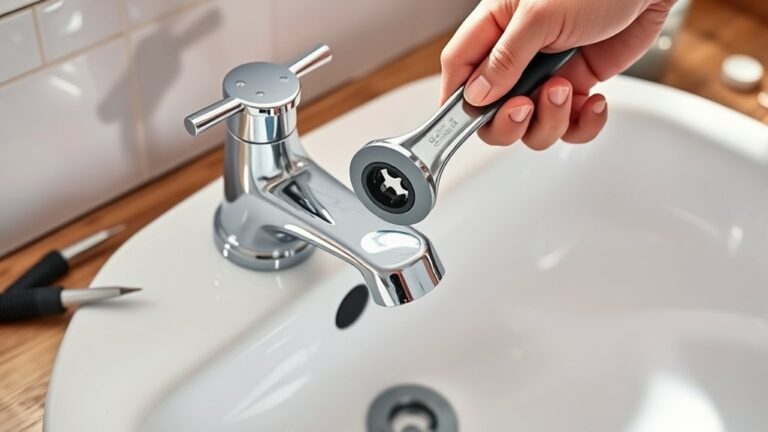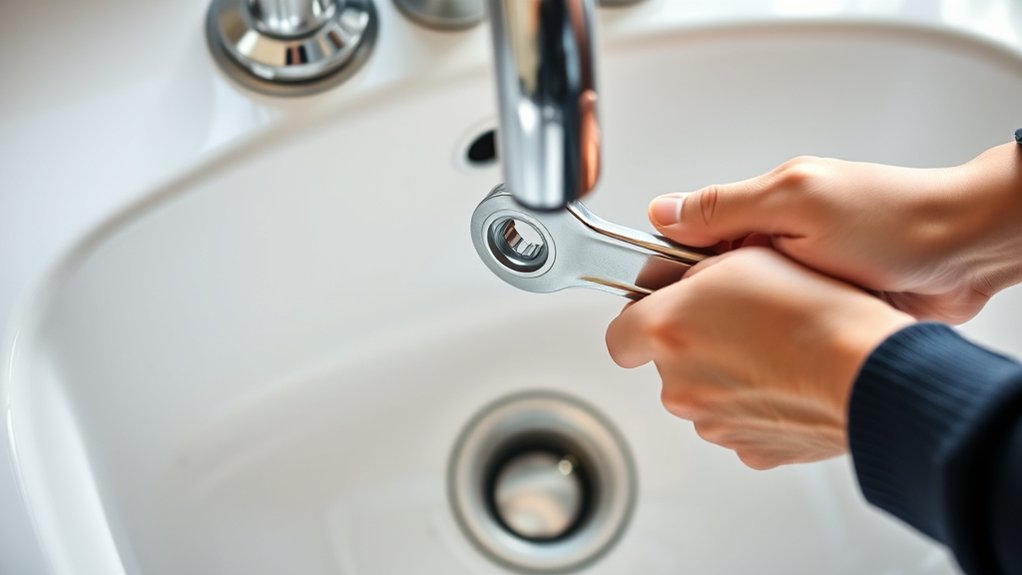
How to Change a Sink Faucet in 7 Easy Steps
To change a sink faucet in 7 easy steps, start by gathering your tools and materials and turning off the water supply. Changing a sink faucet is a straightforward DIY project that can save you time and money. Having the right tools and a clear plan makes the process much smoother.
Next, remove the old faucet carefully and clean the area, checking for any damage. Then, install your new faucet, connect the supply lines, and tighten everything securely.
Afterward, turn the water back on to test for leaks, seal the joints, and clean up.
Keep going to discover helpful tips that make the job smoother and more efficient. With these simple steps, even beginners can successfully replace a sink faucet and improve their bathroom or kitchen’s functionality.
Key Takeaways
- Turn off water supply valves and drain remaining water by opening the faucet before starting removal.
- Disconnect supply lines and remove mounting nuts to carefully lift out the old faucet.
- Clean the sink area and inspect plumbing for damage before installing the new faucet.
- Position the new faucet, secure mounting hardware, and connect supply lines to hot and cold valves.
- Gradually turn on water, check for leaks, tighten fittings if needed, and seal the faucet base properly.
Gather Tools and Materials
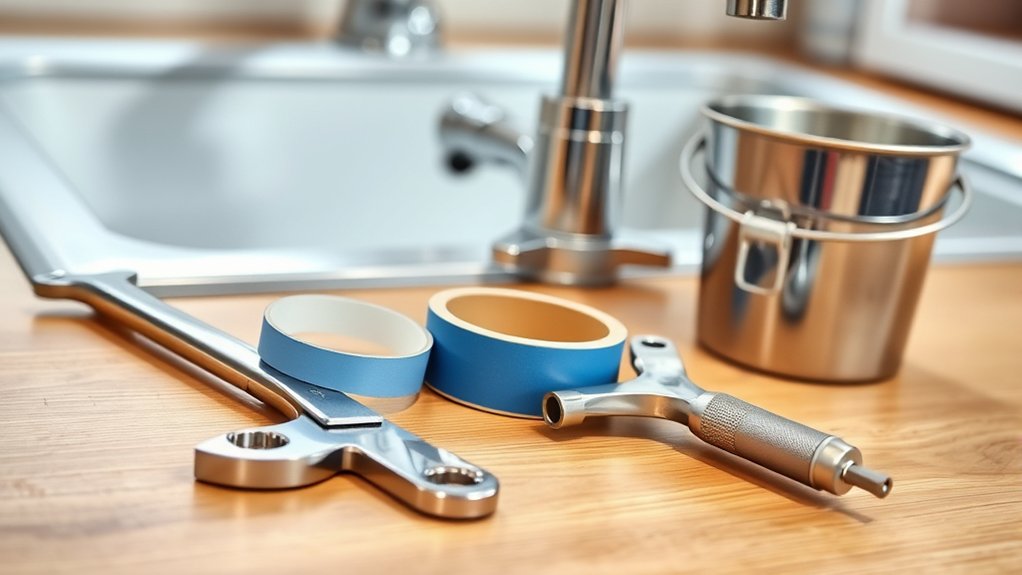
Before you begin replacing your sink faucet, make sure you gather all the necessary tools and materials. You’ll need an adjustable wrench, a basin wrench, plumber’s tape, a bucket to catch water, and a screwdriver. Having a new faucet that fits your sink is essential, so check compatibility before purchasing.
You might also want to grab some cleaning supplies to clear the area once the old faucet is removed. Keep a flashlight handy for better visibility under the sink. Don’t forget plumber’s putty or silicone sealant to guarantee a watertight seal when installing the new faucet.
Organizing everything within reach will save you time and frustration during the process. Being prepared helps the installation go smoothly and efficiently.
Turn Off Water and Prepare Your Area
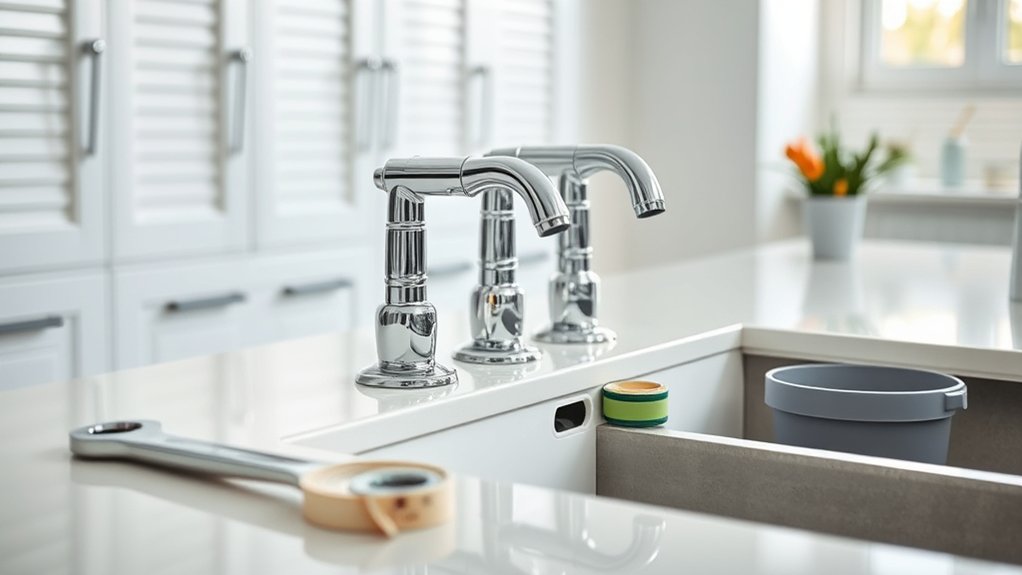
Once you’ve gathered your tools, turn off the water supply valves located under the sink to prevent leaks during the faucet replacement. Look for two valves—one for hot water and one for cold. Turn each valve clockwise until it stops.
If you don’t see individual valves, shut off the main water supply for your home. After shutting off the water, open the faucet to release any remaining water pressure and drain leftover water.
Clear out the cabinet under the sink to give yourself space to work comfortably. Lay down a towel or bucket to catch drips and protect your cabinet from water damage. Having everything prepped makes the next steps smoother and helps avoid any unexpected messes during the faucet change.
Safely Remove the Old Sink Faucet
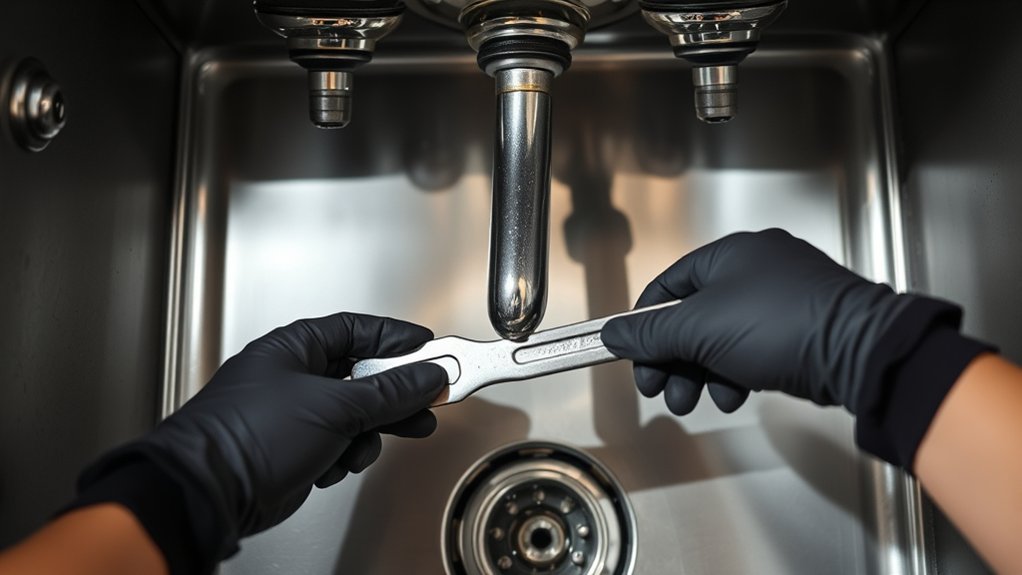
With the water turned off and your workspace ready, you can start removing the old faucet. Begin by disconnecting the supply lines beneath the sink using an adjustable wrench—turn counterclockwise to loosen. Have a bucket handy to catch any remaining water.
Next, locate and remove the mounting nuts securing the faucet to the sink. These are often tight, so use a basin wrench for better reach and leverage. Once the nuts are off, lift the faucet straight up and out of the sink.
If it’s stuck, gently wiggle it back and forth to loosen. Be careful not to damage the sink surface during removal. After the faucet’s free, set it aside and prepare for the next step.
Clean the Faucet Area and Inspect for Damage
Start by removing all debris from around the faucet area to guarantee a clean surface. Then, carefully inspect the sink and plumbing for any signs of leaks or damage. Catching issues now will save you trouble when installing the new faucet.
Remove Debris Thoroughly
Before installing your new faucet, thoroughly clean the area around the sink to remove any debris, mineral buildup, or old plumber’s putty. Use a soft brush or cloth with warm, soapy water to scrub the surface gently. Removing all residue guarantees a proper seal and prevents leaks later.
Pay close attention to the mounting holes and surrounding countertop or sink surface. After cleaning, inspect the area carefully for any cracks, chips, or damage that could affect the faucet’s stability or cause water damage. If you spot any issues, address them before proceeding.
Taking these steps now will save you time and hassle later, guaranteeing your new faucet sits securely and functions correctly for years to come.
Check For Leaks
How can you be sure your new faucet is installed correctly and won’t cause problems down the line? Start by cleaning the faucet area thoroughly. Wipe away any water, debris, or sealant residue to get a clear view.
Next, turn on the water supply and check all connections carefully for leaks. Inspect the base, handles, and underneath the sink. Catching leaks early prevents water damage and costly repairs.
Here’s a quick checklist to guide your inspection:
| Inspection Point | What to Look For |
|---|---|
| Faucet Base | Water pooling or dampness |
| Handles | Drips or loose fittings |
| Supply Lines | Moisture or corrosion |
| Connections | Tightness and water sprays |
| Sink Area | Stains or damage signs |
If you spot any issues, tighten fittings or reapply plumber’s tape immediately.
Install and Connect the New Sink Faucet
Once you’ve removed the old faucet and prepared the sink, you’ll want to position the new faucet carefully into the mounting holes. Align the faucet base with the holes, then secure it underneath with the provided nuts or mounting hardware. Tighten them by hand first, then use a wrench to guarantee a snug fit without overtightening.
Next, connect the water supply lines to the faucet’s tailpieces. Screw them on clockwise, making sure the hot and cold lines match the correct valves. Use an adjustable wrench to tighten the connections firmly but avoid stripping the fittings.
If your faucet comes with a gasket or plumber’s putty, guarantee it’s properly placed to prevent water seepage during installation. This step sets the foundation for your faucet’s proper function.
Test for Leaks and Make Adjustments
Although you’ve tightened all connections, you’ll want to turn on the water supply slowly and watch closely for any leaks. Check under the sink and around the faucet base for drips or moisture. If you spot leaks, tighten the connections a bit more or reposition washers.
Don’t rush this; a small drip can cause bigger problems later.
Use this quick guide to troubleshoot common leak points:
| Leak Location | Adjustment Tip |
|---|---|
| Under the sink | Tighten supply line connections |
| Around faucet base | Ensure mounting nuts are snug |
| Water spout area | Check and replace worn O-rings |
Test both hot and cold water to ensure all adjustments hold before moving forward.
Seal Joints and Clean Up
Now that you’ve checked for leaks, it’s time to seal the joints with plumber’s putty to guarantee a watertight fit. Make sure you apply it evenly and press firmly around the base.
Don’t forget to wipe away any excess sealant before it dries for a clean finish.
Applying Plumber’s Putty
Before securing the faucet in place, you’ll want to apply plumber’s putty to create a watertight seal around the base. Take a small amount of putty and roll it between your hands until it forms a rope about the thickness of a pencil.
Press this rope evenly along the underside edge of the faucet base or the sink’s mounting surface, depending on your faucet’s design. Make sure the putty covers the entire perimeter where water could leak. When you set the faucet down, the putty will compress and fill any gaps.
Avoid using too much, as it can squeeze out excessively. This step guarantees no water seeps under your faucet, preventing damage and leaks before you tighten the mounting hardware.
Wiping Excess Sealant
Once you press the faucet into place, some plumber’s putty may squeeze out around the edges. Don’t worry—this is normal. Use a damp cloth or paper towel to wipe away the excess sealant immediately before it hardens.
Be gentle to avoid disturbing the faucet’s position. If you wait too long, the putty becomes tougher to remove and can leave a mess. Cleaning up now guarantees a neat finish and prevents sealant buildup that could cause leaks.
After wiping, double-check that the faucet remains securely seated. Taking this step seriously helps maintain a watertight seal and a professional look. Remember, a clean workspace makes future maintenance easier and keeps everything functioning smoothly.
Frequently Asked Questions
What Type of Faucet Is Best for My Kitchen Style?
You’ll want a faucet that matches your kitchen’s style and functionality. Choose sleek, modern designs for contemporary kitchens, or classic, polished finishes for traditional spaces. Consider pull-down sprayers for convenience and durability for daily use.
How Do I Dispose of the Old Faucet Responsibly?
You should take your old faucet to a local recycling center or hazardous waste facility. Many parts contain metal and materials that can be recycled, so don’t just toss it in the trash—check local guidelines first.
Can I Upgrade to a Touchless Faucet During Replacement?
Absolutely, you can upgrade to a touchless faucet during replacement. Imagine effortlessly turning on water with just a wave—installing one boosts convenience and hygiene, transforming your sink into a sleek, modern, hands-free station you’ll love.
What Should I Do if Water Pressure Decreases After Installation?
If water pressure decreases after installation, you should check for clogged aerators or supply lines, confirm valves are fully open, and inspect for leaks.
If the problem persists, you might need to consult a plumber to diagnose the issue.
Are There Specific Brands Recommended for Durability?
You’ll want to think about brands like Moen, known for durability. For example, a friend’s Moen faucet lasted over a decade without issues.
You’ll appreciate its quality and long-lasting performance in your kitchen or bathroom.
Conclusion
Changing your sink faucet yourself can save you up to $200 compared to hiring a pro. By following these seven easy steps, you’ll not only improve your home’s look but also gain valuable DIY skills.
Remember, nearly 60% of homeowners tackle small repairs themselves, boosting confidence and saving money. So, take your time, stay safe, and enjoy the satisfaction of a job well done—you’ve got this!
With these simple faucet replacement steps, you can achieve a fresh, updated bathroom or kitchen faucet while mastering essential home improvement tips.