How to Replace the Shower Faucet Valve in 7 Simple Steps
You’ll want to replace your shower faucet valve if it leaks, has inconsistent temperatures, or low pressure. A faulty valve can cause discomfort and water waste, so addressing these issues promptly is essential for a functional shower.
Replacing the shower faucet valve is a manageable DIY task that can save you money and prevent further plumbing problems.
First, turn off the main water supply and drain the pipes. Next, remove the handle and trim plate, then take out the old valve.
Clean the pipe ends before installing the new valve securely.
Turn the water back on slowly to check for leaks, test the handle, and reassemble everything. Keep going to uncover helpful tips and detailed guidance for a smooth job.
Key Takeaways
- Shut off the main water supply and drain pipes by opening the shower and nearby faucets to avoid spills.
- Remove the handle and trim plate carefully to expose the old valve assembly.
- Use a wrench to loosen and remove the old valve, then clean pipe ends to prepare for installation.
- Install the new valve securely, tighten mounting screws, and ensure proper alignment on the pipes.
- Turn water on slowly, check for leaks, test handle operation, and reassemble the trim and handle.
When and Why to Replace Your Shower Faucet Valve
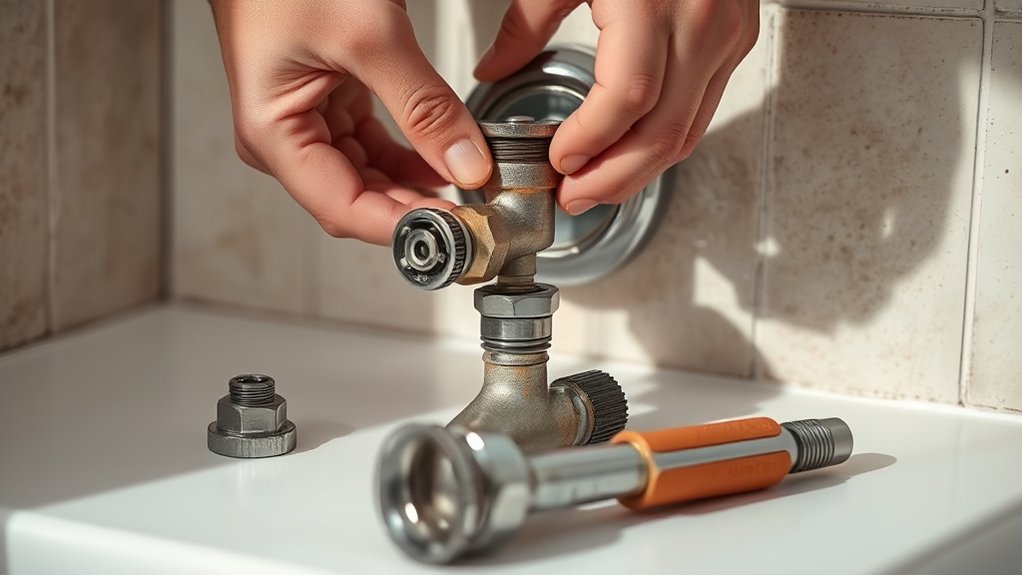
When should you replace your shower faucet valve? You should consider replacement if you notice leaks, inconsistent water temperature, or reduced water pressure. These issues often indicate a worn-out valve that no longer regulates water flow properly.
Another sign is difficulty turning the handle or unusual noises when you adjust the water. If your valve is old and parts are hard to find, upgrading to a new valve can prevent future problems. Replacing the valve also helps if you want to improve your shower’s efficiency or switch to a modern style.
Addressing valve issues promptly saves you from water damage and higher repair costs later on. Knowing when to replace it keeps your shower functioning smoothly and comfortably.
Safety Precautions and Tools You’ll Need
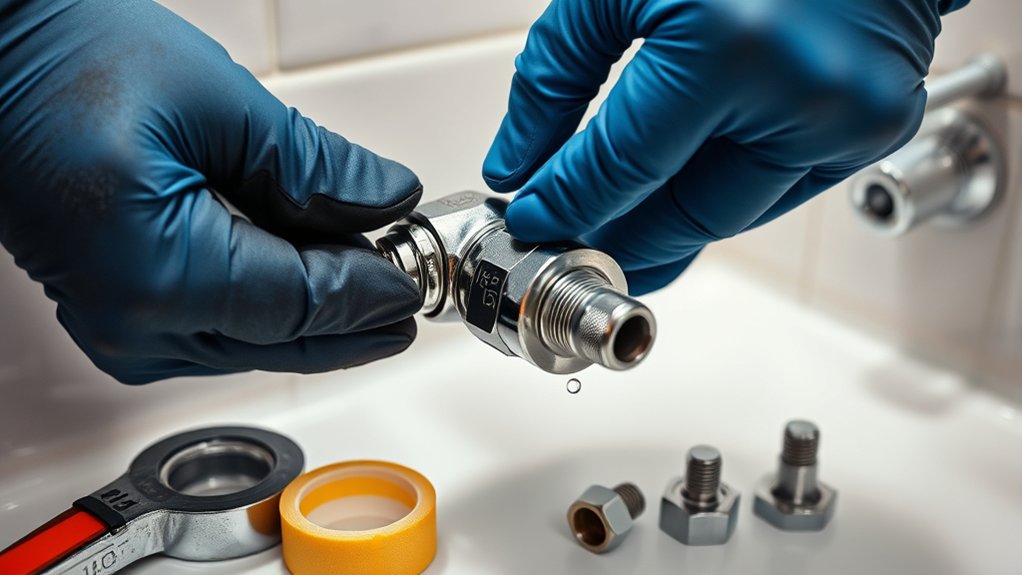
Before you start replacing your shower faucet valve, take essential safety precautions to protect yourself and your home. First, make sure you wear safety goggles and gloves to shield your eyes and hands from debris and sharp edges. Second, use a sturdy step stool or ladder if your shower valve is out of easy reach to avoid falls.
Third, keep a bucket and towels nearby to catch any residual water that might leak during the process.
As for tools, you’ll need:
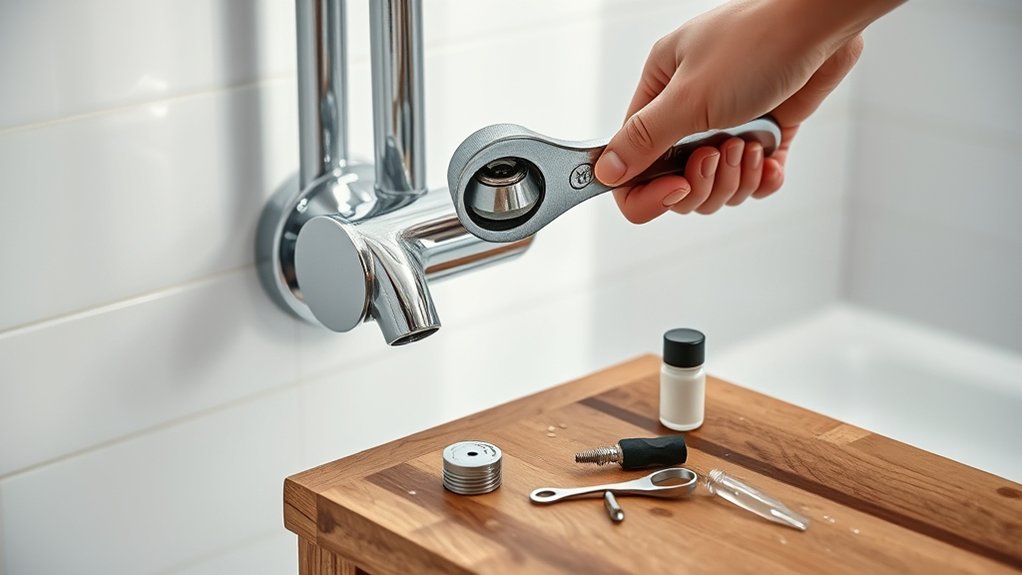
- An adjustable wrench to loosen and tighten nuts and bolts
- A screwdriver set to remove handles and trim plates
- Plumber’s tape to seal threaded connections and prevent leaks
Having these precautions and tools ready will make your job safer and smoother.
Turn Off Water Supply and Drain Pipes
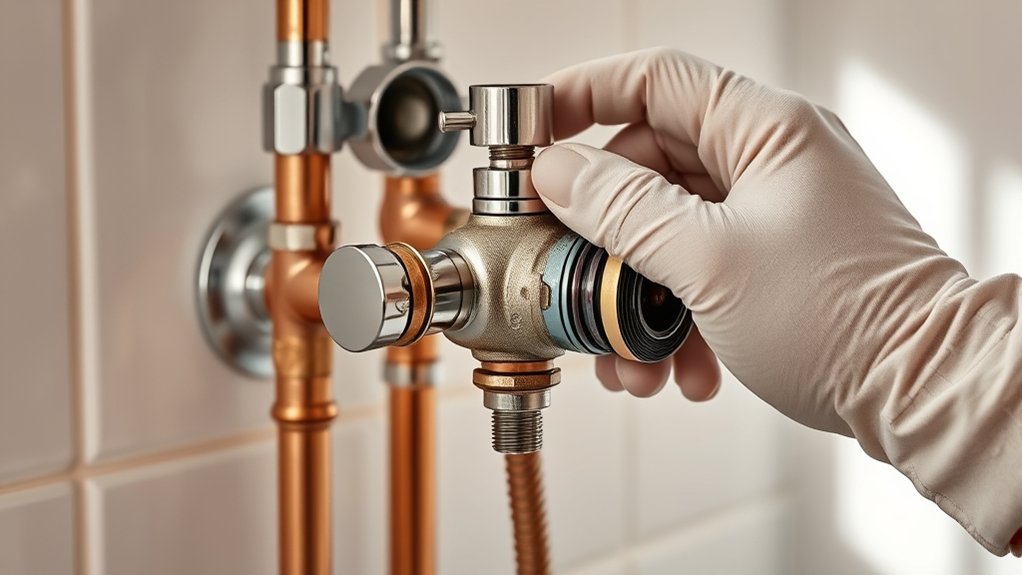
How do you guarantee no water spills while working on your shower faucet valve? First, locate your home’s main water shut-off valve and turn it off completely. This stops water flow, preventing leaks during the repair.
Next, open the shower faucet to drain any remaining water in the pipes. Doing this relieves pressure and avoids unexpected sprays when you disconnect the valve. You might also want to open nearby faucets, like a bathroom sink, to help drain the system faster.
Keep a bucket or towels nearby to catch any residual water. Once the water is off and pipes drained, you’re ready to safely move on without worrying about water damage or messes during the valve replacement.
Remove the Old Shower Faucet Valve
Since the water supply is off and the pipes are drained, you can safely start removing the old shower faucet valve. First, remove the handle by loosening the screw, usually hidden under a decorative cap.
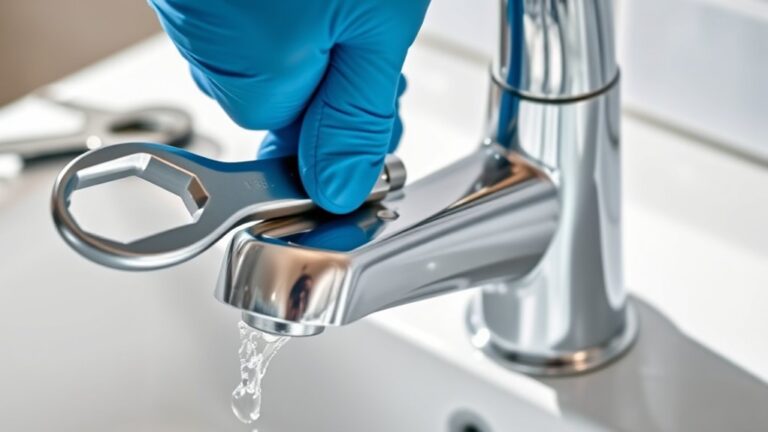
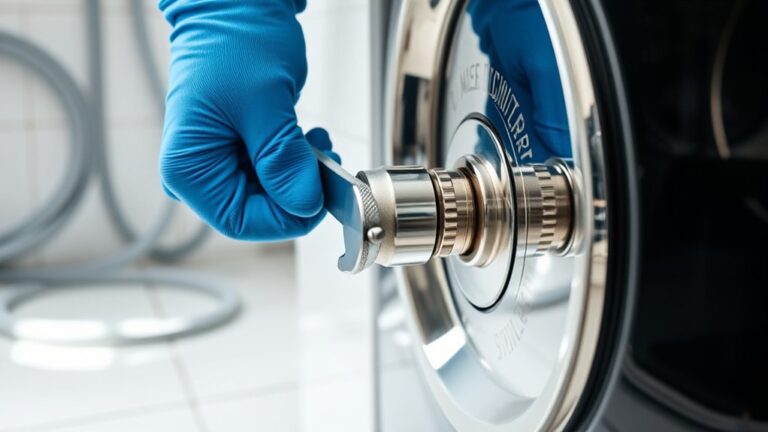
Next, take off the trim plate by unscrewing the mounting screws; this exposes the valve body. Finally, use a wrench to loosen and remove the valve cartridge or assembly—be prepared for some resistance if it’s been in place a long time.
Keep track of all parts as you disassemble them. Avoid forcing components to prevent damage to the plumbing. With the old valve removed, you’ll be ready for the next step of cleaning and prepping the plumbing for your new shower faucet valve installation.
Clean and Prepare Plumbing for Installation
Although you’ve removed the old valve, you’ll want to thoroughly clean the plumbing to guarantee a secure fit for the new shower faucet valve. Start by scrubbing the pipe ends with a wire brush or sandpaper to remove any corrosion, mineral buildup, or old plumber’s putty. Make sure the surfaces are smooth and free of debris.
Next, flush the pipes by briefly turning on the water supply to clear out any loose particles. Dry the fittings completely with a clean cloth to prevent moisture from interfering with the seal. Check for any damage or irregularities on the pipe ends that might affect installation.
Taking these steps ensures the new valve will seat properly, preventing leaks and ensuring a durable, watertight connection.
Install and Test the New Shower Faucet Valve
Before securing the new shower faucet valve in place, make sure you align it properly with the plumbing to guarantee a tight, leak-free fit. Begin by sliding the valve onto the pipes, ensuring each connection is flush and secure.
Next, tighten the mounting screws or brackets to hold the valve firmly.
To test the installation:
- Turn the water supply back on slowly to avoid pressure shocks.
- Check all connections for leaks around the valve.
- Turn the valve handle to confirm smooth operation and proper water flow.
If you notice any leaks or resistance, tighten fittings or adjust the valve position before moving forward.
Proper alignment and thorough testing will save you from future water damage and costly repairs.
Reassemble the Shower Handle and Final Checks
Now that the valve is installed, you’ll want to reattach the shower handle securely. Once the handle is in place, turn on the water to check for leaks and verify everything functions smoothly.
These final checks will confirm your repair is complete and reliable.
Handle Reassembly Process
Once you’ve confirmed the valve is properly installed and sealed, you can start reassembling the shower handle. Begin by aligning the handle with the valve stem carefully. This ensures a smooth fit and prevents damage.
Next, secure the handle by tightening the mounting screw, but don’t overtighten—it should be snug enough to hold firmly without stripping. Finally, replace any decorative caps or covers to restore the handle’s finished look.
Here’s a quick checklist for the handle reassembly process:
- Align the handle with the valve stem precisely.
- Tighten the mounting screw just enough to secure the handle.
- Snap on any decorative caps or covers to complete the look.
This completes the handle reassembly, setting you up for the final inspection.
Perform Leak And Function Checks
After reassembling the shower handle, you’ll want to check for leaks and guarantee everything functions properly. Turn the water supply back on slowly and watch closely around the valve and handle for any drips or moisture. If you spot a leak, tighten connections or reassess the cartridge seal.
Next, test the handle by turning it through its full range—make sure hot and cold water flow correctly without any unusual resistance or noise. Check the water pressure and temperature to confirm the valve operates as expected. If everything runs smoothly, you’ve successfully replaced the shower faucet valve.
Finally, clean the area, reinstall any trim plates, and enjoy your fully functional shower.
Frequently Asked Questions
Can I Replace the Shower Valve Without Removing the Tiles?
You usually can’t replace the shower valve without removing some tiles because the valve is behind the wall. However, if you have access through an existing panel or open space, you might avoid tile removal.
What Brands Offer the Most Durable Shower Faucet Valves?
If you want shower faucet valves tougher than a tank, Moen, Delta, and Kohler are your best bets. They don’t just last—they practically outlive your house, giving you worry-free showers for years to come.
How Do I Know if My Water Pressure Affects Valve Performance?
You’ll know water pressure affects valve performance if your shower’s flow is weak or inconsistent. Use a pressure gauge to check; low pressure can cause valve issues.
Can a Shower Valve Replacement Fix Low Hot Water Issues?
Like a clogged pipe slowing flow, a faulty shower valve can cause low hot water. Replacing it often restores proper flow and temperature,
so yes, it can fix your low hot water issues effectively.
Are There Eco-Friendly Shower Valves Available for Water Conservation?
Yes, you can find eco-friendly shower valves that conserve water by controlling flow and temperature efficiently. They help reduce water usage without sacrificing comfort, so you’ll save resources and lower your utility bills.
These valves are designed to optimize water flow, ensuring you use only what you need. Many models also come with temperature regulation features to prevent wasting water while waiting for the right temperature.
Conclusion
Now that you’ve replaced your shower faucet valve, imagine stepping into a steady, warm cascade of water—no drips, no leaks, just perfect flow. Your hands did the work, turning a frustrating drip into a soothing shower experience.
With your tools tucked away and the handle back in place, you’ve not only saved money but gained confidence in your DIY skills. Enjoy every invigorating rinse, knowing you handled the shower faucet valve replacement all by yourself!
Replacing the shower faucet valve was easier than you thought, and now you have the satisfaction of a job well done and a perfectly functioning shower.