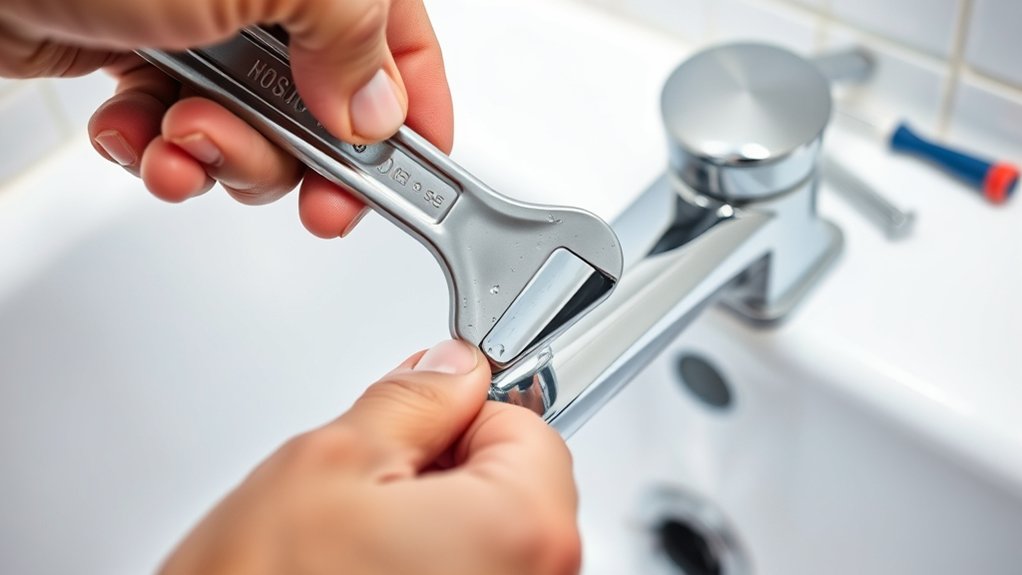
How to Remove Bathtub Faucet in 7 Easy Steps
You’ll start by gathering essential tools like screwdrivers, pliers, a utility knife, cloth, and a bucket. These items are crucial for a smooth bathtub faucet removal process.
Next, turn off your water supply to prevent any leaks or spills.
Open the faucet to drain the pipes completely.
Remove the handle by loosening its set screw carefully.
Then, twist or pull off the spout to expose the internal components.
Clean all connections thoroughly to avoid leaks during reinstallation.
Inspect for any damage or old sealant that might need replacement.
Tighten fittings and clear the area to ensure everything is secure.
Follow these steps closely, and you’ll be ready to move forward smoothly with your bathtub faucet project.
This method ensures an efficient and hassle-free removal process.
Key Takeaways
- Turn off the water supply and open the faucet to drain remaining water from the pipes.
- Pry off the decorative cap and loosen the set screw to remove the faucet handle.
- Loosen the spout set screw, then twist or pull the spout off carefully.
- Clean mineral deposits from connections using vinegar and baking soda, then dry thoroughly.
- Inspect for leaks or damage, tighten fittings, and remove old sealant before installing a new faucet.
Gather the Tools You’ll Need to Remove a Bathtub Faucet
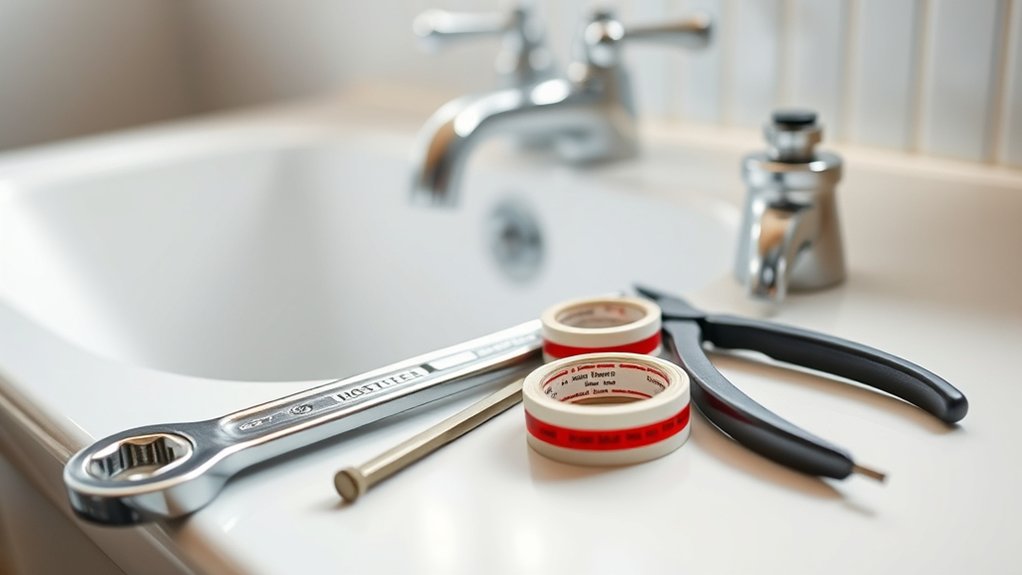
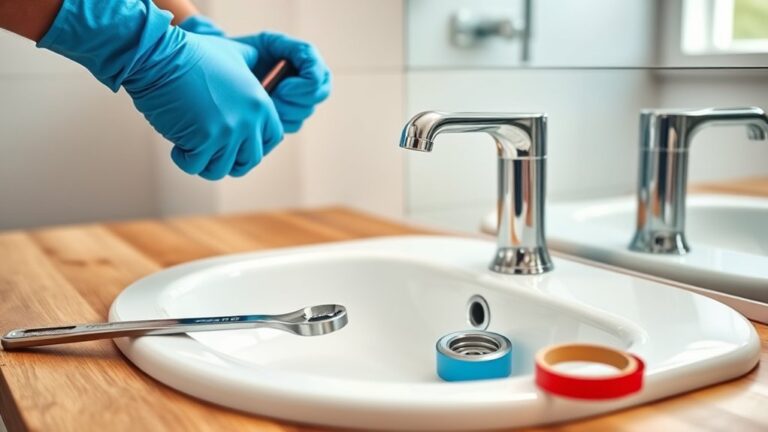
Before you begin removing your bathtub faucet, make sure you have all the necessary tools on hand. You’ll need a flathead screwdriver and a Phillips head screwdriver to remove screws that secure the faucet parts. A wrench or adjustable pliers will help you loosen nuts and bolts.
Keep a utility knife handy to cut through any old caulk or sealant around the faucet. A cloth or rag is useful for wiping away water or debris. You might also want a bucket to catch any residual water when you disconnect the faucet.
Having these tools ready guarantees you won’t have to stop midway to search for something, making the removal process smoother and faster. Being prepared means you’ll tackle the job efficiently and with confidence.
Turn Off the Water Supply to Your Bathtub Faucet
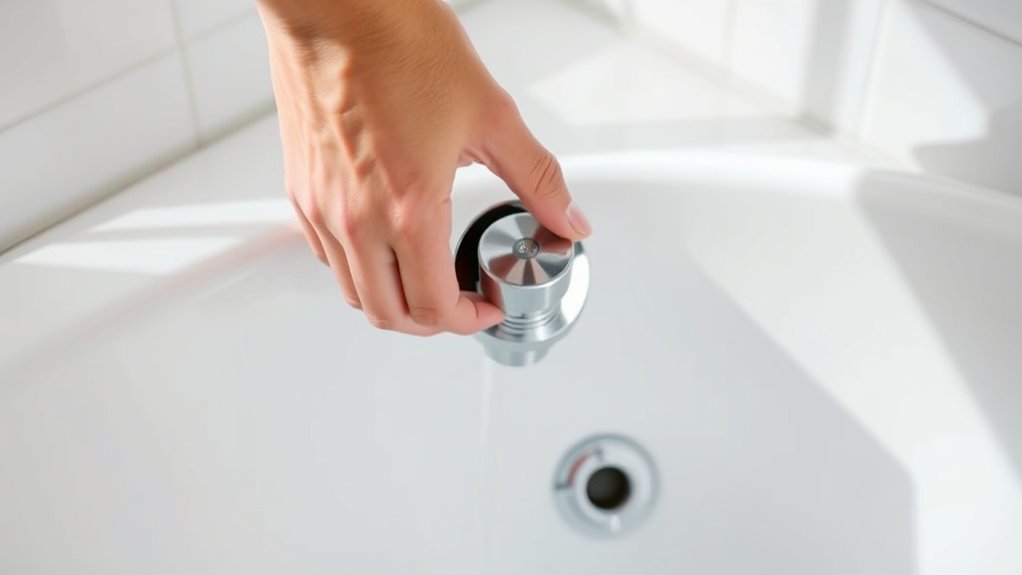
Since water can cause a mess and damage during faucet removal, you’ll need to turn off the water supply to your bathtub faucet first. Start by locating your home’s main water shut-off valve or the individual valve for your bathroom. If you can’t find a dedicated valve near the tub, use the main valve to stop water flow throughout the house.
Once located, turn the valve clockwise until it stops to shut off the water. Next, open the bathtub faucet to release any remaining water pressure and drain leftover water from the pipes. This step prevents leaks and water spray when you remove the faucet.
Double-check that no water flows from the faucet before proceeding to guarantee a safe and clean removal process.
Remove the Bathtub Faucet Handle Without Damaging It
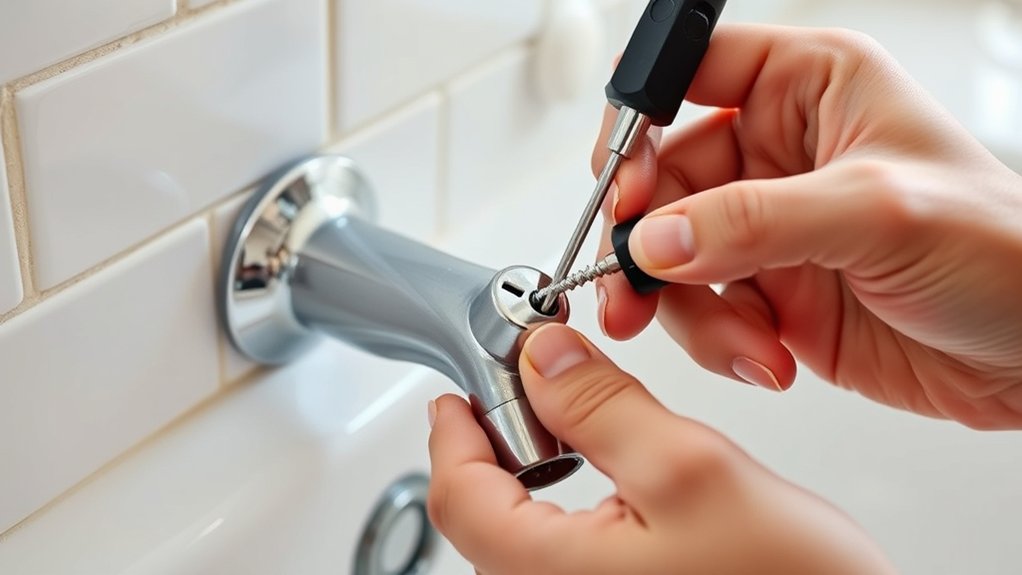
After turning off the water supply and ensuring no water flows from the faucet, you can safely start removing the bathtub faucet handle. First, look for a small set screw on the handle’s base or underside. It’s often hidden under a decorative cap, so gently pry the cap off with a flathead screwdriver or a knife.
Use an appropriate screwdriver or Allen wrench to loosen the set screw without stripping it. Once loosened, carefully pull the handle straight off the valve stem. If it feels stuck, wiggle it gently or apply a bit of penetrating oil to ease removal.
Avoid using excessive force to prevent damaging the handle or the faucet assembly. Keep all parts safely for reinstallation or replacement.
Loosen and Remove the Bathtub Faucet Spout
Although the handle is off, you’ll still need to loosen the faucet spout to fully remove it. First, check if your spout has a set screw, usually located underneath. If it does, use an appropriate Allen wrench to loosen it by turning counterclockwise.
If there’s no set screw, the spout might be threaded. Grip the spout firmly and twist it counterclockwise by hand. If it’s stuck, wrap a cloth around the spout and use adjustable pliers to avoid damaging the finish, then try twisting again.
Once loose, pull the spout straight off the pipe. Be careful not to force it, as that could damage the plumbing. After removal, inspect the pipe end for any debris or corrosion before proceeding to the next step.
Clean Bathtub Faucet Connections to Prevent Leaks
Before reinstalling, you’ll want to identify the type of faucet connections you’re working with. Make certain to remove any mineral buildup that could cause leaks or blockages.
Finally, apply sealant carefully to ensure a tight, leak-free fit.
Identify Faucet Connection Types
When you start removing your bathtub faucet, you’ll want to identify the connection types first, since this helps prevent leaks and makes cleaning easier. Faucets typically connect with either threaded fittings, slip joints, or compression fittings. Threaded connections screw directly into the plumbing, so you’ll need to unscrew them carefully to avoid damage.
Slip joints use a rubber gasket or O-ring to seal and can be pulled apart after loosening the retaining nut. Compression fittings have a nut and a compression ring; you’ll need to loosen the nut to release the pipe. Knowing which type you’re dealing with lets you apply the right tools and techniques, ensuring you don’t harm the pipes or seals.
This step sets you up for a smooth faucet removal and effective cleaning.
Remove Mineral Buildup
Since mineral buildup can cause leaks and reduce water flow, you’ll want to clean your bathtub faucet connections thoroughly before reinstalling them. Start by soaking the faucet components in white vinegar for about 30 minutes to dissolve hard water deposits. Use an old toothbrush or a small wire brush to scrub away any remaining residue gently.
For stubborn buildup, a paste made from baking soda and water can help; apply it, let it sit for 10 minutes, then scrub again. Rinse everything well with clean water to remove any vinegar or baking soda residue. Dry all parts completely to prevent further corrosion.
Taking these steps guarantees a tight seal, avoids leaks, and keeps your faucet functioning smoothly after reassembly.
Apply Sealant Properly
Cleaning your bathtub faucet connections sets the stage for applying sealant that holds tight and prevents leaks. Start by wiping away any dirt, old sealant, or mineral deposits with a cloth and a mild cleaner. Make sure the area is completely dry before moving on.
Next, apply a thin, even bead of silicone sealant around the faucet base or connection points. Use your finger or a caulking tool to smooth it out, ensuring full coverage without gaps. Avoid using too much sealant, as excess can cause a mess or weaken the bond.
Let the sealant cure according to the manufacturer’s instructions—usually 24 hours—before turning the water back on. Proper preparation and application will keep your faucet leak-free and secure.
Inspect the Bathtub Faucet Area for Leaks and Damage
Before you start removing the bathtub faucet, take a close look around the area for any signs of leaks or damage. Check the wall and surrounding surfaces for water stains, mold, or mildew, which can indicate hidden leaks. Inspect the faucet base for cracks or corrosion that might weaken the fixture.
Don’t forget to examine the caulking or sealant around the faucet; if it’s cracked or peeling, water could be seeping behind the wall. Also, look underneath the tub if possible, to spot any dripping or rust on pipes. Identifying these issues early helps prevent further damage during removal and guarantees you can address them properly when installing the new faucet.
Catching problems now saves you headaches later.
Finish Up and Get Your Bathtub Ready for the Next Step
Once you’ve removed the old faucet and inspected the area thoroughly, make certain to clean the surface and remove any leftover debris or old sealant. Use a scraper or putty knife carefully to avoid damaging the tub’s finish. Wipe the area down with a cloth and some rubbing alcohol to verify it’s dry and free of oils.
This step is essential for a proper seal when you install the new faucet. Next, check the plumbing connections and tighten any loose fittings. If you notice any damage, now’s the time to repair or replace those parts before proceeding.
Finally, gather all the tools and new parts you’ll need for the next step to make the installation process smooth and efficient. Your bathtub is now prepped and ready.
Frequently Asked Questions
What Type of Faucet Is Best for a Bathtub?
You’ll want a single-handle faucet for easy temperature control and sleek design, or a wall-mounted faucet if you prefer a modern look.
Choose durable materials like brass to guarantee long-lasting performance and easy maintenance.
How Often Should I Replace My Bathtub Faucet?
You should replace your bathtub faucet every 10 to 15 years. Studies show over 70% of faucets leak after a decade, so swapping it out prevents water waste and keeps your bathroom looking fresh and functional.
Can I Upgrade to a Thermostatic Faucet?
Yes, you can upgrade to a thermostatic faucet. It offers precise temperature control and safety.
Just make sure your plumbing setup supports it, and consider hiring a professional if you’re unsure about installation requirements or compatibility.
What Causes a Bathtub Faucet to Drip Continuously?
When your faucet whispers nonstop, it’s usually because a worn-out washer or a tired valve seat’s losing its grip. You’ll want to check these gently leaking culprits to restore that peaceful, drip-free flow.
Are There Eco-Friendly Bathtub Faucet Options?
Yes, you can choose eco-friendly bathtub faucets with water-saving features like low-flow aerators or motion sensors. These options help reduce water waste, save energy, and lower your utility bills while keeping your bathroom stylish and efficient.
Conclusion
Removing your bathtub faucet is as straightforward as peeling an orange when you follow the right steps. By gathering your tools, turning off the water, carefully removing the handle and spout, and cleaning the connections, you’ll prevent leaks and spot any damage early.
Once you’ve inspected everything and finished up, you’re all set for your next project. With a little care, your bathtub will be ready for a fresh, new look in no time. Following these simple steps to remove your bathtub faucet will ensure a smooth process and a great foundation for your bathroom renovation.