How to Replace a Shower Faucet in 7 Easy Steps
To replace a shower faucet in 7 easy steps, start by gathering all necessary tools and turning off the water supply to prevent any leaks. Clearing the shower area will give you enough space to work comfortably and safely.
Carefully remove the old faucet handle and associated parts to avoid damaging the plumbing.
Next, inspect the plumbing for any signs of wear or damage before proceeding with the installation of the new faucet.
Use plumber’s tape to secure all connections tightly, ensuring a watertight seal.
Once the new faucet is installed, turn the water back on and test for leaks.
Make any needed adjustments to fix leaks or loose fittings.
Following these straightforward steps will help you replace your shower faucet efficiently.
For a guaranteed smooth, leak-free installation, consider additional tips and precautions to achieve the best results.
Key Takeaways
- Turn off the main water supply and drain the shower faucet to prevent water spills during replacement.
- Remove the old faucet handle, escutcheon plate, and valve stem or cartridge carefully using appropriate tools.
- Inspect the plumbing behind the wall for damage or leaks before installing the new faucet.
- Apply plumber’s tape to supply pipe threads and securely attach the new faucet components without overtightening.
- Test the new faucet by turning on water, checking for leaks, and adjusting fittings as necessary.
Gather Tools and Materials
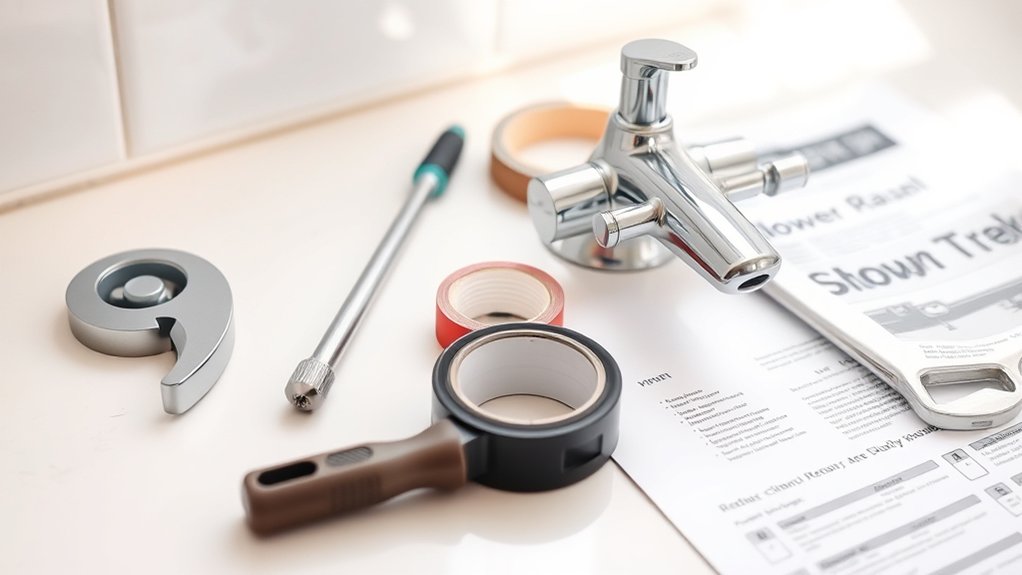
Before you begin replacing your shower faucet, you’ll need to gather the right tools and materials to guarantee a smooth process. Start with a new shower faucet kit that fits your shower’s specifications. You’ll also need a flathead screwdriver, adjustable wrench, and plumber’s tape to ensure secure connections.
A utility knife will help you remove old caulking neatly. Have a bucket and rags handy to catch any leftover water during removal. If your faucet includes decorative trim or handles, check whether you need specific tools like an Allen wrench.
Finally, keep some silicone sealant nearby to waterproof the installation. Having everything ready prevents interruptions and lets you replace your shower faucet efficiently, avoiding unnecessary trips to the hardware store mid-project.
Turn Off Water and Clear Shower Area
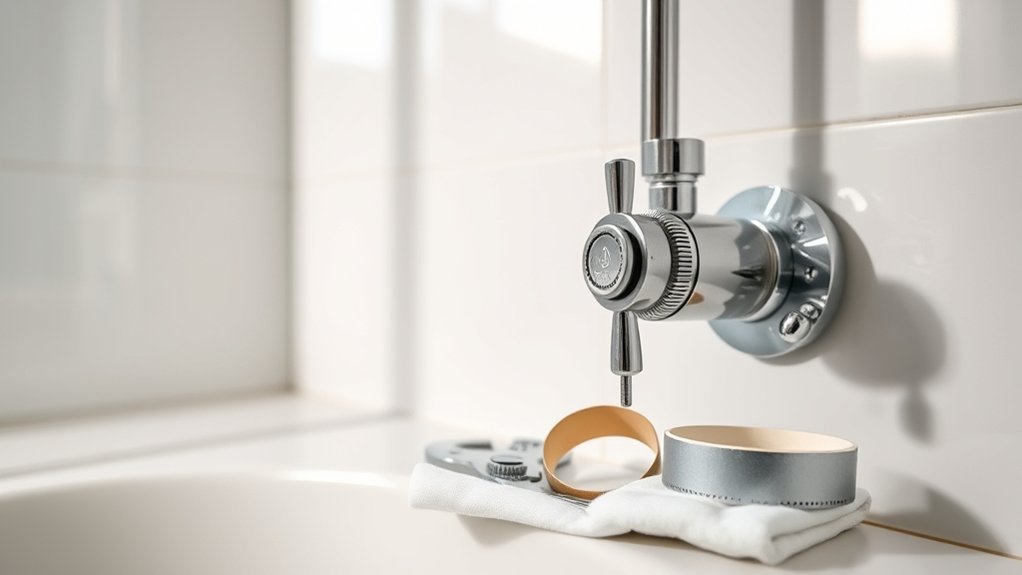
Once you’ve gathered your tools, turn off the water supply to prevent leaks during the faucet replacement. Locate the main water valve and shut it off completely. Next, open the shower faucet to drain any remaining water in the pipes.
This step avoids drips while working. Clear the shower area by removing any personal items, mats, or shower curtains. This gives you space to work safely and keeps your belongings dry.
| Step | Why It’s Important |
|---|---|
| Turn off water supply | Prevents water damage and leaks |
| Open faucet | Drains remaining water in pipes |
| Remove shower items | Creates a clear, safe workspace |
| Lay down towels | Protects floor from spills and debris |
Remove the Old Shower Faucet
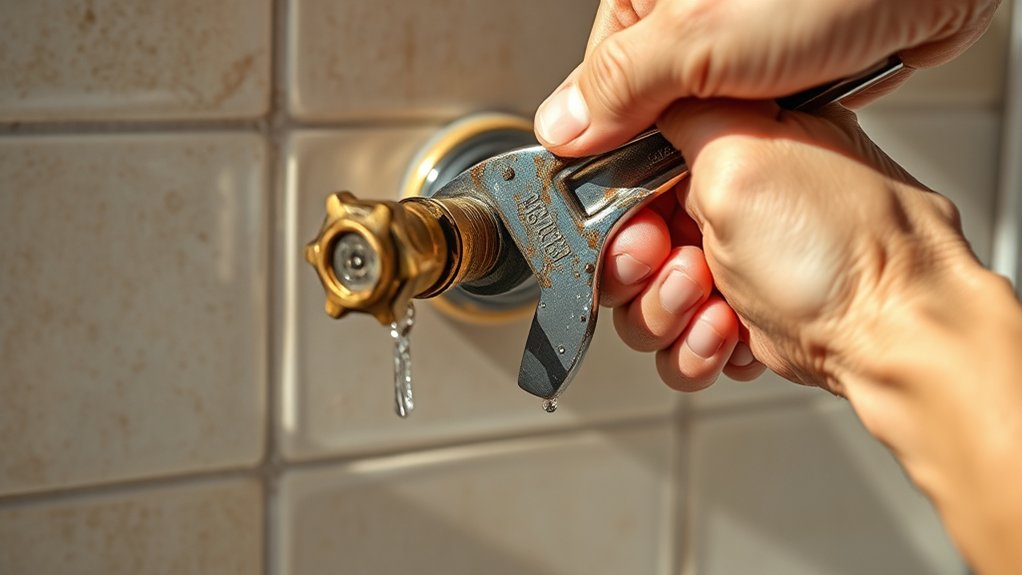
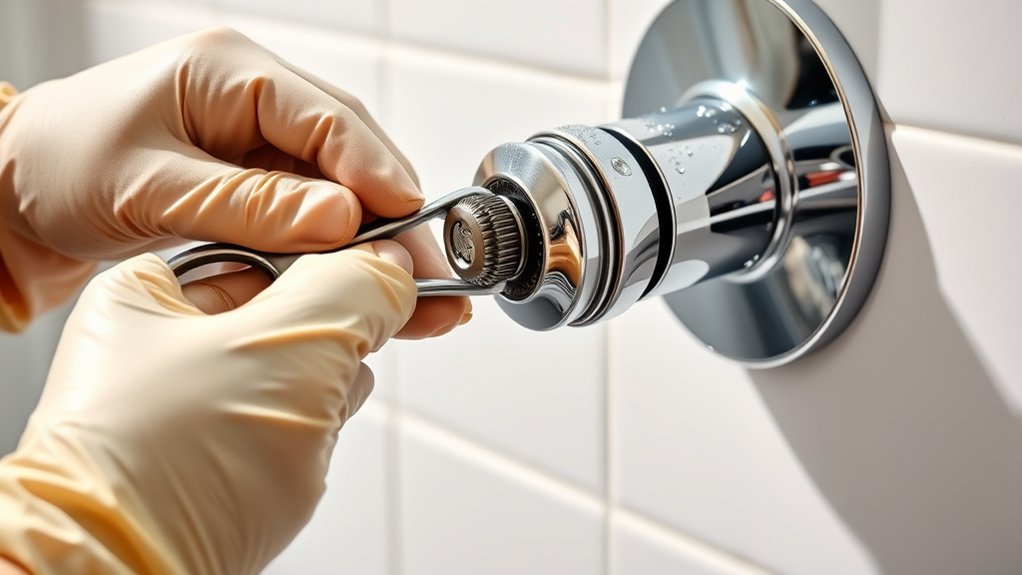
How do you start removing an old shower faucet without causing damage? First, make sure the water supply is off and the area is dry. Use a screwdriver or Allen wrench to remove the handle carefully.
If it’s stuck, apply a bit of penetrating oil and wait a few minutes. Next, unscrew the escutcheon plate, which covers the faucet valve. Use a utility knife if caulk or paint seals it to the wall.
After that, loosen the valve stem or cartridge nut with a wrench, turning counterclockwise. Gently pull out the valve stem or cartridge from the valve body. Take care not to force anything, as this can damage the plumbing behind the wall.
Set all parts aside for disposal or reuse as needed.
Inspect and Repair Shower Faucet Plumbing
Although you’ve removed the old faucet, you’ll need to carefully inspect the plumbing behind the wall for any signs of damage or leaks. Look closely at the pipes, joints, and connections for corrosion, cracks, or water stains. Turn on the water supply briefly to check for drips or pressure issues.
If you find any leaks, tighten loose fittings or replace damaged sections with appropriate materials like copper or PEX piping. Use plumber’s tape on threaded connections to guarantee a tight seal. Also, check the condition of the valve stem and cartridge housing to make sure they’re intact and free of debris.
Addressing these issues now prevents future problems and guarantees your new faucet will function smoothly without leaks or water damage.
Install the New Shower Faucet
After making sure the plumbing is secure and leak-free, you can begin installing your new shower faucet. First, apply plumber’s tape to the threads of the water supply pipes to guarantee a tight seal.
Next, carefully align the faucet’s mounting holes with the supply lines and gently push it into place. Use a wrench to tighten the connections securely, but avoid overtightening to prevent damage.
Attach the faucet handle and any decorative plates or covers included with your model. Make sure all parts fit snugly and sit flush against the wall.
If your faucet has a diverter or additional features, install those according to the manufacturer’s instructions. Once everything is in place, you’re ready to move on to testing your new installation.
Test Your New Shower Faucet for Leaks
Now that your new shower faucet is installed, it’s time to check for leaks. Inspect all connection points carefully while turning on the water to monitor pressure. Keep an eye out for any drips or moisture that could signal a problem.
If you notice any leaks, tighten the connections or reseal them as needed. Repeat the test until no leaks are detected. This ensures your installation is secure and water-tight.
Inspect All Connection Points
How can you be sure your new shower faucet is installed correctly without leaks? The key is to inspect all connection points carefully. Start by checking these three critical areas:
- Valve Connections – Look where the faucet attaches to the water supply lines. Tighten any loose fittings and watch for water droplets.
- Handle Assembly – Remove the handle and inspect behind it. Sometimes water can seep through if seals aren’t properly seated.
- Spout Joint – Examine the spout’s connection to the wall pipe. Ensure the plumber’s tape is intact and the joint is snug.
After inspection, run the water for a few minutes. If you spot any moisture, tighten the connections further or reseal with plumber’s tape. This thorough check helps prevent future water damage and keeps your bathroom dry.
Monitor Water Pressure
Although you’ve secured all connections, you’ll want to monitor the water pressure closely to catch any hidden leaks. Turn on the water slowly and watch the flow through the faucet. Keep an eye on the pressure gauge if you have one, ensuring it remains steady.
Sudden drops or fluctuations might signal a problem inside the plumbing or with the faucet itself. Listen carefully for unusual sounds, like hissing or dripping, which can indicate small leaks. Run the water for several minutes to confirm consistent pressure.
If you notice any changes or irregularities, shut off the water immediately and recheck the connections. Monitoring pressure now helps prevent bigger issues later and guarantees your new shower faucet works perfectly from the start.
Check For Drips
Once you’ve monitored the water pressure, it’s important to check for drips that could indicate leaks in your new shower faucet. Catching leaks early can save you from water damage and higher bills.
Here’s how to test your faucet effectively:
- Turn off the shower and watch the faucet for a few minutes. Even small drips mean there’s a problem.
- Check around the handle, spout, and any visible connections for moisture or water pooling.
- If you spot leaks, tighten connections gently or replace worn-out washers or seals.
Fix Common Shower Faucet Installation Problems
If you run into leaks, uneven water flow, or difficulty securing the faucet during installation, don’t worry—these are common issues that can be fixed with a few simple adjustments. Start by double-checking your connections and tightening any loose parts. Make sure you use plumber’s tape on threaded joints to prevent leaks.
Also, inspect the valve cartridge for blockages if water flow is uneven.
| Problem | Solution |
|---|---|
| Leaks at connections | Tighten fittings, apply plumber’s tape |
| Water flow uneven | Clean or replace valve cartridge |
| Faucet won’t secure | Align mounting screws, check wall plate |
| Handle hard to turn | Lubricate cartridge, ensure correct size |
| Drips after shut-off | Replace worn washers or cartridge |
Follow these tips to avoid common pitfalls and guarantee your faucet works perfectly.
Frequently Asked Questions
How Do I Choose the Right Shower Faucet Style for My Bathroom?
You’ll want to match your shower faucet style with your bathroom’s overall design, consider functionality, and choose materials that resist corrosion.
Don’t forget to pick a finish that complements your fixtures and fits your budget perfectly.
Can I Replace a Shower Faucet Without Removing Tiles?
Yes, you can replace a shower faucet without removing tiles by accessing the valve through the existing opening.
Just make certain you turn off the water, use proper tools, and carefully remove the old faucet before installing the new one.
What Should I Do if My Water Pressure Is Too Low?
About 59% of homes experience low water pressure. You should check for clogged aerators or pipes, guarantee your pressure regulator’s set correctly, and consider installing a booster pump if needed.
Don’t ignore leaks—they reduce pressure too!
How Often Should I Replace a Shower Faucet?
You should replace your shower faucet every 10-15 years or sooner if it leaks, corrodes, or reduces water flow.
Regularly check for damage to keep your shower functioning efficiently and avoid costly repairs later.
Are There Eco-Friendly Shower Faucets Available?
Yes, you’ll find eco-friendly shower faucets that can reduce water use by up to 40%. Choosing one helps you save water and energy, lowering your bills while protecting the environment without sacrificing comfort or style.
Conclusion
Replacing your shower faucet is like giving your bathroom a fresh new heartbeat. By gathering your tools, turning off the water, and carefully following each step, you’ll have your new faucet installed smoothly.
Remember to test for leaks and fix any issues along the way. With a little patience and care, you’ll enjoy a flawless shower experience in no time.
This simple DIY project proves that even small upgrades can make a big splash. Replacing your shower faucet not only enhances functionality but also boosts your bathroom’s style and value.