How to Replace a Bathtub Faucet in 10 Easy Steps
To replace your bathtub faucet in 10 easy steps, start by gathering the right tools and turning off your water supply. This essential home improvement task can save you money and prevent leaks.
Understanding how to replace a bathtub faucet ensures a smooth and efficient process.
Remove the old faucet carefully, clean the area, and inspect your plumbing for any worn parts.
Align and install the new faucet securely, then apply sealant to prevent leaks.
Finally, turn the water back on and test for proper function.
Following this approach will help you tackle common issues and guarantee a smooth installation experience.
With these simple steps, you can confidently update your bathroom fixtures. Enjoy a refreshed look and reliable performance from your new bathtub faucet.
Key Takeaways
- Turn off the water supply and drain residual water by opening the bathtub faucet before removal.
- Remove the old faucet by loosening screws, cutting caulk, and cleaning the mounting area thoroughly.
- Inspect and replace any worn or damaged plumbing parts to ensure a secure and leak-free installation.
- Align and attach the new faucet, tightening connections firmly without over-tightening to avoid damage.
- Apply waterproof sealant around the faucet base, allow curing, then test for leaks and proper water flow.
Gather Tools and Materials for Bathtub Faucet Replacement
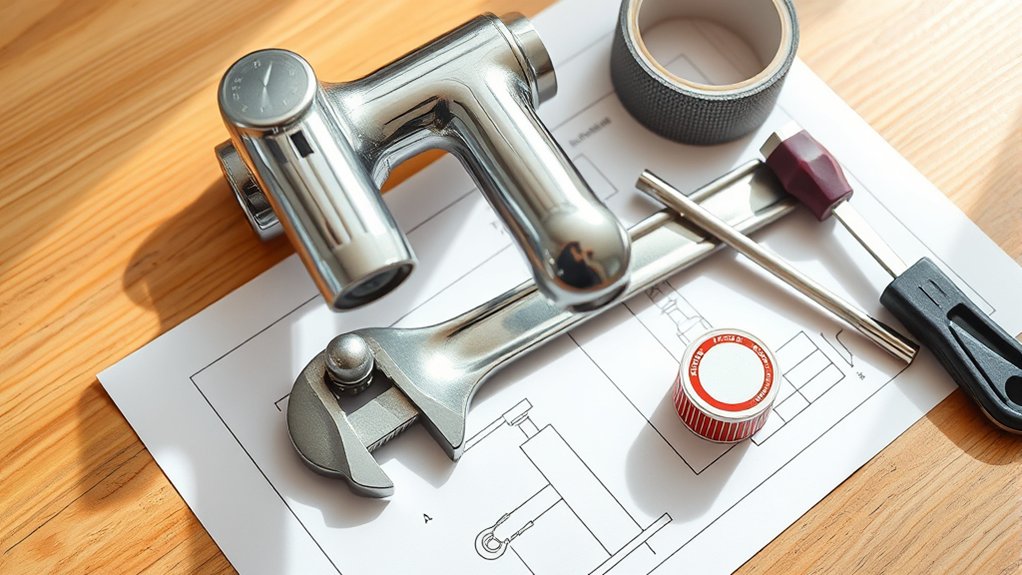
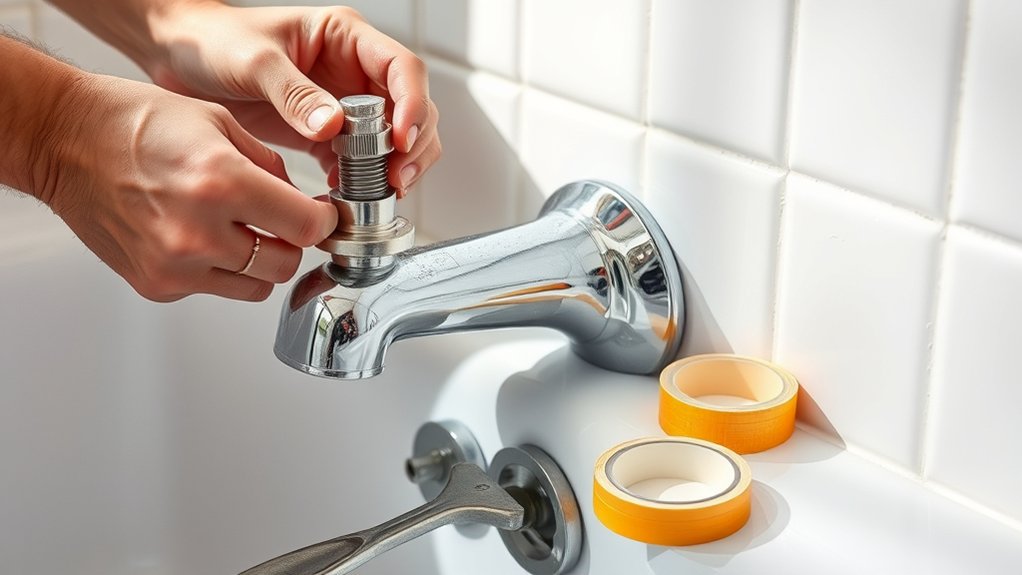
Before you begin replacing your bathtub faucet, gather all the necessary tools and materials to guarantee a smooth process. You’ll need a few essentials: an adjustable wrench, a screwdriver (both flathead and Phillips), plumber’s tape, and a bucket to catch any leftover water. Keep some rags nearby for quick clean-ups.
Having a utility knife can help remove old caulk or sealant. You might also want silicone sealant for a watertight finish. Don’t forget safety gear like gloves and goggles to protect yourself.
Choose the Right Replacement Faucet
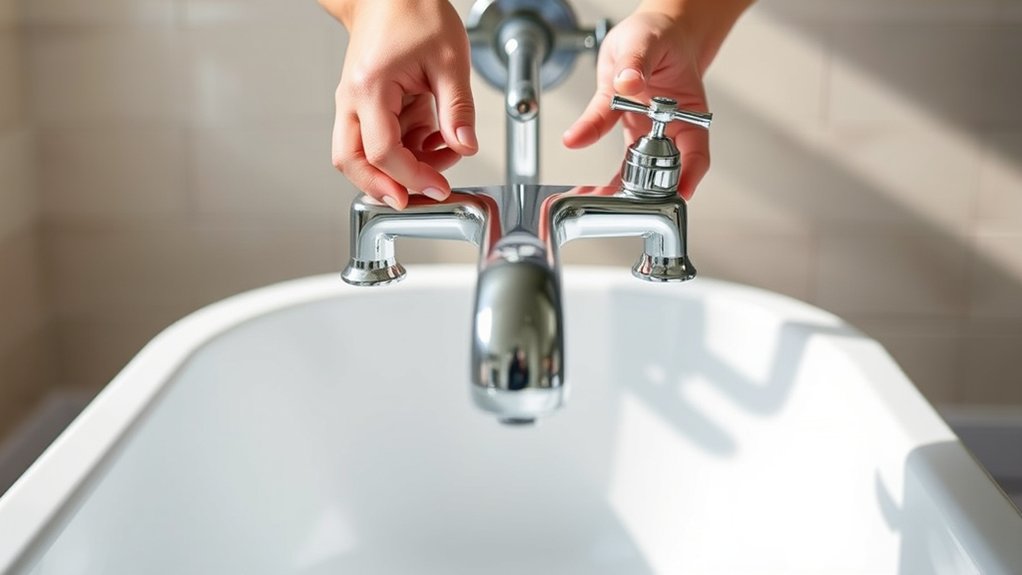
How do you select the right replacement faucet for your bathtub? Start by identifying your current faucet type—whether it’s a single-handle, double-handle, or wall-mounted model. Check the size and style to guarantee compatibility with your existing plumbing and tub setup.
Consider the finish to match your bathroom’s decor; popular options include chrome, brushed nickel, and oil-rubbed bronze. Look for faucets made with durable materials to withstand daily use. Don’t forget to verify the connection type and size, so installation goes smoothly without needing extra adapters.
Finally, pick a faucet that fits your budget but still offers quality and reliability. Taking these steps helps you avoid surprises and assures your new faucet works perfectly.
Turn Off the Bathtub Water Supply
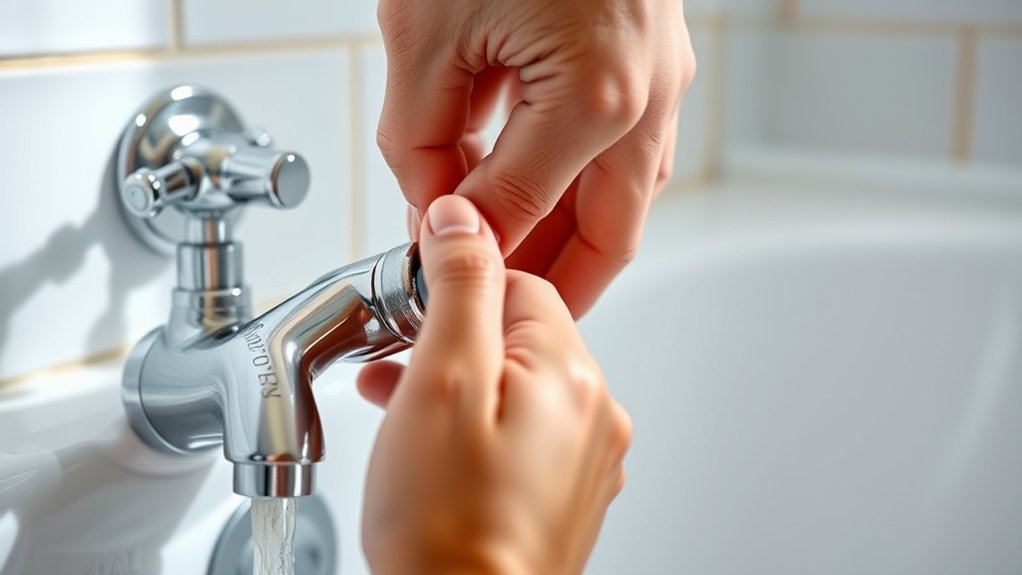
Where can you find the main water shut-off valve to stop the bathtub water supply? Usually, it’s near your home’s water meter, in the basement, garage, or outside by the foundation.
The main water shut-off valve is typically located near your water meter—in the basement, garage, or outside by the foundation.
Before starting, make sure to turn off this valve to prevent water flow. Here’s how to do it:
- Locate the main shut-off valve and turn it clockwise until it stops.
- Open the bathtub faucet to drain any remaining water and relieve pressure.
- Double-check that the water is fully off by trying to run the faucet again.
Turning off the water supply is essential to avoid leaks or water damage while replacing your bathtub faucet.
Once you’re sure the water is off, you’re ready to move on to the next step.
Remove the Old Bathtub Faucet Carefully
Once the water supply is securely shut off, you can start removing the old bathtub faucet without risking leaks. First, loosen any visible screws or nuts holding the faucet in place using a wrench or screwdriver. If the faucet is sealed with caulk, carefully cut around the edges with a utility knife.
Gently pull the faucet away from the wall, taking care not to damage the plumbing behind it. If it’s stuck, wiggle it slightly to break the seal. Keep a container handy to catch any residual water.
| Step | Tool Needed | Tip |
|---|---|---|
| Loosen screws | Screwdriver | Turn counterclockwise slowly |
| Cut caulk | Utility knife | Score gently to avoid damage |
| Pull faucet | Hands | Wiggle gently if stuck |
| Catch water | Container | Place below faucet opening |
Clean the Faucet Area and Prepare for Installation
Now that the old faucet is removed, clear away any leftover residue to guarantee a smooth surface. Take time to clean the area around the faucet thoroughly, including the tub surface, to prevent buildup or damage.
Gather your cleaning tools like a sponge, scraper, and mild cleaner to get the job done efficiently.
Remove Old Faucet Residue
Before installing the new faucet, you’ll need to thoroughly remove any old residue and buildup from the surface. This guarantees a clean, smooth area for a proper seal and prevents leaks.
Follow these steps:
- Use a putty knife or a plastic scraper to gently remove old plumber’s putty, caulk, or adhesive around the faucet base. Be careful not to damage the tub surface.
- Apply a mild cleaning solution or vinegar to dissolve mineral deposits or soap scum. Let it sit for a few minutes, then scrub with a soft brush or cloth.
- Wipe the area clean with a damp cloth and dry it completely. Make sure no debris or moisture remains before moving on to the next installation step.
Clean Surrounding Tub Surface
Although you’ve removed the old faucet residue, you still need to clean the surrounding tub surface thoroughly to guarantee the new faucet seals properly. Start by wiping down the area with a damp cloth to remove any dust or loose debris.
Next, use a mild, non-abrasive cleaner to scrub away soap scum, grime, or mineral deposits that could interfere with the seal. Pay close attention to corners and crevices where buildup often hides.
Rinse the surface well with clean water to eliminate any cleaner residue, then dry the area completely with a lint-free cloth. A spotless, dry surface ensures the new faucet will adhere firmly and reduces the risk of leaks.
Taking this step seriously sets the foundation for a successful and lasting installation.
Gather Necessary Cleaning Tools
Since a clean and well-prepared faucet area is essential for a smooth installation, you’ll need to gather the right cleaning tools before you begin. Having these tools ready will help you remove dirt, grime, and old sealant effectively, ensuring the new faucet fits properly and adheres securely.
Here are the three essential cleaning tools you’ll want to have:
- Scrub brush or old toothbrush – for scrubbing away buildup in tight spots.
- Rubbing alcohol or vinegar – to disinfect and remove residue from the surface.
- Clean cloths or paper towels – for wiping down and drying the area thoroughly.
With these tools, you’ll create a clean, dry surface that’s perfect for installing your new bathtub faucet.
Check and Replace Old Plumbing Parts
Before installing your new faucet, carefully inspect the existing plumbing components for any signs of wear or damage. You’ll want to identify and replace any old or faulty parts to prevent leaks and guarantee a smooth installation.
Taking this step now can save you headaches down the line.
Inspect Existing Plumbing Components
When you remove the old faucet, take a close look at the plumbing components behind it to identify any signs of wear, corrosion, or leaks. This step is essential to guarantee your new faucet functions properly and lasts longer.
Here’s what to focus on:
- Pipes and Connections – Check for rust, mineral buildup, or cracks that could cause leaks.
- Shutoff Valves – Make sure they turn smoothly and don’t drip when closed.
- Seals and Washers – Look for brittleness or damage that might affect water tightness.
If any component looks compromised, replace it before installing your new faucet. Doing this prevents future problems and saves you time and money on repairs down the road.
Identify Worn Out Parts
Although you may have already inspected the visible plumbing, it’s crucial to identify worn-out parts that might not be immediately obvious. Take a close look at the faucet’s internal components, such as washers, O-rings, and valve seats. These parts often wear down over time, causing leaks or reduced water flow.
Remove the faucet handles and check for corrosion or mineral buildup, which can indicate deeper damage. Don’t forget to examine the supply lines and connections for cracks or brittleness. If you spot any parts that look damaged, brittle, or excessively worn, replace them before installing the new faucet.
Doing this prevents future leaks and guarantees smooth operation. Taking time to identify and swap out old plumbing parts will save you headaches down the road.
Install the New Bathtub Faucet Properly
Since you’ve removed the old faucet and prepared the plumbing, you can now focus on installing the new bathtub faucet securely. Start by aligning the new faucet with the existing pipes, guaranteeing the connections fit snugly.
Next, follow these steps to install it properly:
- Attach the faucet to the plumbing by tightening the nuts or screws, using a wrench to ensure a firm connection without over-tightening.
- Connect the water supply lines to the faucet, making sure each line matches the correct hot or cold inlet.
- Double-check all connections for stability and proper alignment before moving on.
Seal Your Faucet to Stop Leaks
You’ll want to choose the right sealant to guarantee a watertight fit. Apply it carefully around the faucet to prevent any gaps where water could escape.
Once sealed, check thoroughly for leaks before finishing up.
Choose The Right Sealant
How do you guarantee your new bathtub faucet stays leak-free? Choosing the right sealant is key. You want a product that creates a durable, waterproof barrier without damaging your fixtures.
Here’s what to take into account:
- Material Compatibility – Pick a sealant that works well with your faucet’s metal and the surrounding surfaces, like silicone for metal and plastic.
- Water Resistance – Look for sealants labeled waterproof or waterproofing to ensure they withstand constant exposure to water.
- Ease of Use – Choose a sealant with good adhesion and flexibility but also one that allows you some working time before it sets.
Selecting the right sealant upfront saves you from leaks and costly repairs later on.
Apply Sealant Properly
After selecting the right sealant for your bathtub faucet, the next step is applying it correctly to guarantee a watertight seal. Start by cleaning the faucet base and surrounding area thoroughly to remove old sealant, dirt, and moisture. Use a putty knife or cloth to ensure the surface is dry and smooth.
Apply a thin, even bead of sealant around the faucet’s mounting flange or where it meets the tub. Avoid using too much, as excess sealant can squeeze out and create a mess. Then, press the faucet firmly into place to spread the sealant evenly.
Finally, smooth the sealant bead with your finger or a caulk finishing tool for a clean finish. Let it cure as directed before moving on.
Check For Leaks
Where should you look first when checking for leaks around your newly installed bathtub faucet? Start by inspecting the base where the faucet meets the tub. Even a small gap can let water seep through.
Next, focus on these three key areas:
- Connection Points: Check where the faucet connects to the water supply lines for drips or moisture.
- Handle Area: Turn the faucet on and off, watching closely for any leaks around the handles.
- Spout: Observe the spout while water runs, ensuring no water escapes from unexpected places.
If you spot leaks, tighten connections or reapply sealant as needed. Catching leaks early prevents water damage and keeps your bathroom dry and safe.
Turn the Water Back On and Test Your New Faucet
Once you’ve securely installed your new bathtub faucet, you can turn the water supply back on to check for leaks and guarantee proper flow. Start by slowly opening the main water valve or the individual shut-off valves. Watch closely around the faucet connections for any signs of dripping or moisture.
Next, turn the faucet handles to let the water run. Check both hot and cold water to ensure they flow smoothly and at the right pressure. Listen for any unusual noises that might indicate air trapped in the pipes.
If everything looks and sounds good, your installation was a success. Finally, dry the area and clean up your workspace. You’ve now completed the essential step of testing your new bathtub faucet.
Troubleshoot Common Bathtub Faucet Issues
Although installing a new bathtub faucet can go smoothly, you might still encounter some common issues that need troubleshooting. If your faucet leaks, double-check the connections and tighten any loose parts. Low water pressure often results from debris clogging the aerator or supply lines.
Finally, if the water temperature fluctuates, it could indicate a faulty mixing valve that needs replacement.
Here’s how to tackle these problems:
- Inspect and tighten all fittings to stop leaks.
- Clean or replace clogged aerators and check supply lines for blockages.
- Test the mixing valve and replace it if you notice inconsistent water temperatures.
Frequently Asked Questions
How Often Should I Replace My Bathtub Faucet?
You should replace your bathtub faucet every 10 to 15 years or sooner if you notice leaks, corrosion, or reduced water flow.
Regular checks help you avoid bigger plumbing issues and keep your bathroom functioning smoothly.
Can I Upgrade to a Water-Saving Faucet?
Absolutely, you can upgrade to a water-saving faucet—it’s like giving your bathroom a superhero cape!
You’ll save water, lower bills, and still enjoy a strong flow.
It’s a smart, eco-friendly upgrade you’ll love.
What Are Common Signs My Faucet Needs Replacement?
You’ll notice leaks, low water pressure, or rust around your faucet. If it’s hard to turn or makes strange noises, those are signs it’s time to replace it to avoid bigger plumbing problems.
Is Professional Help Needed for Plumbing Code Compliance?
You don’t always need professional help, but it’s smart to hire one to guarantee plumbing code compliance. They’ll handle permits, inspections, and proper installation, keeping your bathroom safe and up to local regulations without any hassle.
How Do I Dispose of the Old Bathtub Faucet?
Old faucets are like retired soldiers—time to send them off properly. You can recycle metal parts at your local scrap yard or dispose of non-recyclable bits through your municipal waste program.
Don’t just toss them carelessly!
Conclusion
Replacing your bathtub faucet doesn’t have to be an intimidating task. With the right tools, careful steps, and a bit of patience, you can give your bathroom a fresh, functional upgrade. Remember, turning off the water and sealing the faucet properly are key to avoiding leaks.
So, why wait for a plumber when you can tackle this simple project yourself? You’ve got this—your new faucet is just a few steps away! By following these easy steps to replace your bathtub faucet, you’ll save time and money while improving your bathroom’s look and functionality.