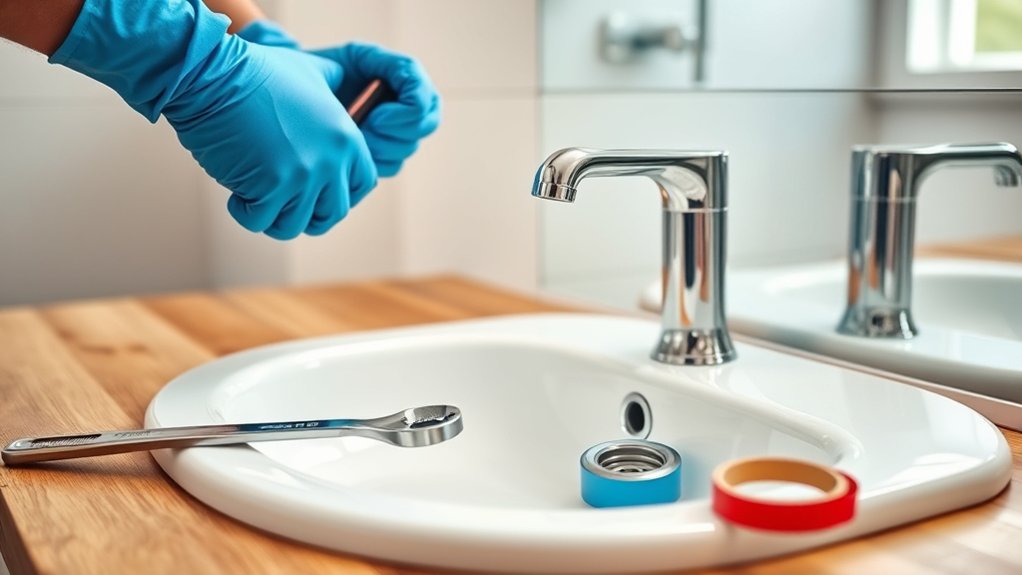
How to Replace a Bathroom Faucet in 10 Easy Steps
To replace your bathroom faucet in 10 easy steps, start by gathering all necessary tools and materials, including a wrench, plumber’s tape, and a new faucet.
Turning off the water supply and draining the lines is crucial to avoid any water mess or damage.
This simple bathroom faucet replacement can save you money and improve your sink’s functionality.
Carefully remove the old faucet, making sure not to damage the sink surface.
Clean the area thoroughly before installing the new faucet.
Base securely. Tighten all connections gently to prevent leaks and ensure a tight fit.
Once installed, test the faucet for proper water flow and fix any issues that arise.
Finish by adjusting the handles for smooth operation and cleaning up your workspace.
Follow these steps, and you’ll have a smoothly working faucet in no time with a few extra tips ahead.
Key Takeaways
- Shut off the water supply and open the faucet to drain any remaining water before starting the replacement.
- Use appropriate tools to disconnect supply lines and remove the old faucet carefully.
- Clean the sink surface, then position and secure the new faucet with mounting nuts and gaskets.
- Attach and tighten supply lines to the new faucet, ensuring no kinks or overtightening.
- Turn on water, check for leaks, test faucet operation, align handles, and clean the workspace.
Gather Tools and Materials for Faucet Replacement
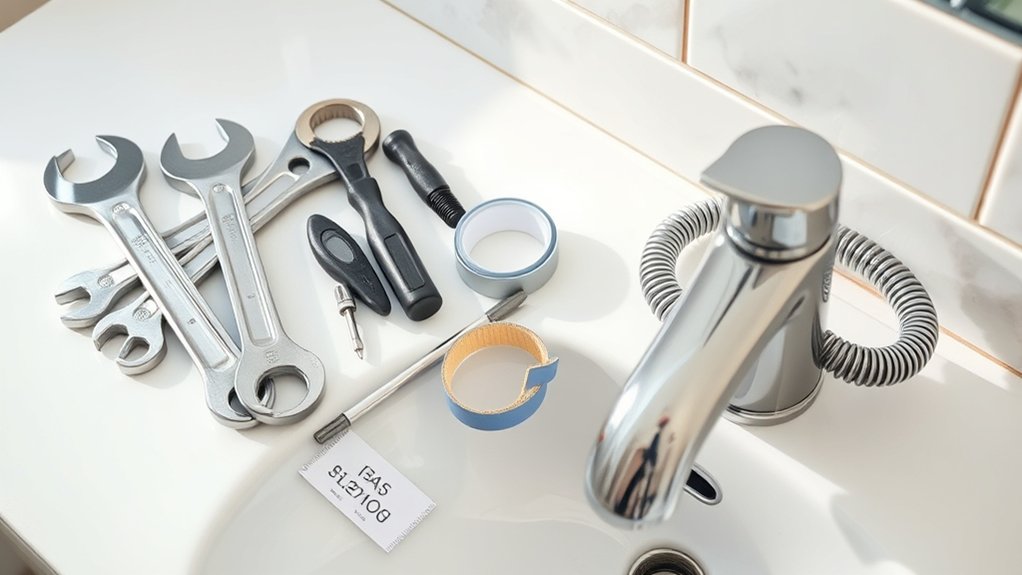
Before you begin replacing your bathroom faucet, you’ll need to gather the right tools and materials to guarantee a smooth process. Start by grabbing an adjustable wrench and a basin wrench, as these will help you loosen and tighten nuts in tight spaces. You’ll also need a screwdriver, plumber’s tape, and a bucket to catch any residual water.
Don’t forget a cloth or rag to clean up spills. Having your new faucet and any necessary supply lines ready is essential. If your fixture includes a new drain assembly, gather those parts too.
Turn Off Water Supply and Drain Lines
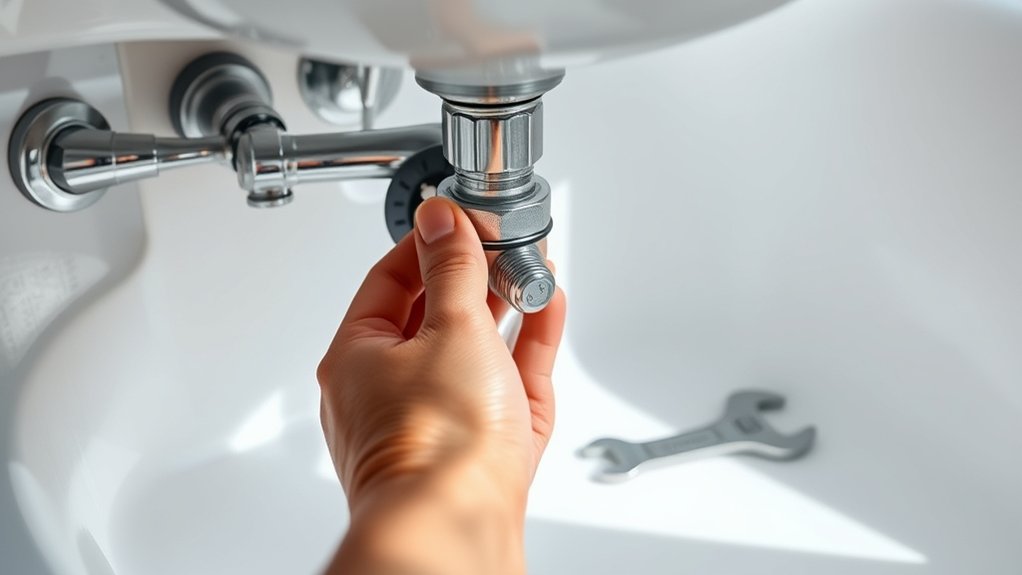
First, locate the shutoff valves under your sink and turn them off to stop the water flow. If you don’t see individual valves, shut off the main water supply for your home.
Then, open the faucet to drain any remaining water from the lines before you start working.
Locate Shutoff Valves
You’ll find the shutoff valves located beneath the sink, usually attached to the water supply lines. These valves control the cold and hot water flow to your faucet. Before you start any replacement work, make sure to identify and locate both valves.
They typically have small round or lever handles. If you don’t see individual shutoff valves under the sink, you might need to turn off the main water supply instead. Once located, turn each valve clockwise to shut off the water flow.
After closing them, open the faucet to release any remaining water in the lines. This step prevents water from spilling when you disconnect the supply lines during the faucet replacement. Knowing where these valves are saves time and helps avoid water damage.
Turn Off Main Supply
If you can’t locate individual shutoff valves under your sink or they don’t fully stop the water flow, you’ll need to turn off the main water supply. Locate your home’s main water valve, usually near the water meter or where the main line enters your house.
Turn it clockwise to shut off the water completely. This step prevents any unexpected leaks or flooding while you work on your faucet.
| Step | What to Do |
|---|---|
| Find Main Valve | Check near water meter or basement |
| Turn Off Valve | Rotate clockwise until tight |
| Confirm Shutdown | Open faucet to ensure no water flows |
Always double-check that water is off before proceeding.
Drain Remaining Water
How do you guarantee no water remains in the pipes before you start replacing your bathroom faucet? After turning off the main water supply, open both the hot and cold faucet handles to release any water still trapped inside the lines. Keep the handles open until the flow completely stops.
This step prevents water from spilling when you disconnect the faucet. Next, check under the sink and open the drain to let any residual water in the pipes drain out. You might want to place a bucket or towels underneath to catch any drips.
Draining the lines ensures a dry workspace and helps avoid messes or water damage during the replacement process. Once the water is fully drained, you’re ready to proceed safely with removing the old faucet.
Remove the Old Bathroom Faucet Carefully
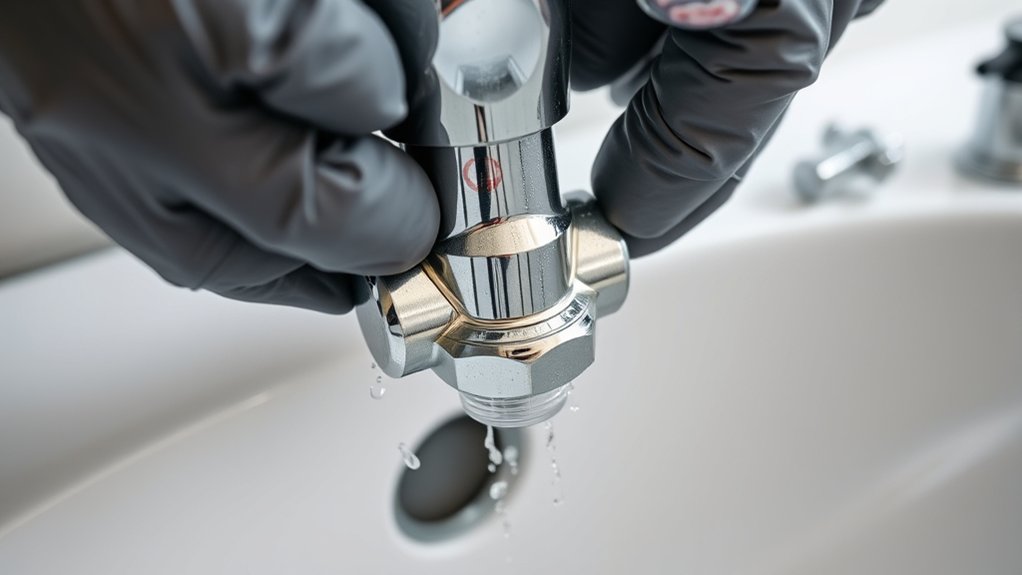
Before removing the old bathroom faucet, turn off the water supply valves under the sink to prevent any leaks. Next, disconnect the water supply lines using an adjustable wrench, loosening the nuts carefully to avoid damaging them. Place a bucket or towel underneath to catch any leftover water.
Then, locate the mounting nuts securing the faucet to the sink’s underside. Use a basin wrench for tight spaces and loosen these nuts patiently. Once the nuts are off, gently lift the faucet from above the sink.
If it feels stuck, wiggle it slightly without forcing it, as you don’t want to damage the sink surface. Finally, clear away any old plumber’s putty or sealant left on the mounting area to prepare for the next steps.
Clean the Sink Surface Before Installation
You’ll want to thoroughly clean the sink surface to guarantee a proper seal for your new faucet. Start by wiping away any debris, old putty, or plumber’s tape left behind from the previous fixture. Use a gentle cleaner and a soft cloth to remove grime and mineral deposits, making sure the area is spotless.
Avoid harsh abrasives that could scratch or damage the sink finish. After cleaning, dry the surface completely with a lint-free cloth to prevent moisture from interfering with the faucet’s sealant. Taking these careful steps helps avoid leaks and ensures your new faucet sits flush and secure.
A clean surface is vital before moving on to installing the new faucet base, so don’t rush this essential step.
Install the New Bathroom Faucet Base Securely
Once the sink surface is clean and dry, position the new faucet base carefully over the mounting holes. Align it so all holes fit perfectly, guaranteeing a snug, even placement. From under the sink, thread the mounting nuts onto the faucet’s threaded shanks.
Use your fingers initially to avoid cross-threading, then tighten the nuts with a basin wrench or adjustable wrench. Be cautious not to overtighten, as this can damage the sink or faucet. Check the faucet base from above to confirm it sits flush without gaps or wobble.
If your faucet includes a gasket or plumber’s putty, guarantee it’s properly in place to prevent leaks. Once everything feels secure and stable, you’re ready to move on to connecting the water supply lines.
Connect Water Supply Lines to the Faucet
Although the faucet base is firmly installed, you still need to connect the water supply lines to guarantee proper water flow. Begin by attaching the hot and cold water lines to their respective faucet inlets. Make sure you identify the hot water line, usually marked with red or on the left, and the cold water line, marked with blue or on the right.
Before connecting, check the supply lines for any damage or debris. Hand-tighten the fittings to avoid cross-threading, ensuring a snug fit. Finally, position the lines so they don’t kink or bend sharply.
- Match hot and cold lines correctly
- Inspect supply lines for damage
- Hand-tighten connections first
- Avoid twisting or kinking lines
- Keep supply lines accessible for future maintenance
Tighten Connections Gently to Avoid Damage
Use the right tools to tighten connections without forcing them, since over-tightening can cause damage. You’ll want to stop once the fittings feel snug but not strained.
Afterward, check carefully for leaks to guarantee everything’s sealed properly.
Use Proper Tools
Before you begin tightening any connections, make sure you have the right tools on hand to do the job correctly. Using proper tools not only makes the job easier but also helps prevent damage to your new faucet and plumbing. Avoid makeshift tools that can slip or scratch surfaces.
Instead, choose tools designed for plumbing tasks to guarantee a secure fit and gentle tightening.
Here are essential tools you’ll need:
- Adjustable wrench
- Basin wrench
- Slip-joint pliers
- Teflon tape
- Soft cloth or rag
With these tools ready, you can carefully tighten each connection without risking damage. Remember, the right tools give you better control and protect your faucet’s finish and plumbing threads.
Avoid Over-Tightening
While it’s important to secure your faucet connections firmly, tightening them too much can cause serious damage. Over-tightening can crack fittings, strip threads, or warp seals, leading to costly repairs or leaks down the line. Use your hands to snug connections first, then apply a wrench for a gentle final turn.
Stop once you feel resistance—don’t force it. Remember, faucets are often made of materials like brass or plastic that can break under excessive pressure. If you’re unsure how tight is tight enough, consult the manufacturer’s instructions or use a torque wrench for precise control.
Taking this cautious approach protects your new faucet and plumbing, ensuring everything fits securely without risking damage.
Check for Leaks
How can you be sure your new bathroom faucet won’t leak? After installation, it’s essential to check all connections carefully. Tighten them gently—over-tightening can damage seals or pipes, causing leaks later.
Follow these steps to guarantee a secure fit:
- Turn on the water supply slowly and watch for drips
- Inspect under the sink for any moisture or puddles
- Run both hot and cold water to test all valves
- Use a dry cloth to spot even small leaks around joints
- If you find a leak, tighten the connection slightly, never more than necessary
Test the Faucet for Leaks and Fix Common Issues
Once you’ve installed the faucet, turn on the water supply and carefully check all connections for leaks. Watch closely around the base, supply lines, and under the sink. If you spot any drips, tighten the fittings gently with a wrench—don’t overtighten, or you might damage the parts.
For leaks at the base, make sure the faucet is seated properly with the rubber gasket in place. If water sprays from the spout or handles, check the cartridge or valve inside; it may need adjusting or replacing. Also, listen for any unusual sounds like hissing, which could indicate a loose connection or pressure issue.
Address these promptly to avoid water damage. Testing thoroughly now saves you headaches later.
Adjust Faucet Handles and Finalize Installation
Now that you’ve checked for leaks, it’s time to adjust the faucet handles for proper alignment. Make sure each handle turns smoothly and lines up evenly with the spout.
Finally, double-check all connections are tight to secure your installation.
Handle Alignment Tips
Although tightening the faucet components is essential, you’ll want to focus next on aligning the handles properly to guarantee smooth operation and an attractive finish. Misaligned handles can cause leaks, uneven water flow, or just look awkward. Take your time to verify they’re perfectly positioned.
Here are some handle alignment tips:
- Check that both handles are level and symmetrical.
- Adjust the set screws or nuts gently to avoid stripping.
- Test the handles’ rotation to ensure they’re not too tight or loose.
- Align the hot and cold handles according to the manufacturer’s markings.
- Use a small level or ruler to confirm precise alignment.
Properly aligned handles not only improve function but also enhance your bathroom’s overall look.
Securing Final Connections
A crucial step in completing your bathroom faucet replacement is securing the final connections to guarantee everything functions properly and stays leak-free. Start by tightening all mounting nuts and screws firmly but avoid over-tightening to prevent damage.
Next, connect the water supply lines to the faucet, making sure the hot and cold lines are correctly matched. Use an adjustable wrench to snug the connections, but don’t overtighten. Once everything is connected, turn the water supply back on slowly and check for leaks around the base and supply connections.
Adjust the faucet handles so they align correctly and move smoothly. If all looks good and operates without leaks, your installation is complete, and you’re ready to enjoy your new bathroom faucet.
Clean Up Your Workspace and Maintain Your Faucet
Why should you clean up your workspace immediately after replacing your bathroom faucet? Cleaning up right away prevents any leftover debris or tools from causing damage or accidents. It also helps you spot leaks or issues early.
Cleaning up immediately after faucet replacement prevents damage, accidents, and helps you catch leaks early.
Plus, a tidy area makes maintenance easier and keeps your bathroom looking fresh.
To keep your new faucet in top shape, remember to:
- Wipe down the faucet and surrounding areas with a soft cloth
- Check for leaks regularly, especially during the first few days
- Clean aerators to maintain water flow
- Avoid harsh chemicals that can damage finishes
- Tighten any loose connections promptly
Frequently Asked Questions
What Type of Faucet Is Best for Water Conservation?
You’ll want a faucet with a WaterSense label, which uses less water without sacrificing pressure. Aerators and low-flow faucets help conserve water, so choosing these types guarantees you save water and reduce your utility bills effectively.
Can I Replace a Faucet Myself Without Plumbing Experience?
Yes, you can replace a faucet yourself without plumbing experience. Just follow clear instructions, turn off the water, use basic tools, and take your time.
If unsure, watch tutorials or ask for help to avoid mistakes.
How Do I Choose the Right Faucet Size for My Sink?
You choose the right faucet size by measuring your sink’s hole spacing—typically single, centerset, or widespread.
Match faucet holes to your sink, and consider height and spout reach to avoid splashing or awkward use.
What Are Common Signs My Faucet Needs Replacement?
Did you know leaking faucets waste over 3,000 gallons of water yearly? If you notice drips, low water pressure, rust, or difficulty turning handles, it’s time you replace your faucet to save water and avoid costly damage.
How Long Does a Typical Bathroom Faucet Last?
A typical bathroom faucet lasts about 10 to 15 years, depending on usage and water quality.
If you notice leaks or corrosion, it’s probably time to think about replacing it to avoid bigger issues.
Conclusion
Now that you’ve danced through each step, your new faucet should sparkle like a fresh morning dew. With every twist and turn, you’ve woven water’s path flawlessly, turning a once-trickling stream into a steady flow.
Keep your workspace tidy, and treat your faucet with care—it’s the shining centerpiece of your bathroom’s rhythm. Remember, a little love goes a long way in keeping your waters flowing smooth and bright.
By following these bathroom faucet replacement steps, you ensure a lasting, leak-free installation. Regular maintenance will keep your new faucet looking great and functioning perfectly for years to come. Enjoy the fresh, clean feel of your updated bathroom faucet!