How to Replace a Faucet Cartridge in 7 Easy Steps
To replace a faucet cartridge in 7 easy steps, start by identifying your faucet type and the specific cartridge needed. Knowing your faucet model helps ensure you get the right replacement cartridge.
Turn off the water supply and prepare your workspace with all necessary tools for the job.
Next, carefully remove the handle to access the old cartridge. Take out the cartridge gently to avoid damaging any parts.
Then, install the new cartridge, making sure it aligns properly within the faucet.
Reattach the handle securely and gradually turn the water back on.
Check for leaks and ensure the faucet operates smoothly.
Follow these steps, and you’ll soon enjoy a drip-free, smoothly working faucet—keep going to master the full process.
Key Takeaways
- Turn off water supply and open the faucet to drain any remaining water before starting the replacement.
- Remove the faucet handle by loosening screws and carefully prying off caps to access the cartridge.
- Extract the old cartridge by noting its alignment, then pull it straight out using a cartridge puller if needed.
- Insert the new cartridge aligned with notches, secure it with the retaining clip or nut, and reattach the handle.
- Gradually turn on water, check for leaks, test water flow, and ensure smooth handle operation after installation.
Identify Your Faucet and Cartridge
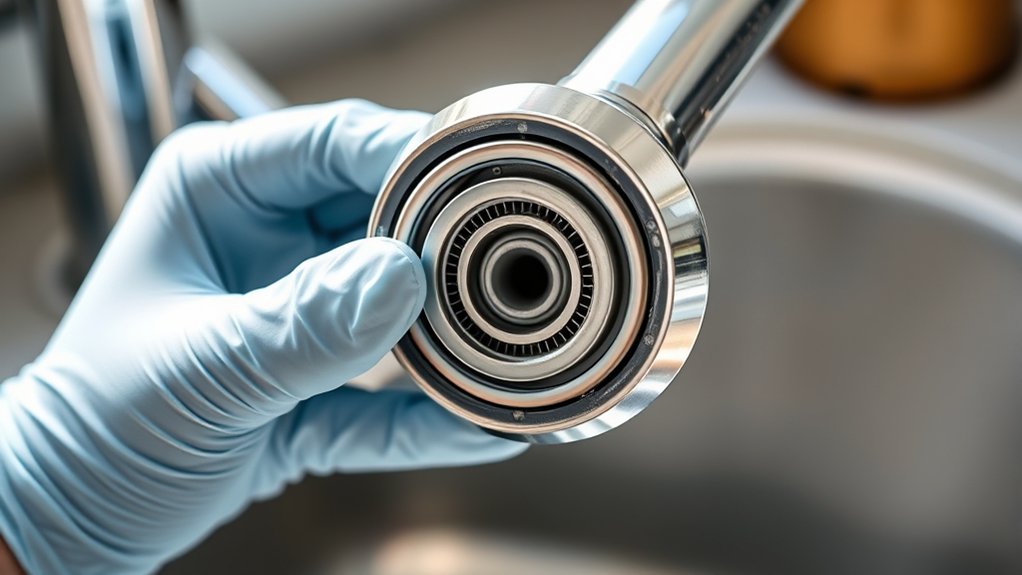
Before you replace your faucet cartridge, you need to identify the type of faucet you have. Most faucets fall into one of three categories: compression, cartridge, or ball-type. Look closely at your faucet’s handle and base.
If your faucet has separate hot and cold handles, it’s likely a compression faucet. Single-handle faucets usually feature cartridge or ball-type mechanisms. Next, remove the handle to inspect the cartridge itself.
Cartridges vary in shape and size, so take note of any model numbers or markings. If you’re unsure, snap a photo and bring it to a hardware store for assistance. Identifying your faucet type accurately saves time and guarantees you get the right cartridge, making the replacement process smoother and more efficient.
Turn Off Your Water Supply First
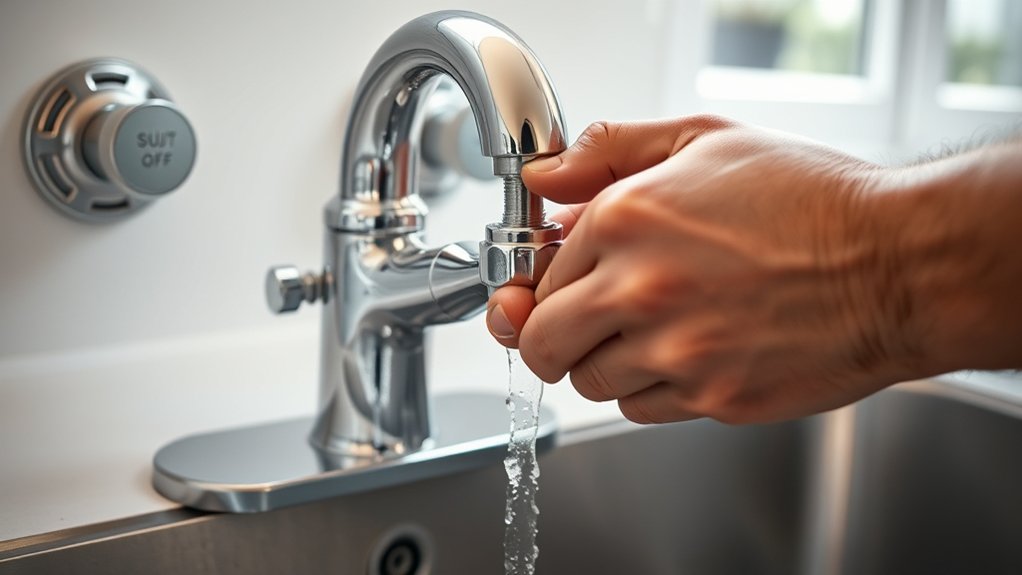
Once you’ve identified your faucet and cartridge, turn off the water supply to prevent leaks and water damage during the replacement. Locate the shutoff valves under the sink—usually, there’s one for hot water and one for cold. Turn both valves clockwise until they stop.
If you don’t see individual shutoffs, you’ll need to turn off the main water supply for your home. After shutting off the water, open the faucet to drain any remaining water from the lines. This step relieves pressure and helps avoid spills when you remove the cartridge.
Double-check that the water is fully off before proceeding. Taking these precautions guarantees a smooth, mess-free cartridge replacement and protects your home from unexpected flooding.
Gather Tools and Prep Your Workspace
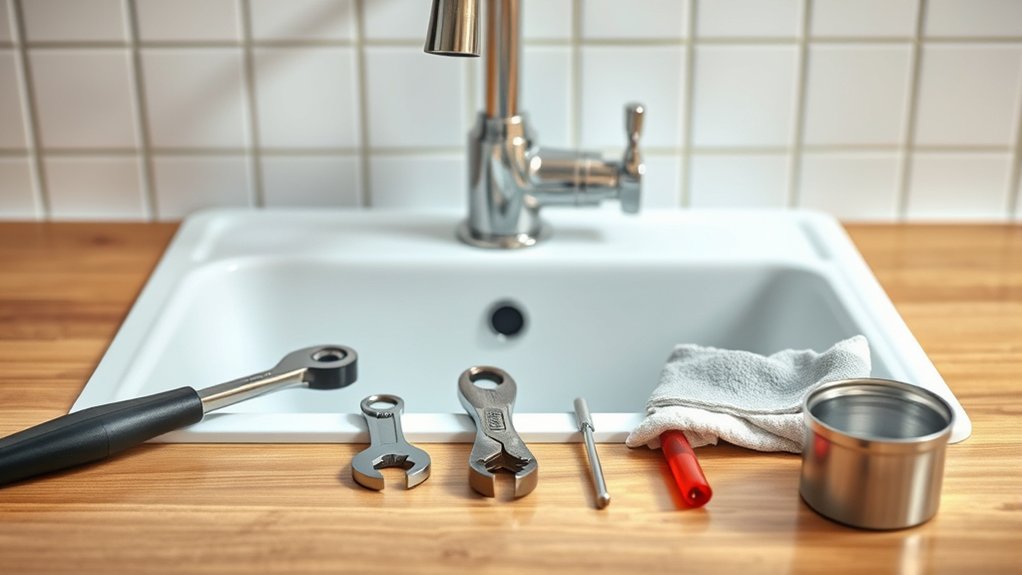
Before you start, make sure you have all the essential tools ready, like a wrench and screwdriver. Clear your workspace to keep everything organized and within reach.
Don’t forget to take basic safety precautions to protect yourself throughout the process.
Essential Tools Checklist
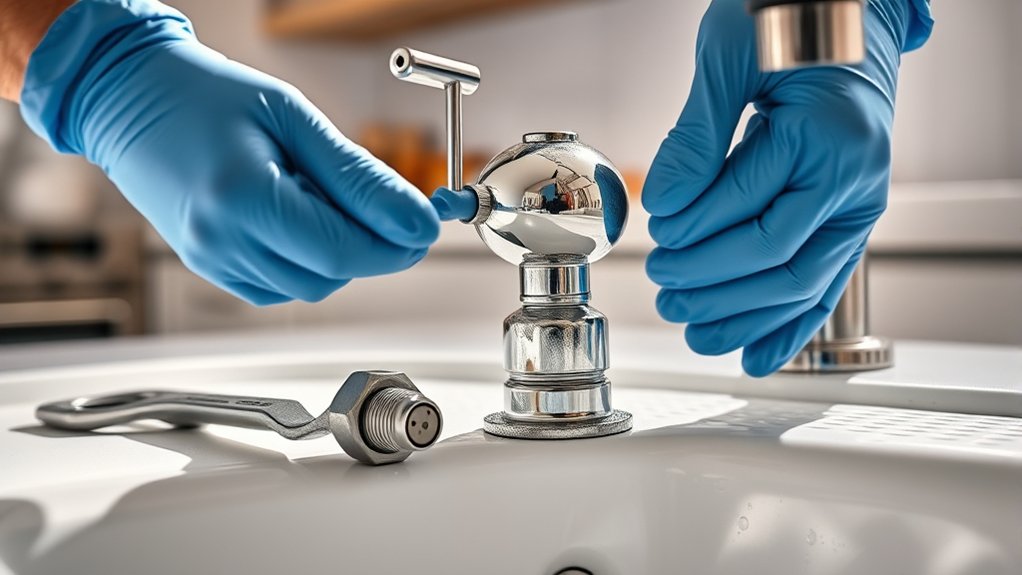
To replace a faucet cartridge smoothly, you’ll need to gather a few essential tools and prepare your workspace carefully. Start with an adjustable wrench to loosen and tighten nuts and a screwdriver set—both flathead and Phillips—to remove screws. Have a pair of pliers handy for gripping small parts and a cartridge puller if your faucet model requires it.
Don’t forget plumber’s grease to lubricate the new cartridge for easier installation and a cloth to clean surfaces. You’ll also need a bucket or bowl to catch any residual water and some towels to prevent spills. Organizing these tools within reach will save time and prevent frustration during the repair process.
Having everything ready guarantees you can replace the cartridge efficiently without interruption.
Clearing Your Workspace
Gathering the right tools sets a solid foundation, but clearing and prepping your workspace guarantees you can work efficiently and safely. Start by removing any clutter around the sink area to give yourself ample room to move. Lay down a towel or a rubber mat under the faucet to catch drips and protect your cabinet from water damage.
Make sure your tools are within easy reach to avoid unnecessary trips or distractions during the repair.
Here’s a quick checklist to prep your workspace:
- Clear the sink area and surrounding countertop
- Place a towel or mat under the faucet to catch spills
- Arrange all tools and replacement parts nearby
With your workspace ready, you’ll tackle the cartridge replacement smoothly and with less stress.
Safety Precautions First
Although you’ve prepared your workspace and tools, prioritizing safety guarantees the repair goes smoothly without accidents. First, turn off the water supply to avoid leaks or flooding.
Next, unplug any nearby electrical devices to prevent shocks. Wear safety gloves and goggles to protect your hands and eyes from sharp parts or splashes. Keep your workspace well-lit and dry to reduce slips or mistakes.
Finally, have a bucket or towel ready to catch any leftover water.
| Safety Tip | Why It Matters |
|---|---|
| Turn off water supply | Prevents flooding and water damage |
| Wear gloves and goggles | Protects from injury and splashes |
| Clear and dry workspace | Avoids slips and ensures visibility |
Remove the Faucet Handle
First, figure out what type of handle your faucet has, as this will guide your removal process. Next, locate and loosen the handle screw, which is often hidden under a decorative cap.
Once the screw is loose, you can carefully lift off the handle to access the cartridge.
Identify Handle Type
How do you know which type of handle your faucet has before removing it? Identifying the handle type helps you prepare the right tools and avoid damage.
Most faucets come with one of these common handle types:
- Single lever: A single handle controls both hot and cold water, often lifting or rotating.
- Cross handle: Resembling a plus sign, these handles twist to adjust water flow.
- Knob handle: Rounded and usually turned clockwise or counterclockwise to operate.
Take a close look at your faucet handle’s shape and movement. Knowing this lets you approach removal confidently and prevents unnecessary force.
Once you’ve identified the handle type, you can move forward with loosening the handle screw safely.
Loosen Handle Screw
Before you can replace the faucet cartridge, you’ll need to loosen and remove the handle screw that secures the handle in place. Start by locating the screw—often hidden under a decorative cap or on the side of the handle. Pry off any caps gently using a flathead screwdriver or a fingernail.
Once exposed, use the appropriate screwdriver, usually a Phillips or flathead, to turn the screw counterclockwise. Apply steady pressure to avoid stripping the screw head. If the screw feels stuck, a few drops of penetrating oil can help loosen it.
After removing the screw, carefully pull the handle straight up and off the faucet stem. If it resists, wiggle it slightly or use a handle puller tool. Now, the handle is off, and you’re ready to access the cartridge.
Take Out the Old Cartridge Carefully
Once you’ve loosened the retaining nut, you’ll want to pull the old cartridge out gently to avoid damaging the surrounding parts. Grip the cartridge firmly and wiggle it slightly while pulling straight up. If it feels stuck, don’t force it—you can use pliers with a cloth wrapped around the cartridge to protect its surface.
Be mindful of the following:
- Avoid twisting or applying too much pressure, which can break the cartridge or faucet body.
- Watch for any debris or mineral buildup that might be holding it in place.
- Keep a towel nearby to catch any water that might spill during removal.
Taking your time and handling the cartridge carefully will save you from extra repairs and make the replacement process smoother.
Install the New Faucet Cartridge Correctly
Although installing a new faucet cartridge might seem tricky, you can handle it easily by aligning it properly and securing it firmly. First, check the cartridge for alignment tabs or notches that fit into the faucet body. Slide the cartridge straight in without forcing it, ensuring these tabs sit correctly.
Next, press it down firmly to seat it fully. Once aligned, replace the retaining clip or nut to hold the cartridge in place. Tighten it securely, but avoid over-tightening, which can damage the cartridge or faucet.
Finally, reattach the handle, making sure it moves smoothly. Taking these precise steps will set your new cartridge up for ideal performance and prevent issues later on.
Test Your Faucet and Check for Leaks
After you’ve installed the new cartridge and reattached the handle, it’s time to test your faucet to make sure everything works properly. Turn the water supply back on slowly to avoid any sudden pressure that could cause leaks.
Next, operate the handle to check both hot and cold water flow. Pay close attention to any drips or unusual noises.
Here’s what you should do:
- Look under the sink for any signs of water leaks around the cartridge or connections.
- Run water for a few minutes to ensure consistent flow and no dripping after shutting off.
- Check the handle’s movement to confirm it’s smooth and fully operational.
If you spot leaks or issues, tighten connections or reassess the cartridge installation.
Frequently Asked Questions
How Often Should I Replace My Faucet Cartridge?
You should replace your faucet cartridge every 1 to 2 years or when you notice leaks, reduced water flow, or difficulty turning the handle.
Regular checks help you avoid bigger plumbing issues down the line.
Can I Use Any Cartridge Brand for My Faucet?
You can’t just grab any cartridge brand; if you do, your faucet might leak or malfunction. Always match the cartridge to your faucet model—luckily, many brands list compatible models to make your choice easier.
What Causes Faucet Cartridges to Wear Out?
You’ll find faucet cartridges wear out due to mineral buildup, frequent use, or worn-out seals. Hard water and constant turning cause corrosion and leaks, so replacing them keeps your faucet running smoothly without drips or sticking.
Are There Eco-Friendly Faucet Cartridges Available?
Yes, you can find eco-friendly faucet cartridges made from sustainable materials or designed to reduce water waste. You’ll save water and energy by choosing these, helping the environment while keeping your faucet efficient and durable.
How Do I Know if My Faucet Cartridge Is Defective?
You’ll know your faucet cartridge is defective if your faucet leaks, drips, or the water flow is uneven.
You might also feel difficulty turning the handle or notice strange noises when you use the faucet.
Conclusion
Now that you’ve replaced your faucet cartridge, you’re not just fixing a leak—you’re reclaiming control over your home’s flow. With just a few simple steps, you’ve turned a tricky task into a triumph.
Remember, patience and precision are your best tools. So next time your faucet acts up, you’ll know exactly what to do. After all, a steady drip today won’t stand a chance against your newfound skills tomorrow!
By following these easy steps to replace a faucet cartridge, you’ve mastered a key home maintenance skill. This knowledge ensures your faucet repair is efficient and lasting. Keep these tips handy for future faucet cartridge replacements and enjoy a smoothly running home.