How to Read a Vacuum Gauge in 7 Simple Steps
To read a vacuum gauge accurately, it is essential to understand the basics of vacuum measurement and how this tool helps monitor pressure relative to atmospheric pressure. A vacuum gauge is a crucial instrument for diagnosing engine performance and system health, especially in automotive and industrial applications.
First, choose the right type of vacuum gauge based on your specific pressure range and ensure it is connected securely using proper fittings.
Learn to interpret the scale and units displayed on the gauge to avoid confusion during readings.
Next, observe the needle movement under normal operating conditions, looking for steady and consistent readings. Be alert for sudden fluctuations or drops, which may indicate leaks or underlying engine issues. Recognizing these patterns early allows you to take prompt action.
By following these simple steps, you will be able to read a vacuum gauge effectively, diagnose potential problems, and maintain optimal system performance.
Key Takeaways
- Identify the gauge units (inHg, mbar, Torr) and understand that lower readings indicate higher vacuum levels.
- Observe the needle’s steady position relative to the scale markings for accurate measurement.
- Compare readings to standard ranges, noting that 17-21 inHg typically indicates good engine health.
- Watch for needle fluctuations, which may signal leaks, valve issues, or ignition problems.
- Regularly monitor vacuum readings to detect early engine or system faults and maintain performance.
What Exactly Does a Vacuum Gauge Measure?

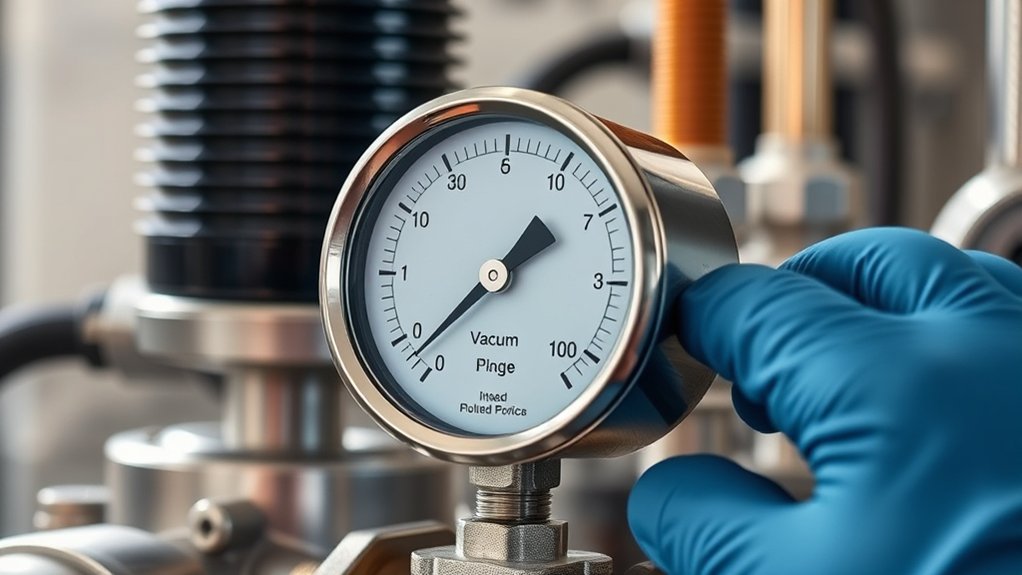
What does a vacuum gauge actually measure? It measures the pressure in a system, specifically how much lower it is compared to atmospheric pressure. When you use a vacuum gauge, you’re checking the level of vacuum—or how much air and other gases have been removed from a sealed space.
The gauge shows this by indicating the pressure difference between the inside of the system and the outside air. This measurement is essential because it tells you if the vacuum system is working properly or if there’s a leak. By reading the gauge, you can determine if the pressure has dropped to the desired level or if adjustments are needed to maintain efficiency and safety in your application.
Identify and Choose the Right Vacuum Gauge Type

You’ll need to understand the different types of vacuum gauges to pick the right one for your needs. Each gauge measures pressure ranges differently, so choosing based on the specific vacuum level is key.
Also, consider your application to make sure the gauge fits the environment and accuracy requirements.
Types of Vacuum Gauges
Although vacuum gauges come in various types, choosing the right one depends on the specific pressure range and application you’re working with. You’ll commonly encounter mechanical gauges like Bourdon tubes, which are great for moderate vacuum levels and simple readings.
For lower pressures, you might use thermocouple or Pirani gauges, which measure changes in thermal conductivity to determine vacuum levels. If you need ultra-high vacuum readings, ionization gauges are your best bet, as they detect ionized gas particles.
Capacitive gauges, meanwhile, measure pressure by detecting changes in capacitance and work well in medium to high vacuum ranges. Knowing these types helps you pick a gauge that fits your needs, ensuring accurate and reliable vacuum measurements.
Selecting Gauge Based Pressure
How do you determine which vacuum gauge suits your specific pressure needs? Start by identifying the pressure range you need to measure. Low vacuum levels require gauges sensitive to small pressure changes, like ionization gauges or thermocouple gauges.
For medium vacuum, Pirani or capacitance manometers often work well. High vacuum measurements typically call for gauges designed to handle very low pressures accurately. Also, consider the gauge’s accuracy and response time—choose one that matches how precise and fast your readings must be.
Keep in mind that some gauges perform better under certain conditions, such as temperature or gas type, but you’ll explore that in the next section. By focusing on the pressure range first, you’ll narrow down your options and pick a gauge that delivers reliable, clear readings.
Application-Specific Gauge Choices
Where should you start when choosing a vacuum gauge for a specific application? Begin by understanding the pressure range you need to measure. Different gauges perform best at different ranges—mechanical gauges suit higher pressures, while ionization gauges handle ultra-low vacuums.
Next, consider the environment: will the gauge face corrosive gases or extreme temperatures? This affects material choices and durability. Also, think about response time and accuracy requirements; some processes demand quick, precise readings, while others tolerate slower measurements.
Finally, evaluate compatibility with your system’s connection type and ease of calibration. By identifying these key factors, you can select the vacuum gauge type that guarantees reliable, accurate readings tailored to your unique application needs.
How to Read a Vacuum Gauge Scale Correctly
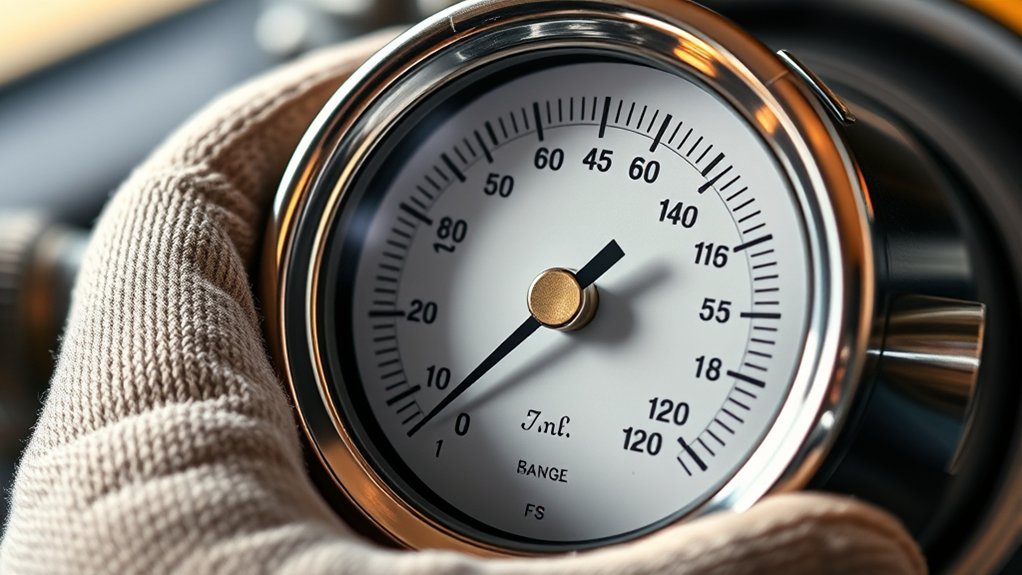
When you read a vacuum gauge scale correctly, you’ll quickly understand the pressure level in your system. Start by identifying the units—common ones include inches of mercury (inHg), millibar (mbar), or microns. Note the needle’s position relative to the scale markings.
Each increment represents a specific pressure value, so read carefully between marks if needed. Remember, lower readings indicate higher vacuum levels.
| Scale Unit | Typical Range |
|---|---|
| inHg | 0 to 30 inHg |
| mbar | 0 to 1000 mbar |
| microns | 0 to 1000 microns |
| Torr | 0 to 760 Torr |
| Pa | 0 to 133,322 Pa |
Understanding these units helps you interpret your gauge accurately and maintain your system’s performance.
Connect Your Vacuum Gauge Properly to Equipment
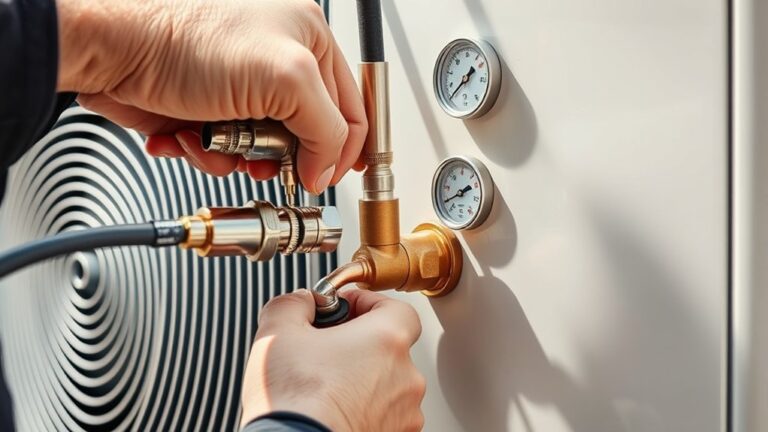
Before you start reading your vacuum gauge, make sure you connect it securely to the right equipment. Using compatible fittings and tight seals prevents leaks and guarantees accurate readings.
Let’s look at how to achieve a proper, secure connection.
Secure Connection Techniques
Although connecting your vacuum gauge may seem straightforward, ensuring a secure and proper attachment is essential for accurate readings and equipment safety. Start by inspecting all connection points for damage or debris that could cause leaks. Use the correct fittings and tighten them firmly by hand, then give a slight turn with a wrench—avoid over-tightening, which can damage threads.
Apply thread sealant or Teflon tape on threaded joints to prevent leaks, but don’t let excess material enter the gauge or equipment. Always connect the gauge to a clean, dry port to maintain system integrity. Once connected, test for leaks by applying a vacuum and watching for pressure changes.
Following these steps helps you trust your readings and keeps your equipment running smoothly.
Compatible Equipment Types
Since vacuum gauges come in various types and sizes, you need to match your gauge with compatible equipment to guarantee accurate readings and prevent damage. Different gauges are designed for specific applications, so connecting the wrong type can cause errors or even harm your tools.
Always check the pressure range, connection type, and material compatibility before attaching your gauge.
Here’s a quick reference to help you connect your vacuum gauge properly:
| Equipment Type | Suitable Vacuum Gauge Type |
|---|---|
| HVAC Systems | Digital or Analog Low Vacuum |
| Laboratory Vacuum Pumps | Precision Digital Gauges |
| Automotive Brake Systems | Mechanical Dial Gauges |
| Industrial Vacuum Chambers | High Range Digital Gauges |
| Refrigeration Systems | Compound Gauges |
Match your gauge accordingly to ensure reliable performance.
Observe Vacuum Gauge Readings Under Normal Conditions
When you observe vacuum gauge readings under normal conditions, you’ll notice a steady needle that reflects consistent engine performance. Typically, the gauge will read between 17 and 22 inches of mercury (inHg) at idle, depending on the engine type. This stable reading indicates that the intake manifold is maintaining proper vacuum pressure, essential for efficient combustion.
As you maintain a steady throttle, the needle should hold steady without sudden drops or spikes. Small, gradual changes are normal during acceleration or deceleration, but overall, the gauge should provide a smooth, predictable reading.
What Vacuum Gauge Fluctuations Tell You
If your vacuum gauge needle starts to fluctuate unexpectedly, it’s a sign that something might be affecting your engine’s performance. These fluctuations can indicate irregularities in the engine’s air-fuel mixture, ignition timing, or valve operation. When the needle swings rapidly, it often points to misfires or inconsistent combustion cycles.
Slow, rhythmic fluctuations might suggest an issue with the valves or timing chain. You should also note sudden drops or spikes, which could mean a vacuum leak or a sticking valve. By paying attention to these needle movements, you gain insight into engine conditions without dismantling parts.
Diagnosing Common Problems Using Vacuum Gauge Readings
Although vacuum gauge readings might seem complex at first, they provide clear clues about your engine’s health once you know what to look for. If you see a steady reading between 17 and 21 inches of mercury, your engine’s in good shape. A fluctuating needle often points to valve issues, while a slow drop suggests leaking valves or worn rings.
If the gauge drops sharply, it could mean a vacuum leak or an intake manifold gasket problem. Rapid, erratic swings often indicate ignition or valve timing issues. By comparing your readings to these patterns, you can pinpoint common problems before they worsen.
Using your vacuum gauge regularly helps you catch issues early, saving time and costly repairs down the line.
Frequently Asked Questions
How Often Should I Calibrate My Vacuum Gauge?
You should calibrate your vacuum gauge at least once a year or whenever you notice inaccurate readings. Regular calibration keeps your measurements reliable, especially if you use the gauge frequently or in critical applications.
Frequent use or critical applications demand more attention to calibration. This ensures that your readings remain precise and trustworthy. Don’t wait for obvious errors to appear before recalibrating.
Can Vacuum Gauges Be Used in Hazardous Environments?
Yes, you can use vacuum gauges in hazardous environments, but you need explosion-proof or intrinsically safe models. You’ll protect yourself, protect your equipment, and protect your process by choosing gauges designed for those conditions.
What Maintenance Is Required for Vacuum Gauges?
You should regularly clean the gauge face, check for leaks, and calibrate it periodically to guarantee accuracy.
Also, inspect the connections and replace any worn parts to keep your vacuum gauge functioning properly and reliably.
Are Digital Vacuum Gauges More Accurate Than Analog Ones?
You’d think digital vacuum gauges are as precise as a laser beam, and you’d be right—they generally offer more accuracy and easier readings than analog ones.
Plus, they reduce human error and provide quicker, clearer data for you.
How Do Temperature Changes Affect Vacuum Gauge Readings?
Temperature changes affect vacuum gauge readings by causing the gas density inside to fluctuate, which can lead to inaccurate measurements. You’ll want to calibrate or compensate for temperature shifts to guarantee precise readings.
Conclusion
Now that you know how to read a vacuum gauge, you’re ready to spot issues before they become big problems. It’s no coincidence that skilled technicians rely on these gauges daily—they give you real-time insight into your system’s health.
By connecting the right gauge, reading it right, and understanding fluctuations, you’ll catch small faults early and keep everything running smoothly. So, trust your gauge—it’s your system’s secret language.
Using a vacuum gauge correctly is essential for accurate readings and effective troubleshooting. Mastering how to read a vacuum gauge empowers you to maintain optimal system performance and prevent costly repairs. Always rely on your vacuum gauge as a vital diagnostic tool.