Clean Your Vacuum Cleaner Brush in 10 Easy Steps
To clean your vacuum cleaner brush in 10 easy steps, start by unplugging the vacuum and safely detaching the brush. Proper maintenance of your vacuum cleaner brush is essential for optimal performance and longevity.
Regular cleaning helps remove hair, fibers, and debris that can clog the brush and reduce suction power.
Remove hair and fibers by hand, cutting away stubborn debris with scissors. Brush off dust and dirt gently, then wash the roll in warm soapy water. Dry it fully before reattaching to prevent damage.
Check and clear the brush bearings to ensure smooth rotation.
After reassembling, test your vacuum’s performance to confirm it is working efficiently.
How often you clean depends on your floor type and usage.
Keep going to discover detailed tips for maintaining your vacuum’s power and lifespan. Consistent care will help keep your floors clean and your vacuum running like new.
Key Takeaways
- Unplug the vacuum and detach the brush roll using the manual or screwdriver if needed, handling parts gently to avoid damage.
- Remove large hair clumps by hand and use scissors or tweezers to cut and extract smaller fibers stuck in the brush.
- Dust the brush with a dry cloth or toothbrush, then soak it in warm soapy water and scrub gently before rinsing thoroughly.
- Dry the brush completely on a towel in a ventilated area, avoiding direct sunlight or heat to prevent warping.
- Inspect and clean bearings, lubricate if stiff, reassemble the brush securely, and test the vacuum for proper function.
Get Your Cleaning Tools Ready
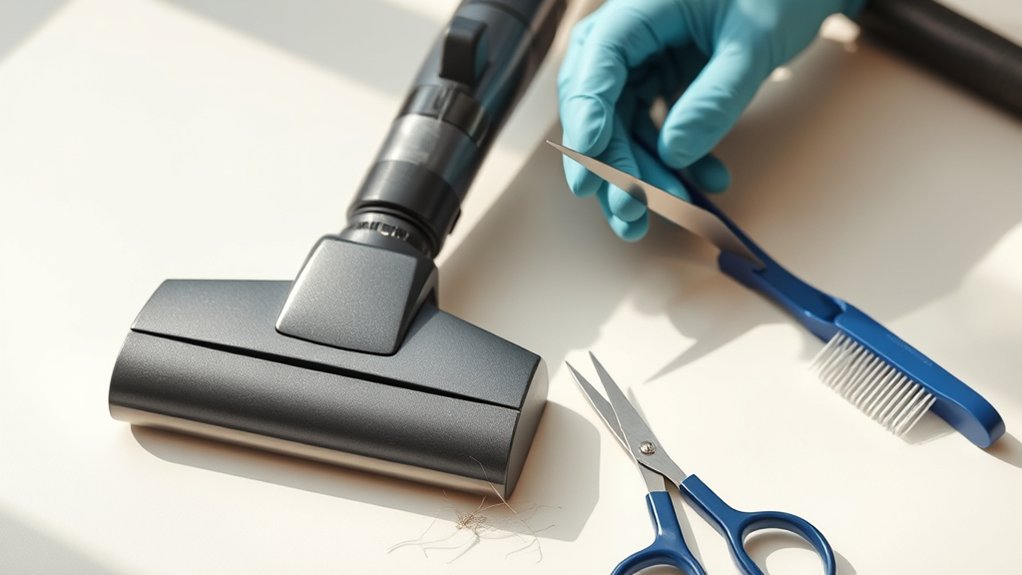
Before you plunge into cleaning your vacuum brush, gather all the necessary tools to make the process smooth and efficient. You’ll need a pair of scissors or a seam ripper to cut through tangled hair and threads wrapped around the bristles. Grab a pair of tweezers for pulling out stubborn debris stuck deep inside.
Have a soft cloth or microfiber rag ready to wipe off dust and dirt. A small brush, like an old toothbrush, will help you scrub away grime without damaging the bristles. Keep a bowl of warm, soapy water nearby for soaking if your vacuum brush allows it.
Unplug and Detach the Vacuum Brush Safely
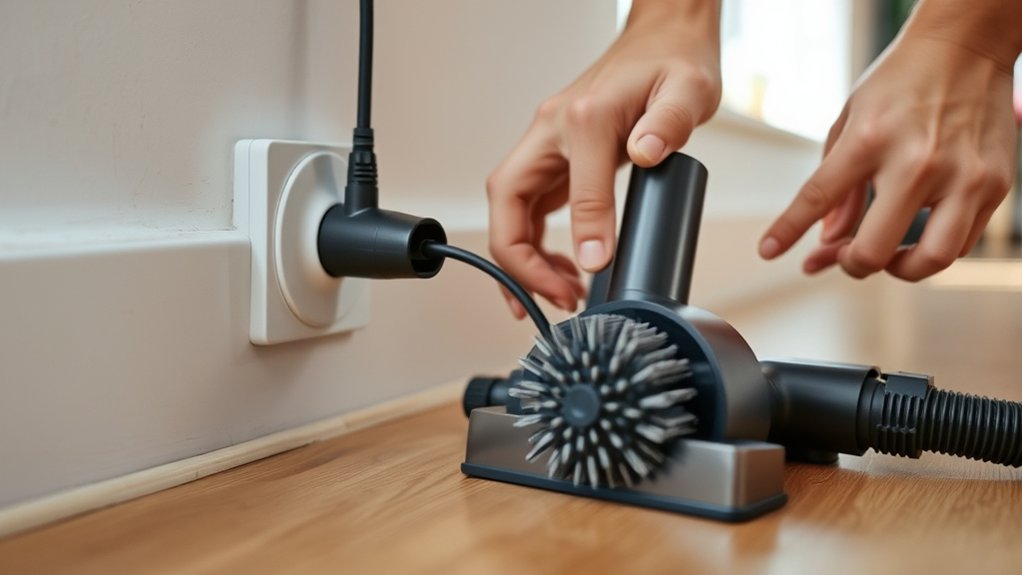
Once you’ve gathered all your cleaning tools, make certain to unplug your vacuum cleaner to prevent any accidents. Safety first!
Next, locate the brush roll, usually at the base of the vacuum, and check your model’s manual for detachment instructions. Most brushes simply snap or slide out. Use a screwdriver if needed, but don’t force any parts.
Handling your vacuum gently avoids damage and keeps it working longer.
| Step | Action |
|---|---|
| 1 | Unplug vacuum |
| 2 | Locate brush roll |
| 3 | Check manual for removal |
| 4 | Unsnap or slide brush out |
| 5 | Use screwdriver if required |
Following these steps ensures you clean your brush safely and effectively.
Remove Tangled Hair and Fibers by Hand
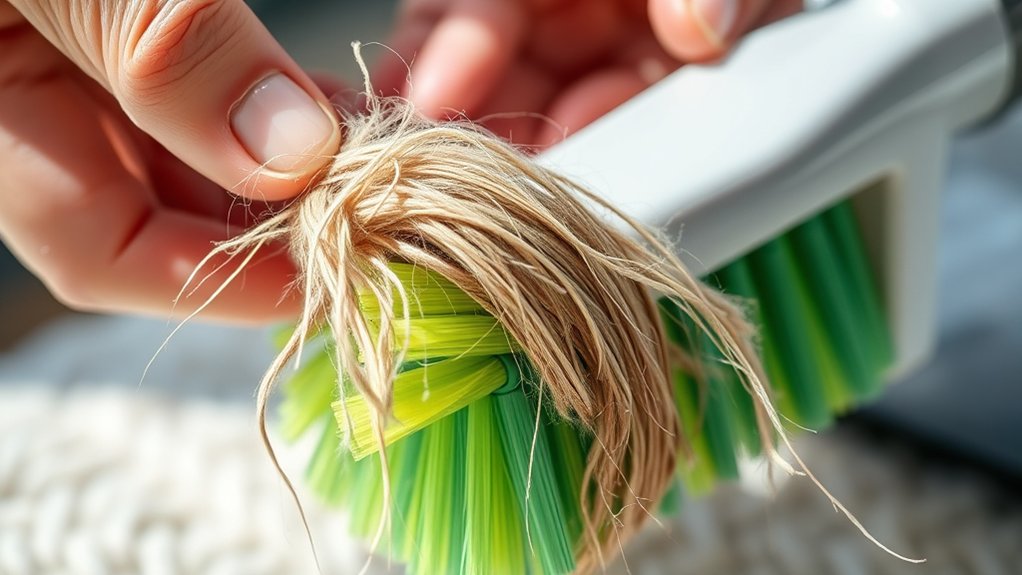
Although it can be tedious, removing tangled hair and fibers by hand is essential for keeping your vacuum brush functioning smoothly. Start by carefully pulling off large clumps of hair wrapped around the bristles. Use your fingers to gently tease out smaller strands stuck deep within the brush.
Don’t rush—thoroughly clearing these tangles prevents blockages and extends the brush’s lifespan. If you find fibers tightly wound, wiggle them free slowly to avoid damaging the bristles. Keep a trash bin nearby to dispose of the debris immediately, so it doesn’t stick back onto the brush.
Taking the time to remove hair and fibers by hand guarantees your vacuum maintains strong suction and cleans efficiently every time you use it.
Cut Away Stubborn Debris From Your Vacuum Brush
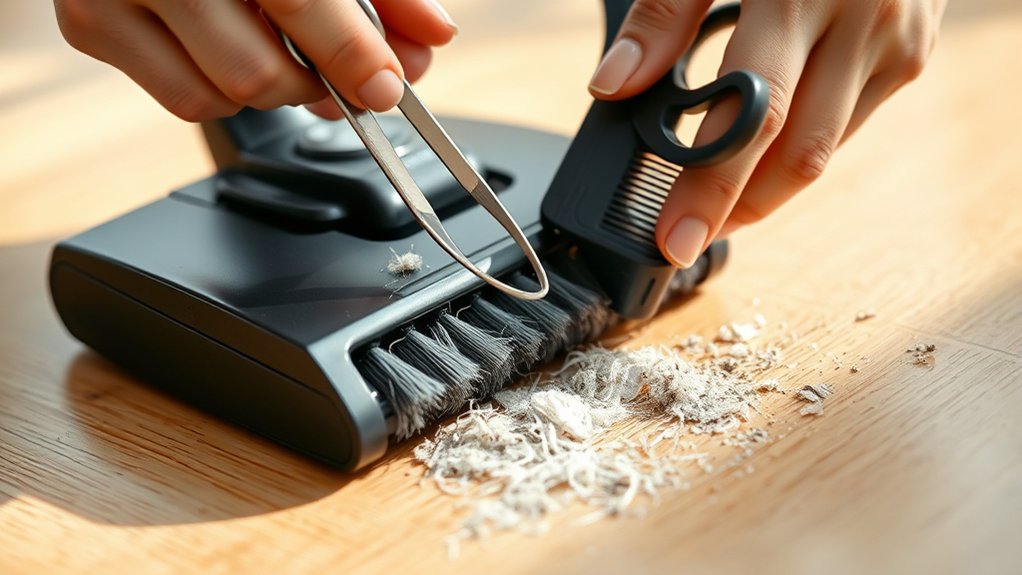
If you notice debris that’s too tough to remove by hand, grab a pair of scissors or a seam ripper to carefully cut it away. Focus on cutting through hair, threads, or fabric fibers wrapped tightly around the brush. Take your time to avoid damaging the bristles or the brush itself.
Work in small sections, snipping away the debris bit by bit. Once you’ve loosened the stubborn material, gently pull it free with your fingers or tweezers. Be cautious not to cut too close to the base of the bristles, as this can affect the brush’s performance.
Regularly inspecting and cutting away tough debris helps keep your vacuum brush spinning smoothly and prolongs its lifespan. This step ensures your vacuum cleans efficiently without blockages.
Brush Dust and Dirt Off the Bristles
How do you remove the fine dust and dirt that cling to your vacuum brush bristles? Start by holding the brush over a trash can or sink. Use a clean, dry cloth or an old toothbrush to gently sweep away the dust.
Work in the direction of the bristles to avoid pushing dirt deeper. You can also tap the brush lightly against the trash can to loosen trapped particles. For stubborn dust, a can of compressed air works well to blow it out from between bristles.
Avoid using water or cleaning solutions at this stage, as that’s reserved for later steps. Keeping the bristles free from dust guarantees your vacuum performs efficiently and prevents dirt from spreading back onto your floors during use.
Clean the Brush Roll With Soap and Water
Once you’ve removed loose dust and dirt, it’s time to give the brush roll a deeper clean using soap and water. Fill a basin with warm water and add a few drops of mild dish soap. Submerge the brush roll and gently scrub the bristles and the roller with a soft brush or cloth to remove any stubborn grime or sticky residue.
Be thorough but gentle to avoid damaging the bristles. Avoid soaking any parts that contain bearings or electrical components. Rinse the brush roll under running water to wash away soap and loosened dirt.
This step helps restore the brush’s efficiency by removing buildup that can reduce suction and cleaning performance. Remember, a clean brush roll ensures your vacuum works at its best.
Dry the Vacuum Brush Before Reassembly
After rinsing the brush roll, let it dry completely before putting it back into your vacuum. Moisture trapped inside can cause mold, damage the brush, or affect your vacuum’s performance. To speed up drying, shake off excess water gently and place the brush roll on a clean, dry towel in a well-ventilated area.
Avoid direct sunlight or heat sources, as they might warp or weaken the brush material. Depending on humidity, drying can take several hours or even overnight. Don’t rush this step; confirm the brush roll is fully dry to maintain its effectiveness and longevity.
Once dry, you’ll be ready to reassemble your vacuum cleaner safely without risking any damage from leftover moisture.
Check the Brush Bearings and Clear Any Blockages
Although the brush roll may look clean, you should inspect the bearings closely to make certain they spin freely and aren’t clogged with hair or debris. Grab a flashlight to get a better look inside the bearing housing. If you spot tangled hair, dust, or carpet fibers, carefully remove them with tweezers or a small brush.
Stuck debris can cause the brush to jam or wear out prematurely. Once clear, rotate the brush roll by hand to ensure smooth movement; it shouldn’t feel stiff or gritty. If the bearings still won’t turn easily, consider applying a drop of light machine oil to lubricate them.
Keeping the bearings clean and free of blockages helps maintain your vacuum’s efficiency and prolongs the brush’s lifespan.
Reattach the Brush and Test Your Vacuum’s Performance
Before you reattach the brush, make sure all parts are completely dry and free from loose debris. Carefully align the brush with its housing, ensuring the bearings fit snugly into their slots. Press the brush firmly into place until you hear a click or feel it lock securely.
Next, reattach any covers or screws you removed earlier. Once everything’s back in place, plug in your vacuum and turn it on. Pay attention to how the brush spins and listen for any unusual sounds.
Test it on a small carpeted area to verify suction and brush rotation. If it runs smoothly and picks up dirt effectively, you’ve done a great job. If not, double-check the alignment or clean any remaining blockages before trying again.
How Often Should You Clean Your Vacuum Brush?
You should clean your vacuum brush regularly to keep it working efficiently, but how often depends on your usage and environment. Factors like pet hair, carpet type, and frequency of vacuuming all play a role.
Watch for signs like reduced suction or visible debris tangled around the brush to know when it’s time to clean.
Cleaning Frequency Guidelines
Since your vacuum brush collects dirt and debris every time you clean, it’s important to maintain it regularly to keep your vacuum working efficiently. How often you clean depends on your usage and environment.
Below is a simple guideline to help you decide:
| Usage Frequency | Surface Type | Cleaning Frequency |
|---|---|---|
| Daily | Carpets | Weekly |
| Daily | Hard Floors | Biweekly |
| Weekly | Carpets | Biweekly |
| Weekly | Hard Floors | Monthly |
| Occasionally | All Surfaces | Monthly or as needed |
Stick to this schedule to guarantee your vacuum brush stays free of buildup, improving suction and extending the life of your vacuum.
Factors Affecting Cleaning
Although cleaning frequency guidelines offer a helpful starting point, several factors influence how often you should clean your vacuum brush. Your home’s environment and usage patterns play a big role in this.
- Pet Ownership: If you have pets, hair and dander accumulate faster, requiring more frequent cleaning.
- Floor Type: Carpets trap more debris than hard floors, so brushes on carpets need cleaning more often.
- Usage Frequency: The more often you vacuum, the more regularly you should clean the brush to maintain efficiency.
- Allergy Sensitivity: If you or family members have allergies, cleaning the brush frequently helps reduce allergens in your home.
Signs To Clean
When your vacuum brush starts to show signs of wear or reduced performance, it’s time to clean it. You don’t want dirt and hair buildup to hinder its effectiveness.
Checking your brush regularly helps maintain suction power and prevents damage. Here are common signs indicating it’s time for a clean:
| Sign | What It Means |
|---|---|
| Reduced suction | Brush clogged with debris |
| Visible hair or threads | Tangled around the brush roll |
| Unusual noises | Objects stuck in brush |
| Skipping or missing spots | Brush not spinning properly |
| Bad odor | Accumulated dirt and dust |
Frequently Asked Questions
Can I Use a Vacuum Cleaner Brush for Pet Hair Removal?
Yes, you can use a vacuum cleaner brush for pet hair removal. It’s designed to lift dirt and hair from carpets and upholstery, making it easier for your vacuum to suck up stubborn pet fur efficiently.
What Types of Vacuum Brushes Are Best for Hardwood Floors?
You’ll want soft-bristle or microfiber vacuum brushes for hardwood floors—they’re gentle companions that protect your floors from scratches while efficiently sweeping away dust and debris.
These brushes keep your space looking beautifully polished and cared for.
How Do I Know if My Vacuum Brush Needs Replacement?
You’ll know your vacuum brush needs replacement if it’s worn down, bristles are missing or bent, or it doesn’t pick up debris well anymore.
Also, unusual noise or vibration can signal it’s time to swap it out.
Are There Specific Vacuum Brushes for Allergies?
Just like Harry Potter’s wand chooses its wizard, allergy sufferers need vacuum brushes designed specifically for them. You’ll find brushes with HEPA filters and anti-allergen bristles that trap dust and pollen, keeping your home healthier and cleaner.
Can I Use Homemade Cleaning Solutions on Vacuum Brushes?
Yes, you can use homemade cleaning solutions on vacuum brushes, but make certain they’re gentle, like diluted vinegar or mild soap. Avoid harsh chemicals to prevent damage, and always test a small area first to ensure safety.
Conclusion
Now that you’ve tackled each step, your vacuum brush is almost like new—but don’t rush to reassemble just yet. Imagine the difference a truly clean brush can make in your home’s freshness and your vacuum’s power.
The next time you notice a dip in performance, you’ll know exactly what to do. Keep this cleaning routine, and your vacuum will keep surprising you with its efficiency. A well-maintained vacuum cleaner brush is key to maintaining strong suction and effective dirt removal.
Ready to see the transformation in action? Regularly cleaning your vacuum brush not only extends your vacuum’s lifespan but also ensures your home stays cleaner and healthier.