How to Vacuum Pack Mason Jars in 7 Easy Steps
To vacuum pack mason jars effectively, start by inspecting and cleaning your jars and seals thoroughly. Proper preparation is key to ensuring a reliable vacuum seal that keeps your food fresh longer.
Using the right vacuum sealing method, such as a vacuum sealer with a jar attachment or a handheld pump, will help you achieve the best results.
Next, fill the jars, leaving about an inch of headspace to accommodate expansion during sealing. Wipe the rims carefully to guarantee a clean surface for the seal to form.
Then, seal the jars properly using your chosen vacuum sealing method.
After sealing, check the seals by pressing the lid or gently lifting the jar to confirm airtight closure.
Finally, store the vacuum-packed mason jars upright in a cool, dry place.
Follow these easy steps, and you’ll discover tips to extend the freshness of your stored foods.
Key Takeaways
- Inspect and clean mason jars and seals thoroughly, ensuring no damage or residue before use.
- Fill jars with contents, leaving about 1 inch of headspace, and wipe rims clean and dry.
- Use a vacuum sealer with a jar attachment or handheld pump designed for mason jars to remove air.
- Confirm airtight seals by checking lid tightness and lifting the jar by the lid to test security.
- Store sealed jars upright in a cool, dry place, labeling them with contents and date for longevity.
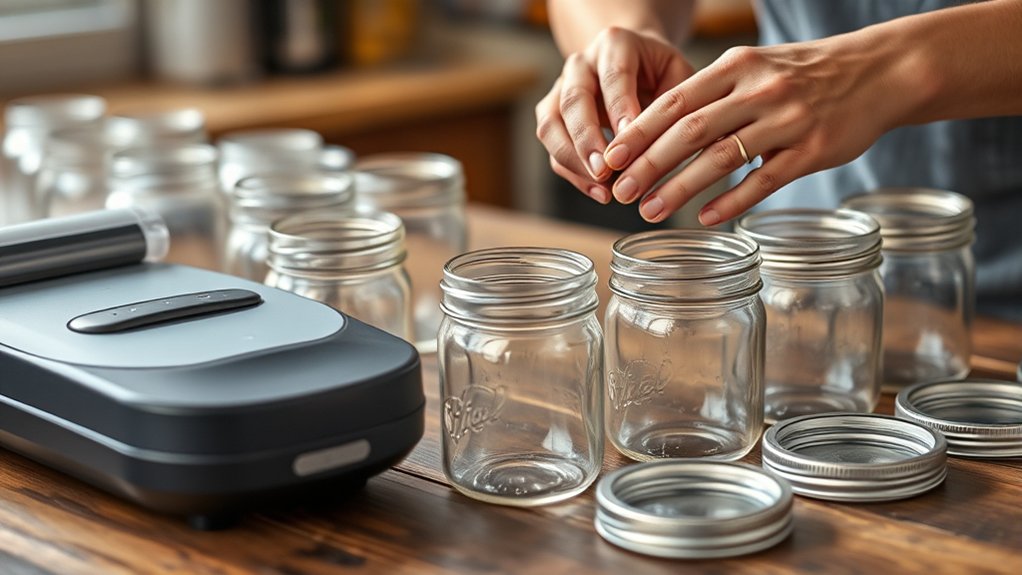
Gather Tools for Vacuum Packing Mason Jars
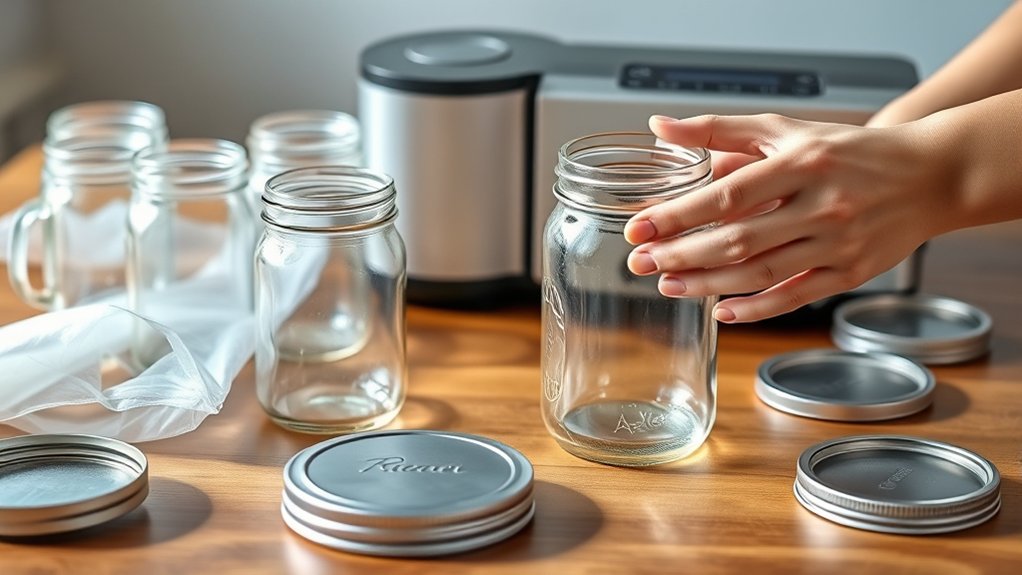
Before you start vacuum packing mason jars, you’ll need to gather a few essential tools. First, get a vacuum sealer designed for jars or one with a jar attachment. This tool will create the airtight seal you need.
Next, have your mason jars and lids ready—make certain they’re clean and undamaged. You’ll also want a clean cloth or paper towel to wipe jar rims, preventing any debris from interfering with the seal. If your vacuum sealer requires special accessories like a hose or adapter, keep those within reach.
Finally, have a flat, stable surface to work on. Gathering these tools beforehand ensures you can vacuum pack your mason jars efficiently and correctly without interruptions.
Prepare Mason Jars and Contents for Sealing
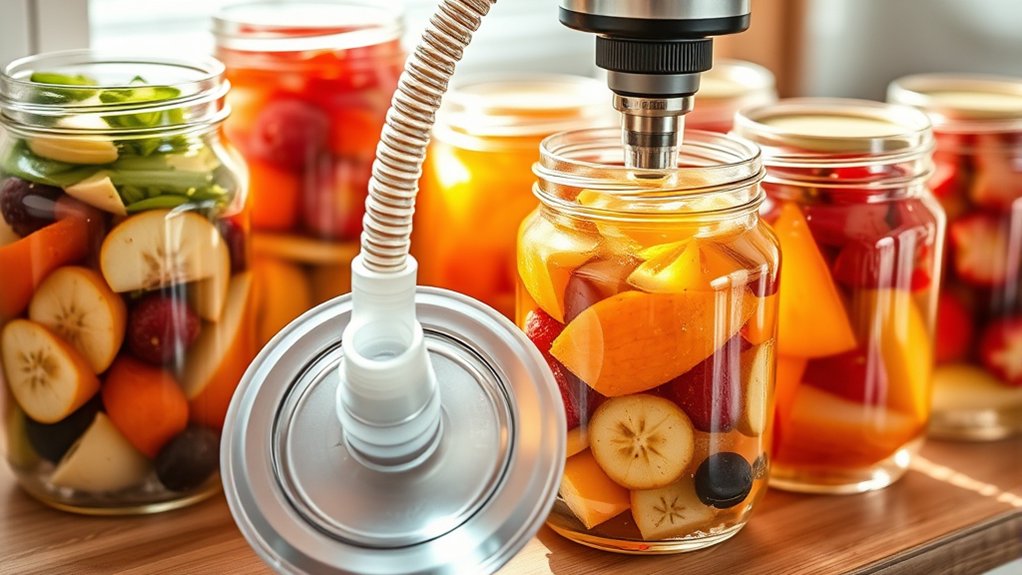
Once you have your tools ready, focus on preparing the mason jars and their contents carefully to guarantee a proper vacuum seal. Start by washing the jars and lids thoroughly with warm, soapy water, then rinse and dry them completely. Any moisture left inside can interfere with sealing.
Next, fill your jars with the food or items you want to preserve, leaving about an inch of headspace at the top. Avoid overpacking, as this can prevent the lid from sealing properly. Wipe the rim of each jar with a clean, damp cloth to remove any residue or particles.
This step is essential because even tiny debris can break the seal and compromise preservation. With your jars prepped, you’re ready to move on to vacuum sealing.
Pick the Best Vacuum Sealing Method for Your Jars
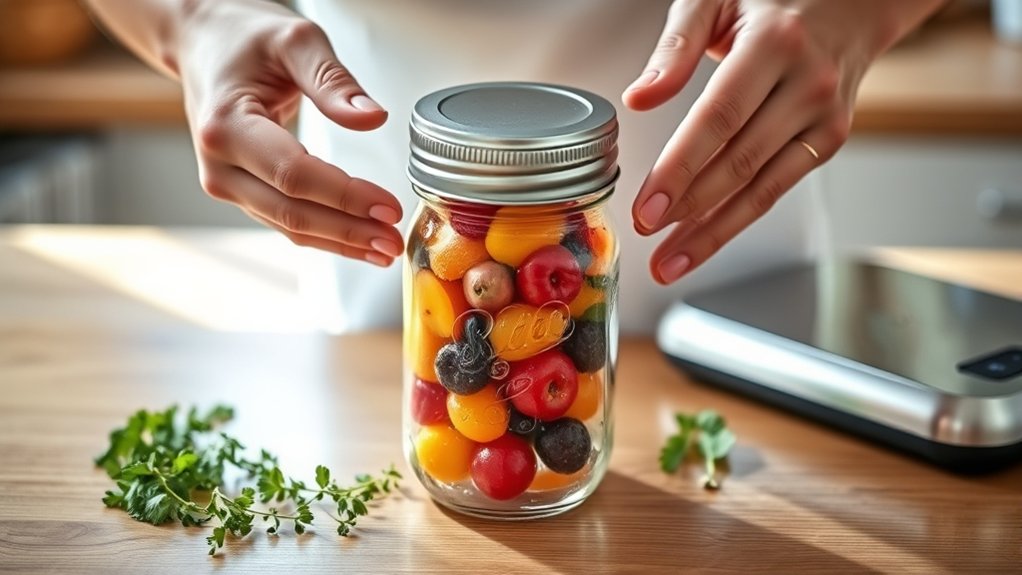
Although vacuum sealing mason jars may seem straightforward, choosing the right method can make a big difference in preserving your contents effectively. You’ll want to evaluate whether to use a vacuum sealer with a jar attachment, a handheld vacuum pump, or a vacuum lid designed specifically for mason jars.
Vacuum sealers with jar attachments are ideal for airtight seals and work well for long-term storage. Handheld pumps offer portability and control but may not create as strong a vacuum. Vacuum lids provide convenience but might not be suitable for all jar sizes or contents.
Think about how often you’ll seal jars, what you’re storing, and your budget. Picking the method that fits your needs assures your food stays fresh and safe longer.
Vacuum Seal Mason Jars Step by Step
First, make sure your Mason jars are clean and dry before sealing. Next, use your vacuum sealer properly to remove the air from the jars.
Finally, check that each jar has an airtight seal to keep your contents fresh.
Preparing Mason Jars
How do you guarantee your mason jars are perfectly prepared for vacuum sealing? Proper preparation ensures a tight seal and preserves your food safely. First, make sure your jars are clean and dry.
Any residue or moisture can prevent the vacuum from forming properly. Next, inspect the lids and bands for damage or rust; replace any that aren’t in perfect condition. Finally, fill your jars, leaving the appropriate headspace—usually about 1/2 inch—to allow air to escape during sealing.
- Clean jars thoroughly and dry completely.
- Check lids and bands; use only undamaged ones.
- Fill jars with correct headspace for sealing.
Following these steps sets the foundation for a successful vacuum seal every time.
Using Vacuum Sealer
Once your mason jars are prepped with clean, dry surfaces and properly filled, you can move on to using your vacuum sealer. Place the jar inside the vacuum bag or attach the jar lid adapter designed for mason jars. If you’re using a vacuum bag, make certain the jar sits comfortably without tipping.
Next, position the vacuum sealer hose over the jar lid valve or adapter. Activate the vacuum sealer to start removing air from the jar. You’ll hear the machine working to pull out the air, creating a vacuum inside.
Once the air is fully extracted, the sealer will automatically stop or you can manually stop it. Finally, securely close the lid if your system requires it, and your mason jar is vacuum sealed and ready for storage.
Ensuring Airtight Seal
Why does ensuring an airtight seal matter so much when vacuum sealing mason jars? Without a tight seal, air can sneak in, leading to spoilage, moisture buildup, or contamination.
To make sure your food stays fresh longer, follow these key steps:
- Check the Lid and Rim: Inspect both for cracks, dents, or residue. Clean surfaces ensure a perfect seal.
- Apply Even Pressure: When placing the lid, press down firmly and evenly. This helps the sealing compound engage properly.
- Use the Vacuum Sealer Correctly: Position the jar according to your sealer’s instructions. Activate it fully to remove all air before locking the lid in place.
How to Check Your Vacuum Seal and Fix Common Issues
To make sure your vacuum seal is solid, start by inspecting the lid for any dents or gaps. If you notice common problems like loose lids or air bubbles, you’ll want to address those quickly.
Let’s go through how to troubleshoot and fix these vacuum issues effectively.
Inspect Seal Integrity
Although vacuum sealing mason jars is straightforward, you’ll still want to inspect the seal to verify it’s airtight and secure. A proper seal guarantees your food stays fresh and prevents spoilage. To check the seal integrity, follow these steps:
- Press the Center: Gently press the center of the lid. If it doesn’t pop back, the seal is likely intact.
- Visual Check: Look for any gaps or uneven edges around the lid that might indicate a poor seal.
- Lift Test: Carefully lift the jar by the lid. If the lid stays firmly attached, the seal is solid.
If you notice any issues, re-seal the jar or replace the lid to maintain freshness and safety.
Identify Common Seal Problems
If your mason jar seal doesn’t hold up during inspection, it’s important to identify what went wrong so you can fix it quickly. Common seal problems often stem from issues like improper lid placement, damaged sealing rings, or dirt on the jar rim.
Checking these factors can help you spot the problem easily.
| Problem | Cause |
|---|---|
| Lid won’t seal | Lid not centered or cross-threaded |
| Seal leaks air | Dirt or food residue on rim |
| Lid pops off | Damaged or bent seal ring |
| Seal feels loose | Lid not tightened enough or over-tightened |
Troubleshoot Vacuum Issues
When you notice your mason jar isn’t holding a vacuum seal, start by checking the lid’s tightness and the rim for any debris. A dirty rim or loose lid can prevent a proper seal.
Next, inspect the gasket or sealing ring for cracks or wear, as this can cause leaks. If the seal still isn’t holding, try these steps:
- Re-seat the Lid: Remove and reposition the lid, then tighten it firmly but not overly tight.
- Check for Warped Lids: Replace lids that are bent or damaged, as they won’t seal correctly.
- Test Vacuum Pump Function: Ensure your vacuum pump works properly; a weak pump won’t create the needed suction.
Following these checks will help you fix most vacuum seal issues quickly.
Store Vacuum-Packed Mason Jars for Maximum Freshness
To keep your vacuum-packed mason jars fresh for as long as possible, store them in a cool, dark place away from direct sunlight and heat sources. Excess heat can degrade the seal and compromise the vacuum, while light exposure can affect the quality of your contents. A pantry, cellar, or cupboard works well.
Make sure the storage area maintains a consistent temperature, ideally between 50°F and 70°F. Avoid damp or humid spots, as moisture can encourage mold growth on jar lids. Arrange your jars upright to prevent leaks or seal breaks.
Label each jar with the packing date to track freshness. By following these simple storage guidelines, you’ll maintain the vacuum seal’s integrity and keep your foods or other items fresher for longer.
Maintain and Reuse Vacuum-Sealed Mason Jars
Proper storage extends the life of your vacuum-packed mason jars, but maintaining and reusing them correctly guarantees you get the most value and longevity from each jar. First, always inspect the rubber seals and lids for cracks or wear before reuse; damaged seals won’t hold a vacuum.
Second, clean jars thoroughly with warm, soapy water and avoid harsh abrasives that can scratch the glass or degrade the seal. Third, store unused lids in a dry place to prevent rust and keep them functional.
Frequently Asked Questions
Can Vacuum Sealing Mason Jars Prevent Freezer Burn?
Yes, vacuum sealing mason jars can prevent freezer burn by removing air that causes ice crystals and moisture loss.
You’ll keep your food fresher longer and protect its texture and flavor in the freezer.
Are All Mason Jar Lids Compatible With Vacuum Sealers?
Not all mason jar lids work with vacuum sealers. You’ll need special lids designed for vacuum sealing, usually labeled as compatible.
Regular flat lids won’t create the necessary airtight seal for vacuum packing your jars effectively.
How Long Can Vacuum-Packed Mason Jars Be Stored Safely?
Like preserving secrets in a Pandora’s box, you can safely store vacuum-packed mason jars for up to one year.
Just keep them in a cool, dark place, and you’ll protect your treasures well beyond that.
Can I Vacuum Seal Jars With Liquids Inside?
You can vacuum seal jars with liquids inside, but be careful. Liquids may get sucked into the vacuum sealer, causing leaks or damage.
It’s best to chill liquids first or leave some headspace to avoid problems.
Does Vacuum Sealing Kill Bacteria in Preserved Foods?
No, vacuum sealing doesn’t kill bacteria; it just removes air to slow their growth. You still need proper heat processing or refrigeration to guarantee your preserved foods stay safe and bacteria-free over time.
Conclusion
Vacuum packing mason jars isn’t just a smart move—it’s a game-changer that’ll make your food last longer than your wildest dreams!
Once you master these seven easy steps, you’ll feel like a preservation wizard, turning ordinary jars into airtight time capsules.
Say goodbye to stale snacks and spoiled leftovers forever.
Trust me, your pantry will thank you, and you’ll wonder how you ever lived without this magical sealing secret!
By vacuum packing mason jars, you ensure freshness, extend shelf life, and keep your food safe from moisture and air exposure.
This simple process is a must-know for anyone serious about food preservation and storage solutions.