How to Charge Shark Cordless Vacuum in 7 Easy Steps
To charge your Shark cordless vacuum efficiently, it’s important to follow a few simple steps that ensure optimal battery performance and safety. Proper charging not only extends the life of your vacuum but also guarantees it’s ready whenever you need it.
By maintaining clean contacts and using the correct charger, you can avoid common issues and keep your Shark cordless vacuum running smoothly.
First, clean the vacuum and charger contacts to guarantee a secure connection. Locate the charging port, usually near the handle or base. Use the original charger that matches your model, then plug it firmly into the vacuum and a working outlet.
Let it charge in a dry, stable spot until fully powered. Keep connections clean and avoid damaged cords.
If you want to troubleshoot or extend battery life, more tips are ahead for you.
Key Takeaways
- Locate the charging port near the handle or base, often behind a flap or cover.
- Use the original or manufacturer-recommended charger matching your vacuum model.
- Clean charging contacts on both vacuum and charger with a dry cloth before connecting.
- Insert the charger plug securely into the charging port and plug the adapter into a working outlet.
- Ensure the vacuum and charger are in a dry, stable area and check for indicator lights confirming charging.
How to Prepare Your Shark Cordless Vacuum and Charger
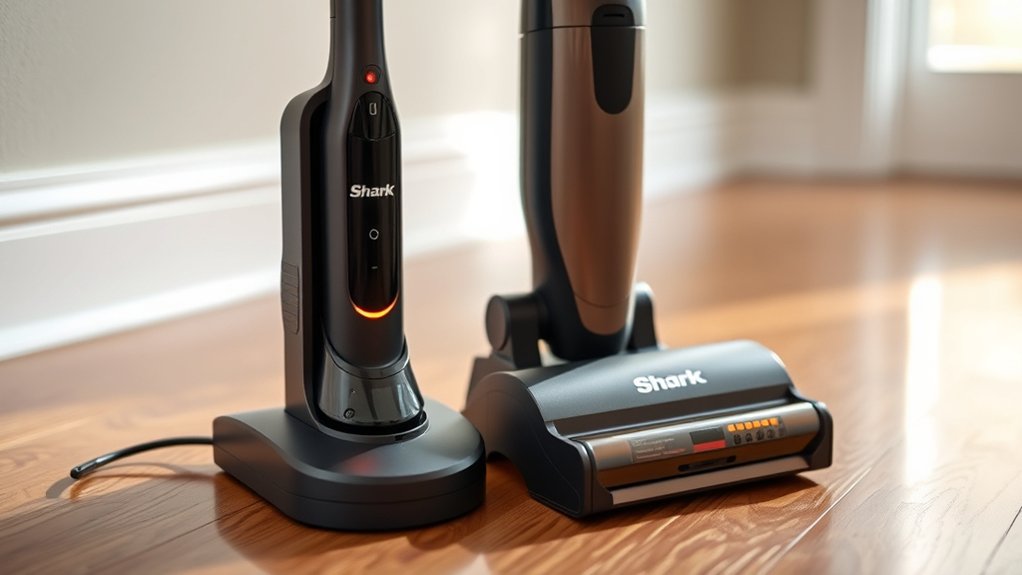
Before you start charging your Shark cordless vacuum, make sure both the vacuum and charger are clean and free of debris. Wipe down the charging contacts on the vacuum with a dry cloth to remove any dust or dirt that could interfere with the connection. Check the charger’s plug and charging pins for any buildup or damage.
If you spot any debris, gently clean it to guarantee a secure fit. Also, inspect the vacuum’s battery compartment for any visible issues. Verifying everything is clean prevents charging problems and extends your vacuum’s lifespan.
Finally, place the vacuum and charger on a flat, stable surface near a power outlet so you’re ready to connect them without hassle once you locate the charging port.
How to Find the Charging Port on Your Shark Vacuum
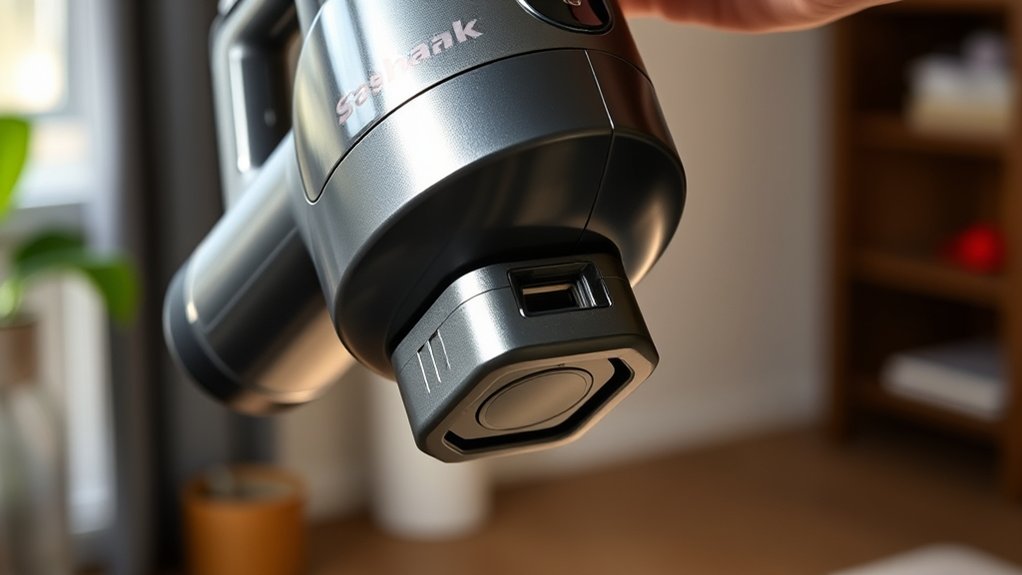
You’ll want to start by locating the charging port on your Shark vacuum, which is usually near the handle or base. Look for a small, covered slot or connector that matches your charger’s plug. Identifying these features makes plugging in your vacuum quick and easy.
Locating The Charging Port
Although Shark cordless vacuums come in different models, locating the charging port is usually straightforward. Start by examining the vacuum’s main body, often near the handle or base. The port is typically a small, rectangular or circular socket designed to fit the charger plug snugly.
If you don’t see it immediately, check around the battery compartment or the underside of the vacuum. Sometimes, it’s hidden behind a small flap or cover to protect it from dust and debris. Make sure the vacuum is powered off before searching to avoid accidental activation.
Once you spot the port, you’re ready to connect the charger. Knowing exactly where the charging port is saves time and guarantees you keep your Shark vacuum ready for use.
Common Port Positions
Finding the charging port on your Shark vacuum often depends on the model you have, but there are some common spots to check. Most Shark cordless vacuums place the charging port near the base of the handle or on the back of the main body, close to where the wand connects. Some models feature the port along the side, near the dustbin or motor housing.
Additionally, if your vacuum uses a charging dock, the port typically aligns with docking contacts on the vacuum’s bottom or rear. It’s a good idea to inspect these areas carefully, as the port is usually small and may blend in with the vacuum’s design. Checking these common locations will help you find the charging port quickly and get your vacuum powered up.
Identifying Port Features
Locating the charging port on your Shark vacuum becomes easier once you recognize its key features. The port usually stands out through distinct design elements that guide you right to it. Here’s what you should look for:
- Small, recessed slot or connector hole
- Nearby label or icon indicating power or charging
- Positioned close to the vacuum’s base or handle
- Surrounded by a plastic or rubber border for protection
- Often paired with LED indicators showing charging status
Choosing the Right Charger for Your Shark Vacuum
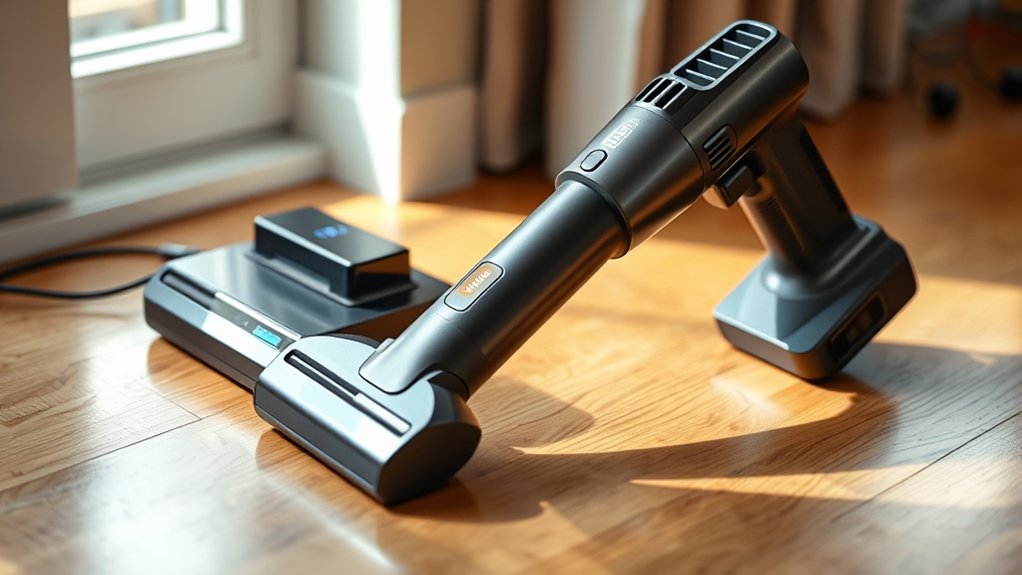
How do you know which charger works best for your Shark cordless vacuum? First, check the model number on your vacuum; Shark designs specific chargers for different models to guarantee ideal charging. Using the charger that came with your vacuum is preferred, but if you need a replacement, look for one that matches the voltage and connector type exactly.
Avoid generic or universal chargers—they might not supply the correct power, risking damage to your battery or vacuum. Also, confirm the charger’s output specs align with your vacuum’s requirements, typically found in the user manual or on the vacuum itself. Choosing the right charger ensures efficient charging and prolongs your vacuum’s battery life.
Always buy genuine or manufacturer-recommended chargers for safety and compatibility.
How to Plug In and Start Charging Your Shark Vacuum
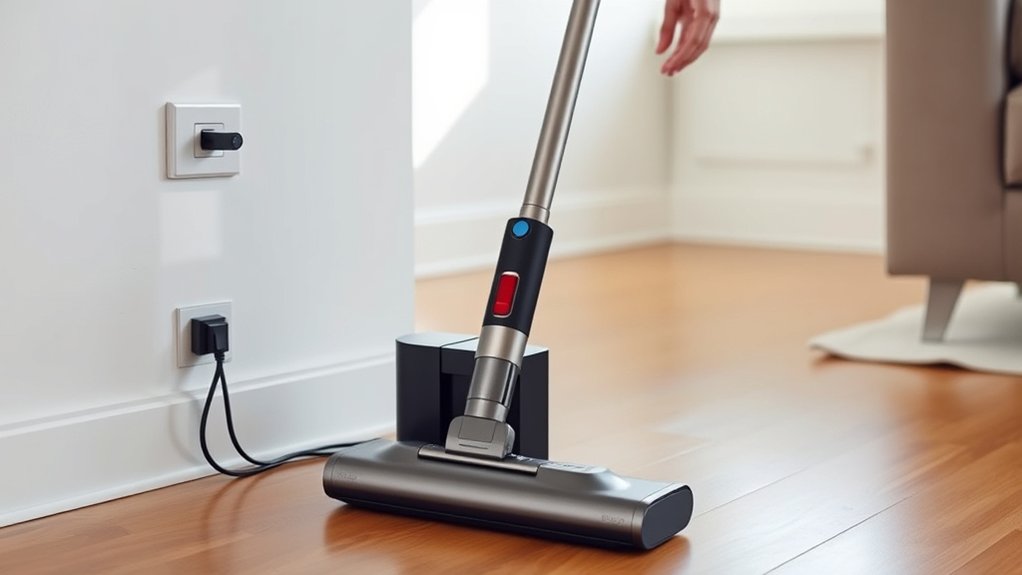
First, find the charging port on your Shark vacuum—it’s usually near the base or handle. Next, connect the power adapter securely to the port.
Once plugged in, your vacuum will begin charging automatically.
Locate Charging Port
Where exactly do you connect the charger on your Shark cordless vacuum? Finding the charging port is simple once you know where to look. Usually, the port is located near the battery compartment or on the vacuum’s handle.
To help you locate it quickly, keep these tips in mind:
- Check the back or bottom of the vacuum for a small, round charging socket.
- Look for a rubber flap or cover that protects the port.
- Refer to your model’s user manual for exact port placement.
- Notice any symbols or icons indicating the charging area.
- If you have a detachable battery, the port might be on the battery itself.
Knowing the charging port location makes plugging in your Shark vacuum hassle-free.
Connect Power Adapter
Once you’ve located the charging port on your Shark cordless vacuum, the next step is to connect the power adapter securely. Take the adapter plug and insert it firmly into the charging port. Make sure it fits snugly to assure proper charging.
Next, plug the other end of the power adapter into a working electrical outlet. You’ll know it’s charging when the vacuum’s indicator light turns on—usually showing a solid or blinking light depending on the model. Avoid using extension cords or power strips, as they might affect charging efficiency.
Keep the vacuum and charger in a dry area while charging. Following these steps guarantees your Shark vacuum charges correctly and is ready for your next cleaning session.
How Long to Charge Your Shark Vacuum for Best Results
How long should you charge your Shark cordless vacuum to guarantee ideal performance? Typically, it takes about 3.5 to 5 hours for a full charge, depending on the model. Charging it fully ensures you get maximum runtime and suction power during use.
To get the best results, keep these points in mind:
- Charge the vacuum until the indicator light shows it’s fully charged.
- Avoid using the vacuum during charging.
- Use the original charger provided by Shark.
- Charge in a cool, dry place to prevent overheating.
- Don’t unplug the vacuum too early; partial charges reduce battery life.
Following these steps helps maintain your vacuum’s efficiency and lets you clean without interruptions.
Simple Tips to Keep Your Shark Vacuum’s Battery Healthy
To keep your Shark vacuum’s battery healthy, you should follow a few simple habits that extend its lifespan and maintain peak performance. First, avoid letting the battery fully drain before charging—it’s better to recharge when it drops to around 20%.
Second, don’t leave the vacuum plugged in constantly; unplug it once fully charged to prevent overcharging. Third, store your vacuum in a cool, dry place since extreme temperatures can damage the battery.
Fourth, clean the charging contacts regularly to ensure a solid connection. Finally, use only the charger that came with your Shark vacuum to avoid electrical issues.
Troubleshooting: What to Do If Your Shark Vacuum Won’t Charge
If your Shark vacuum won’t charge, don’t panic—there are several straightforward steps you can take to identify and fix the problem. First, check that the charger is properly plugged into both the outlet and the vacuum. Next, inspect the charging port and contacts for dirt or damage.
Sometimes, a simple cleaning with a dry cloth can help. Also, try a different power outlet to rule out electrical issues. If your vacuum still won’t charge, the battery might be faulty or worn out.
A quick clean and switching outlets can solve charging issues before considering a battery replacement.
Here’s what to do:
- Confirm the charger and outlet are working.
- Clean the charging contacts and port.
- Try a different power outlet.
- Reset the vacuum by removing and reinserting the battery.
- Contact Shark support if problems persist.
Frequently Asked Questions
Can I Use a Power Bank to Charge My Shark Vacuum?
You can’t use a power bank to charge your Shark vacuum directly because it requires a specific charger with the right voltage. Using a power bank might damage the battery or won’t provide enough power.
Always use the charger designed for your Shark vacuum to ensure safety and proper functioning. Using an incorrect power source could lead to battery failure or void your warranty.
If you need a portable charging option, consider a compatible external battery pack recommended by Shark.
Does Charging Affect the Vacuum’s Suction Power?
Charging doesn’t weaken suction, doesn’t reduce power, and doesn’t slow performance.
You’ll get consistent suction as long as you keep your Shark vacuum fully charged and maintain the battery properly for peak cleaning results every time.
Can I Leave the Vacuum Charging Overnight?
Yes, you can leave your Shark cordless vacuum charging overnight. It has built-in protection to prevent overcharging, so you don’t have to worry about damaging the battery or reducing its lifespan by charging it for extended periods.
How Do I Know if the Battery Needs Replacement?
About 30% of Shark cordless vacuum batteries lose efficiency after two years.
You’ll know it needs replacement when runtime drastically shortens or it won’t hold a charge, even after a full charging cycle.
Is It Safe to Charge the Vacuum Near Water?
No, you shouldn’t charge your vacuum near water. It’s unsafe and increases the risk of electric shock or damage.
Always charge it in a dry, well-ventilated area to keep yourself and the device safe.
Conclusion
Charging your Shark cordless vacuum is easier than finding a needle in a haystack! Just follow these simple steps, and you’ll have your vacuum powered up in no time.
Remember to use the right charger, keep the battery healthy, and don’t rush the charging time for the best performance. If you run into issues, troubleshooting is straightforward.
With a little care, your Shark vacuum will always be ready to tackle the messiest of messes! Proper charging ensures your cordless vacuum delivers optimal power and longevity every time you use it.