How Do You Measure Vacuum Step by Step
To measure vacuum step by step effectively, begin by preparing your vacuum measurement system. This includes checking for leaks, cleaning all connections, and stabilizing the environmental conditions to ensure accurate readings. Proper preparation is crucial for reliable vacuum measurement results.
Next, securely attach your vacuum gauge using the correct fittings, then calibrate the gauge against a reference standard to ensure precision. Once calibrated, activate the vacuum pump and allow the system to stabilize fully before taking any readings.
Record the steady vacuum reading carefully. Be vigilant for common errors such as leaks or incorrect calibration, which can affect accuracy.
Regular maintenance of your vacuum gauge is essential to guarantee consistent, reliable measurements. Follow these steps closely, and you’ll discover tips to enhance your vacuum measurement reliability.
Key Takeaways
- Prepare the system by checking for leaks, securing connections, and stabilizing operating conditions before measurement.
- Connect the vacuum gauge properly using the correct port and fittings, then ensure it is tightly sealed.
- Calibrate the vacuum gauge against a certified reference standard following manufacturer instructions and normal operating conditions.
- Activate the vacuum pump, allow the system to stabilize, then record the steady vacuum reading from the gauge.
- Regularly inspect, maintain, and recalibrate the gauge to ensure reliable and accurate vacuum measurements over time.
What Vacuum Measurement Is and Why It Matters
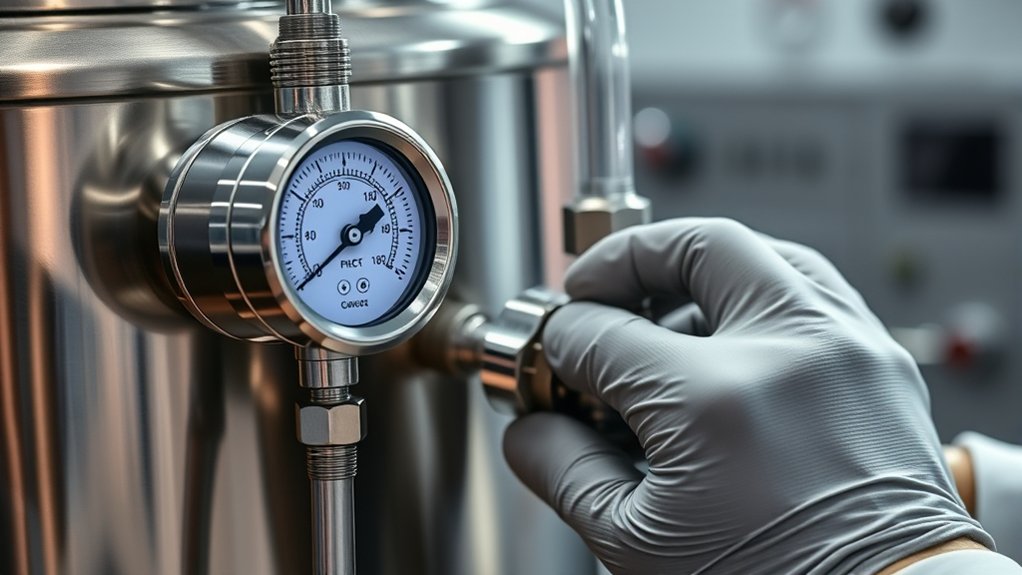
What exactly is vacuum measurement, and why should you care about it? Vacuum measurement involves determining the pressure below atmospheric levels inside a sealed space. You need to measure vacuum because it directly impacts processes like manufacturing, scientific experiments, and HVAC system performance.
If you don’t monitor vacuum accurately, you risk equipment failure, product defects, or safety hazards. Vacuum measurement helps you maintain ideal conditions, ensuring efficiency and reliability. It also allows you to detect leaks or contamination early, saving time and money.
Whether you’re working with vacuum pumps, vacuum chambers, or other systems, understanding vacuum levels is essential. By measuring vacuum, you gain control and insight into your environment, making your operations smoother and more predictable.
How to Choose the Right Vacuum Gauge

To choose the right vacuum gauge, you need to take into account the type of gauge that fits your application and the accuracy required. Different gauges measure different pressure ranges, so matching the gauge to your vacuum level is key.
Understanding these factors will help you get precise and reliable readings every time.
Types Of Vacuum Gauges
Although selecting the right vacuum gauge can seem overwhelming, understanding the different types available will help you make an informed choice. You’ll encounter mechanical gauges like the Bourdon tube, ideal for rough vacuum ranges.
For lower pressures, you can use thermal conductivity gauges such as Pirani gauges, which measure heat loss to determine vacuum levels. If you need to measure extremely low pressures, ionization gauges come in handy by ionizing gas molecules and detecting the resulting current.
Don’t forget capacitance manometers, which offer direct pressure readings using changes in capacitance. Each type serves specific vacuum ranges and applications, so knowing these basics lets you pick a gauge that fits your task without unnecessary complexity or expense.
Gauge Accuracy And Range
How accurately do you need to measure vacuum pressure? Choosing the right gauge depends on the precision and range your application demands. Consider these points to make the best choice:
- Measurement Range – Pick a gauge that covers the vacuum levels you expect, from rough to ultra-high vacuum.
- Accuracy – Look for the smallest error margin; critical in processes requiring tight control.
- Resolution – Ensure the gauge can detect small changes in pressure to avoid missing subtle shifts.
- Environmental Conditions – Match the gauge’s tolerance to temperature, humidity, and vibration in your workspace.
Preparing Your System and Equipment for Measurement

Before you start measuring vacuum, you need to make sure that both your system and equipment are properly prepared. Begin by checking for leaks and ensuring all connections are secure. Clean your equipment to avoid contamination that can affect readings.
Confirm that your vacuum gauge is calibrated and suitable for the vacuum range you expect. Also, verify that your system is at the correct operating temperature to get accurate results.
| Step | Action | Tip |
|---|---|---|
| 1. Inspect system | Check for leaks and tight seals | Use soapy water for leaks |
| 2. Clean equipment | Remove dirt and debris | Use lint-free cloth |
| 3. Calibrate gauge | Confirm gauge accuracy | Follow manufacturer’s guide |
| 4. Set conditions | Stabilize temperature | Wait for system to reach steady state |
How to Connect the Vacuum Gauge Properly
Why does proper connection matter when using a vacuum gauge? A secure connection ensures accurate readings and prevents leaks that can skew your results.
To connect your vacuum gauge properly, follow these steps:
- Identify the correct port on your vacuum system designed for gauge attachment.
- Use the appropriate adapter or fitting to match the gauge inlet and system port.
- Tighten the connection by hand first, then use a wrench to ensure a snug fit without over-tightening.
- Check for leaks by applying a leak detection solution around the connection or listening for hissing sounds.
Calibrating Your Vacuum Gauge for Accurate Readings
Since even a small calibration error can lead to inaccurate vacuum measurements, you’ll want to verify your vacuum gauge regularly. Start by comparing your gauge readings to a known standard or reference gauge. Adjust your gauge according to the manufacturer’s instructions.
Keep in mind temperature and pressure conditions can affect accuracy, so calibrate under normal operating conditions.
| Step | Action | Tip |
|---|---|---|
| 1 | Connect gauge to reference | Use a certified standard |
| 2 | Observe and record readings | Ensure stable vacuum level |
| 3 | Adjust gauge calibration | Follow specific gauge manual |
Regular calibration ensures your measurements remain reliable and precise for any vacuum application.
Taking Vacuum Readings Step by Step
When you take vacuum readings, you’ll want to guarantee your gauge is properly connected and stable to get accurate results. Start by securely attaching your vacuum gauge to the system’s test port. Next, ensure there are no leaks by checking all connections and seals.
Once everything is tight, turn on the vacuum pump and allow the system to reach a steady state. Now, observe the gauge carefully and record the reading.
Follow these steps:
- Connect the vacuum gauge firmly to the test port.
- Inspect all fittings to prevent leaks.
- Activate the vacuum pump and wait for stabilization.
- Read and note the vacuum level displayed on the gauge.
This approach guarantees you capture precise vacuum measurements consistently.
Vacuum Ranges and Units Explained
Although vacuum measurement might seem straightforward, understanding the different vacuum ranges and units is essential for accurate interpretation. Vacuum is generally categorized into four ranges: low, medium, high, and ultra-high vacuum. Each range uses specific units that best represent the pressure levels involved.
You’ll often see units like torr, pascal (Pa), and inches of mercury (inHg) depending on the application. Knowing these units helps you select the right gauge and interpret its readings correctly.
| Vacuum Range | Common Units |
|---|---|
| Low Vacuum | inHg, mmHg |
| Medium Vacuum | torr, mbar |
| High Vacuum | microtorr, Pa |
| Ultra-High Vacuum | nanoTorr, Pa |
Keep these ranges and units in mind as you measure vacuum.
How to Interpret Vacuum Gauge Readings
To interpret your vacuum gauge readings accurately, you need to understand the gauge scale and what the numbers represent. You’ll also want to know the normal ranges for your specific application to spot any issues quickly.
Finally, be aware of common errors that can lead to misleading readings so you can trust your measurements.
Understanding Gauge Scale
Since vacuum gauges display pressure below atmospheric levels, you’ll need to understand how to read their unique scales accurately. These gauges often use units like inches of mercury (inHg) or millibars (mbar) to indicate vacuum strength.
Here’s how to interpret the scale:
- Zero point: Represents atmospheric pressure; the starting reference.
- Scale direction: Vacuum values increase as you move away from zero, showing stronger vacuum.
- Units: Check if the gauge uses inHg, mbar, or torr to avoid confusion.
- Negative values: Some gauges display vacuum as negative pressure relative to atmospheric pressure.
Identifying Normal Ranges
How do you know if your vacuum gauge reading falls within a normal range? First, you need to understand the expected vacuum levels for your specific application. Each system has a typical range that indicates proper operation or potential issues.
You can compare your gauge reading against these benchmarks to decide if adjustments or maintenance are required.
Here’s a quick reference table to help interpret common vacuum ranges:
| Application | Normal Vacuum Range (inHg) |
|---|---|
| Automotive Engine | 18 – 22 |
| HVAC Systems | 25 – 29 |
| Laboratory Vacuum | 27 – 29 |
| Industrial Process | 20 – 28 |
Use this as a starting point, but always check manufacturer specs for precise normal ranges.
Recognizing Common Errors
Knowing the normal vacuum ranges helps you spot when something’s off, but interpreting gauge readings isn’t always straightforward. You need to watch out for common errors that can skew your results. First, check for leaks in your system; even a tiny leak can cause inaccurate low vacuum readings.
Second, verify your gauge is calibrated correctly—an uncalibrated gauge can mislead you. Third, avoid reading the gauge too quickly; vacuum levels can fluctuate before stabilizing. Fourth, be mindful of temperature changes, as extreme heat or cold can affect the gauge’s accuracy.
Troubleshooting Common Vacuum Gauge Errors
When your vacuum gauge shows unexpected readings, it’s important to identify common errors quickly to avoid misdiagnosis. First, check the gauge connection for leaks or loose fittings, as these often cause false readings.
Next, verify the gauge is properly zeroed before use; an uncalibrated gauge will skew results. If readings fluctuate, temperature changes or electrical interference might be affecting the sensor. Also, inspect for physical damage or contamination inside the gauge, which can block the sensor or restrict airflow.
If your gauge relies on batteries, low power can cause erratic behavior, so replace them if needed. By systematically ruling out these issues, you’ll pinpoint the problem and restore accurate vacuum measurement efficiently.
Maintaining Your Vacuum Gauges for Long-Term Accuracy
To keep your vacuum gauges delivering precise readings over time, you need to perform regular maintenance and handle them with care. Follow these key steps:
Regular maintenance and careful handling are essential for accurate and reliable vacuum gauge readings.
- Clean the gauges gently with a soft cloth to remove dust without damaging sensitive parts.
- Calibrate periodically using a known reference standard to ensure accuracy.
- Inspect connections and seals for leaks or wear that could affect performance.
- Store gauges properly in a dry, stable environment to prevent corrosion and mechanical damage.
Recording and Monitoring Vacuum Levels
Regular maintenance and calibration keep your vacuum gauges accurate, but consistently recording and monitoring the vacuum levels guarantees you catch any fluctuations or issues early. You should log vacuum readings at set intervals, whether manually or with automated data acquisition systems. This helps you spot trends, sudden drops, or spikes that might indicate leaks or equipment problems.
Using digital displays with data logging capabilities simplifies this process and reduces human error. Make sure your monitoring setup includes alarms or notifications for out-of-range values, so you can respond promptly. Review your data regularly to understand normal operating ranges and identify deviations quickly.
Improving Vacuum Measurement Reliability
How can you guarantee your vacuum measurements stay accurate and dependable over time? You need to focus on improving reliability through practical steps. First, regularly calibrate your vacuum gauges against a known standard to avoid drift.
Second, inspect and clean sensors to prevent contamination from affecting readings. Third, use high-quality, compatible equipment designed for your specific vacuum range to reduce errors. Fourth, implement consistent measurement procedures, including stable environmental conditions and correct sensor placement.
Frequently Asked Questions
Can Vacuum Measurement Be Automated With Remote Sensors?
Yes, you can automate vacuum measurement using remote sensors. You’ll set up digital sensors that transmit data in real-time, letting you monitor vacuum levels remotely and make adjustments instantly without being physically present at the system.
What Safety Precautions Should Be Taken During Vacuum Measurement?
You should wear protective gear, guarantee proper ventilation, and avoid direct contact with hazardous materials.
Always check equipment for leaks, follow manufacturer guidelines, and never exceed pressure limits to keep yourself safe during vacuum measurement.
How Does Temperature Affect Vacuum Gauge Accuracy?
Temperature affects vacuum gauge accuracy because it changes the gas density and gauge materials. You’ll notice readings shift if the gauge heats up or cools down, so you should calibrate and compensate for temperature variations regularly.
Are There Alternative Methods to Vacuum Gauges for Measuring Vacuum?
You won’t believe it, but you can measure vacuum without gauges! You can use Pirani sensors, ionization gauges, or even cold cathode gauges.
Each method has its strengths, so you’ll find one that suits your needs perfectly.
What Materials Are Best for Vacuum System Components to Prevent Leaks?
You should use stainless steel, aluminum, and copper for vacuum components since they resist corrosion and maintain strength. Also, choose Viton or Buna-N seals to prevent leaks, ensuring your system stays airtight and reliable.
These materials help maintain the integrity of the vacuum system by minimizing the risk of leaks and damage. Proper selection is crucial for long-term performance and durability.
Conclusion
Measuring vacuum might seem like a delicate dance, but with the right steps, you’ll glide through it smoothly. By choosing the proper gauge, setting up carefully, and keeping your tools in top shape, you’re not just taking readings—you’re nurturing precision.
Remember, even small slips can cloud your results, so stay vigilant and patient. In time, your vacuum measurements will become a trusted rhythm, quietly guiding your work toward success.
Accurate vacuum measurement is essential for reliable results, and mastering these steps ensures your readings are both consistent and precise.