How to Replace a Washing Machine Valve in 7 Easy Steps
To replace a washing machine valve in 7 easy steps, start by turning off the main water supply and power to prevent leaks and electrical shocks. This essential step ensures safety throughout the process.
Gather necessary tools such as a wrench, screwdriver, and gloves to prepare for the valve replacement.
Next, carefully loosen and remove the old valve.
Clean and inspect the connections for any damage or wear that could affect the new valve’s performance.
Installing the new valve requires ensuring it is tight and properly aligned to avoid leaks.
Finally, turn the water back on slowly and check for any leaks around the valve.
Following these steps will help you successfully replace your washing machine valve.
Keep reading for tips on troubleshooting common issues and ensuring a perfect fit every time.
Key Takeaways
- Turn off the main water supply and unplug the washing machine before starting the valve replacement.
- Use an adjustable wrench to loosen and remove the old valve from the water supply pipe.
- Inspect and clean the pipe end, checking for damage and removing old sealing tape before installing the new valve.
- Hand-tighten the new valve connections, then secure them further with a wrench, ensuring rubber washers are properly seated.
- Slowly restore water supply and check all connections for leaks, tightening gently if needed before testing the washing machine.
Turning Off Water and Power Safely
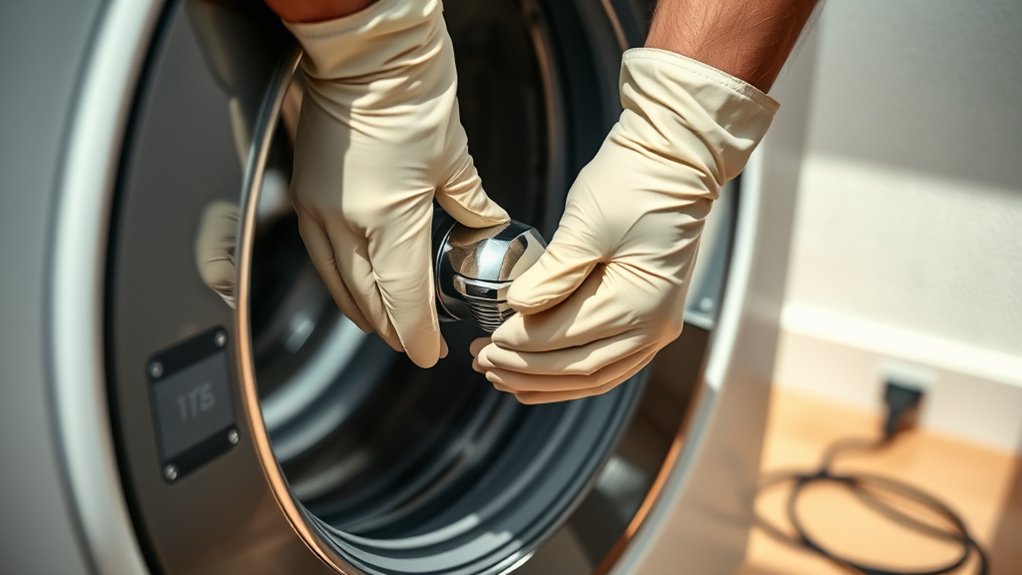
Before you begin replacing the washing machine valve, make sure you turn off both the water supply and power to prevent any accidents or damage. Locate the main water shutoff valve, usually found near your home’s water meter or where the main line enters your house. Turn it clockwise to stop the water flow.
Next, unplug your washing machine from the electrical outlet to cut power completely. If your machine is hardwired, switch off the circuit breaker that controls its power. Double-check by turning on the washing machine briefly to ensure no water or electricity is flowing.
Taking these safety steps protects you from water leaks and electrical hazards, making your valve replacement safer and smoother. Don’t rush—your careful preparation prevents costly mistakes.
Tools Needed to Replace a Washing Machine Valve
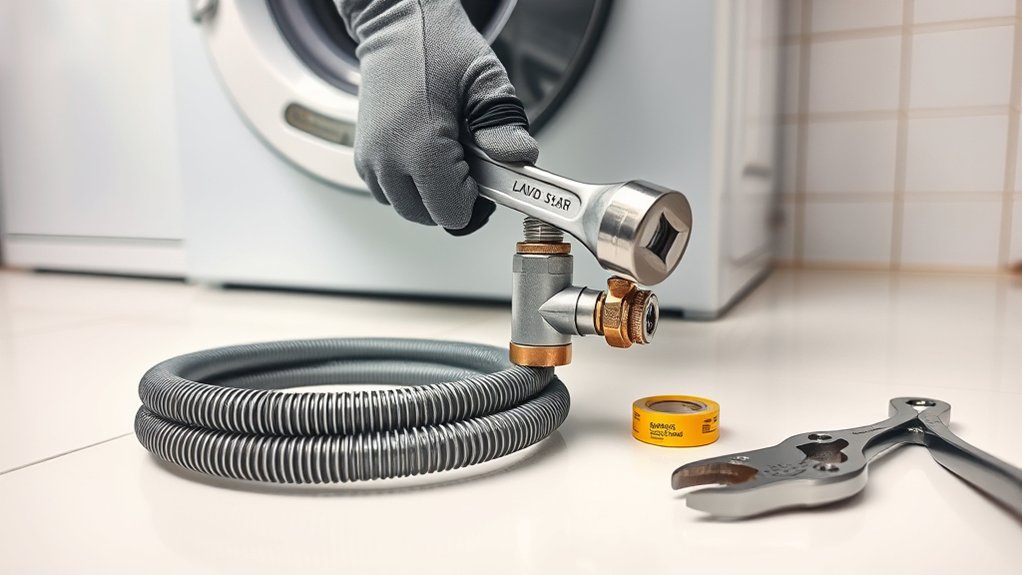
Although replacing a washing machine valve might seem straightforward, having the right tools on hand makes the job much easier and faster.
Before you start, gather these essentials to guarantee a smooth process.
| Tool | Purpose | Tip |
|---|---|---|
| Adjustable wrench | Loosens and tightens fittings | Use the correct size grip |
| Screwdriver | Removes valve covers/screws | Keep both flathead & Phillips handy |
| Pliers | Grips and twists small parts | Needle-nose works well |
| Teflon tape | Seals valve threads to prevent leaks | Wrap threads clockwise |
With these tools ready, you’ll be set to replace your washing machine valve quickly and with minimal hassle.
Removing the Old Washing Machine Valve
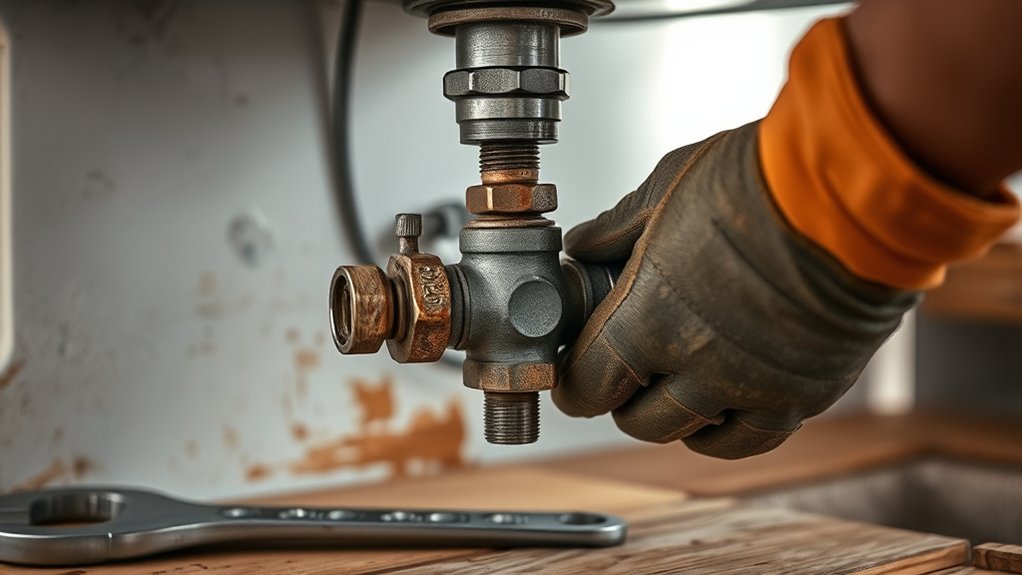
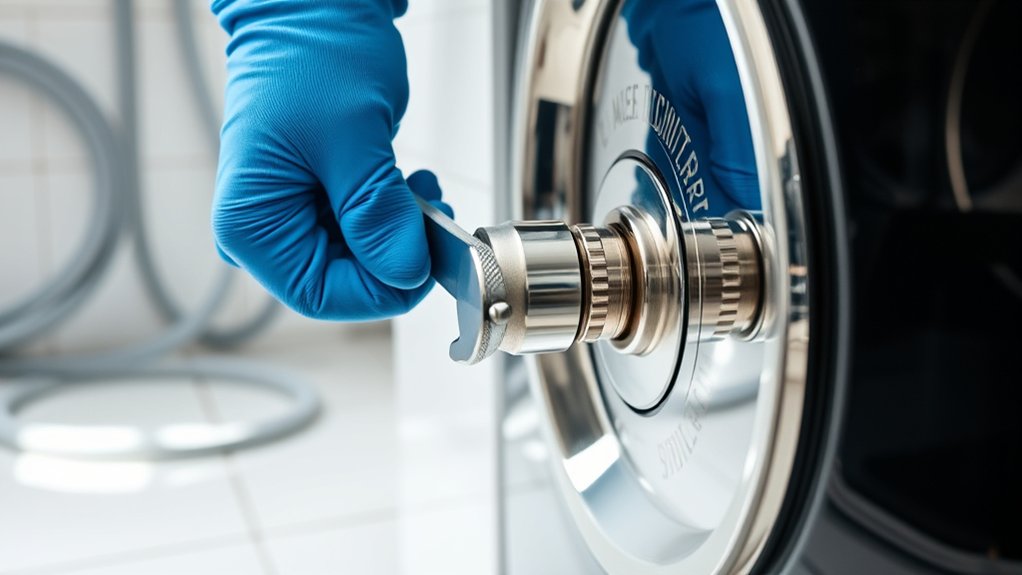
Once you’ve shut off the water supply, you can start disconnecting the hoses from the old washing machine valve. Use a wrench to loosen the hose fittings carefully, turning counterclockwise. Keep a towel or bucket nearby to catch any residual water that may spill.
After removing the hoses, unscrew the valve itself from the water supply pipe. Depending on your setup, you might need an adjustable wrench or pliers for this step. Turn the valve counterclockwise until it detaches completely.
Be cautious not to damage the pipe threads during removal. Once the valve is off, clean the pipe end to remove any debris or old sealing tape, preparing the area for the new valve installation. This guarantees a secure and leak-free connection.
Inspecting and Preparing the Washing Machine Valve Connection
Before installing the new valve, you’ll want to carefully inspect the connection for any damage or buildup. Gather the necessary tools like a wrench, plumber’s tape, and a cloth to prepare the area properly.
Taking these steps guarantees a secure and leak-free installation.
Valve Connection Inspection
How do you guarantee your washing machine valve connection is ready for replacement? First, turn off the water supply and disconnect the hoses. Inspect the valve for cracks, corrosion, or mineral buildup.
Check the rubber washers inside the hose fittings for wear or damage. Make sure the threads on both the valve and hose fittings are clean and intact to ensure a tight seal. Finally, confirm there’s no residual water in the valve that can cause leaks during replacement.
| Inspection Point | What to Look For |
|---|---|
| Valve Body | Cracks, corrosion, mineral buildup |
| Rubber Washers | Cracks, hardness, deformation |
| Threads | Cleanliness, damage, wear |
| Water Residue | Presence of water or moisture |
| Valve Position | Fully closed before starting |
Preparation Tools Checklist
After thoroughly inspecting the valve connection for damage and confirming the water supply is off, gather the necessary tools to make the replacement process smooth and efficient. You’ll need an adjustable wrench to loosen and tighten fittings without damaging them. A pair of pliers will help grip stubborn parts.
Have a bucket or towel handy to catch any remaining water in the valve or hoses. Use a screwdriver for any clamps or fasteners securing the valve. Don’t forget plumber’s tape to guarantee a watertight seal on threaded connections.
Finally, gloves will protect your hands during the job. Having these tools ready before you start will save time and prevent frustration, allowing you to replace the washing machine valve confidently and correctly.
Installing the New Washing Machine Valve
Now that you’ve prepped the connection, it’s time to install the new valve. Make sure the valve lines up correctly with the water supply to avoid leaks.
Tighten the connections securely, but don’t overtighten and risk damaging the fittings.
Valve Alignment Tips
Although it may seem straightforward, aligning the new washing machine valve correctly is vital to prevent leaks and guarantee smooth water flow. Start by positioning the valve so its inlet lines up perfectly with your water supply pipes. Make sure the valve handle is easily accessible and points in the right direction for operation.
Check that the valve sits flush against the wall or mounting surface, avoiding any gaps that could cause stress or misalignment. Use gentle pressure when fitting the valve to avoid bending or damaging any parts. Double-check the alignment before moving on to securing the connections.
Taking these steps ensures your new valve functions properly and lasts longer without issues.
Securing Connections Properly
Ensuring the valve is properly aligned sets the stage for securing your connections without leaks or damage. Start by hand-tightening the valve’s threaded connections to avoid cross-threading. Once snug, use an adjustable wrench to tighten further, but don’t overtighten—it can crack fittings or strip threads.
Next, attach the hose securely to the valve outlet. If your hose uses a compression fitting, tighten the nut firmly by hand, then give it a quarter-turn with a wrench. For washers with rubber washers, ensure they’re seated properly inside the hose connector to prevent leaks.
Finally, turn the water supply back on slowly and check all connections for drips. If you spot leaks, tighten connections a bit more. Proper securing ensures a safe, leak-free valve installation every time.
Testing the New Washing Machine Valve for Leaks
Before fully securing the new washing machine valve, you’ll want to check for leaks to avoid water damage. Turn the water supply back on slowly, watching closely at all connection points. Pay special attention to the valve itself and the hose fittings.
If you spot any drips, tighten the connections gently with a wrench—don’t overtighten, as that can cause damage. Next, run the washing machine through a short cycle to confirm no leaks appear under pressure. Keep a dry cloth or paper towel handy to detect even small moisture.
If everything stays dry, you’re good to proceed. Catching leaks now saves you from costly repairs later. Once you’re sure the valve is leak-free, you can fully secure it and finish your installation confidently.
Fixing Common Washing Machine Valve Problems
Once you’ve confirmed your new washing machine valve isn’t leaking, you might still encounter some common issues that can affect its performance. If the valve doesn’t fully open or close, check for debris blocking the mechanism and clear it carefully. A valve that won’t shut off completely can cause water to drip; replace worn washers or seals to fix this.
If water flow is weak, inspect the inlet screens for clogs and clean them. Sometimes, the valve handle may feel stiff; lubricate the moving parts with a silicone-based lubricant. Always turn off the water supply before making adjustments.
Frequently Asked Questions
What Types of Washing Machine Valves Are Available?
You’ll find washing machine valves in ball valves, gate valves, and quarter-turn valves. Each controls water flow differently, so you’ll want to pick one that fits your machine’s connection type and offers easy shutoff for maintenance.
How Often Should Washing Machine Valves Be Replaced?
You should replace washing machine valves every 5 to 7 years or if you notice leaks, corrosion, or reduced water flow. Regular checks help you avoid water damage and keep your machine running smoothly.
Inspecting the valves periodically ensures they function properly and prevents unexpected failures. Timely replacement can save you from costly repairs and inconvenience. Always use high-quality valves compatible with your washing machine model.
Can I Use a Universal Valve for All Washing Machines?
You can use a universal valve for many washing machines, but it’s not guaranteed to fit every model. Always check compatibility with your machine’s specifications before buying to avoid leaks or installation issues.
What Causes Washing Machine Valves to Fail Prematurely?
Valves fail prematurely because mineral buildup and constant water pressure wear them down like a thousand storms battering a cliff.
You’ll also find leaks from worn seals or corrosion, so regular checks can save you headaches.
Are There Any Safety Precautions When Disposing of Old Valves?
Yes, you should turn off the water supply and disconnect power before removing valves. Dispose of old valves according to local regulations, avoid sharp edges, and wear gloves to protect your hands from injury or contaminants during handling.
Taking these precautions helps ensure your safety and prevents accidents. Always handle the valves carefully to avoid cuts or exposure to harmful substances. Proper disposal also helps protect the environment from hazardous materials.
Conclusion
Now that you’ve replaced the washing machine valve, imagine the steady flow of water, smooth and uninterrupted, ready to bring your laundry to life. You took control, turning off the taps, handling tools with care, and ensuring every connection was tight and secure.
With a little patience and attention, you’ve stopped leaks before they started and restored peace to your laundry room. Your washing machine is ready—just like new—waiting to hum its reliable rhythm once more.
By following these simple steps to replace the washing machine valve, you’ve ensured a leak-free, efficient water supply. This easy washing machine valve replacement will keep your laundry routine running smoothly for years to come.