How to Remove a Faucet in 7 Easy Steps
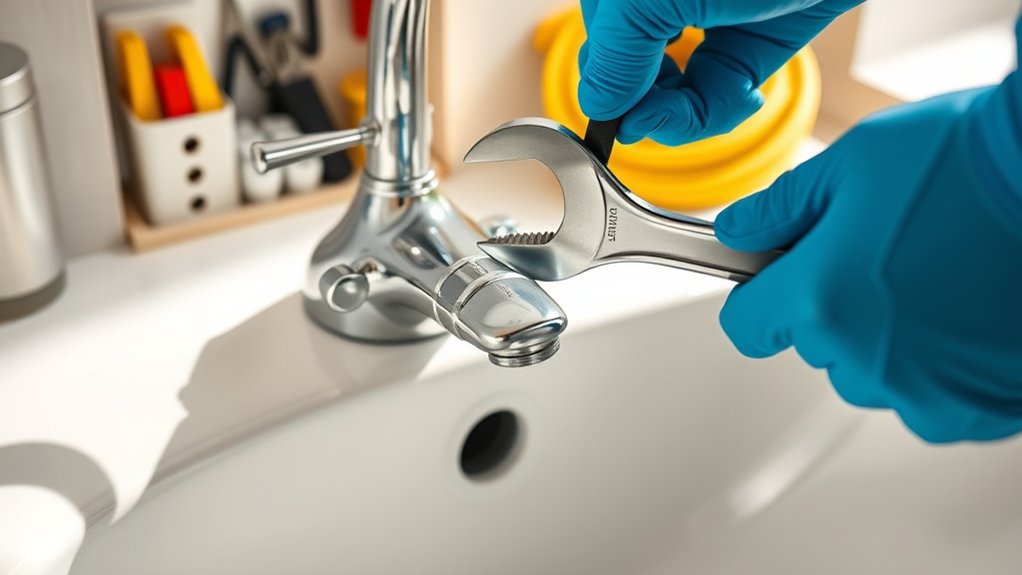
To remove a faucet in 7 easy steps, start by gathering essential tools like an adjustable or basin wrench, gloves, and a bucket for drips. Having the right tools on hand will make the faucet removal process much smoother and safer. These basic plumbing tools are key to tackling this common household task efficiently.
Next, turn off the water supply and open the faucet to release any remaining pressure. This step prevents water from spilling when you disconnect the lines.
Then, carefully disconnect the water lines using your wrenches to avoid damaging the connections.
After that, loosen the mounting nuts beneath the sink and lift out the faucet. If the faucet feels stuck, gently wiggle it to free it from its position.
Finally, clean the sink surface thoroughly before installing a new fixture to ensure a clean and secure fit.
Keep going to tackle common challenges and make the faucet removal process even smoother.
Key Takeaways
- Turn off water supply valves and open faucet to drain remaining water and relieve pressure.
- Use an adjustable or basin wrench to disconnect water line fittings carefully.
- Loosen mounting nuts beneath the sink with the appropriate wrench, applying steady pressure.
- Gently wiggle and lift the faucet to remove it, using penetrating oil or a rubber mallet if stuck.
- Clean sink surface thoroughly, removing old putty and mineral deposits for proper new faucet installation.
Quick Overview: How to Remove a Faucet in 7 Steps
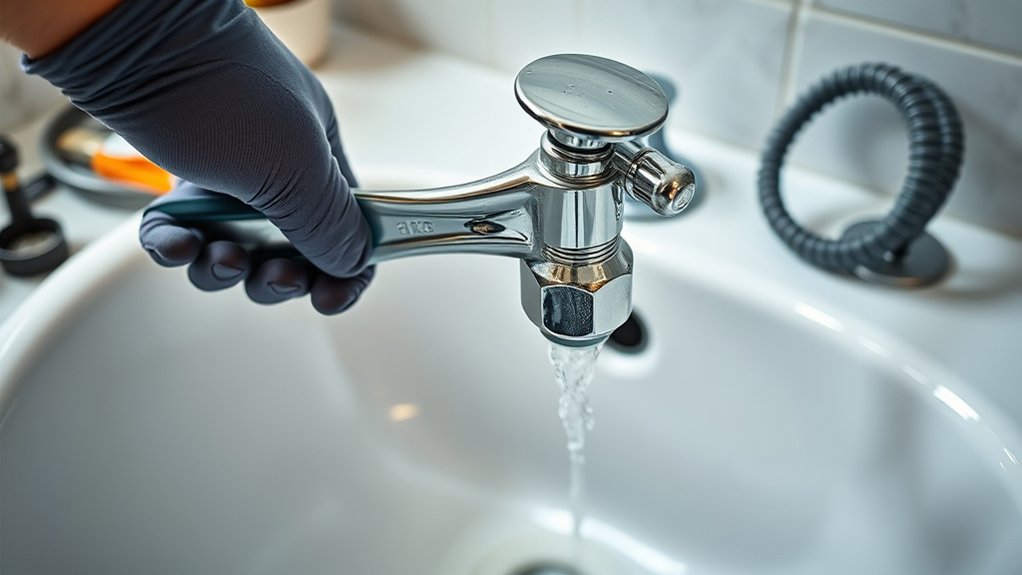
Wondering how to remove a faucet without hassle? Start by shutting off the water supply to avoid any leaks. Next, open the faucet to drain any remaining water.
You’ll then disconnect the water supply lines beneath the sink, so be ready with a towel to catch drips. After that, loosen and remove the mounting nuts or screws holding the faucet in place. Carefully lift the faucet away from the sink once it’s free.
Clean the area to remove any old putty or grime before installing a new fixture. Following these seven clear steps keeps the process straightforward and efficient, saving you time and frustration while ensuring no damage occurs to your sink or plumbing.
Gather Tools Needed for Faucet Removal
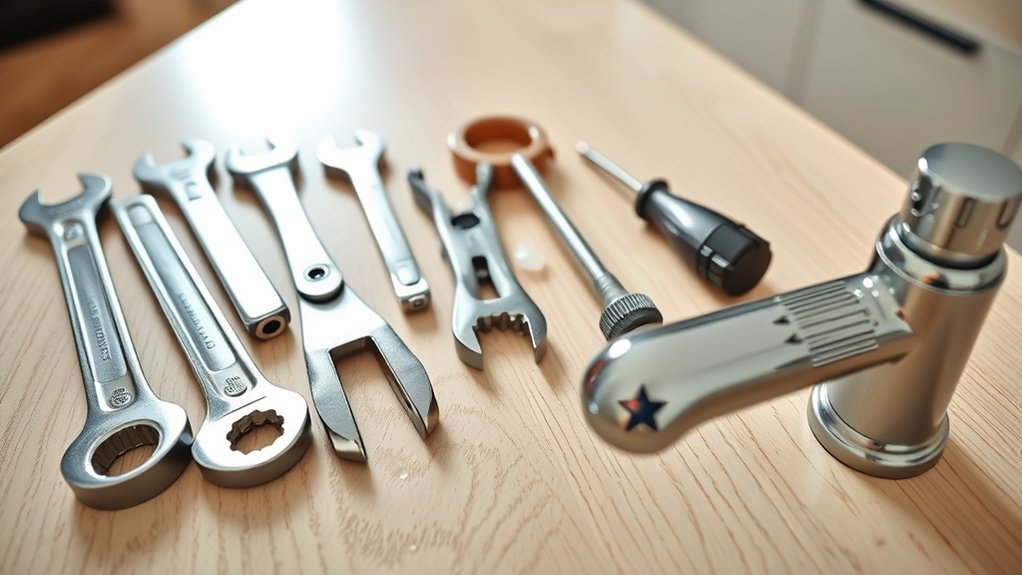
Before you start removing your faucet, make sure you have all the essential tools ready. You’ll need to choose the right wrench to avoid damaging any parts, and don’t forget to put on safety gear to protect yourself.
Having everything prepared will make the process smoother and safer.
Essential Tools Checklist
Although removing a faucet might seem straightforward, having the right tools on hand will make the process much smoother and faster. Before you start, gather everything you’ll need to avoid unnecessary trips or delays.
Here’s a quick checklist to help you prepare:
| Tool | Purpose |
|---|---|
| Adjustable wrench | Loosening nuts and bolts |
| Basin wrench | Reaching tight spaces under sink |
| Screwdriver | Removing screws |
Make sure the tools are in good condition and fit your faucet’s components. Having them ready will let you work efficiently and prevent damage to your plumbing or fixtures.
Once you have these essentials, you’re ready to move on to the next step with confidence.
Choosing the Right Wrench
How do you know which wrench will make removing your faucet easier? Start by identifying the nuts or bolts securing your faucet. Most often, you’ll need an adjustable wrench because it fits various sizes.
If your faucet has hex nuts, a basin wrench is invaluable—it reaches tight spots under the sink where standard wrenches can’t. For stubborn or rusted nuts, consider a pipe wrench for extra grip. Avoid using pliers alone, as they can damage fittings.
Before you begin, check your wrench fits snugly to prevent slipping or rounding off nuts. Having the right wrench ready saves time and avoids frustration, making the removal process smoother and safer. Gather these tools before starting to ensure you’re fully prepared.
Safety Gear Preparation
Having the right wrench makes removing your faucet much easier, but protecting yourself during the process is just as important. Before you start, gather safety gear like gloves to protect your hands from sharp edges and hot water residue. Wear safety glasses to shield your eyes from debris or splashes.
If you’re working in a tight space, knee pads can add comfort and prevent strain. Also, keep a flashlight handy to improve visibility under the sink. Proper attire, such as long sleeves and closed-toe shoes, helps avoid cuts and accidents.
Preparing this gear guarantees you stay safe and focused, making the faucet removal smoother and hassle-free. Don’t skip this step—it’s key to a successful and injury-free project.
Turn Off Water and Prepare Your Workspace
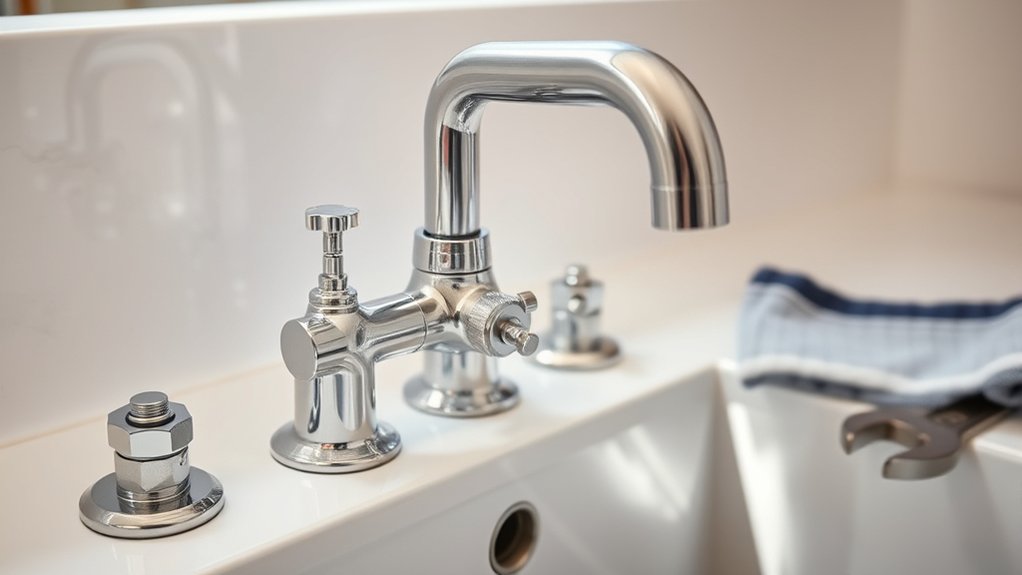
Before you start removing the faucet, make sure to turn off the water supply to prevent any leaks or spills. Locate the shut-off valves under the sink and turn them clockwise until they’re fully closed. If your sink doesn’t have individual valves, turn off the main water supply for your home.
Once the water is off, open the faucet to drain any remaining water in the lines. Next, clear the area around the sink to give yourself plenty of workspace. Lay down a towel or bucket under the sink to catch any drips.
Gather your tools nearby to keep everything within reach. Preparing your workspace like this helps you work efficiently and avoid unexpected messes while removing the faucet.
Disconnect Water Lines Safely
Before you disconnect the water lines, make sure the water supply is completely shut off. Grab the right tools to loosen the connections without causing damage. Keep a towel or bucket nearby to catch any drips and prevent water spills.
Shut Off Water Supply
How do you guarantee no water spills when removing your faucet? First, locate the shut-off valves under the sink. Turn them clockwise until they’re fully closed to stop the water flow.
If you don’t see individual valves, you might need to shut off the main water supply to your home. After closing the valves, turn on the faucet to release any remaining water and relieve pressure in the lines. Place a bucket or towel under the connections to catch drips when you disconnect the water lines.
Double-check the valves are fully closed before proceeding. Taking these steps assures you avoid unexpected leaks or spills, making the faucet removal process cleaner and safer. Now you’re ready to disconnect the water lines confidently.
Use Proper Tools
Which tools do you need to disconnect your faucet’s water lines safely? Start with an adjustable wrench or a basin wrench, designed to access tight spots under the sink. These tools help you loosen the nuts connecting the water lines without damaging them.
Have a pair of pliers handy for gripping and turning stubborn fittings. Make certain you use the right tool size to avoid stripping nuts or fittings. Before loosening, turn the wrench counterclockwise with steady pressure to prevent sudden slips.
If your water lines have compression fittings, a compression sleeve puller can be useful. Using proper tools ensures you don’t cause leaks or damage, making the removal process smoother and safer. Always double-check tool condition to avoid accidents during disconnection.
Prevent Water Spills
Where should you start to prevent water spills when disconnecting your faucet’s water lines? First, turn off the water supply valves beneath the sink. This stops water flow and minimizes mess.
Next, open the faucet to drain any remaining water in the lines. Place a bucket or towel under the connections to catch drips when you loosen the water lines. Use an adjustable wrench to carefully disconnect the supply lines, turning slowly to avoid sudden sprays.
Keep a rag handy to wipe up any small leaks immediately. By shutting off the water, draining the lines, and using a container to catch drips, you’ll prevent spills and keep your workspace dry while safely disconnecting your faucet’s water lines.
Remove Mounting Nuts and Lift Out the Faucet
Before you lift out the faucet, you’ll need to loosen the mounting nuts securing it beneath the sink. Use a basin wrench or an adjustable wrench to reach and turn these nuts counterclockwise. Sometimes they can be tight or corroded, so apply steady pressure and be patient.
Once the nuts are free, carefully support the faucet from above as you lift it away from the sink. Avoid forcing it, as you might damage the sink surface or plumbing. If the faucet feels stuck, gently wiggle it back and forth to loosen any remaining sealant or debris.
After removing the faucet, set it aside safely. Now you’re ready to move on to cleaning the sink and preparing for your new faucet installation.
Clean the Sink Before Installing a New Faucet
Once you’ve removed the old faucet, take the time to thoroughly clean the sink area where the new one will sit. Wipe away any grime, mineral deposits, or old plumber’s putty to guarantee a smooth, clean surface. Use a mild cleaner or vinegar solution to tackle stubborn buildup, then rinse and dry the area completely.
This step prevents leaks and helps the new faucet seal properly. Check the sink holes for any debris or damage that might interfere with installation. Taking a few extra minutes to clean now will save you from potential problems later.
A clean sink surface ensures your new faucet fits snugly and looks great, so don’t skip this important task before moving on to the installation.
Troubleshooting Common Faucet Removal Problems
Although removing a faucet might seem straightforward, you can run into stubborn nuts, corroded parts, or tight spaces that make the process tricky. If a nut won’t budge, try applying a penetrating oil and let it sit for 10-15 minutes before loosening. Use a wrench with the right size to avoid stripping.
For corroded parts, gently tap them with a rubber mallet to break the rust bond. If space is tight, a basin wrench can help you reach hard-to-access fasteners. Always turn off the water supply before starting to avoid leaks.
If the faucet base is stuck, carefully use a putty knife to break any sealant or buildup. Taking your time and using the right tools will help you avoid damage and finish the job smoothly.
Frequently Asked Questions
What Types of Faucets Are Easiest to Remove?
You’ll find single-handle faucets easiest to remove since they have fewer parts and simpler connections. Wall-mounted faucets can also be straightforward, but multi-handle or widespread faucets usually require more time and tools to detach.
How Long Does Faucet Removal Typically Take?
Removing a faucet usually takes 30 to 60 minutes, like peeling layers off an onion. You’ll work steadily, loosening nuts and connections, and with patience, you’ll have it off without a hitch before you know it.
Can I Reuse Old Mounting Hardware?
You can reuse old mounting hardware if it’s in good condition, but it’s often better to replace it to guarantee a secure fit and avoid leaks.
Inspect carefully and replace any worn or damaged parts for best results.
What Safety Gear Should I Wear During Removal?
You should wear safety goggles to protect your eyes, gloves to prevent cuts and irritation, and long sleeves to avoid scrapes.
If you’re working under the sink, consider knee pads for comfort and a mask if dust or debris is present.
Do I Need to Shut off the Main Water Supply?
Imagine turning off the main water supply prevented a flooded kitchen during a quick faucet swap.
Yes, you absolutely need to shut it off to avoid leaks or water damage while removing the faucet safely and efficiently.
Conclusion
Now that you know how to remove a faucet in just seven easy steps, you’re ready to tackle the job confidently. For example, imagine Jane, who replaced her old kitchen faucet without calling a plumber, saving time and money.
By following these steps, you’ll avoid common pitfalls and make the process smooth and stress-free. So grab your tools, turn off the water, and get started—you’ve got this!
Remember, learning how to remove a faucet properly ensures a hassle-free experience and prepares you for future plumbing projects. With the right approach, faucet removal becomes simple and efficient every time.