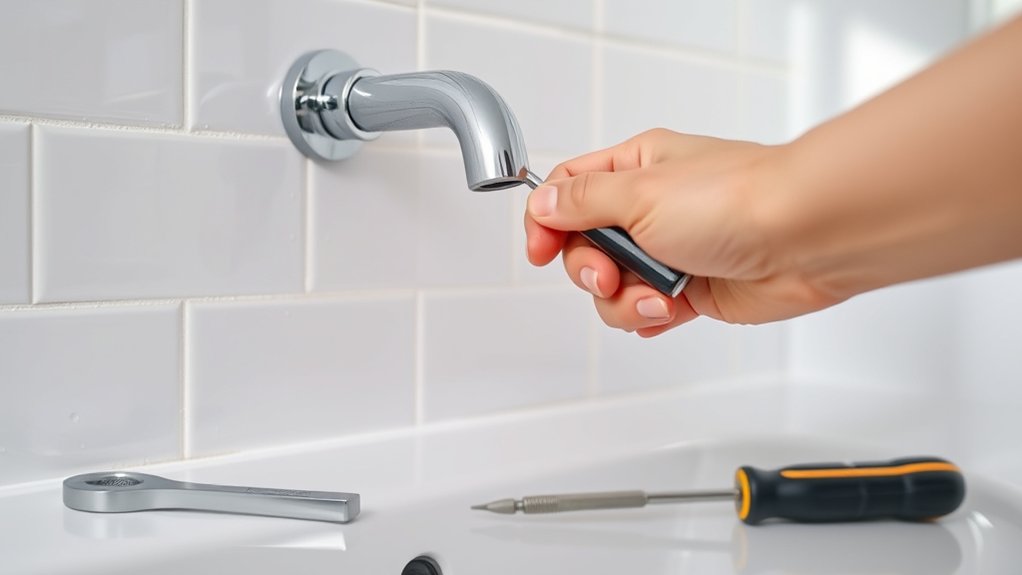
How to Fix a Shower Faucet in 10 Easy Steps
To fix your shower faucet in 10 easy steps, start by gathering the necessary tools and turning off the water supply to prevent any mess. Properly fixing a shower faucet involves identifying the problem, such as leaks or worn cartridges, and replacing faulty parts.
This guide will help you troubleshoot common faucet issues efficiently and save on costly repairs.
Begin by removing the faucet handle carefully, then inspect the components for damage or wear. Replace any defective parts, reassemble the faucet, and turn the water back on to test for leaks.
Adjust the water flow and temperature to suit your preferences.
If drips or leaks persist after these steps, continue troubleshooting or consider consulting a professional plumber.
Follow these instructions carefully, and you’ll soon enjoy a smoothly working shower with no guesswork involved.
Key Takeaways
- Shut off the main water supply and open the faucet to drain remaining water before starting repairs.
- Remove the faucet handle by loosening screws and gently pulling it off, using a handle puller if needed.
- Inspect and replace damaged cartridges or valve stems to stop leaks and restore proper function.
- Reassemble the faucet securely, then turn water on slowly to check for leaks and adjust flow or temperature as needed.
- Replace worn washers or valve seats to fix leaks, and consult a professional if problems persist.
Gather Tools Needed to Fix Your Shower Faucet
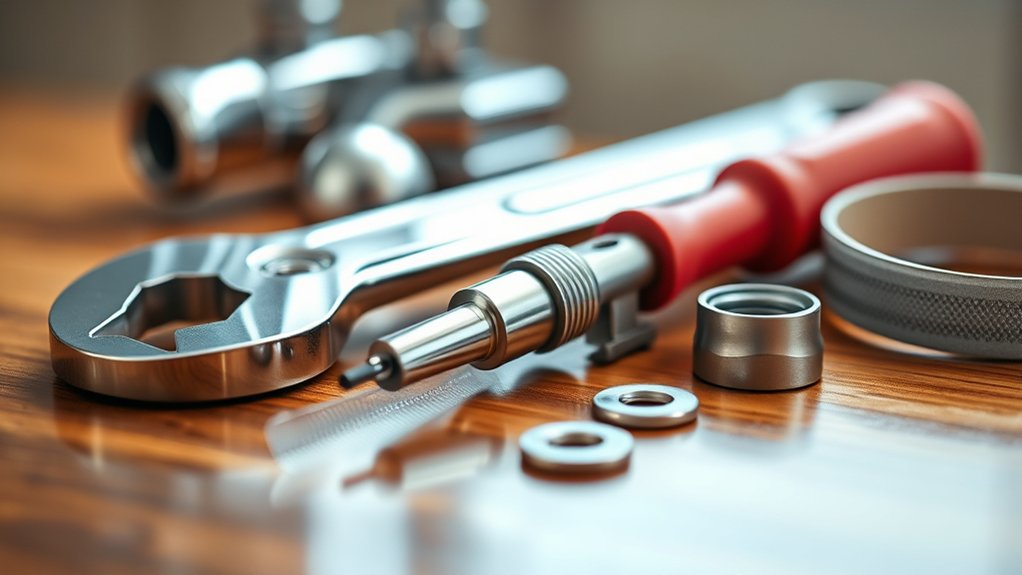
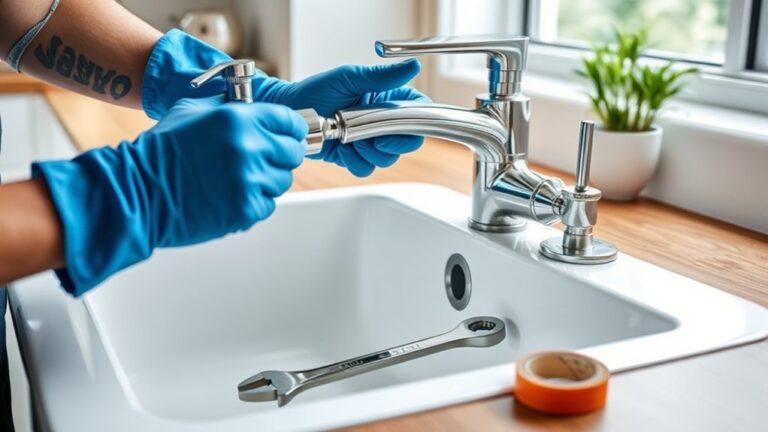
Before you begin fixing your shower faucet, you’ll need to gather the right tools to make the job easier and more efficient. Start with a basic adjustable wrench and a set of screwdrivers—both flathead and Phillips. You’ll also want a pair of pliers for gripping and turning small parts.
Don’t forget a hex key or Allen wrench, as some faucets have hidden screws. Keep a utility knife handy to cut any caulking or sealant around the faucet. It’s helpful to have a towel or small bucket nearby to catch any drips.
Finally, grab some plumber’s tape to ensure a tight seal when reassembling parts. Having these tools ready will save you time and frustration during the repair process.
Turn Off the Water Supply Before You Start
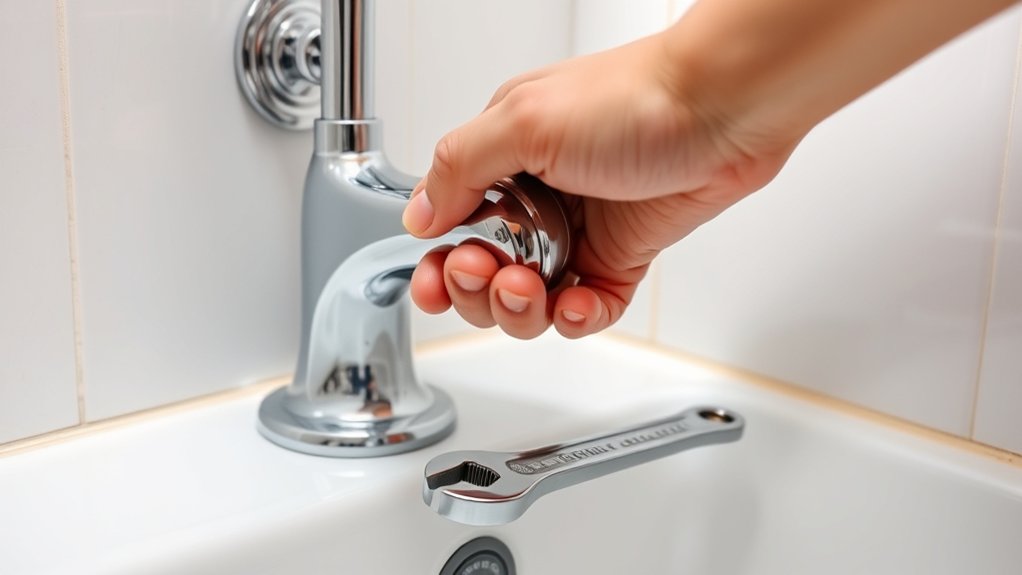
Since water can cause a mess and complicate repairs, you’ll want to turn off the water supply to your shower before you start working. Locate the main water shut-off valve for your home—it’s usually near the water meter or where the main line enters your house. If you’re unsure, check your home’s plumbing map or ask a professional.
Once found, turn the valve clockwise to stop the water flow. Next, open your shower faucet to drain any remaining water in the pipes. This step prevents water from spraying out when you remove parts later.
Taking these precautions guarantees a safer, cleaner workspace and helps avoid accidental flooding while you fix your shower faucet. Always double-check that the water is fully off before proceeding.
Remove the Shower Faucet Handle
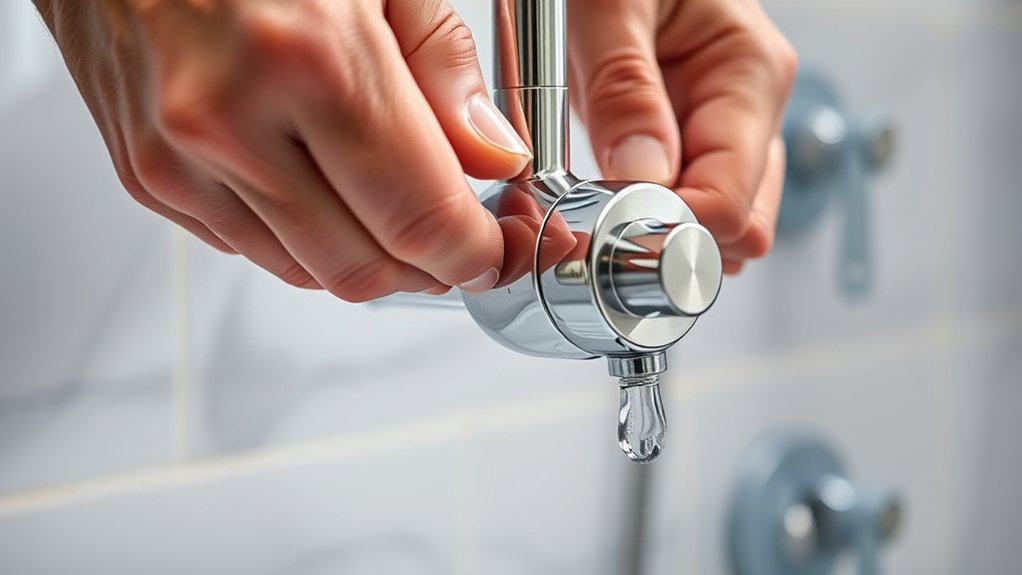
Although it might seem tricky at first, removing the shower faucet handle is straightforward once you know where to look. Start by checking for a small screw or a decorative cap on the handle. If there’s a cap, gently pry it off with a flathead screwdriver to expose the screw underneath.
Use a screwdriver or an Allen wrench to loosen and remove this screw. Once the screw is out, carefully pull the handle straight off the faucet stem. If it feels stuck, wiggle it gently or use a handle puller tool to avoid damaging the fixture.
Keep the screw and handle in a safe place, as you’ll need them later when reassembling. Now you’re ready for the next step in repairing your shower faucet.
Inspect the Shower Faucet for Damage
Now that the handle is off, carefully check the faucet for any visible cracks or corrosion. Look closely for areas where water might be leaking or dripping.
Catching damage early will help you know what repairs are needed next.
Visual Damage Check
Before you start dismantling your shower faucet, take a close look at its exterior for any visible signs of damage. Check for cracks, corrosion, or worn-out areas on the handle, spout, and escutcheon plate. Look closely around the edges for any discoloration or mineral buildup that could indicate long-term wear.
Pay attention to loose or missing screws and make sure the handle turns smoothly without wobbling. Notice any dents or chips in the finish, as these could lead to further deterioration. If you spot damaged parts, note their location and severity; this will help you decide whether you need to replace components or just clean and tighten them.
This initial visual damage check sets the foundation for targeted repairs.
Identify Leaking Areas
Where exactly is your shower faucet leaking? Start by turning on the water and carefully observing the faucet. Check around the handle, spout, and base for any drips or moisture.
Pay close attention to the connections between the faucet and the water supply lines. If you notice water pooling beneath the faucet or on the wall, that’s a sign of a possible leak. Also, inspect the showerhead for any slow drips when the water is off, which could indicate internal valve issues.
Use a dry cloth to wipe suspected areas, then watch again to spot fresh leaks. Identifying the precise leaking spots helps you target the problem, making your repair efforts more effective and saving you time and frustration.
Replace the Shower Faucet Cartridge or Valve Stem
To replace your shower faucet cartridge or valve stem, you’ll first need to identify the type of cartridge you have. Next, carefully remove the old valve stem without damaging the plumbing.
Finally, install the new cartridge, making sure it fits securely to prevent leaks.
Identifying Cartridge Types
How do you know which cartridge type fits your shower faucet? Start by checking your faucet brand and model, often found on the faucet handle or trim. Cartridges vary widely—some are plastic, others brass, and they differ in shape and size.
Common types include Moen, Delta, Kohler, and Price Pfister, each with unique designs. You can also remove the cartridge’s retaining clip or nut (when ready) to look for markings or part numbers. If you haven’t removed it yet, consult your faucet’s manual or search online with your model number.
Taking a clear photo of your cartridge can help when visiting a hardware store or searching online. Identifying the correct cartridge guarantees compatibility and smooth operation when you replace it.
Removing Old Valve Stem
Before you can install a new cartridge or valve stem, you’ll need to carefully remove the old one. Start by turning off the water supply to avoid leaks. Remove the handle by loosening the set screw, usually hidden under a decorative cap.
Once the handle is off, take out the trim plate to expose the valve stem. Use a wrench or pliers to grip the valve stem, turning it counterclockwise to unscrew it. If it’s stuck, apply penetrating oil and let it sit for a few minutes before trying again.
Be gentle to avoid damaging the plumbing behind the valve. Once removed, inspect the valve body for mineral buildup or damage. This prepares you for installing the new cartridge or valve stem properly.
Installing New Cartridge
Once you’ve removed the old valve stem and checked the valve body for any buildup or damage, you can install the new cartridge. First, apply a thin layer of plumber’s grease to the rubber O-rings on the new cartridge to guarantee a smooth fit and prevent leaks.
Next, carefully align the cartridge with the valve body, making sure the tabs or notches match the slots inside. Push the cartridge firmly into place until it’s fully seated. Then, secure it by tightening the retaining clip or nut, depending on your model.
Finally, reattach the handle and test the faucet by turning the water on. If everything works smoothly without leaks, you’ve successfully installed the new cartridge and fixed your shower faucet.
Clean and Replace Worn Washers and O-Rings
Because worn washers and O-rings often cause leaks and drips, you’ll want to clean and replace them promptly to restore your shower faucet’s proper function. First, remove the old washers and O-rings from the cartridge or valve stem. Check each piece carefully for cracks, flattening, or brittleness.
Use a cloth soaked in vinegar or a mild cleaning solution to remove any mineral deposits or grime from the faucet parts and housing. When installing new washers and O-rings, make sure they match the original size and thickness exactly to create a proper seal. Lightly lubricate the new O-rings with plumber’s grease to prevent wear and ensure smooth movement.
Properly replacing these small components can stop leaks and extend your faucet’s lifespan effectively.
Reassemble the Faucet and Test for Leaks
After replacing the washers and O-rings, you’ll want to carefully reassemble the faucet to guarantee everything fits securely. Begin by aligning all the internal components exactly as you removed them. Slide the cartridge or valve stem back into place, making sure it sits firmly.
Next, tighten the retaining nut or clip to hold it securely but avoid over-tightening, which could cause damage. Once the main parts are assembled, reattach the handle and secure it with the screw. Turn the water supply back on slowly and watch for leaks around the faucet.
If you notice any drips, gently tighten connections or reposition components as needed. Testing now ensures your repair was successful and prevents water damage before you adjust flow or temperature.
Adjust Water Flow and Temperature Settings
Now that your faucet is reassembled, you’ll want to adjust the water flow and temperature settings to your liking. Pay attention to how the water pressure feels and learn how the temperature control mechanisms work.
You can fine-tune the flow valve to get the perfect balance between comfort and efficiency.
Understanding Water Pressure
How does water pressure affect your shower experience? It directly influences the flow rate and how evenly water sprays from your showerhead. Too low, and your shower feels weak; too high, and it can cause leaks or damage.
Understanding your water pressure helps you adjust flow and temperature settings effectively.
Here’s a quick guide:
| Pressure Level | Flow Rate | Effect on Shower |
|---|---|---|
| Low | Under 30 psi | Weak spray, uneven water flow |
| Ideal | 40-60 psi | Consistent, comfortable flow |
| High | Above 70 psi | Risk of leaks, fixture strain |
Check your home’s pressure with a gauge. Adjust valves or install pressure regulators if needed for the best shower experience.
Temperature Control Mechanisms
Water pressure sets the stage for your shower, but managing the right mix of hot and cold water determines your comfort. When fixing your shower faucet, you need to focus on the temperature control mechanism, which balances water flow from both hot and cold lines.
Start by locating the cartridge or valve that mixes these flows. If your water temperature fluctuates or isn’t consistent, the cartridge might be worn or clogged. Replace or clean it to restore smooth control.
Adjust the temperature stop limiter if available—this prevents scalding by restricting how far the handle turns toward hot water. After reinstalling, test the water temperature thoroughly to ensure you can achieve a comfortable balance without sudden changes or leaks.
This step is key to a pleasant shower experience.
Adjusting Flow Valve
Although the temperature control sets the foundation, adjusting the flow valve lets you fine-tune both water pressure and temperature to your preference. First, locate the flow valve, usually behind the faucet handle or inside the valve body. Turn it slowly to increase or decrease water flow.
If the water pressure feels too low, gently open the valve more; if it’s too strong or hot, close it slightly. Make small adjustments, then test the shower to see how the changes affect both pressure and temperature. Remember, the flow valve works alongside the temperature control, so balancing both ensures a comfortable shower experience.
If you encounter stiffness or resistance, consider cleaning or lubricating the valve to maintain smooth operation.
Troubleshoot Persistent Drips and Leaks
When you notice your shower faucet dripping even after turning it off, it usually means a worn-out washer or valve seat is to blame. Start by shutting off the water supply to avoid any mess. Remove the faucet handle, then carefully take out the cartridge or stem to inspect the washer and valve seat.
If the washer looks cracked, flattened, or hardened, replace it. Also, check the valve seat for corrosion or damage—use a valve seat wrench or a seat grinder to clean or replace it as needed. Reassemble the parts and turn the water back on to test for leaks.
If the drip persists, double-check your installation for proper sealing around components. This approach should stop most persistent drips and leaks effectively.
When to Call a Professional Plumber
If your shower faucet continues to leak after you’ve replaced washers and cleaned valve seats, it’s time to call a professional plumber. Some issues require expertise beyond DIY fixes, like damaged valve cartridges, corroded pipes, or complex plumbing connections.
If you notice low water pressure, strange noises, or water damage around the faucet, don’t hesitate to get professional help. Attempting advanced repairs without proper tools or knowledge might worsen the problem or cause leaks.
Also, if your faucet uses specialized parts or you’re unsure about local plumbing codes, a plumber can verify the job’s done safely and correctly. Knowing when to call a pro saves time, prevents costly damage, and guarantees your shower works smoothly again.
Frequently Asked Questions
What Type of Shower Faucet Do I Have?
You probably have a single-handle, dual-handle, or thermostatic shower faucet.
Check your handle count and temperature control.
If you see one lever, it’s single-handle; two knobs mean dual-handle; thermostatic controls regulate temperature precisely.
Can Hard Water Damage My Shower Faucet?
Yes, hard water can damage your shower faucet by causing mineral buildup, reducing water flow, and wearing out seals.
You’ll notice leaks, corrosion, and decreased performance if you don’t clean and maintain it regularly.
How Often Should I Maintain My Shower Faucet?
You should maintain your shower faucet every six months to prevent buildup and leaks. Regular cleaning and checking for wear will keep it working smoothly, saving you from costly repairs and ensuring a steady water flow.
Are All Faucet Cartridges Universal in Size?
Are all faucet cartridges the same size, like puzzle pieces fitting any spot? No, they aren’t.
You’ll find different sizes and types, so always check your faucet model before buying a replacement cartridge to avoid hassle.
What Are Common Signs of Faucet Corrosion?
You’ll notice green or white buildup, rough or pitted surfaces, and leaking around the faucet. Corrosion often causes reduced water flow and difficulty turning handles, signaling it’s time to inspect or replace parts to avoid bigger problems.
Conclusion
Fixing your shower faucet yourself might seem tricky, but once you gather your tools and turn off the water, you’re halfway there. Removing the handle and inspecting the parts will show you what’s wrong, and replacing the cartridge or valve stem often solves the problem.
As you reassemble and test for leaks, you’ll realize that a little patience and these steps can save you money—and maybe even a call to the plumber. Following this simple guide to how to fix a shower faucet can make the process smooth and efficient. With the right approach, fixing your shower faucet becomes a manageable DIY project.
You’ve got this! By understanding how to fix a shower faucet in 10 easy steps, you’re empowered to tackle common issues confidently. Save time and money by handling your shower faucet repairs yourself.