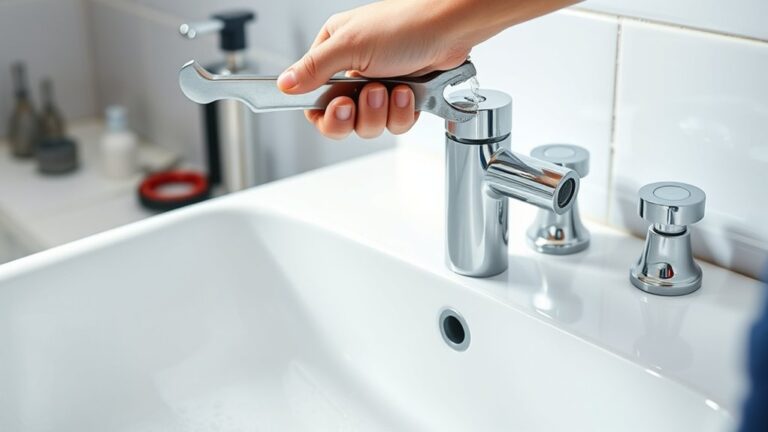
How to Clean the Sink Faucet Head in 7 Easy Steps
First, turn off the water supply and clear the area around your sink for easy access. Cleaning the sink faucet head is essential to prevent mineral buildup and maintain water flow efficiency. Gather essential tools like a toothbrush, vinegar, and gloves to get started on this simple maintenance task.
Carefully remove the faucet head and soak it in vinegar to loosen stubborn mineral deposits. This natural cleaning method helps dissolve buildup without harsh chemicals.
After soaking, gently scrub away any remaining residue with a soft brush.
Rinse the faucet head thoroughly under running water to remove vinegar and loosened debris. Reattach the faucet head securely, making sure to check for any leaks.
Regular maintenance keeps your faucet flowing smoothly and looking great. Keep following these steps to uncover tips for prolonging your faucet’s lifespan effortlessly.
Key Takeaways
- Turn off the water supply and remove the faucet head carefully, using tools if needed.
- Soak the faucet head in a vinegar solution for 30 minutes to dissolve mineral deposits.
- Gently scrub crevices and openings with a soft toothbrush dipped in vinegar or mild soap.
- Rinse thoroughly with warm water and wipe the exterior with a microfiber cloth for shine.
- Reassemble the faucet head securely, check for leaks, and perform regular cleaning for maintenance.
Prepare Your Sink Faucet: Turn Off Water and Clear Area

Before you start cleaning, make sure to turn off the water supply to your sink faucet to prevent any accidental leaks or sprays. Locate the shut-off valves under the sink and twist them clockwise until they’re fully closed. Once the water is off, open the faucet briefly to release any remaining water in the pipes.
Next, clear the area around your sink to give yourself enough space to work comfortably. Remove any dishes, soap dispensers, or other items that might get in your way or be damaged by water. Wipe down the sink surface to avoid dirt or grime mixing with the cleaning process.
Taking these simple steps guarantees a smooth, mess-free faucet cleaning experience from start to finish.
Tools and Supplies You’ll Need to Clean Your Faucet Head
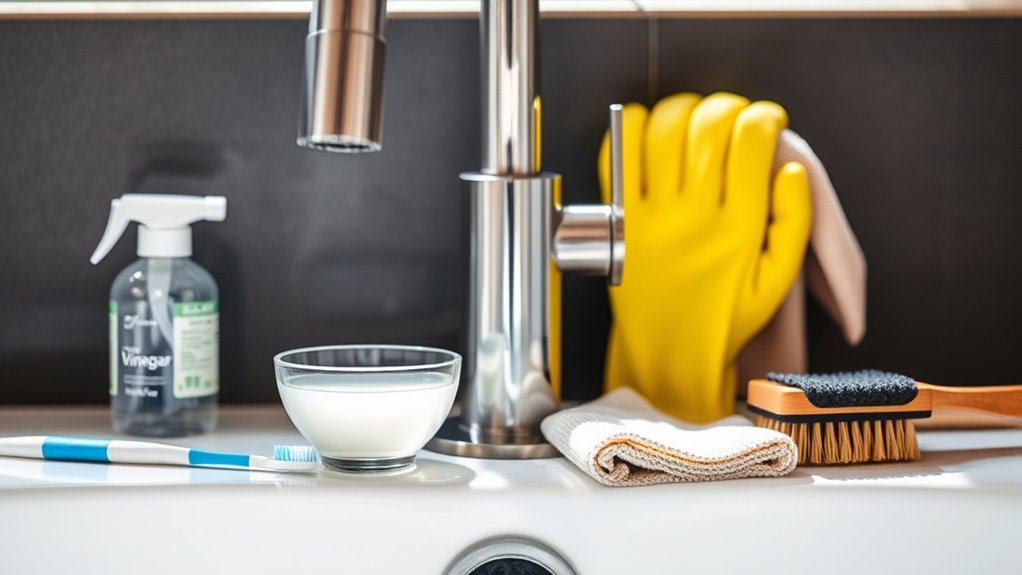
You’ll need a few essential tools and cleaning supplies to get your faucet head sparkling again. Make sure to have items like a toothbrush, vinegar, and a soft cloth on hand.
Don’t forget to follow basic safety precautions to protect your hands and eyes during the process.
Essential Cleaning Tools
Gathering the right tools makes cleaning your sink faucet head much easier and more effective. You’ll want a small bowl or container to soak the faucet head, and a soft toothbrush to scrub away buildup without scratching the finish. A microfiber cloth helps you wipe down surfaces gently and polish for a streak-free shine.
Rubber gloves protect your hands from grime and cleaning solutions. Additionally, a toothpick or a small needle can clear out tiny holes or crevices in the aerator. Finally, have a pair of pliers or an adjustable wrench handy to remove the faucet head if needed.
With these essential tools ready, you’ll tackle the cleaning process smoothly and get your faucet sparkling in no time.
Recommended Cleaning Supplies
Although cleaning your faucet head might seem simple, having the right supplies makes the job quicker and more effective. You’ll need white vinegar to dissolve mineral buildup, a soft-bristle toothbrush for scrubbing, and a small bowl or plastic bag to soak the faucet head.
Keep a microfiber cloth handy to wipe away residue and polish the surface afterward. Additionally, rubber bands or twist ties can secure the soaking bag in place. If your faucet has stubborn grime, a mild dish soap mixed with water will help break it down without damaging the finish.
Avoid harsh chemicals, as they can corrode your faucet. With these recommended supplies, you’ll tackle buildup efficiently and restore your faucet’s shine in no time.
Safety Precautions Needed
Before starting, make sure to turn off the water supply to prevent any accidental sprays or leaks. You’ll also want to wear gloves to protect your hands from harsh cleaners and avoid any skin irritation. Using eye protection is a smart idea, especially when working with vinegar or commercial cleaners.
Confirm your workspace is well-ventilated to avoid inhaling strong fumes.
Here’s a quick safety checklist:
| Safety Item | Purpose |
|---|---|
| Gloves | Protect skin from cleaners |
| Eye Protection | Prevent splashes into eyes |
| Water Supply Off | Avoid unexpected sprays/leaks |
Following these precautions will help you clean your faucet head safely and effectively.
How to Remove the Faucet Head Safely and Easily

First, you’ll want to identify the type of faucet head you have to know the best way to remove it. Make sure you gather the right tools, like a wrench or pliers, to avoid any damage.
Then, carefully loosen the faucet head without applying too much force to keep it intact.
Identify Faucet Head Type
How do you know which type of faucet head you’re dealing with? First, take a close look at the faucet head itself. Most common types are aerator-style or pull-out/pull-down spray heads.
Aerator heads are usually round with a mesh screen and screw directly onto the faucet spout. Pull-out or pull-down heads have a hose attached and can be pulled away from the faucet body. Some faucets also feature a simple fixed spout without a detachable head.
Check for visible seams or buttons that indicate spray functions. Knowing your faucet type helps you remove it safely without causing damage. Once you identify the style, you can plan the best removal approach, whether it involves unscrewing, pressing release buttons, or gently pulling the head free.
Gather Necessary Tools
Although removing a faucet head might seem straightforward, having the right tools on hand will make the process much smoother and prevent damage. Before you start, gather these essentials to guarantee you’re prepared:
- Adjustable wrench for loosening nuts without scratching
- Soft cloth or tape to protect the faucet’s finish
- Screwdriver set for any hidden screws
- Small bucket or bowl to catch drips or parts
- Old toothbrush or soft brush for cleaning after removal
Having these tools ready helps you work efficiently and keeps your faucet looking great. With everything at your fingertips, you’ll avoid frustration and handle the removal confidently, setting yourself up for a clean, well-maintained faucet head.
Loosen Without Damage
When you’re ready to remove the faucet head, take care to loosen it gently to avoid damaging the finish or internal components. First, wrap a cloth around the faucet head to protect its surface from scratches. Use an adjustable wrench or pliers with padded jaws to grip the base securely.
Turn the faucet head counterclockwise slowly—don’t force it. If it feels stuck, apply a small amount of penetrating oil and let it sit for a few minutes before trying again. Avoid using excessive pressure, which could strip threads or crack parts.
Once loosened, unscrew the faucet head by hand. Taking these precautions ensures you remove the faucet head safely and easily, making cleaning or replacement hassle-free without risking costly damage.
Soak Faucet Heads to Remove Mineral Deposits
Why let stubborn mineral deposits ruin your faucet’s performance? Soaking the faucet head is a simple, effective way to dissolve buildup and restore water flow. Start by removing the faucet head carefully.
Then, fill a small bowl with white vinegar or a vinegar-water mix. Submerge the faucet head and let it soak for at least 30 minutes to an hour. Vinegar’s acidity breaks down minerals gently but thoroughly.
After soaking, rinse the faucet head with warm water. Visualize:
- Vinegar bubbling against crusty deposits
- Mineral flakes softening and loosening
- Clear water flowing through once clogged holes
- A bright, shiny faucet head reappearing
- Smooth removal of stubborn white or greenish layers
This soaking step helps keep your faucet working smoothly without harsh chemicals.
Scrub Away Dirt and Buildup Without Damaging Your Faucet
Since mineral deposits have softened, you can now scrub away dirt and buildup without worrying about damaging your faucet. Use a soft-bristled toothbrush or a non-abrasive sponge to gently clean the faucet head. Avoid harsh scrubbers or steel wool, as they can scratch the finish.
Focus on crevices and small openings where grime tends to hide. If stubborn spots remain, dip your brush in a mixture of equal parts water and white vinegar for extra cleaning power. Be careful not to apply too much pressure; let the brush do the work.
Take your time to guarantee all buildup is removed while preserving the faucet’s protective coating. This gentle scrubbing restores your faucet’s shine and keeps it functioning smoothly.
Rinse and Reassemble Your Faucet Head Correctly
After you’ve gently scrubbed away all the buildup, it’s time to thoroughly rinse the faucet head to remove any remaining residue. Hold the faucet head under warm running water, making sure to flush out every tiny crevice. Use your fingers or a soft brush to dislodge stubborn particles.
Once clean, prepare to reassemble by aligning the components carefully.
- Place the aerator screen back into the faucet head
- Insert any washers or O-rings in their correct positions
- Screw the faucet head back onto the faucet base securely but without overtightening
- Check for leaks by turning on the water gently
- Wipe the exterior with a soft cloth for a polished finish
This careful process ensures your faucet works smoothly and stays clean longer.
Keep Your Faucet Head Clean: Simple Maintenance Tips
To keep your faucet head working smoothly and looking clean, you’ll want to perform simple maintenance regularly. Start by wiping the faucet head with a soft cloth and mild soap once a week to prevent buildup. Avoid harsh chemicals that can damage the finish.
Every few months, soak the faucet head in a vinegar solution to dissolve mineral deposits. Don’t forget to check for leaks or loose parts and tighten them as needed. Running hot water through the faucet occasionally helps flush out debris.
If your water is hard, consider installing a water softener to reduce deposits. By following these straightforward steps, you’ll extend the life of your faucet head and maintain best water flow without extra hassle.
Frequently Asked Questions
Can I Use Vinegar to Clean All Types of Faucet Materials?
You can use vinegar on most faucet materials, but avoid it on natural stone, brass, or gold finishes since it can damage them.
Always test a small area first to make sure it won’t harm the surface.
How Often Should I Deep Clean My Faucet Head?
You should deep clean your faucet head every 1-3 months, depending on water hardness and usage.
If you notice buildup or reduced water flow, don’t wait—clean it promptly to keep it working smoothly.
What if My Faucet Head Is Leaking After Cleaning?
If your faucet head leaks after cleaning, don’t ignore it—leaky faucets waste over 3,000 gallons yearly!
Tighten connections, check washers, or replace parts to stop drips and save water, money, and frustration.
Are There Eco-Friendly Cleaning Alternatives for Faucet Heads?
Yes, you can use eco-friendly alternatives like white vinegar, baking soda, or lemon juice to clean your faucet head. These natural ingredients are effective, non-toxic, and safe for the environment while removing buildup and grime.
They gently dissolve mineral deposits and disinfect without harsh chemicals. Plus, they are readily available and inexpensive. Using these alternatives helps reduce chemical waste and supports a healthier home.
Can Cleaning the Faucet Head Improve Water Pressure?
Yes, cleaning your faucet head can improve water pressure by removing mineral buildup and debris. When you clear those blockages, water flows more freely, making your faucet work more efficiently and saving you frustration.
Conclusion
Now that you know how to clean your sink faucet head in just seven easy steps, you’re all set to keep it sparkling and clog-free. Don’t let grime get the best of you—tackling this task regularly will save you headaches down the road.
Just follow these simple tips, and your faucet will be shining like a new penny every time you turn it on.
Keep up the good work to maintain a clean sink faucet head and ensure smooth water flow. Regular cleaning of your sink faucet head is key to preventing buildup and prolonging its lifespan.