Fix a Leaky Kitchen Faucet in 7 Easy Steps
First, identify your kitchen faucet type to ensure you get the right parts and tools for a successful repair. Fixing a leaky kitchen faucet can save water and prevent further damage to your sink area.
Turn off the water supply and clear your workspace before starting the repair.
Remove the handle and carefully disassemble the faucet. Inspect seals, cartridges, and other parts for wear or damage. Replace any faulty pieces to stop the leak effectively.
Reassemble everything tightly but avoid overtightening to prevent damage.
Turn the water back on slowly and test for leaks. If the drip continues, there’s more to explore for a thorough, lasting repair.
Key Takeaways
- Turn off water supply valves and open the faucet to drain remaining water before starting repairs.
- Remove the faucet handle and inspect the cartridge or valve stem for damage or mineral buildup.
- Replace worn seals or cartridges with matching parts and apply plumber’s grease for durability.
- Reassemble the faucet securely, turn water back on gradually, and check for leaks around all connections.
- Test hot and cold water flow to ensure smooth operation and confirm no drips or leaks remain.
Identify Your Kitchen Faucet Type for the Right Fix
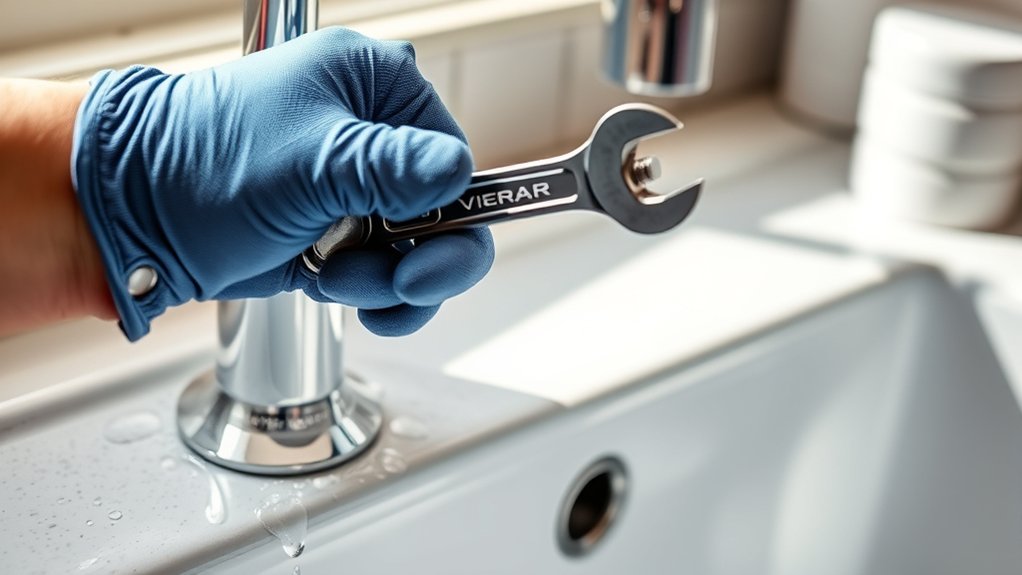
Before you can fix your leaky kitchen faucet, you need to identify its type. Knowing this helps you target the right repair and avoid unnecessary work. Most faucets fall into four categories: compression, ball, cartridge, and ceramic disk.
Compression faucets have separate hot and cold handles that you turn to control water flow. Ball faucets feature a single handle with a rounded ball inside the base. Cartridge faucets also have a single handle but use a cartridge mechanism to regulate water.
Ceramic disk faucets use a single lever over a wide cylindrical body with ceramic discs controlling the flow. Check your faucet’s handle style and body shape to determine its type. This step guarantees you’ll get the correct replacement parts and instructions for a successful fix.
Gather Tools for Your Kitchen Faucet Repair
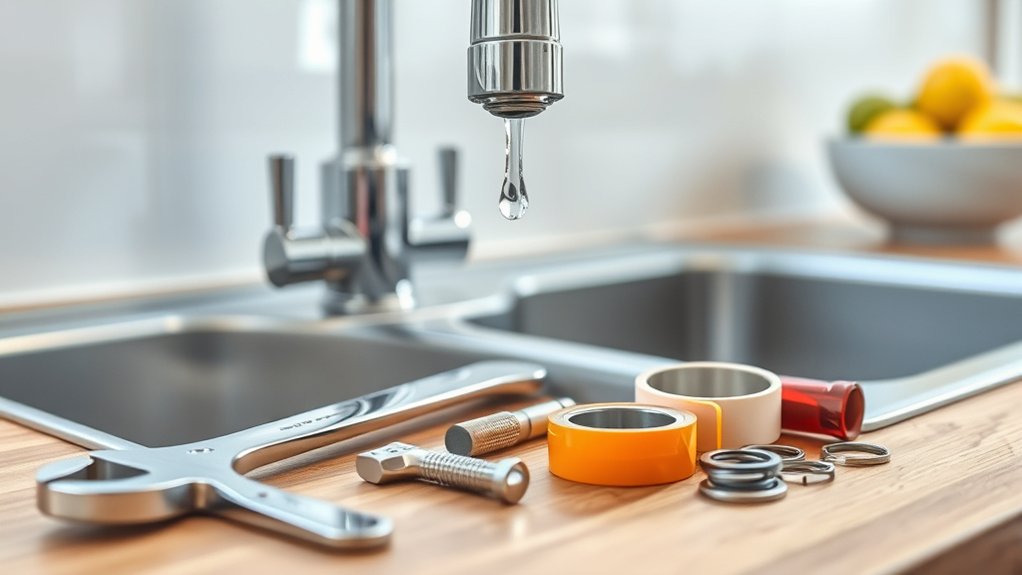
Before you start fixing your faucet, make sure you have the essential tools on hand, like wrenches and screwdrivers. Choose quality replacement parts that match your faucet type to avoid future leaks.
Don’t forget safety gear like gloves and goggles to protect yourself during the repair.
Essential Tools Checklist
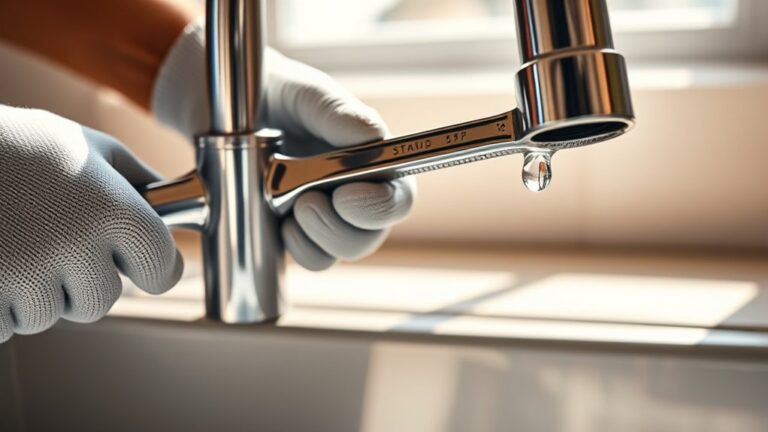
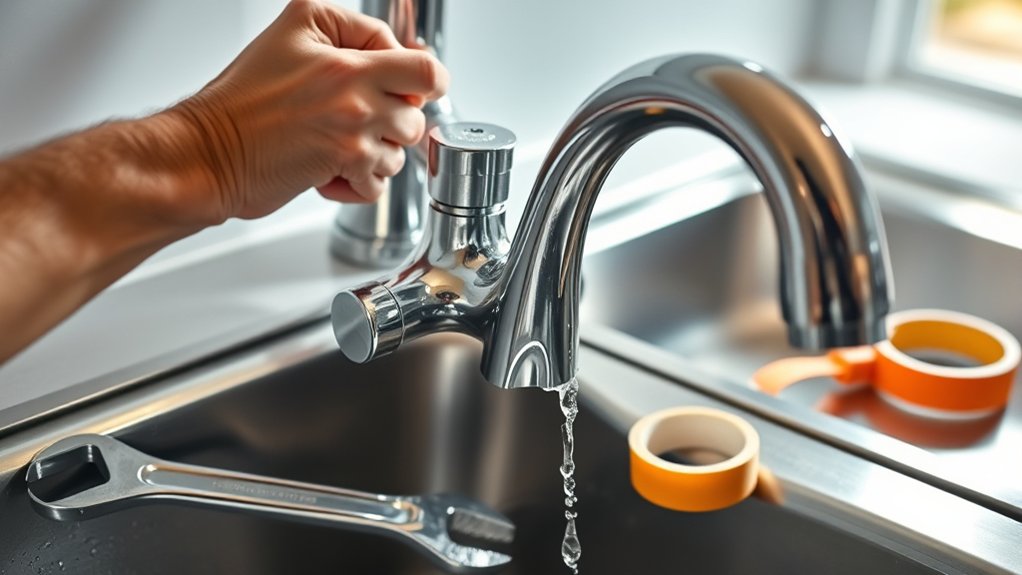
What tools will you need to fix your leaky kitchen faucet quickly and efficiently? First, grab an adjustable wrench to loosen and tighten nuts without damaging them. You’ll also want a set of screwdrivers—both flathead and Phillips—to remove faucet handles and other screws.
Don’t forget a pair of pliers for gripping small parts and removing stubborn components. A hex or Allen wrench might be necessary if your faucet uses hex screws. Have a utility knife handy to cut old seals or tape.
Finally, keep some plumber’s grease and Teflon tape nearby to guarantee smooth reassembly and a watertight seal. With these essential tools ready, you’ll be well-prepared to tackle your faucet repair confidently and save water from dripping away.
Choosing Quality Replacement Parts
How do you guarantee your kitchen faucet repair lasts? Start by choosing quality replacement parts. Don’t settle for cheap, generic components—they often wear out quickly and cause more leaks.
Instead, look for parts that match your faucet’s make and model exactly. Check manufacturer recommendations or bring the old part to the store for comparison. Prioritize durable materials like brass or stainless steel over plastic, especially for washers, cartridges, and valves.
Also, verify the parts come with a warranty or satisfaction guarantee. Investing in reliable components saves time and money by reducing repeat repairs. Remember, the right parts assure a snug fit and smooth operation, so your faucet won’t drip again anytime soon.
Choose wisely to keep your kitchen leak-free.
Safety Equipment Needed
Where should you start when preparing to fix a leaky kitchen faucet? First, make sure you have the proper safety equipment to protect yourself throughout the repair. You’ll want to be cautious since water and tools can create slippery or hazardous conditions.
Here are three essential safety items to gather before you begin:
- Safety glasses – Protect your eyes from water sprays, debris, or accidental splashes of cleaning chemicals.
- Rubber gloves – Keep your hands dry and shielded from sharp edges or harsh substances.
- Non-slip shoes – Prevent slips on wet floors while working under the sink.
Having these safety tools handy helps you stay safe and focused on fixing that leak efficiently.
Turn Off Water and Prep Your Workspace
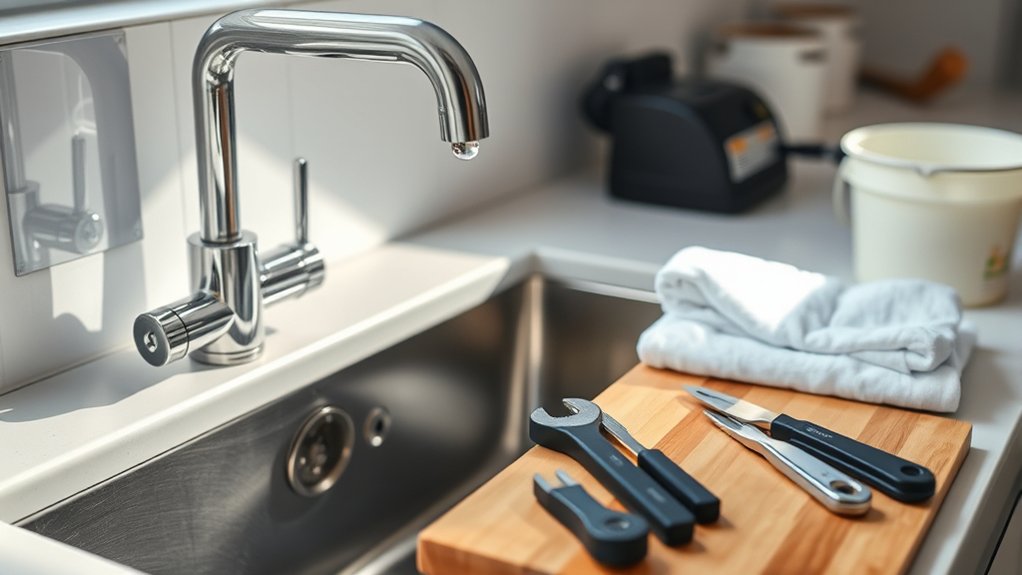
Before you start fixing the faucet, turn off the water supply to prevent any accidental flooding. Locate the shutoff valves under the sink and twist them clockwise until they’re fully closed. If your valves are stuck or missing, turn off the main water supply to your home.
Next, open the faucet to drain any remaining water from the lines. This step reduces mess and pressure while you work.
Clear the area around your sink to create a clean, organized workspace. Lay down a towel or a small basin to catch drips and hold removed parts. Gather your tools and safety gear nearby for easy access.
Preparing your workspace this way helps you stay efficient and prevents water damage during the repair process.
Disassemble Your Kitchen Faucet to Fix the Leak
Once the water is off and your workspace is ready, you can start disassembling your kitchen faucet to access the parts causing the leak. First, remove the decorative cap on the handle to expose the screw. Second, use a screwdriver or Allen wrench to loosen and remove the handle itself.
This step gives you access to the inner components. Third, carefully loosen the retaining nut with an adjustable wrench and pull out the cartridge or valve stem. Keep all parts organized so you won’t lose anything.
With these components exposed, you’ll be prepared to inspect and replace the worn seals or cartridges causing the leak in the next step. Take your time to avoid damaging any pieces during disassembly.
Inspect and Replace Worn Seals or Cartridges
Now that you’ve disassembled the faucet, check the seals for cracks or wear that might be causing the leak. If your faucet uses a cartridge, inspect it closely and be ready to replace it if it looks damaged or worn out.
Replacing these parts can stop the leak and restore your faucet’s smooth operation.
Identifying Worn Seals
How can you tell if your kitchen faucet’s seals are worn out? Look for these clear signs to decide if replacement is needed.
- Dripping Faucet: If water drips even when the faucet is off, worn seals are often the culprit.
- Reduced Water Pressure: A sudden drop in water pressure can mean that the seals aren’t creating a proper seal, causing leaks inside the faucet.
- Visible Damage: Remove the faucet handle and check the seals for cracks, brittleness, or flattening—any of these indicate wear.
Cartridge Replacement Tips
Although replacing a cartridge might seem tricky, you can handle it yourself by carefully inspecting and swapping out worn seals or cartridges. First, turn off the water supply and remove the faucet handle to access the cartridge. Look for cracks, mineral buildup, or damaged seals, which often cause leaks.
When you spot worn parts, replace them with exact matches to guarantee a proper fit. Use plumber’s grease on new seals to improve their lifespan and prevent leaks. Carefully reinstall the cartridge and handle, then turn the water back on to test for leaks.
Taking your time during inspection and replacement helps you fix the leak effectively without calling a plumber. With patience and the right tools, you’ll restore your faucet’s function in no time.
Reassemble and Tighten Your Kitchen Faucet
Once you’ve inspected and replaced any worn parts, you can start reassembling your kitchen faucet. Begin by carefully placing the cartridge back into its housing, ensuring it aligns properly.
Next, secure the retaining clip or nut to hold the cartridge firmly in place. Finally, reattach the handle by sliding it over the cartridge stem and tightening the set screw.
Follow these steps to guarantee a proper fit:
- Insert the cartridge with correct orientation.
- Tighten the retaining nut or clip securely, but don’t overtighten.
- Fix the handle and fasten the set screw firmly.
Make sure each component is snug to prevent leaks, but avoid forcing parts to keep them from damage. Your faucet is now ready for the next step.
Test Your Kitchen Faucet to Ensure the Leak Is Fixed
After you’ve reassembled and tightened your kitchen faucet, it’s time to see if your efforts have stopped the leak. Turn on the water supply slowly and watch the faucet closely for any drips or moisture around the base and spout. Test both hot and cold water to verify everything is sealed properly.
If you notice no leaks, congratulations! If you spot water escaping, you might need to tighten connections or replace worn parts again.
| Step | What to Check |
|---|---|
| Turn on water | Look for drips at joints |
| Run hot and cold | Ensure consistent flow |
| Observe faucet base | Check for moisture buildup |
| Confirm no leaks | Faucet is fixed and secure |
This quick test confirms your repair success and prevents future water damage.
Frequently Asked Questions
How Often Should I Check for Leaks in My Kitchen Faucet?
You should check for leaks in your kitchen faucet at least once a month. Catching leaks early saves water and prevents damage.
If you notice dripping or unusual noises, inspect it right away to fix issues promptly.
Can Hard Water Cause Faucet Leaks?
You’d think hard water is just tough on your taste buds, but yes, it can cause faucet leaks by leaving mineral deposits that wear down seals and valves.
Is It Safe to Repair a Faucet Without Turning off Water?
No, you shouldn’t repair a faucet without turning off the water first. You’ll risk flooding or water damage.
Always shut off the supply valves to work safely and avoid making the leak worse or causing a bigger mess.
What Are Common Signs of a Faulty Kitchen Faucet?
You’ll notice dripping sounds, water pooling under the sink, or reduced water pressure.
If your faucet handle feels loose or you see rust and mineral buildup, those are common signs it’s faulty and needs fixing.
How Long Does a Typical Faucet Repair Take?
Think of your faucet repair like a quick story—usually, it takes about 30 minutes to an hour. You’ll get through it before your coffee cools, fixing leaks swiftly and saving your day from watery woes.
Conclusion
Fixing your leaky kitchen faucet doesn’t have to be a hassle—you’ve got this! Did you know that a dripping faucet can waste over 3,000 gallons of water per year? By following these simple steps, you’re not just saving water but also cutting down on your utility bills.
With a little patience and the right tools, your kitchen will be leak-free and running smoothly in no time. Fix a leaky kitchen faucet quickly and efficiently by using these easy-to-follow instructions. Save water, reduce your water bills, and enjoy a drip-free kitchen today!