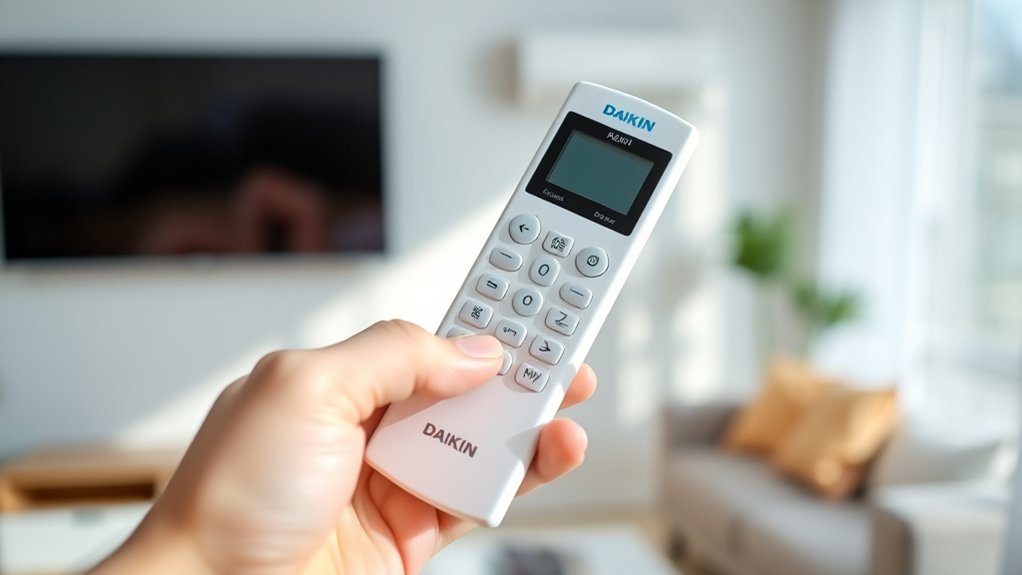
How to Use Daikin AC Remote in 7 Easy Steps
To use your Daikin AC remote in 7 easy steps, start by pressing the power button to turn the unit on or off.
Setting your desired temperature is simple with the “+” and “-” buttons.
You can easily cycle through cooling, heating, and fan modes using the “Mode” button.
Next, adjust the fan speed and airflow to your preference with the respective buttons.
The remote also allows you to schedule timers using the “Timer” feature for added convenience.
Activate energy-saving modes like “Econo” or “Sleep” to optimize power consumption.
If you want to enhance your comfort further or troubleshoot common issues, you’ll find helpful tips ahead.
Following these steps will ensure you get the most out of your Daikin AC remote quickly and efficiently.
Key Takeaways
- Press the power button to turn the Daikin AC remote on or off, ensuring it points directly at the unit.
- Use the “+” and “-” buttons to adjust the temperature to your desired setting.
- Press the “Mode” button to switch between cooling, heating, and fan modes, confirmed on the display.
- Adjust fan speed with the Fan Speed button and control airflow using the Swing and Airflow Direction buttons.
- Set timers with the Timer button and activate energy-saving or special modes like Econo, Powerful, Dry, and Sleep.
Turn Your Daikin AC Remote On and Off
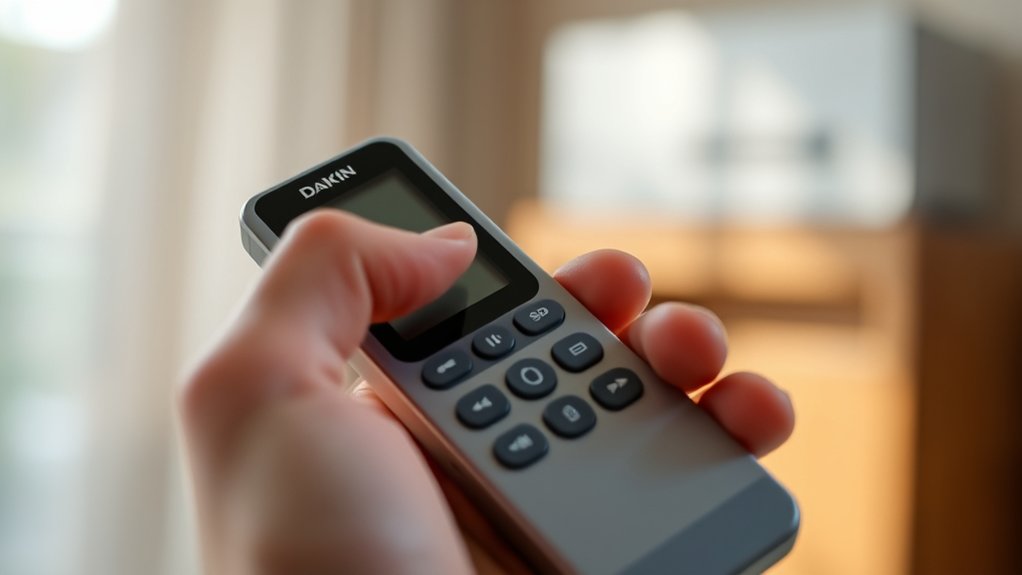
Before you can adjust the temperature or settings, you need to turn your Daikin AC remote on. Simply press the power button, usually marked with a red or green symbol, located at the top of the remote. When the remote is on, the display screen lights up, showing the current mode and temperature.
To turn the unit off, just press the same button again. Make sure you point the remote directly at the AC unit to guarantee the signal reaches it without interference. If the remote doesn’t respond, check the batteries and replace them if necessary.
Turning the remote on and off is the first step to controlling your Daikin AC, so mastering this guarantees you’re ready to manage your comfort efficiently.
Set the Perfect Temperature With Your Daikin Remote
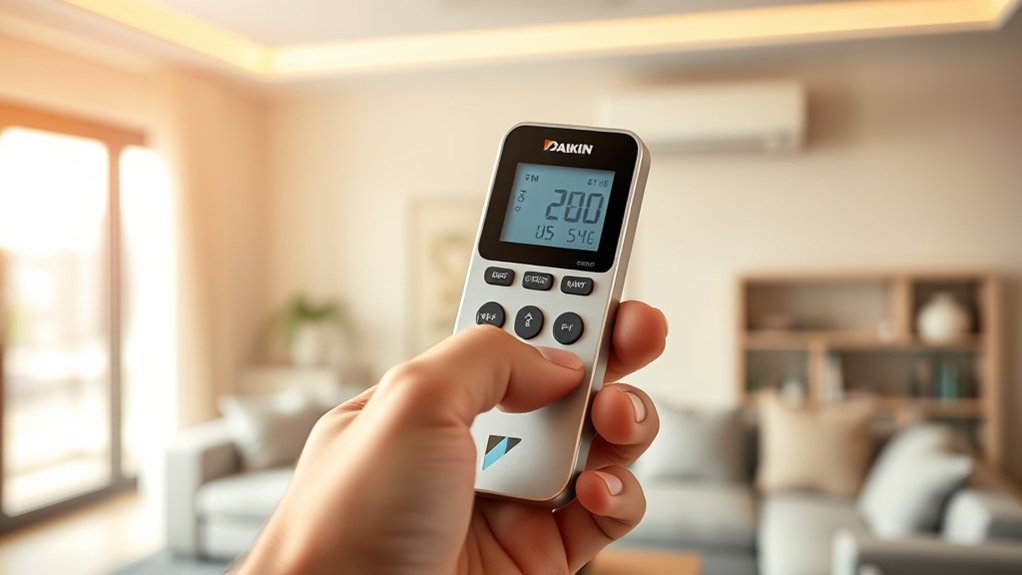
Once your Daikin AC remote is powered on, adjusting the temperature to your liking is straightforward. You can quickly set the perfect climate with these simple steps:
Once your Daikin AC remote is on, setting the perfect temperature is quick and easy.
- Locate the temperature adjustment buttons, usually marked with “+” and “-” symbols.
- Press the “+” button to increase the temperature or the “-” button to decrease it. Each press changes the temperature by one degree.
- Watch the display screen on the remote to see the current set temperature.
- Stop pressing once you reach your desired temperature. The AC will automatically adjust to maintain that setting.
This precise control helps you stay comfortable while saving energy by avoiding unnecessary cooling or heating.
Switch Between Cooling, Heating, and Fan Modes
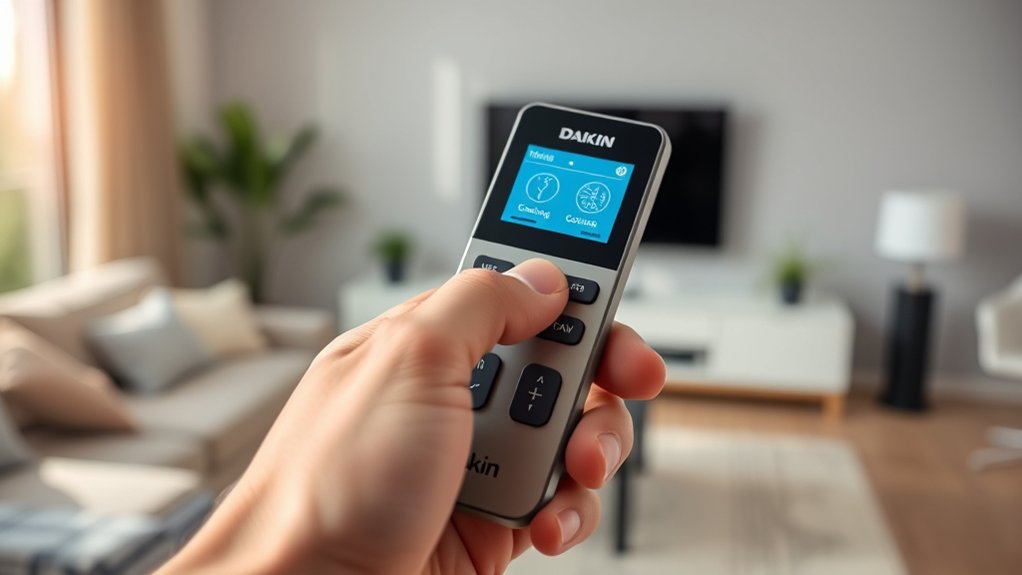
Although adjusting the temperature sets your comfort level, switching between cooling, heating, and fan modes lets you tailor your Daikin AC to the season and your specific needs. To change modes, simply press the “Mode” button on your remote. Each press cycles through cooling (snowflake icon), heating (sun icon), and fan-only (fan icon) modes.
When you select cooling, the unit lowers the room temperature. Heating warms the space during colder months, and fan mode circulates air without altering temperature. Watch the display screen on your remote to confirm the selected mode.
If you want to turn off the AC, press the power button. By mastering these mode switches, you guarantee your Daikin AC works efficiently, providing comfort year-round with just a few clicks.
Adjust Fan Speed and Airflow Direction Easily
To keep your room comfortable, you can easily adjust the fan speed and airflow direction using your Daikin AC remote. This lets you control how the air circulates, enhancing your comfort level.
Here’s how to do it:
- Press the Fan Speed button to cycle through available speeds—Low, Medium, High, or Auto—until you find the right airflow intensity.
- Use the Swing button to activate the vertical louvers, allowing the air to move up and down automatically.
- For horizontal airflow adjustment, press the Airflow Direction button to shift the louvers left or right manually.
- Combine fan speed and airflow direction settings for customized cooling or heating tailored to your space.
With these simple steps, you can optimize your Daikin AC’s performance effortlessly.
Use Your Daikin Remote to Schedule a Timer
While you’re managing your comfort settings, you can easily schedule your Daikin AC to turn on or off at specific times using the timer function on your remote. To set the timer, press the “Timer” button once to activate the on-timer or twice to set the off-timer. Use the arrow buttons to adjust the time in increments, usually in 30-minute steps.
Confirm your selection by pressing the “Set” or “Timer” button again. The display will show the scheduled time, letting you know the timer is active. This feature lets you cool or heat your room just before you arrive or turn off the unit automatically, saving energy and enhancing convenience without manual intervention.
Activate Energy-Saving Modes and Extra Features
Scheduling your Daikin AC with the timer helps optimize comfort and convenience, but you can take efficiency even further by activating energy-saving modes and extra features.
Here’s how to make the most of your unit:
- Press the “Econo” button to activate energy-saving mode, which limits power consumption without sacrificing comfort.
- Use the “Powerful” mode for quick cooling, ideal when you want to cool the room rapidly before switching back to energy-saving settings.
- Enable “Dry” mode for humidity control, reducing moisture without excessive cooling.
- Utilize the “Sleep” mode to gradually adjust temperature overnight, saving energy and ensuring comfort throughout the night.
These modes help you customize your cooling experience while keeping energy use minimal.
Troubleshoot Common Daikin AC Remote Issues
If your Daikin AC remote isn’t responding as expected, don’t worry—you can often fix common issues quickly. First, check the batteries; weak or dead batteries are the most frequent cause. Replace them with fresh ones and verify they’re inserted correctly.
Next, make sure there’s a clear line of sight between the remote and the AC unit’s sensor. Remove any obstructions that might block the signal. If the remote still doesn’t work, try resetting it by removing the batteries, pressing all buttons once, then reinserting the batteries.
Also, clean the remote’s sensor and the AC unit’s receiver gently with a soft cloth to remove dust. If problems persist, consult the user manual or contact Daikin support for further assistance.
Frequently Asked Questions
How Do I Replace the Batteries in My Daikin AC Remote?
You just slide off the battery cover on the back of your Daikin remote, remove the old batteries, insert new ones matching the polarity, then snap the cover back on.
Make sure to use fresh, compatible batteries!
Can I Control Multiple Daikin Units With One Remote?
You can’t control multiple Daikin units with one remote, much like trying to tune a radio with a single key. Each unit needs its own remote or a centralized control system for seamless management.
Is There a Smartphone App for Daikin AC Remote Control?
Yes, you can control your Daikin AC using the Daikin Online Controller app. It lets you adjust settings, monitor energy use, and schedule operations right from your smartphone, making managing your AC super convenient wherever you are.
How Do I Reset My Daikin AC Remote to Factory Settings?
You can reset your Daikin AC remote by pressing and holding the “Reset” button with a pointed object for about 3 seconds.
If it lacks a reset button, remove batteries, wait 30 seconds, then reinsert them to reset.
Why Does My Daikin Remote Sometimes Lose Connection With the AC?
Why does your Daikin remote sometimes lose connection? It usually happens because of weak batteries, signal interference, or distance from the AC unit.
Make sure you’re close enough and replace batteries regularly to keep it working smoothly.
Conclusion
Now that you’ve mastered your Daikin AC remote in just seven easy steps, staying comfortable is a breeze. You’ll be able to tailor the temperature and settings to fit your needs without breaking a sweat. Remember, practice makes perfect, so don’t hesitate to explore all the features and troubleshoot when needed.
With this Daikin AC remote in your hands, you’ve got the power to keep cool as a cucumber no matter the weather! Using the Daikin AC remote effectively ensures you enjoy optimum comfort and energy efficiency. Embrace the convenience and control that comes with mastering your Daikin AC remote today.