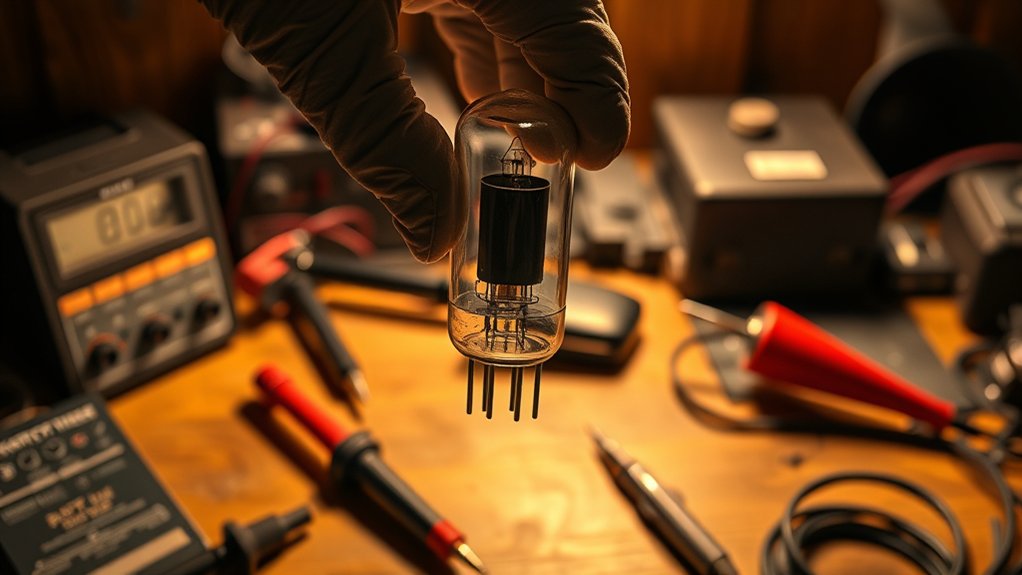
How Do You Test Vacuum Tubes in 10 Essential Steps?
To test vacuum tubes effectively, it is crucial to follow 10 essential steps that ensure accurate results and reliable performance.
Start by identifying the tube type and specifications, which helps in selecting the appropriate testing method. A thorough inspection for cracks or discoloration is necessary to detect any physical damage early.
Next, use a multimeter to check filament continuity, confirming that the tube’s internal components are intact. Choose the right tube tester and adapters based on the tube type to avoid inaccurate readings.
Always remove and replace tubes carefully while the equipment is powered off to prevent damage.
Perform the test following the correct settings on your tester, paying close attention to the readings. Interpret these readings to identify signs of wear or failure, which can indicate when a tube needs replacement.
Lastly, maintain your vacuum tubes properly to extend their lifespan and guarantee consistent, reliable performance. Exploring each step in detail will help you master the process.
Key Takeaways
- Identify the tube type and specifications by examining markings and referring to datasheets before testing.
- Perform a thorough visual inspection for cracks, discoloration, bent pins, and internal damage.
- Use a compatible tube tester or multimeter to measure emission, gain, filament continuity, and shorts.
- Interpret tester readings carefully, ensuring test settings match tube type for accurate condition assessment.
- If no tester is available, warm the tube, check filament glow, listen for noises, and swap with a known good tube.
How to Identify Vacuum Tube Types and Specs
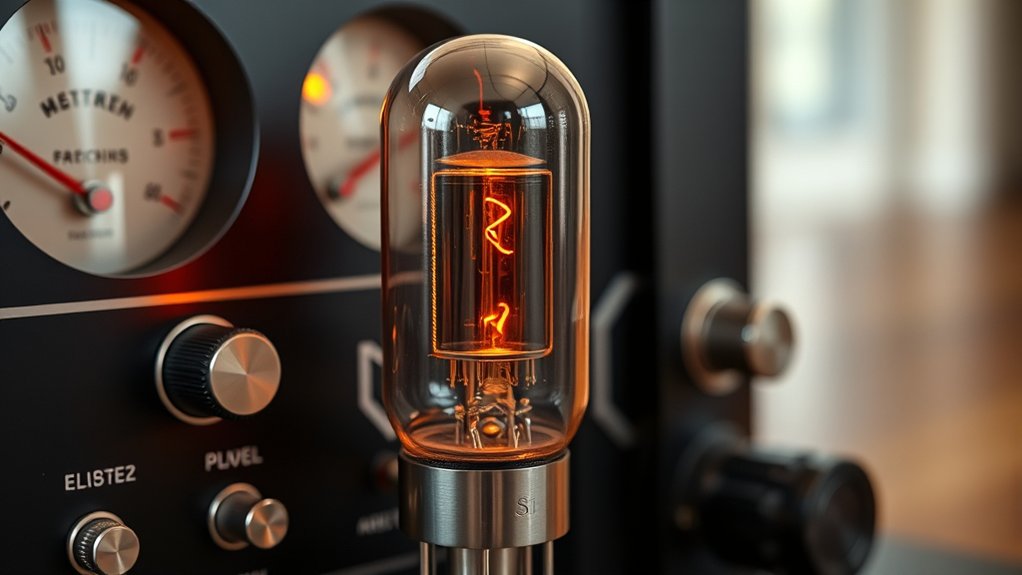
Before you begin testing, you need to identify the vacuum tube type and its specifications. Start by looking at the tube’s glass envelope for printed markings—these usually include the tube’s model number, such as 12AX7 or EL34.
Once you have the model number, refer to datasheets or manufacturer catalogs to find key specs like filament voltage, pin configuration, and maximum ratings. Recognizing the tube correctly ensures you apply the right test methods and avoid damage.
Pay attention to any physical differences such as size, base type, and the number of pins, as these help confirm the tube’s identity. Knowing these details lets you prepare your testing setup accurately and interpret test results with confidence, setting you up for successful diagnostics.
How to Choose the Right Tools to Test Vacuum Tubes
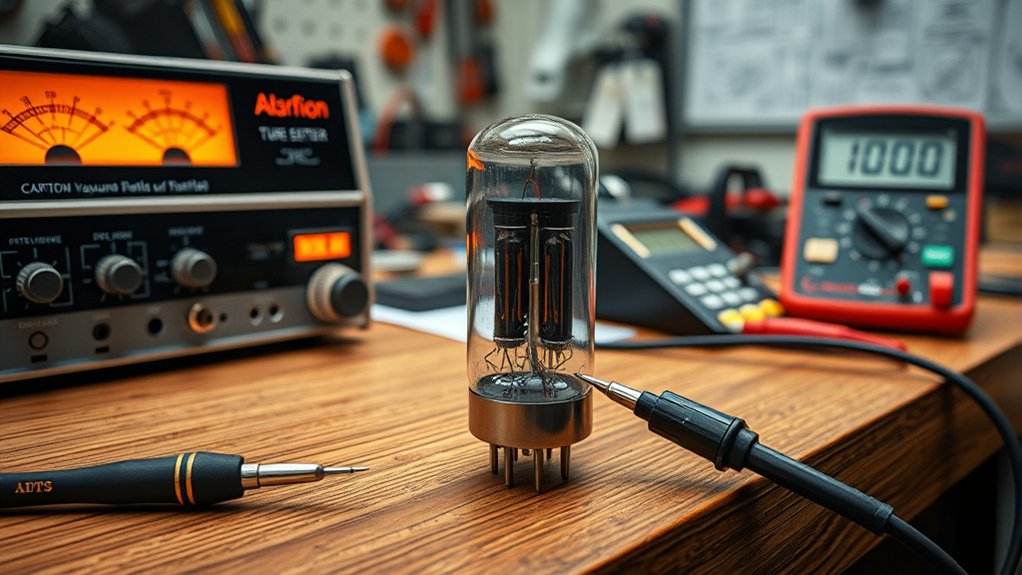
Although identifying your vacuum tube is essential, selecting the right tools for testing is just as important to obtain accurate results. You’ll want equipment that matches your tube type and testing needs to avoid misdiagnosis.
Identifying your vacuum tube is crucial, but using the right testing tools ensures accurate and reliable results.
Here’s what you should consider:
- Tube Tester – Choose one compatible with your tube’s base and type, whether analog or digital.
- Multimeter – Essential for measuring voltage, resistance, and continuity during testing.
- Socket Adapters – These help you connect different tube bases to your tester without damage.
- Test Leads and Clips – Quality leads ensure stable connections and accurate readings.
How to Perform a Visual Inspection for Vacuum Tube Damage
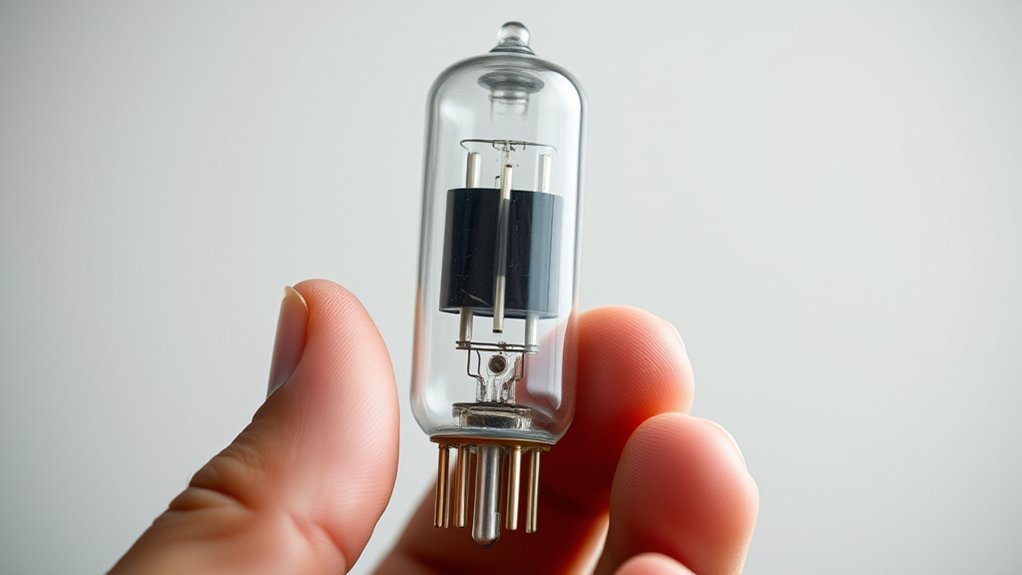
Start by carefully examining the vacuum tube for any physical defects like cracks, chips, or discoloration. Pay close attention to the glass envelope, making sure it’s intact and free from damage. Catching these issues early can save you time and prevent further problems down the line.
Identifying Physical Defects
How can you tell if a vacuum tube is physically damaged without specialized tools? Start by closely examining its external features. Here are four key things to look for:
- Bent or broken pins – Check the base pins for any bending or breakage, which can prevent proper socket connection.
- Discoloration or burn marks – Look for unusual dark spots or scorch marks indicating overheating or internal failure.
- Loose internal components – Gently shake the tube; if you hear rattling, parts inside may be detached or damaged.
- Corrosion or residue – Inspect for any corrosion or build-up on the metal parts, which can affect electrical contact.
Checking Glass Integrity
When you inspect a vacuum tube, checking the glass envelope for cracks, chips, or cloudiness is essential because any damage can compromise the tube’s vacuum seal and performance. Hold the tube up to a light source and rotate it slowly to spot imperfections. Cloudiness often indicates internal gas leaks, while cracks or chips weaken the vacuum.
Don’t forget to check the tube’s base for signs of melting or discoloration.
| Glass Condition | What It Indicates |
|---|---|
| Clear and Intact | Tube likely sealed properly |
| Cloudy | Possible internal leak |
| Cracked/Chipped | Seal compromised |
| Discolored Base | Overheating or damage |
How to Safely Remove and Replace Vacuum Tubes
Before you start, always power down your equipment to avoid shocks or damage. Use the proper tools to gently loosen and remove the tubes without bending pins or cracking glass. Handle each tube carefully to keep them in good condition for replacement or testing.
Power Down Equipment
Although it might seem straightforward, you need to power down the equipment completely before removing or replacing vacuum tubes to avoid electrical shock or damage. Follow these steps to guarantee safety:
- Unplug the device from the power source to cut off all electrical flow.
- Let the equipment sit for a few minutes to allow internal components and tubes to cool down.
- Discharge any stored electrical energy by using a grounding tool or following the manufacturer’s instructions.
- Double-check that the power switch is in the off position and the device is fully de-energized before touching any tubes.
Taking these precautions protects both you and the equipment during tube handling. Always prioritize safety to prevent accidents.
Use Proper Tools
Since vacuum tubes are fragile and sensitive to static electricity, you’ll need the right tools to remove and replace them safely. Start with a tube puller designed specifically for vacuum tubes; this tool provides a secure grip, letting you extract tubes without applying excessive force. Avoid using pliers or fingers alone, as they can damage pins or glass envelopes.
When inserting a tube, use a tube socket brush to clean the contacts first, ensuring a good connection. Align the pins carefully with the socket before gently pushing the tube in—forcing it can bend pins or break the tube. Using an anti-static wrist strap or mat can also help protect the tubes from static damage during handling.
Proper tools make the process safer and more effective.
Handle Tubes Carefully
When you handle vacuum tubes, treat them with great care to avoid damaging their delicate glass envelopes and fragile pins. Always follow these steps to safely remove and replace tubes:
- Power off and unplug the device to prevent electric shock.
- Let the tube cool down completely before touching it, as it can get very hot.
- Grip the tube gently at the base—never the glass bulb—to avoid breaking it.
- When reinserting, align the pins carefully with the socket, and press straight in without forcing.
How to Check Vacuum Tube Filament Continuity
Before you plunge into more complex tests, you’ll want to verify that the vacuum tube’s filament is intact and continuous. Start by removing the tube from its socket and ensuring your multimeter is set to the resistance or continuity mode. Identify the filament pins by consulting the tube’s datasheet or pinout diagram.
Place the multimeter probes on these pins carefully. If the filament is good, the multimeter will show a low resistance reading, usually just a few ohms, or it will beep if in continuity mode. A reading of infinite resistance or no beep means the filament is broken.
Checking filament continuity is a quick, essential step to rule out obvious failures before moving on to more detailed vacuum tube testing.
How to Use a Tube Tester to Measure Vacuum Tube Performance
Although vacuum tube filaments might test fine, you’ll want to use a tube tester to assess overall performance accurately. This tool helps you measure emission, gain, and other critical parameters that simple continuity checks miss.
Here’s how to use a tube tester effectively:
- Insert the tube carefully into the correct socket, matching the tube type.
- Set the tester controls according to the tube’s specifications found in the manual.
- Power on the tester and allow the tube to warm up as required.
- Observe the meter readings to check emission and other performance indicators.
Following these steps guarantees you get a clear picture of the tube’s condition before use or replacement.
Reading Your Tube Test Results: What They Really Mean
Now that you’ve tested your vacuum tube, it’s essential to understand what the meter readings tell you.
You’ll want to focus on emission and gain values to see if the tube is performing well or needs replacing.
Knowing how to interpret these numbers helps you make the right call on your tube’s condition.
Understanding Test Meter Readings
When you read the results on your tube tester, you’ll notice various numbers and indicators that might seem confusing at first. Understanding these readings helps you quickly determine if a tube is usable or needs replacement. Here’s what to focus on:
- Meter Needle Position – This shows the tube’s overall condition; a needle in the green zone usually means a good tube.
- Numeric Scale – The numbers correspond to specific test parameters like filament current or leakage.
- Warning Indicators – Some testers have warning lights or zones that signal shorts or gas issues.
- Test Mode Settings – Make sure the tester is set correctly for the tube type to get accurate readings.
Getting familiar with these elements guarantees you interpret your tube test results confidently and correctly.
Interpreting Emission And Gain
Once you’ve gotten comfortable with your tube tester’s readings, the next step is to understand what those emission and gain numbers actually tell you about your tube’s performance. Emission measures the tube’s ability to release electrons from the cathode, so a strong emission value indicates the tube can generate the necessary current. Gain reflects the tube’s amplification capability—higher gain means better signal boost.
If emission is low but gain remains acceptable, your tube might still work but could fail under demanding conditions. Conversely, good emission with poor gain suggests internal issues affecting amplification. By interpreting these values together, you can decide if a tube is reliable, weak, or needs replacement, ensuring your equipment runs smoothly and sounds its best.
How to Spot Signs of Vacuum Tube Wear and Failure
Although vacuum tubes might look sturdy, they can show subtle signs of wear long before they fail completely. You need to keep an eye out for these indicators to catch problems early.
Vacuum tubes may seem durable but often reveal early signs of wear before total failure.
- Discoloration or darkening inside the glass can signal overheating or gas leaks.
- Loose or rattling elements when gently shaken suggest internal damage or broken supports.
- White or powdery residue inside indicates a vacuum loss, making the tube unusable.
- Unusual glow colors besides the normal orange filament glow might point to electrical faults.
How to Test Vacuum Tubes Without a Tester
Even without a dedicated tester, you can check a vacuum tube’s basic functionality using simple tools and careful observation. First, visually inspect the tube for cracks, discoloration, or loose elements inside. Next, gently warm the tube by powering the device it’s in; the filament should glow evenly without flickering.
Listen for unusual noises or hums that might indicate issues. You can also use a multimeter set to measure resistance to check the filament continuity—if the filament is open, the tube is bad. Finally, swap the suspect tube with a known good one in the same socket to see if performance improves.
These steps help you quickly identify faulty tubes without specialized equipment, saving time and ensuring your gear runs smoothly.
How to Maintain Vacuum Tubes for Longer Life and Sound
After identifying a faulty vacuum tube, you’ll want to focus on maintaining the ones that work well to extend their lifespan and preserve sound quality. Proper care helps you avoid frequent replacements and keeps your equipment sounding great.
- Handle tubes carefully, avoiding direct skin contact to prevent oils from causing hot spots.
- Keep your equipment clean and dust-free, as dust buildup can lead to overheating.
- Guarantee proper ventilation around the tubes to maintain ideal operating temperatures.
- Power your equipment on and off correctly, letting tubes warm up before use and cool down before unplugging.
Frequently Asked Questions
What Are the Common Applications of Vacuum Tubes Today?
You’ll find vacuum tubes mainly in high-end audio gear, guitar amplifiers, and some radio transmitters. They’re prized for their warm sound and unique distortion, so you’ll often see them where vintage tone and reliability matter.
How Do Vacuum Tubes Compare to Modern Solid-State Devices?
While vacuum tubes glow warmly and handle high voltages gracefully, you’ll find solid-state devices faster, smaller, and more reliable.
You’ll appreciate tubes’ vintage charm but rely on solid-state tech for efficiency and durability today.
Can Vacuum Tubes Be Repaired or Refurbished Effectively?
Yes, you can repair and refurbish vacuum tubes, but it’s tricky. You’ll need specialized tools and skills to replace components or clean contacts.
Often, replacing tubes is easier and more reliable than repairing them.
What Historical Significance Do Vacuum Tubes Hold in Electronics?
You see, vacuum tubes sparked the dawn of electronics, lighting the path for radios, televisions, and early computers.
You can’t ignore how they shaped technology’s heartbeat before transistors took center stage.
Are There Environmental Concerns Related to Disposing of Vacuum Tubes?
Yes, you should handle vacuum tubes carefully since they contain hazardous materials like lead and other metals. Don’t just toss them in the trash; recycle them properly to prevent environmental contamination and protect health.
Conclusion
Now that you’ve got the basics down, imagine what’s next—unlocking the full potential of your vacuum tubes. You’ve learned to spot damage, test filaments, and read results, but there’s one secret step that can truly transform your gear’s performance.
Don’t stop here; your tubes hold more power than you think. Ready to dive deeper and elevate your sound? The next level of tube mastery is just within your reach.
By following these essential steps to test vacuum tubes, you can ensure optimal performance and longevity. Mastering vacuum tube testing will help you achieve the best tone and reliability from your equipment. Take control of your sound and experience the full benefits of properly tested vacuum tubes.